When you click on links to various merchants on this site and make a purchase, this can result in this site earning a commission. Affiliate programs and affiliations include, but are not limited to, the eBay Partner Network.
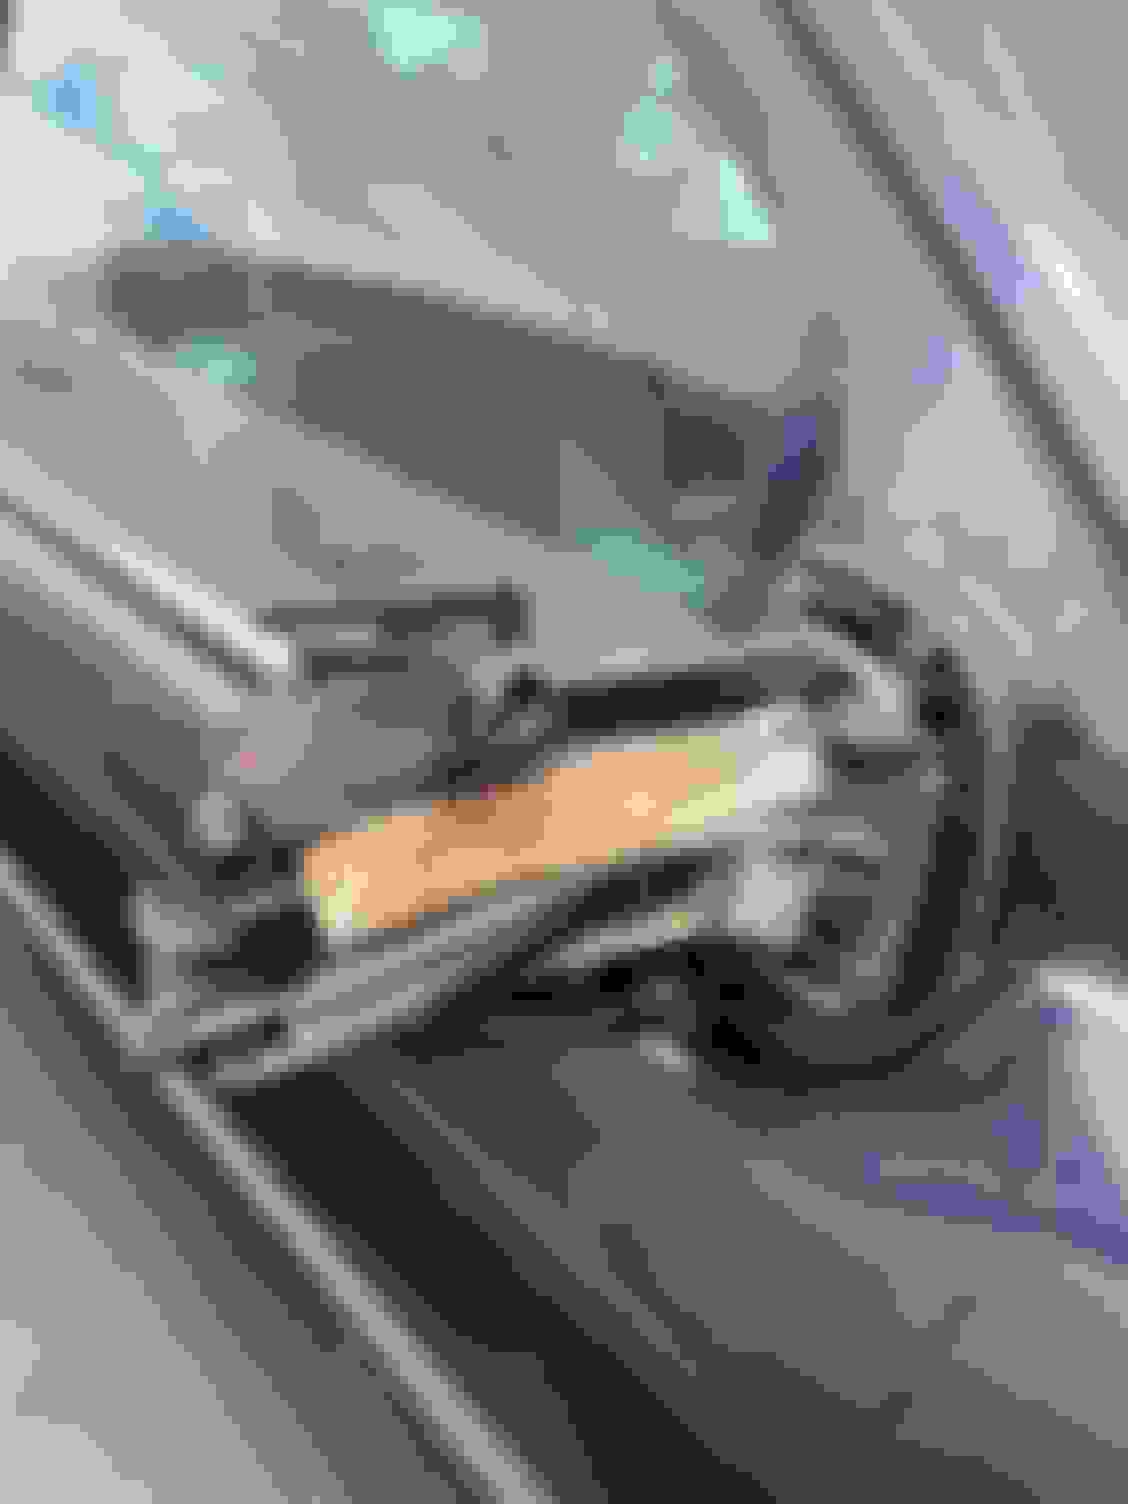
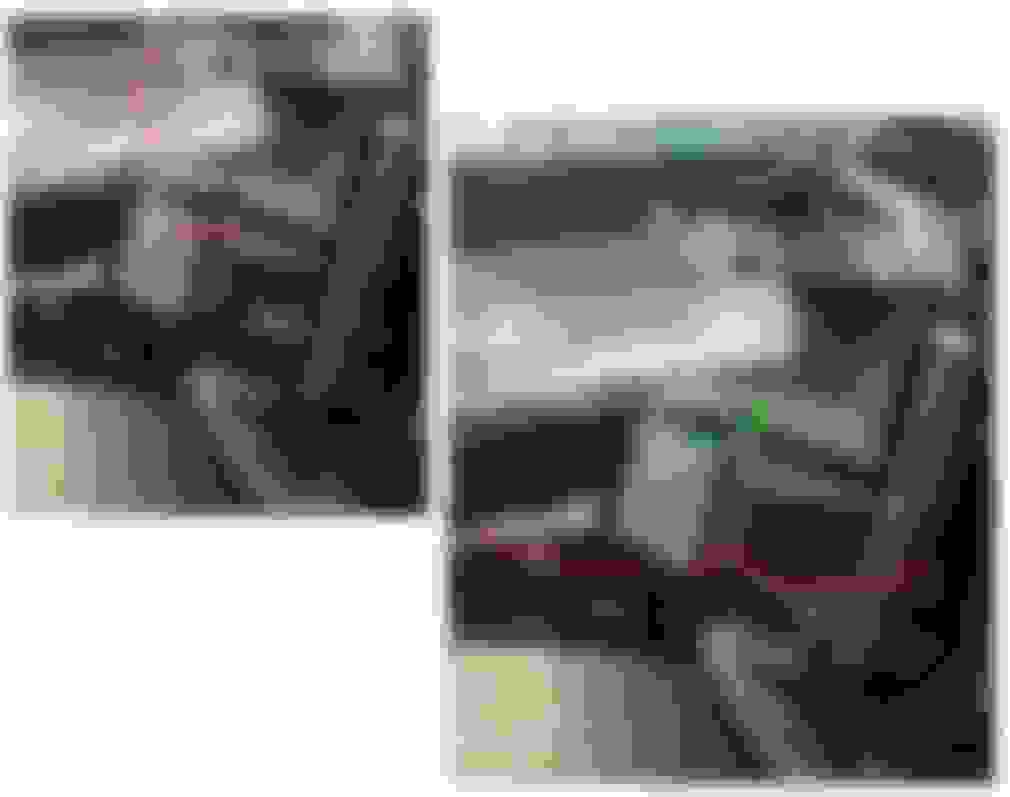
I unfortunately today backed out of my driveway and smashed my driver side mirror and it fell off. The mirror is not cracked and the chassis is in fine condition. I�m wondering if it�s possible to repair this and put it all back together or if it�s unable to be repaired and would need to buy a replacement part? Is jt straight forward to reinstall if I bought the part? Do I need to recode the wiring or anything or would it be plug and play sort of thing. Considering the replacement part is $140 i�d prefer do it myself then pay someone.
Below are some photos of the after math.
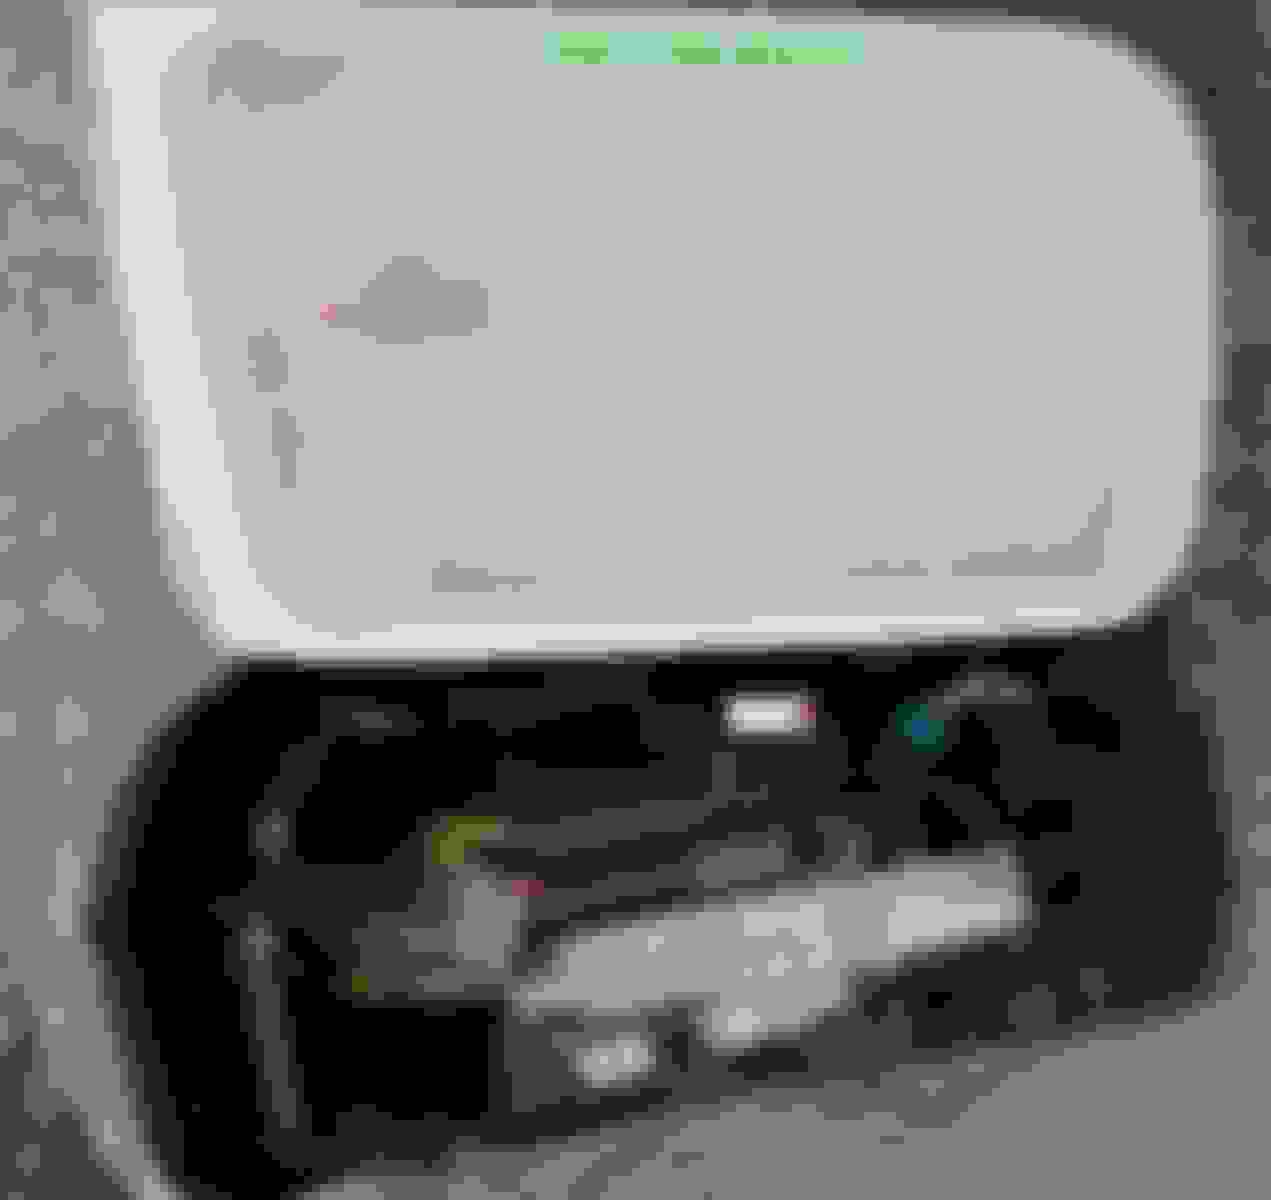
Here is the only replacement part from Australia I can find.
Don't even think of repairing this. Get a replacement. Replacing the mirror is somewhat straightforward process, but you do required to have basic hand tools and some wedges to take the door panel off. Not too sure about the electrical, so someone with more experience can chime in here, but my guess is that like many other things to our W210, it PROBABLY need just a reset/reprogramming.
Yeah, finding the right-hand drive stuff is hard as only few country have this unique setup ( you guys down there, England, South Africa, Japan just to name a few. I think there few more somewhere in Africa). Maybe someone can chime in to see if you can use the right side mirror from left-hand drive cars.
Thanks for your reply. So you have to remove the door panel to replace the mirror? Just did a little googling and it seems it�s attached with screws and the tutorial didn�t remove the door panel. Does this seem right? In regards to the programming do you need to go to a service shop to get them to use their machine (i.e machine used to reset airbag fault warnings etc)
Hopefully someone here has done this and can shes some light.
No coding required. IIRC, however, the mounting screws are 5-point, not 6-point, internal torx-style. I had to purchase a set of bits to perform work on my mirrors. Only used them that one time but they were not expensive.
Good that the mirror glass itself is intact. They're not the same as the right mirror glass on left hand steering wheel cars and can be quite pricey.
Nonetheless the mechanism is toast. Repairing is all but impossible as parts are under high tension due to the spring and the metal framing surrounding the motor is pot metal if I remember correctly. Given that degree of damage I believe the structural integrity has been compromised beyond mending.
The w210 models came with 2 distinct, non-interchangeable designs so be sure you purchase the correct one for your year...which appears to be a post facelift 2000-2002 model.
I am not familiar with nuances such as heated, auto dimming etc which a donor mirror may need to be compatible with (for your car).
I�ve bought a replacement mirror which is awesome. Are you aware on how to install it? I know there are three screws that hold the mirror on and a cable that needs to be plugged in for the wiring. However it seems as if the cover needs to be removed to be able to reach the screws to screw into the frame of the car. Is this true if so how do I ensure I don�t break anything. If not how to install, no videos online I can see.
At least on the pre-facelift it is a flexible metal bar mounted on the frame that hooks over a protrusion on the inside of the shell. If the mirror is mounted on the car one would fold the mirror back towards the window and then slide a screwdriver between the frame and the outer shell to lift up the flexible metal bar and the shell will then slide off. Since your mirror is off the car you should be able to work a screwdriver through the mounting frame to lift the end of the flexible metal bar and remove the outer shell.
Last edited by bbirdwell; Oct 16, 2023 at 01:23 PM.
OP has the newer design with the turn signals built in. So instead of a 2mm steel spring to maneuver this design has a flat steel spring about .5" side.
It's a tad bid tricky to swap out. Yes, there are only 3 fasteners but to get to them the sequence accessing them must be in a specific order. You are also fighting a STRONG spring...one which makes you utter naughty words if your fingers gets caught. If you don't see the instructions in the STICKY, come back here and I'll see if I can walk you through it (from memory). It's been a few years.
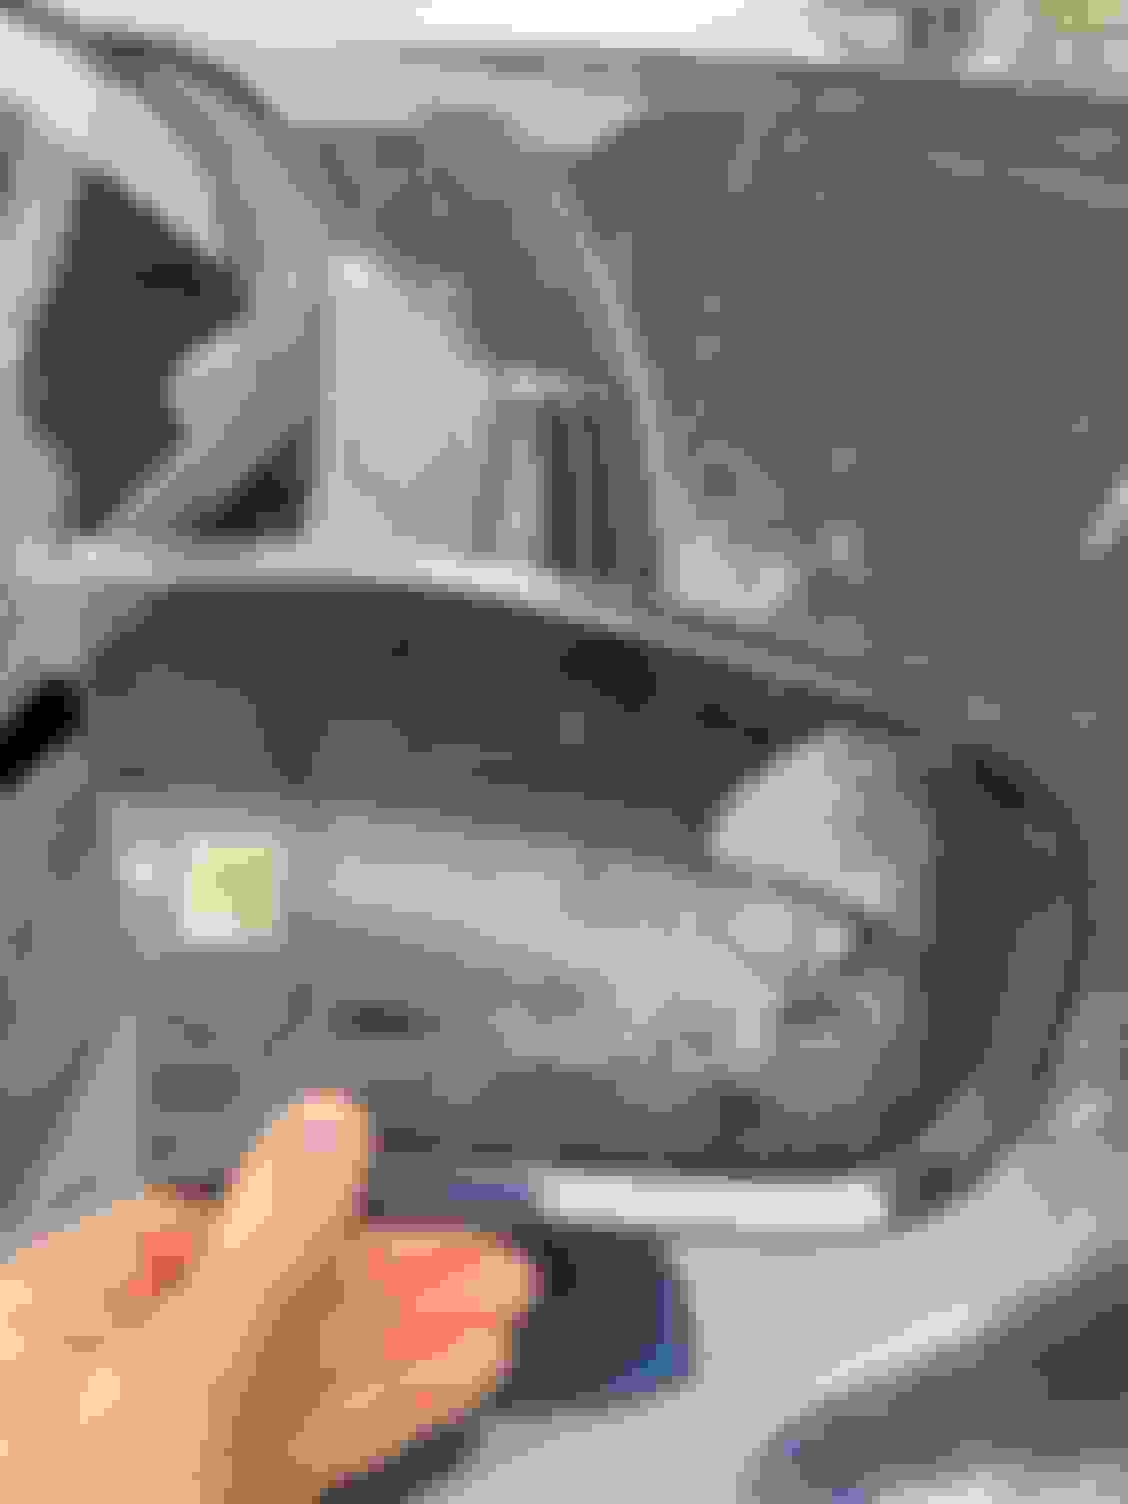
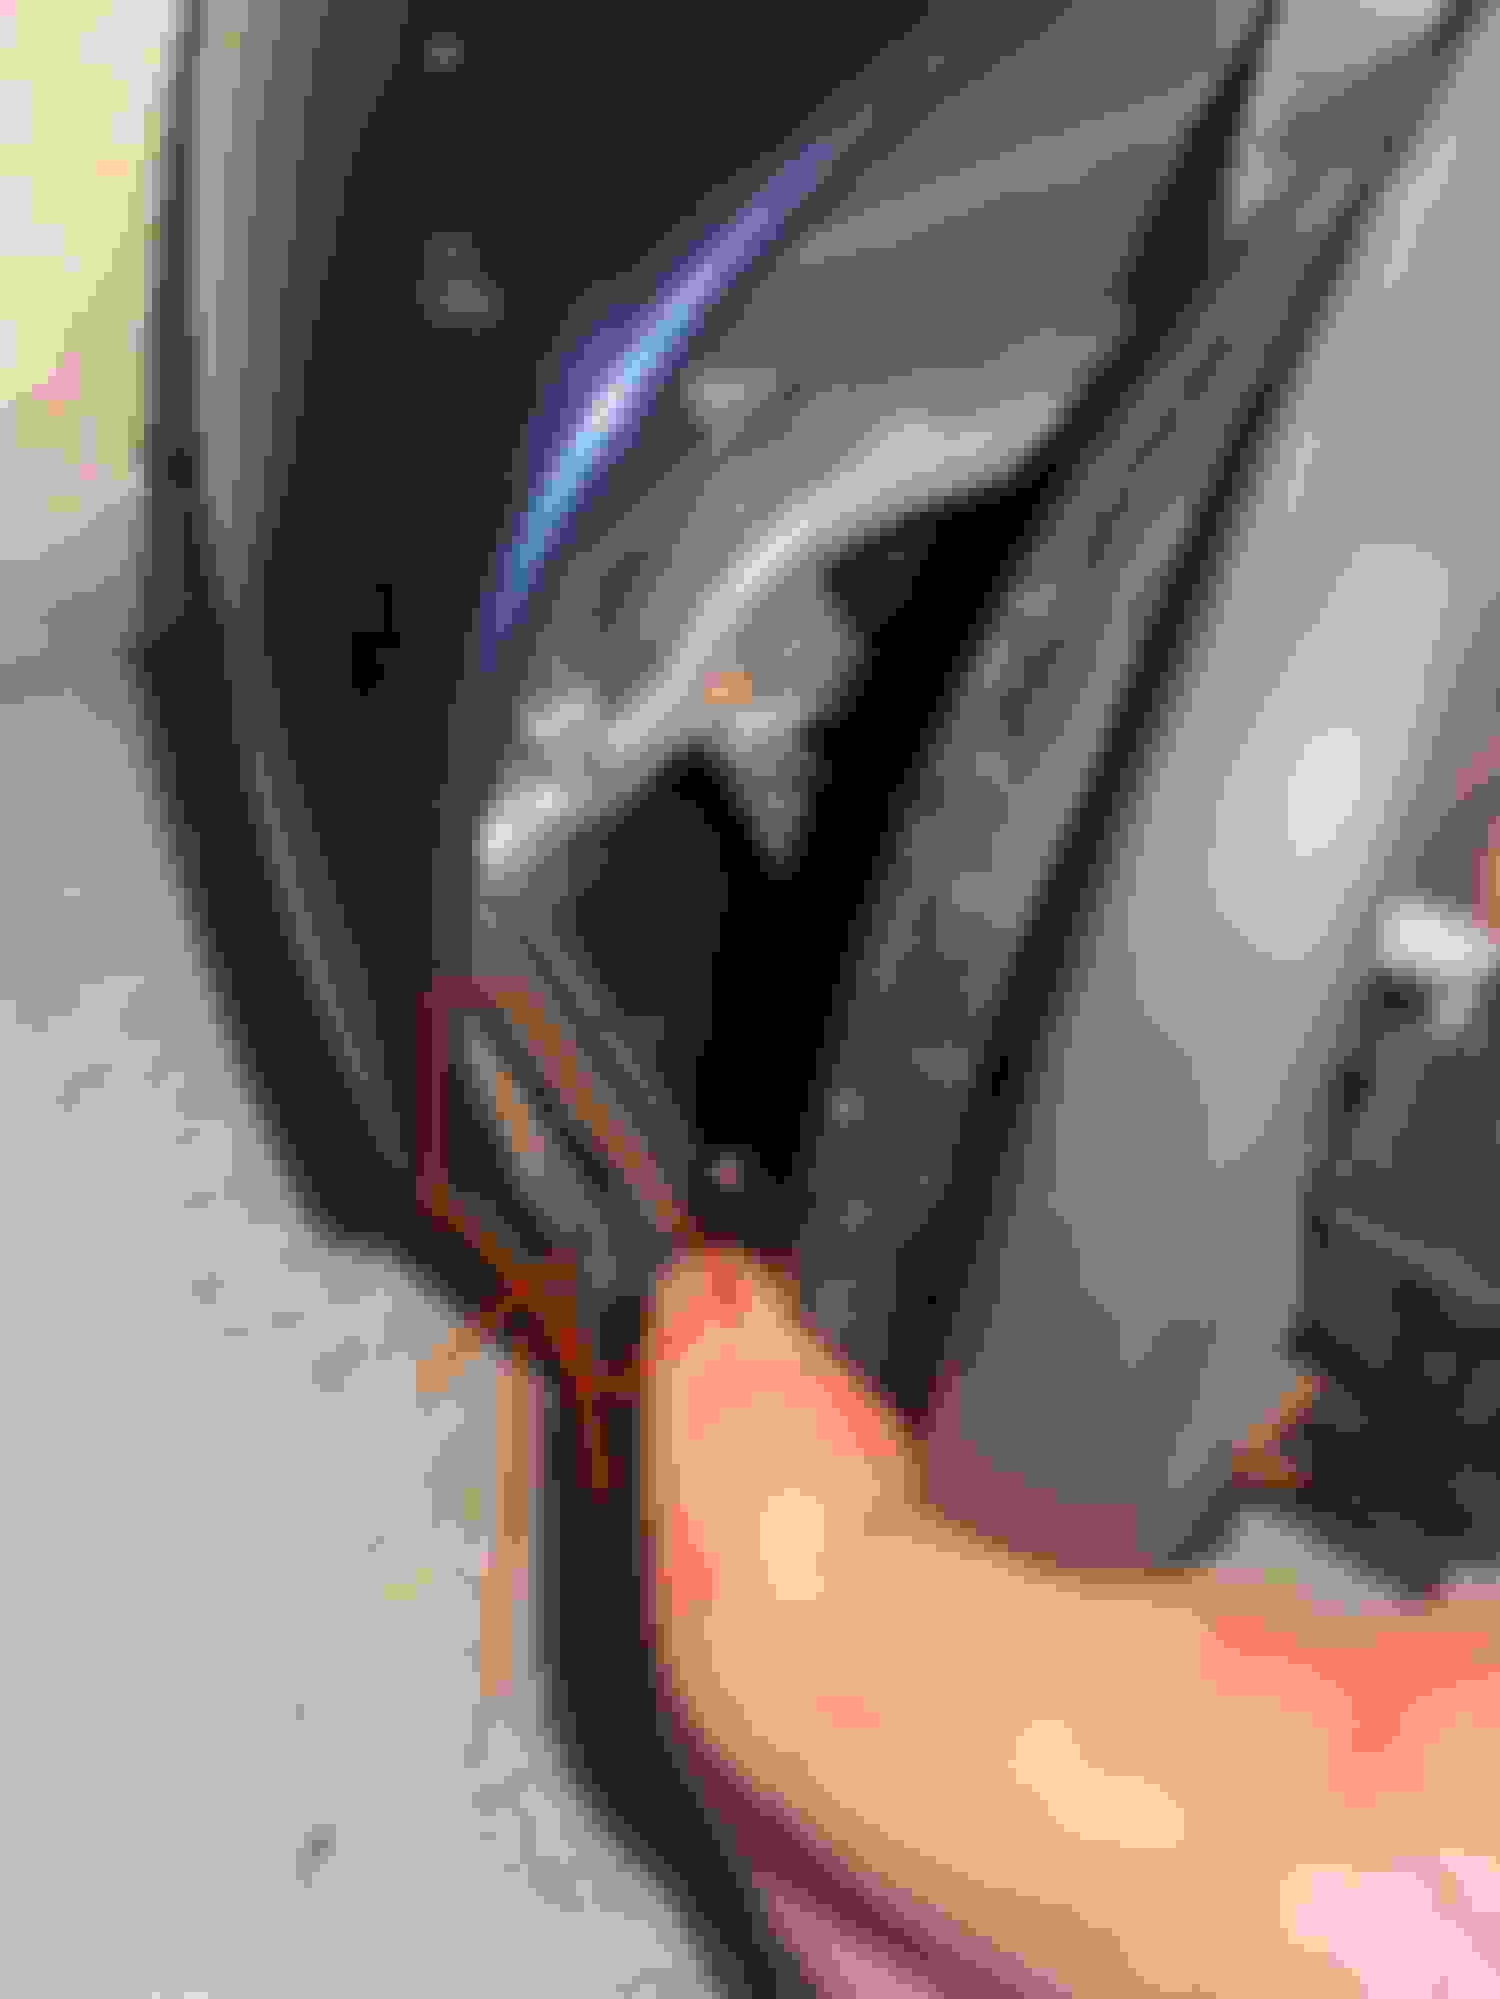
I found some tutorial online and they showed to poke a screwdriver that pushes a metal clip that will then allow me to take the casing off. As you've mentioned the mirror is not on the car so it's very difficult to fold the mirror back hence making it almost impossible to screw it back onto my car. I also want to minimise my risk in breaking anything. I'm from Australia so understand if you cannot comment but is it worth paying someone to install it for me as I don't want to risk breaking the part. From my understanding it's hard as hell to get mirror replacements from where I am and it cost me $120. What are your thoughts? Below are some photos of what I mean by the metal clip that holds the casing onto the mirror. Tutorial says to push a flat head screwdriver down here (between casing and metal frame) that will release the clip (clip shown in picture one)
Thanks for your reply. I did find the thread thanks kindly for this. I've tried all sorts of flat head screw drivers and it seems as if I can only push down so much and the clip still doesn't come off. Perhaps I am pushing in the wrong spot?
I don't feel you need to pay someone to fix this. Careful and methodical improv should be fine. I've gone through the same head scratching and was successful.
From aging memory, these were the tools I used:
wooden stakes I had laying around from yard work, approx .5" x 1.5" x 15"
couple of short bar clamps like these
using the combination of the above, I carefully and slowly pried apart the mirror assembly against spring tension.....while at the same time, inserting the stakes to incrementally widening up the opening in stages. At a certain point, I may have even inserted a short chunk of a 2x4 wood. the trick is in opening it just wide enough so that you can gauge access to the fasteners. keep in mind that while you hold up all this octopus assembly you will also need to be able to insert the fasteners along with the tool needed to turn them.
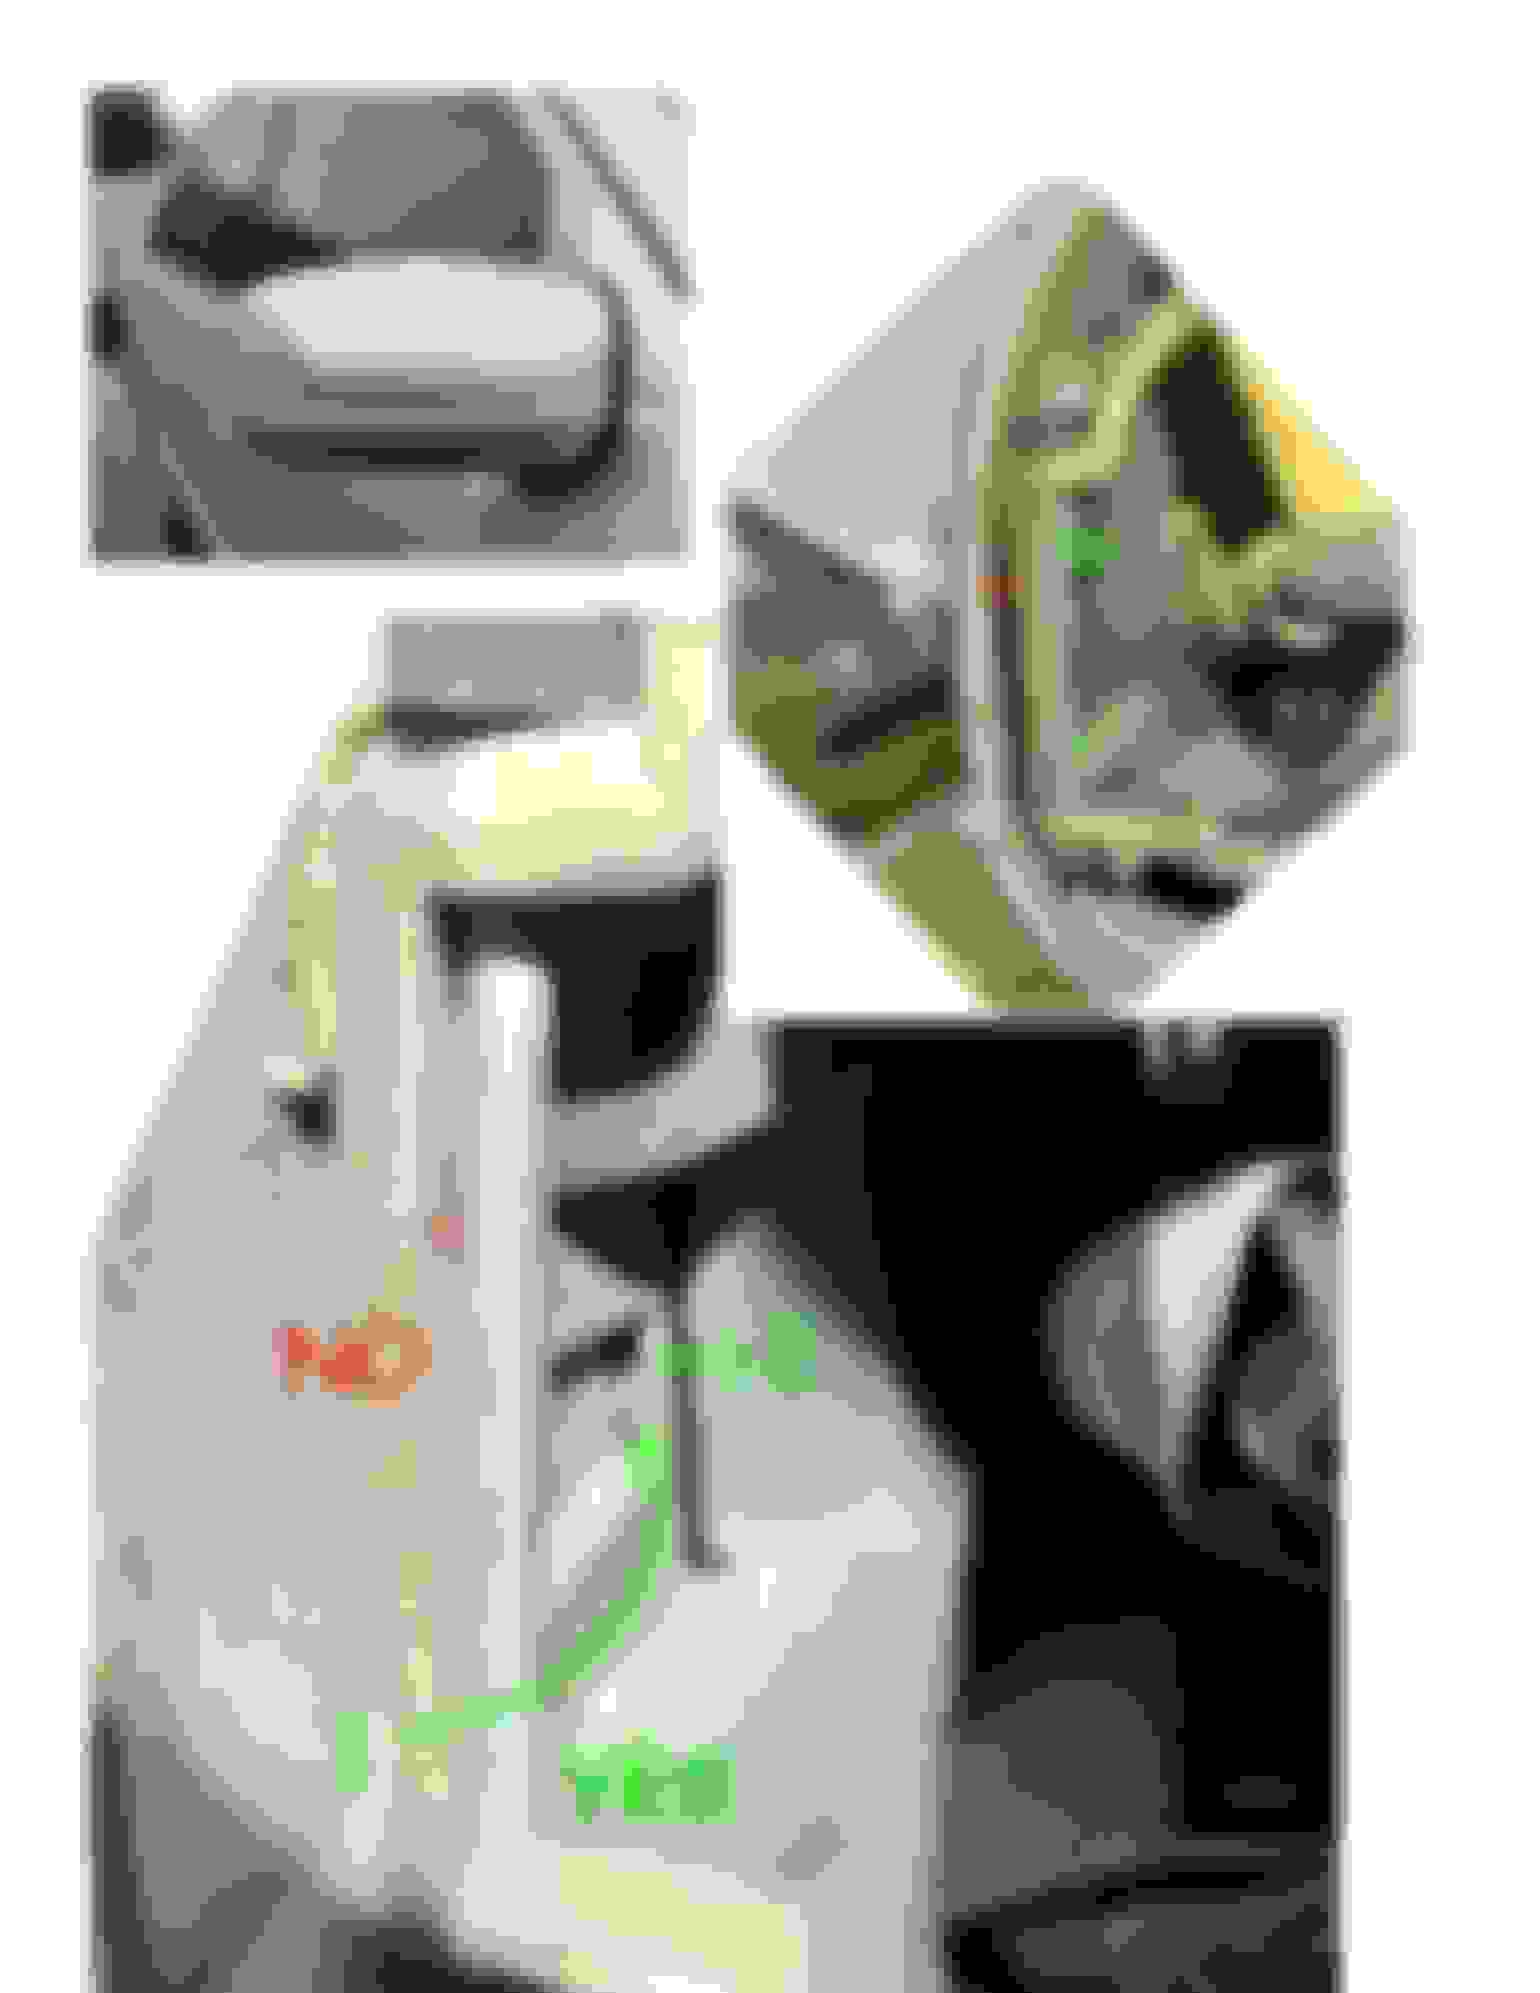
The photo below is tricky and it was taken of my 1999 mirror which is different than yours. HOWEVER I used your photos and tried to edit the critical parts and pasted them onto my own photo to give you a rough idea what they will look like within your mirror housing.
This next part is a worded description of your locking mechanism. Understanding this simple part may make it easier for you to 'pick the lock' and jiggle it free and allow the plastic housing to slide out and removed.
The 2 RED ARROWS point to the ski ramps 1) of the mirror motorized assembly and 2) of the mirror cover. As the plastic cover is slid over the motorized unit/frame, the ski ramps help locate and engage to mating parts. At the critical moment the metal spring clip.....and the plastic part of the ski ramp come to the end of the sliding ramps.....GREEN LINE....and the parallel surfaces lock into place.
So to undo this you simply need to press the spring retaining clip enough to jiggle the plastic housing while pulling it outwards. You said it still won't come apart. No big deal. It's usually stiction, accumulated crud from weathering, gunk on the rubber gasket..... but firm and gentle jiggling should do the trick. Just be sure that the metal spring retaining clip is depressed enough (I'm guessing .5") so that the 2 parallel surfaces clear each other. PRESSING ACTION should be downwards...and in the direction towards the reflective mirror.
oh, going back to this photo you posted, yes. You would be sliding a flat blade in that area you circled far enough to engage the spring clip and then, swinging the screwdriver in the direction of the plastic housing. That should push the spring clip in the opposite direction....sufficient to clear the matching contact surface on the plastic housing. It may not be easy to do this with only two hands and the mirror moving around. This may be where I used the ratcheting bar clamps hold it rigidly against a workbench or something.
I feel like the more words I type may confuse things so we'll just work on this incrementally and progressively. if you get stuck we'll just work from there.
All the above have enough tips to get you started though. It's a bit of a Rubik's Cube but once you've done this, you will be able to finesse this the rest of your life and laugh at the trauma in hindsight
My brain is telling me that recall that the fasteners needed to be inserted in a certain order but I can't remember what that is right now. Something like "these 2 first" otherwise it is near impossible to screw in the final one. Since there are only 3 fasteners, luck or trial and error should reveal what that order is.
Another thought after posting the above yesterday: when you insert a thin flat blade tool into the innards, if the shaft is thin enough try ROTATING the screwdriver as this will turn the wider portion of the screwdriver bit and further press the spring clip/tab inwards. That might just provide the needed clearance for it to clear the plastic retaining surface on the inside of the plastic mirror shell...kind of like what a skeleton key does to manipulate the locking mechanism
Last edited by raymond g-; Oct 18, 2023 at 12:11 PM.
Thanks for putting the time and effort into this response. Still I am having trouble with the clip. I've tried to use some wood and those clamps to keep the space open and not on my fingers. Still with it being open I feel I am lost in where to poke the screw driver. By the way what screwdriver would you recommended. I am currently using something similar to this.
The shank may be too thick. I can't tell from a photo.
The earliest I'll have access to that mirror will be around Nov 11 (another family member has it now). But from memory, I'm now second guessing the spot you should be inserting the screwdriver. Here is the photo you provided but I'm squinting and thinking perhaps it may be here (green).
Once you pry apart and look carefully with a headlamp (or have someone shine a bright light) you should be able to see the glint of the spring clip anyway. I don't think there is anything else that reflective inside. Either way, look for reflective glint through both crevices.
Another reason I'm thinking it may be in accessible via the green zone is because when I study your other photo, that sharp almost 90� bend is almost 10-15mm so to press on that portion would need to be at least 10-15mm away from the inside surface of the plastic housing. That, in itself, seems to exceed that opening in the red arrow/circle in your archived photo. That's why I'm thinking the green zone above.
So I should correct my doctored photo above.... from this....to this.....
The blade of your screwdriver should be on the NARROW portion of the metal tab marked by the green arrow in the second photo (immediately above). That red curve with the peak is the profile of the inside surface of the mirror cover. You job, should you wish to accept it, is to push the metal tab so it clears that red peak....which is the latching portion of the plastic housing. Once you get them apart, you'll smack your forehead and think DUH ... is that all !?
Last edited by raymond g-; Oct 19, 2023 at 01:54 AM.
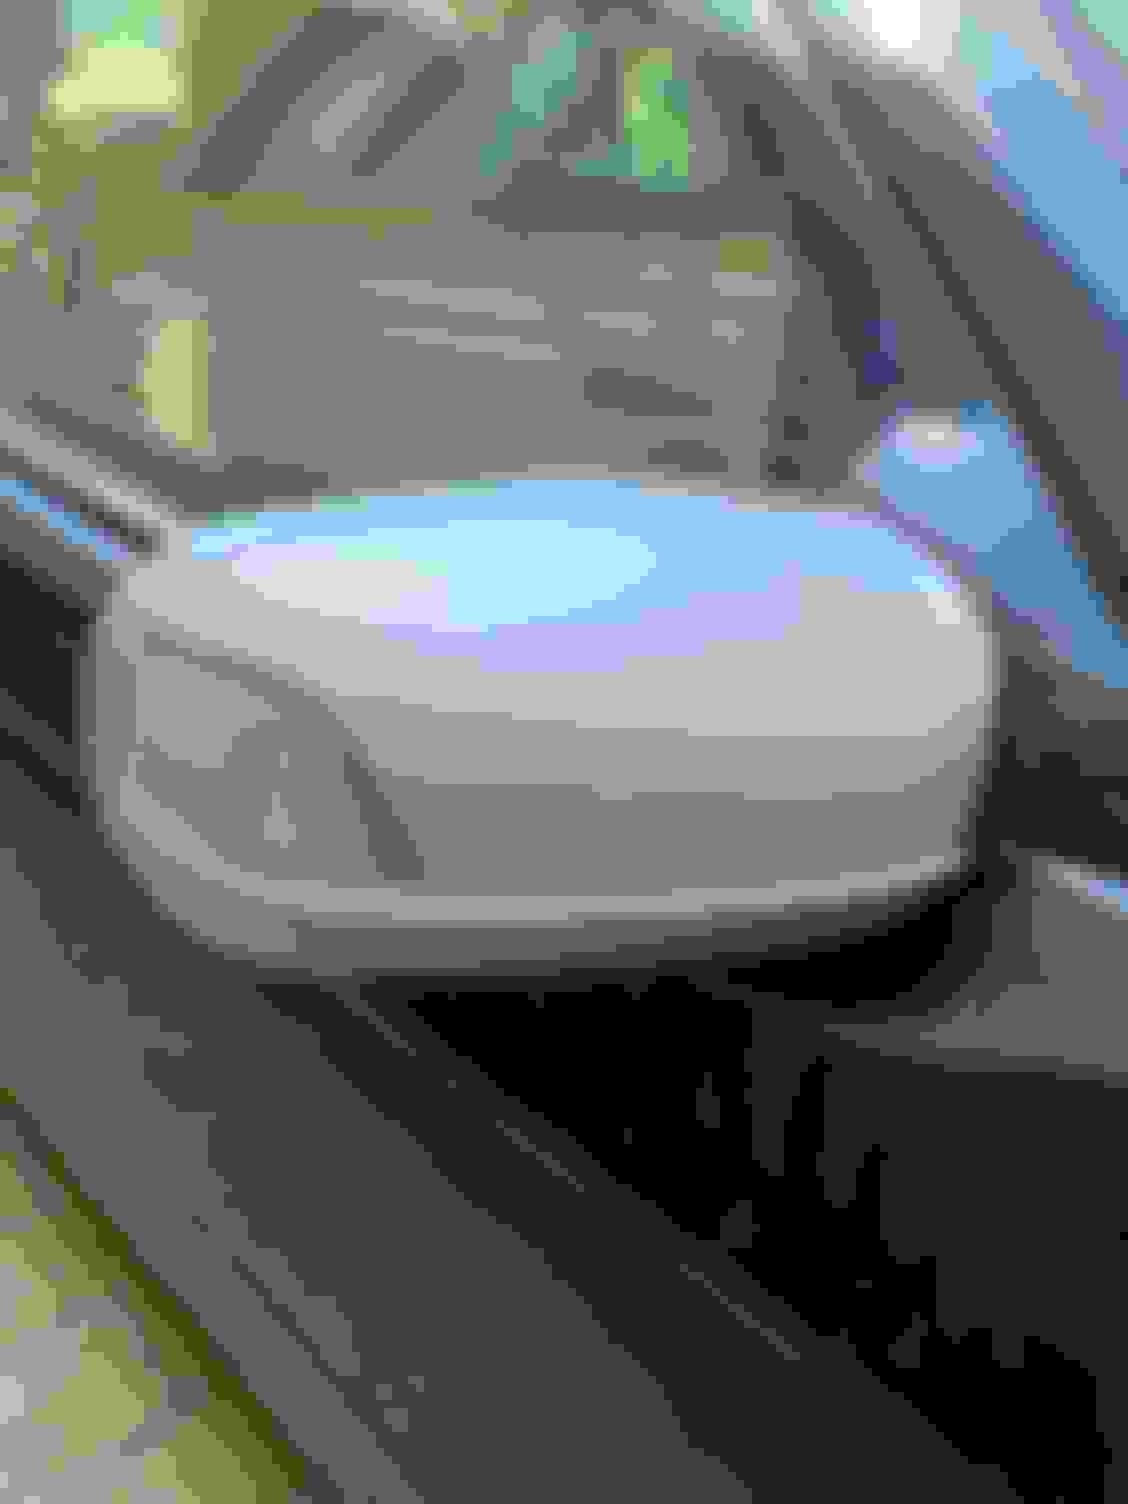
see if this helps. i spotted a 2000 E320 during my dog walk and asked if I could take a photo of the mechanism.
insert your flat blade in the recess identified by the green curved arrow. then, push the screwdriver handle to the left which should pivot the silver tab to the right....which should allow the silver tab to clear the plastic housing latch and allow you to pull it off.
Thank you very much Raymond for your help! I have managed to unhook the clip and successfully installed my new mirror. Now it's time to get it painted or keep it and rock the silver haha.
Anyone know where to get or the part number for the mirror to body rubber seal/gasket. I see mirror covers but not the actual weather seal gasket that is between the mirror mount and the door frame. woring with a pre facelift 1999 AMG
Anyone know where to get or the part number for the mirror to body rubber seal/gasket. I see mirror covers but not the actual weather seal gasket that is between the mirror mount and the door frame. woring with a pre facelift 1999 AMG
I don't know 100% but I am certain, with a high degree of probability, that the gasket is not sold a la carte from MB. If you perform a search in this forum (or over on Benzworld's w210 forum) you should be able to find other discussions to this end. The only source that I'm aware if turkey, thailand ...you get the idea. If you do go the ebay route be sure you get the correct mirror profile design (pre vs post facelift). In my experience the rubber from aftermarket sources aren't as pliable or soft but hey, if it works to seal from water, I'll settle for mediocre
Mercedes SLR McLaren 722 S Is Extremely Rare Example Modified by McLaren
Slideshow: A one-of-one U.S.-spec Mercedes-Benz SLR McLaren Roadster became even rarer after a factory-backed transformation at McLaren's headquarters.