When you click on links to various merchants on this site and make a purchase, this can result in this site earning a commission. Affiliate programs and affiliations include, but are not limited to, the eBay Partner Network.
Unfortunately, my front coil spring broke. For some reason it snapped into 2 pieces. Why could this happen? Is this a consequence of another issue? Is there a replacement video or instructions? The car is 2008 E350 W211 6 cylinder 4matic. The videos I found are either not W211, non-4matic or something else is different.
While it is not very common, it does happen. It doesn't not seem to look very complicated to replace, however I admit I do not have experience with 4Matic vehicles. Just fyi, please replace the springs in pairs. So replace both front springs. Also, just be aware that if you replace only the fronts, the front of the car will sit just a bit higher. You probably will not notice any difference in the feel, but visually from the outside you may notice just a slightly higher front. It takes some time for new springs to take a set. Ideally, replace all 4 springs. By the look of it, you might as well replace the strut as well. 11 years is a very long time for a strut/shock absorber. Benefit is your car will ride very smoothly afterwards (assuming you are using factory OEM parts) and will be a tad quieter.
if you are going to DIY you need a proper spring compressor - I tried all the widow maker and clam style and none are long enough to compress the spring to get the nut on.
its not very difficult but you have to disconnect both upper and Lower ball joints to be able to remove the strut due to the axle shaft blocking removal. Just be very careful you don�t pull the axle shaft out too far and the joint comes out of the cup.
safer way is to entirely remove upper control arm and remove out towards fender, which should avoid lower ball joint removal, but you�ll have to push the lower control arm down with your body weight to be able to get the strut out under fender.
I recommend you replace the struts at same time due to the labor involved.
i had no change in ride height but I did select ONE notch lower on the spring clip for the new springs. I was fine with a tiny bit lower but did not want to risk it higher. Ended up identical as before and it�s neen 10k now and No ride height change
Thank you for this valuable information. Do you know if it is possible without moving the axle and disconnecting the lower ball joint? This guide https://www.pelicanparts.com/techart...eplacement.htm suggests that it is possible to maneuver the shock around the axle. Lower it down first, then tilt and pull out. See figure 7. Do you know if this will work?
If this does not work, where do I disconnect the lower ball joint to move the axle shaft? Will I have to push the axle shaft down a little so it comes out of the cup?
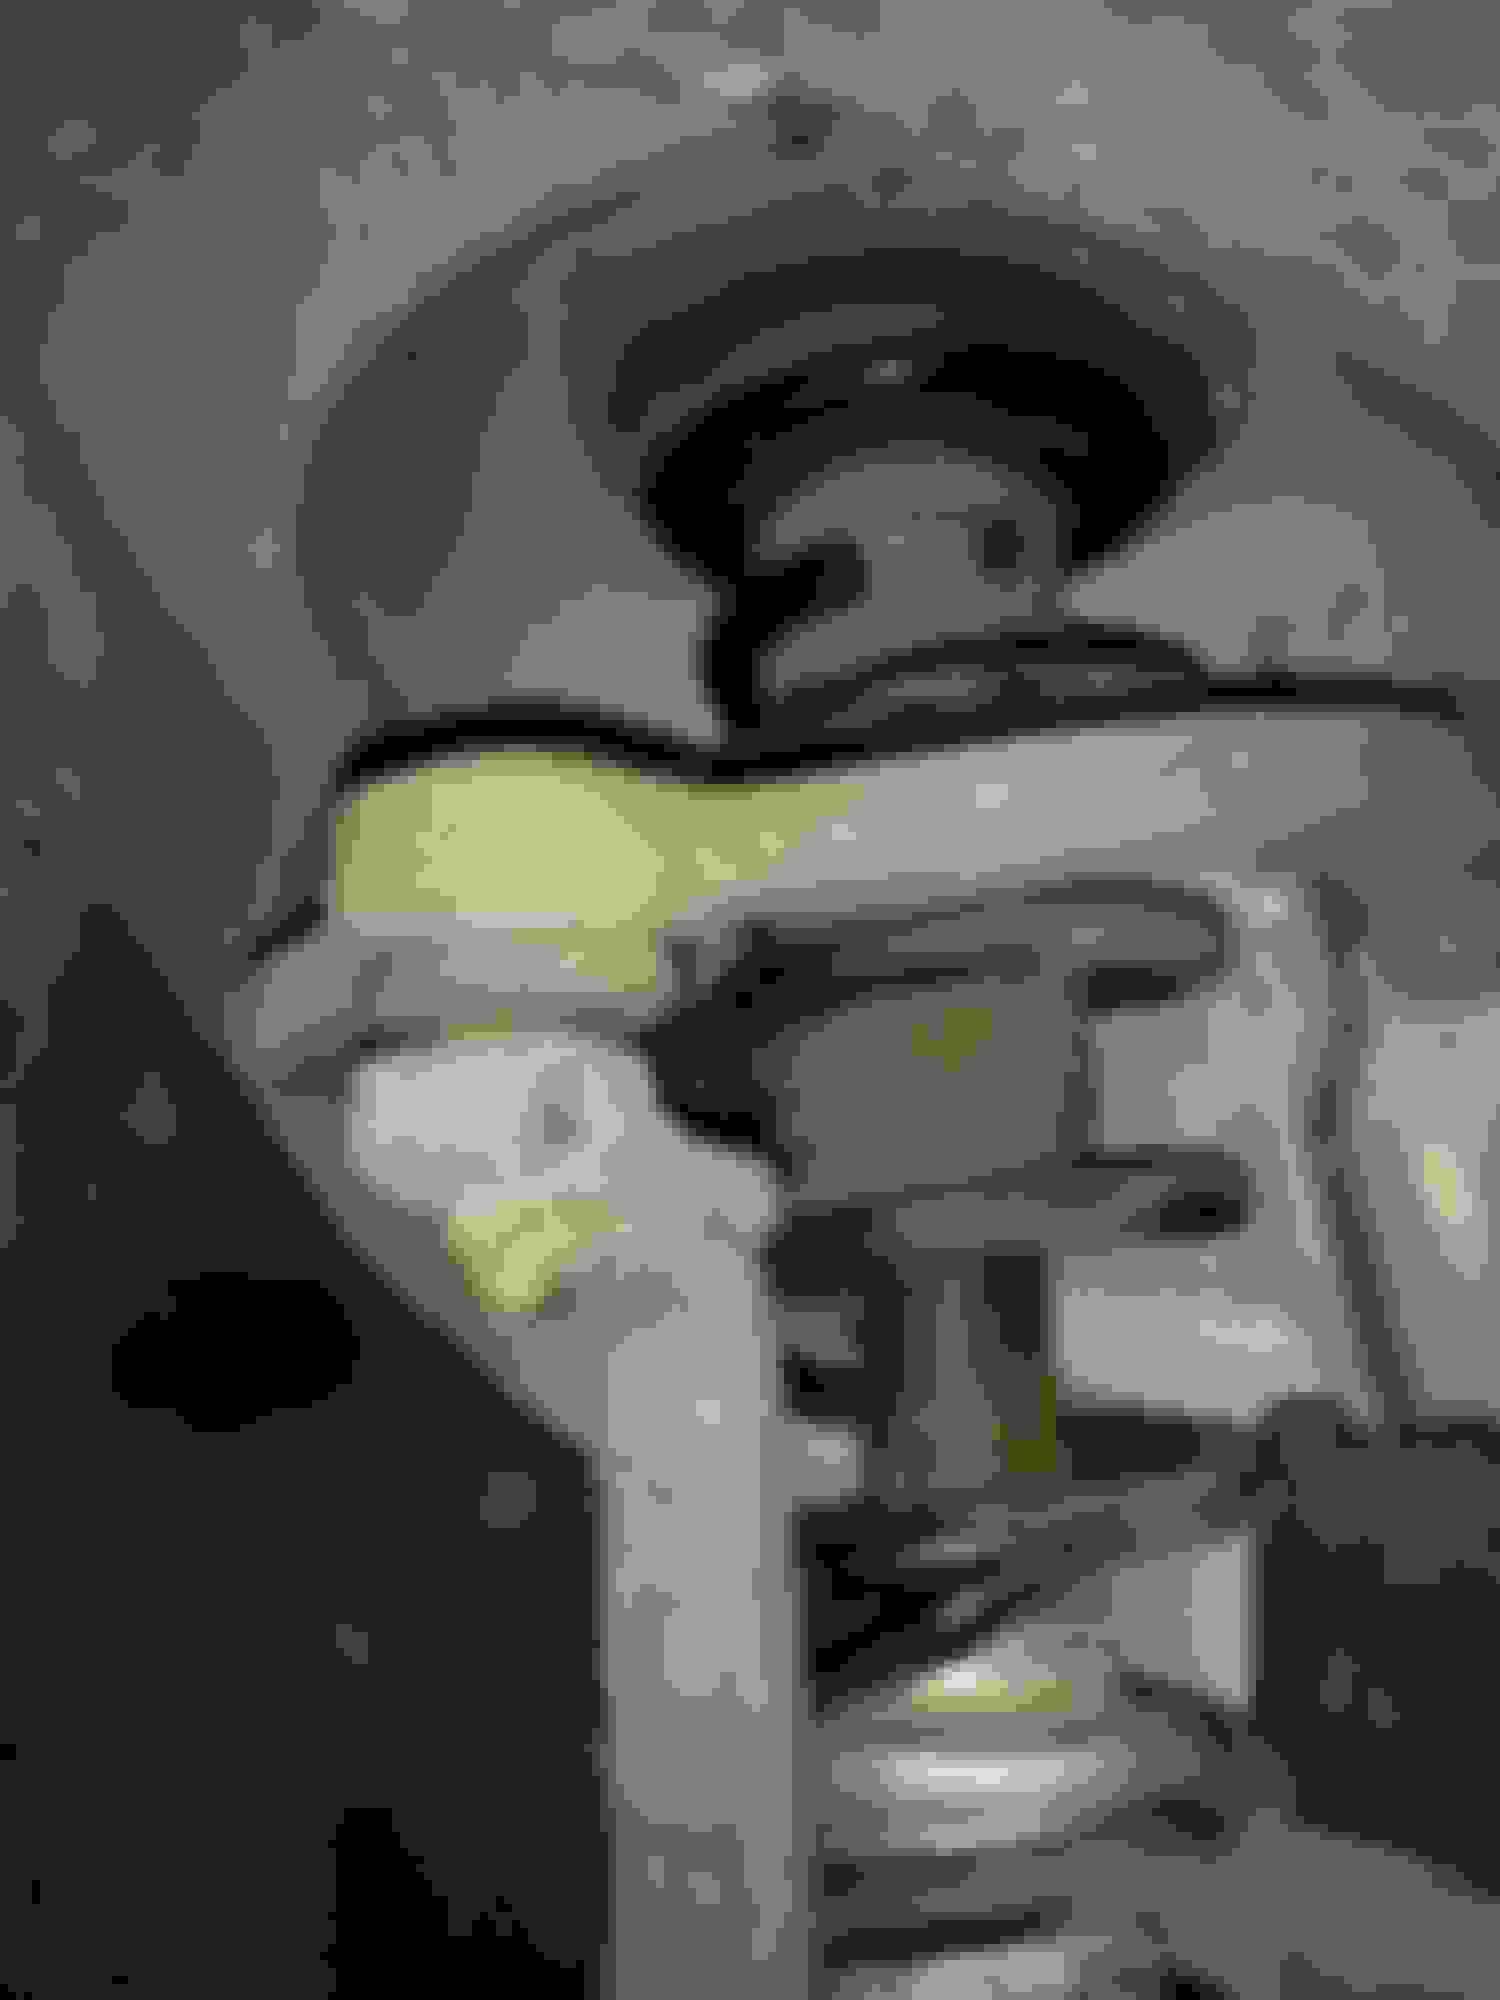
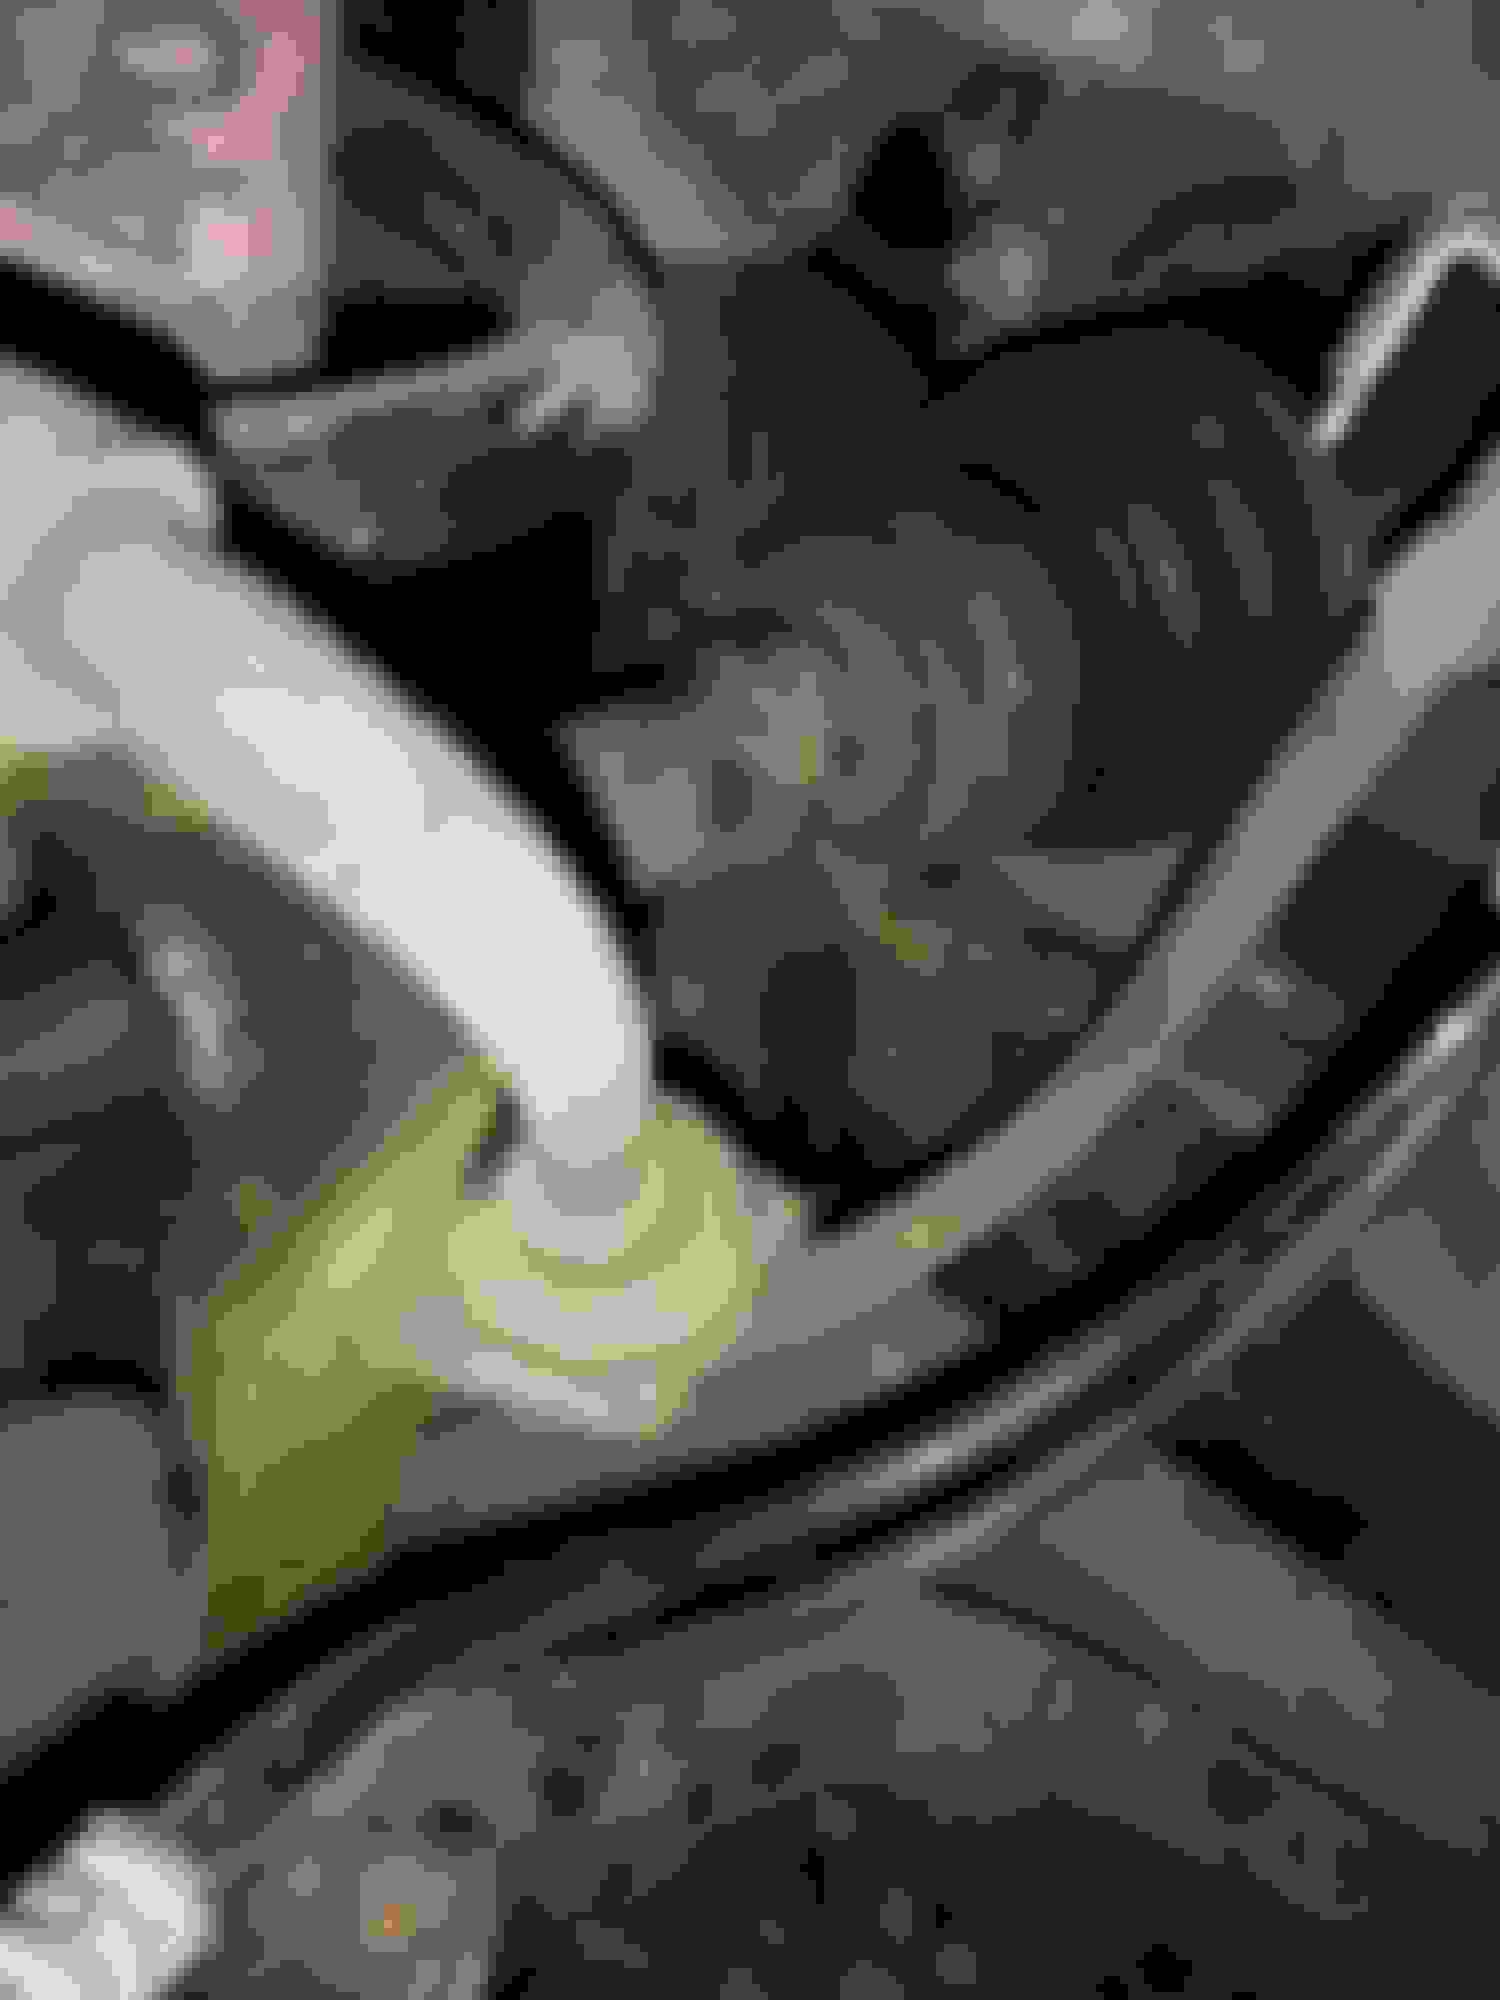
Is it the brake fluid line sitting on the side of the strut fork, held by two rubber gaskets? Do I just slide it out from the fork?
Also, do you know which part number is the broken spring. It has 1 blue and 1 red stripes. I believe, the car has full 952-sport package, but I am not sure, as I am not the 1-st owner. I believe, I need part #6 here https://www.mbpartscenter.com/v-2008...ont-suspension, but there are 2 options, 211-321-17-04 (sport package option) and 211-321-15-04 (no sport package option). Do you know which one I had?
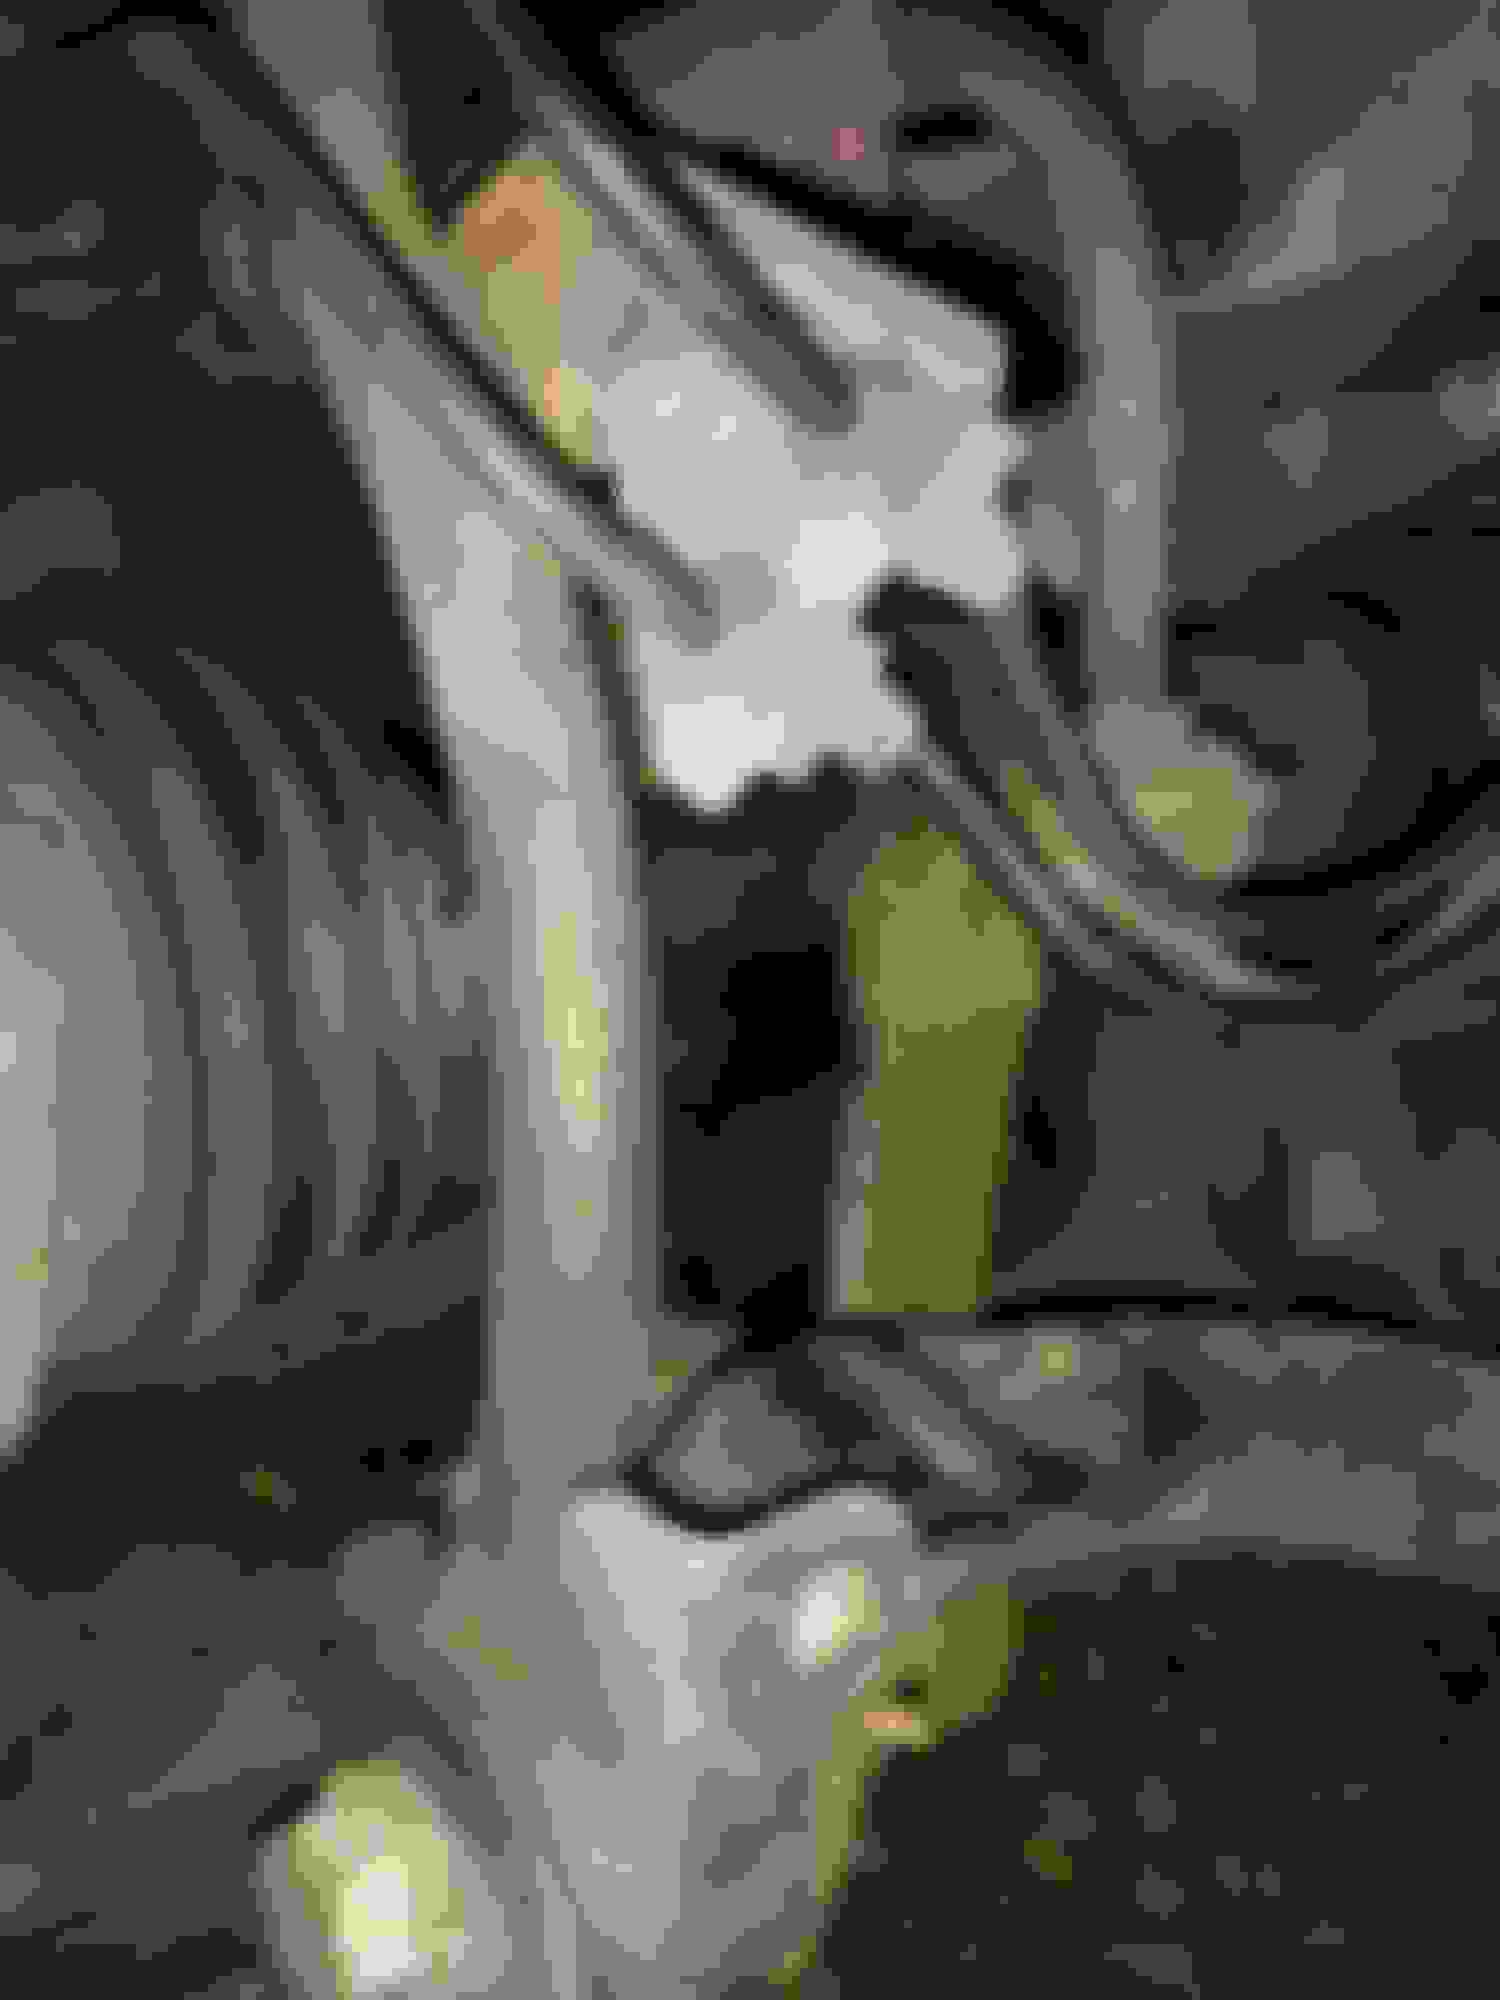
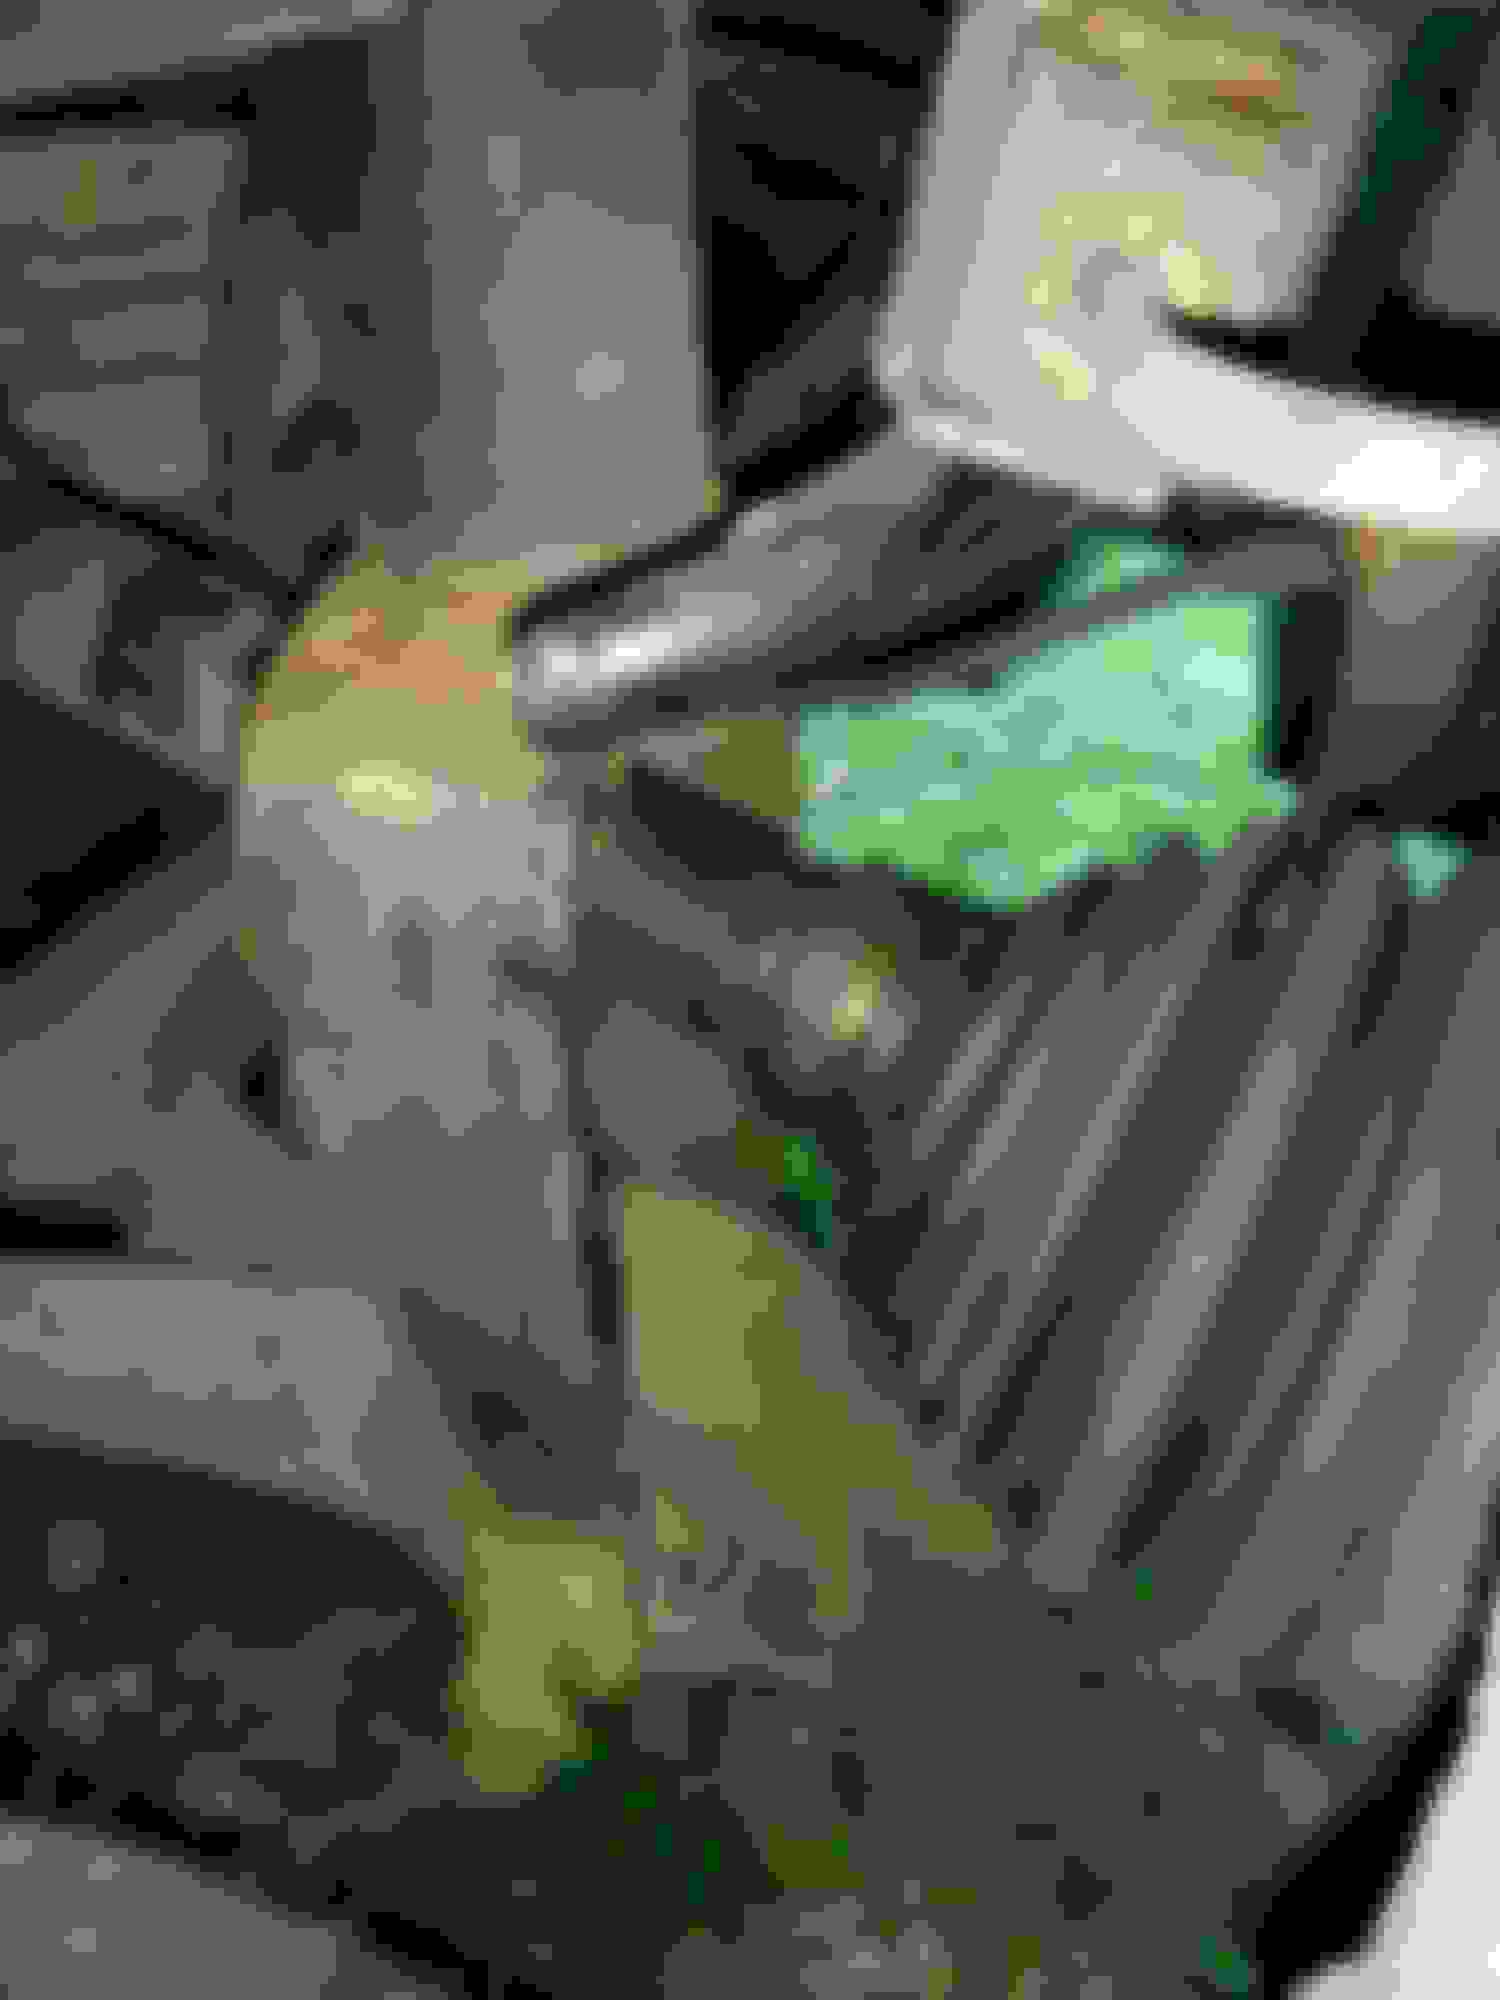
I also see some grease coming out form under the big rubber boot on the axle, and the metal clamp is loose/broken.
Thanks a lot.
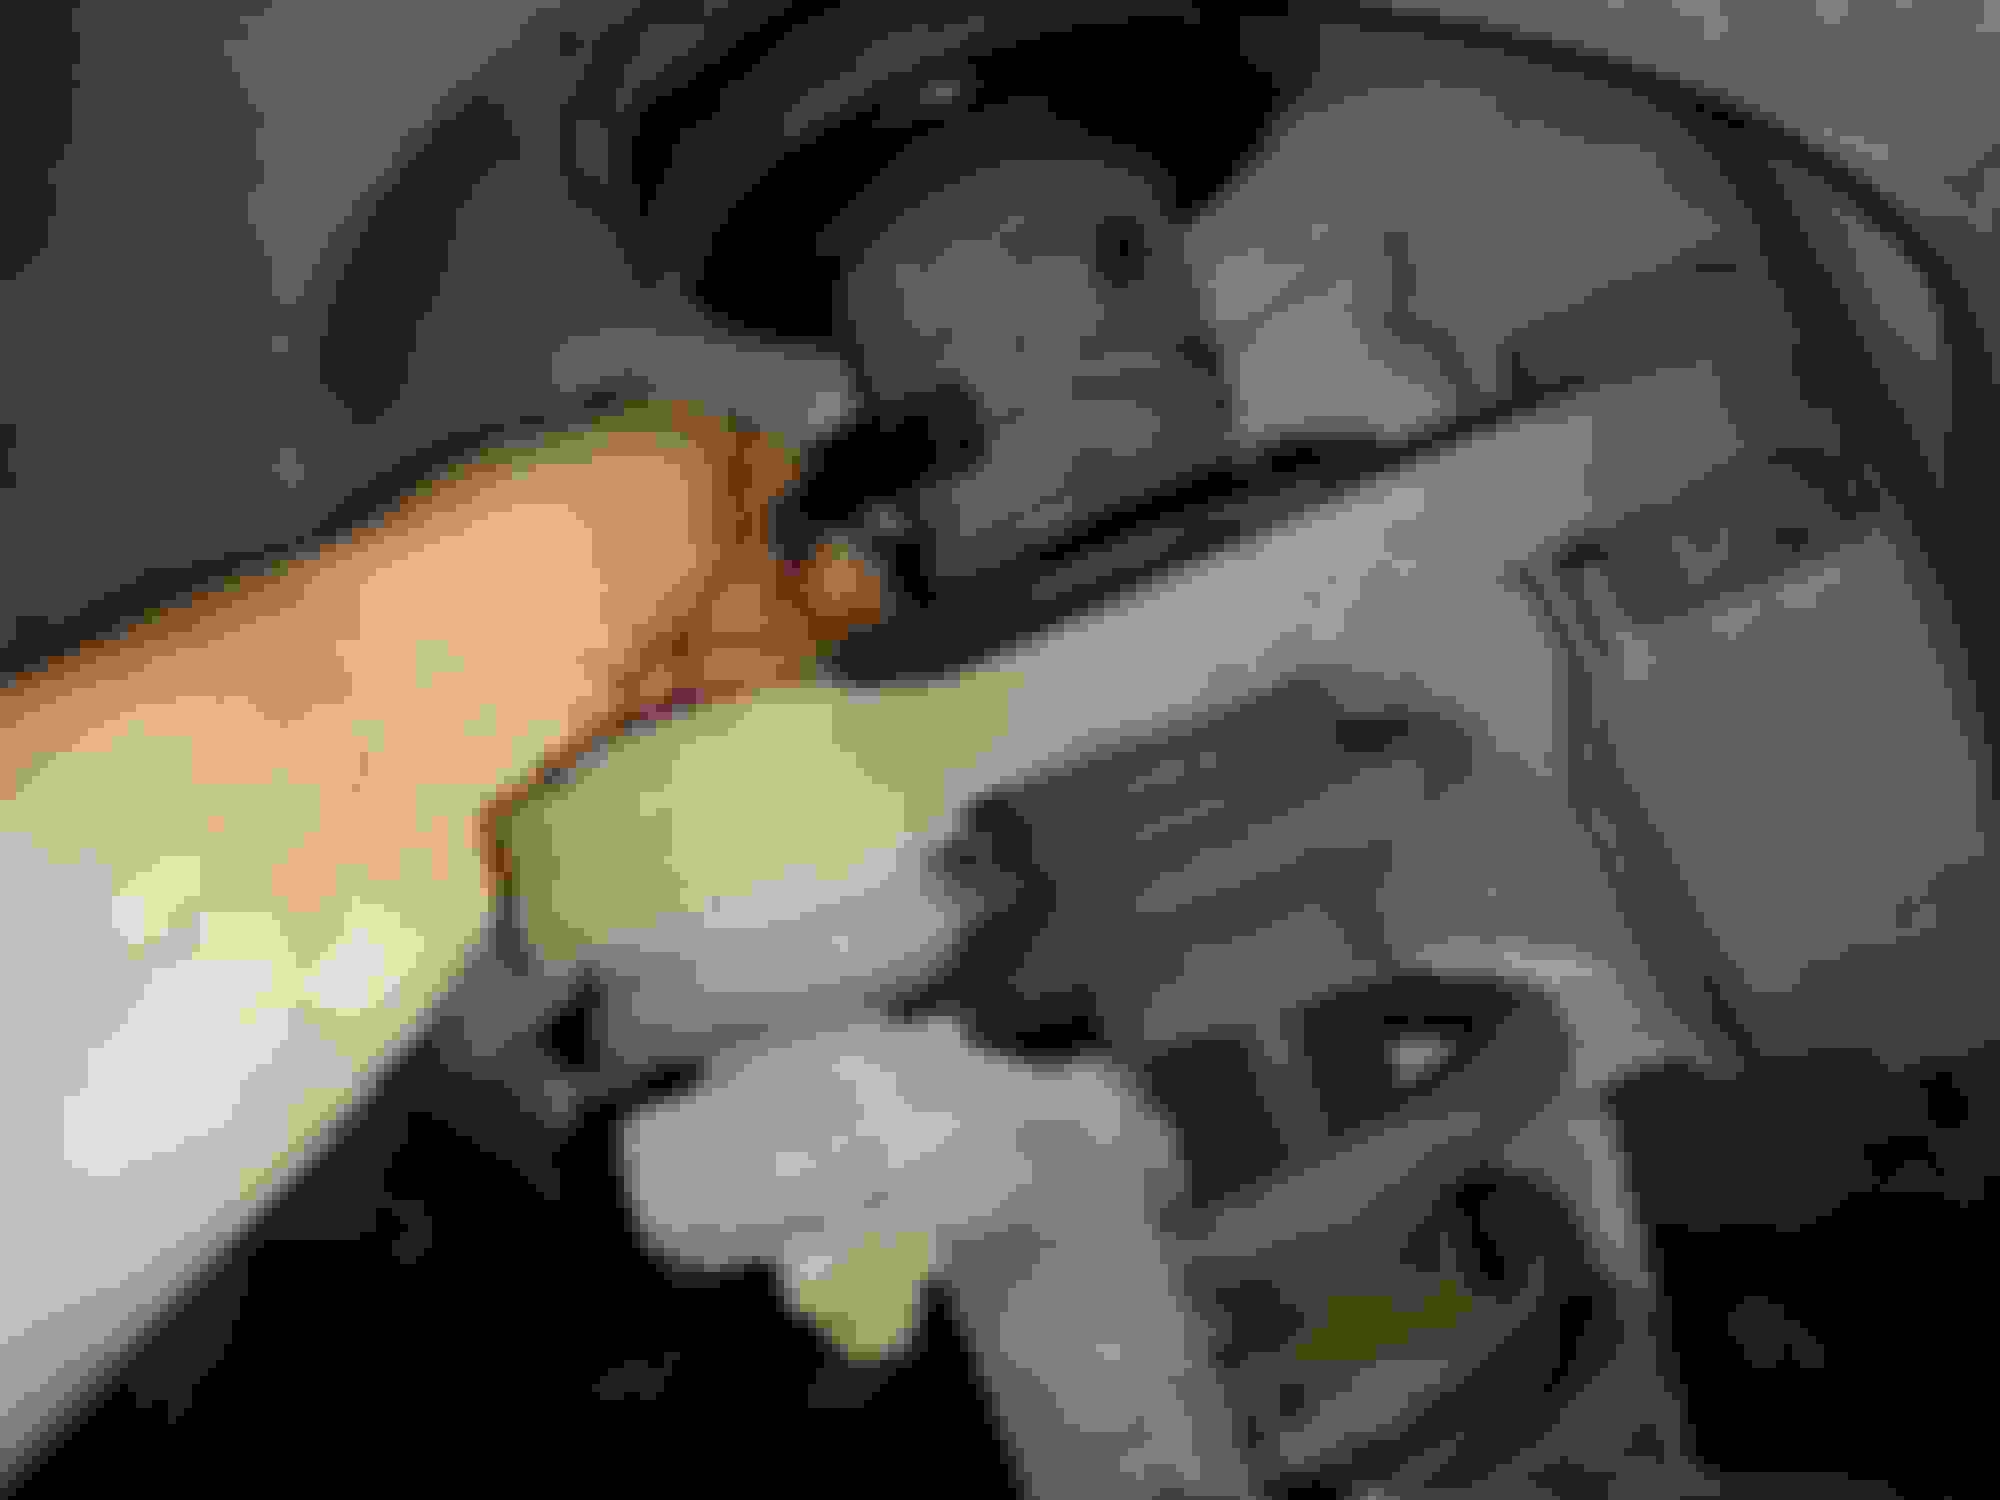
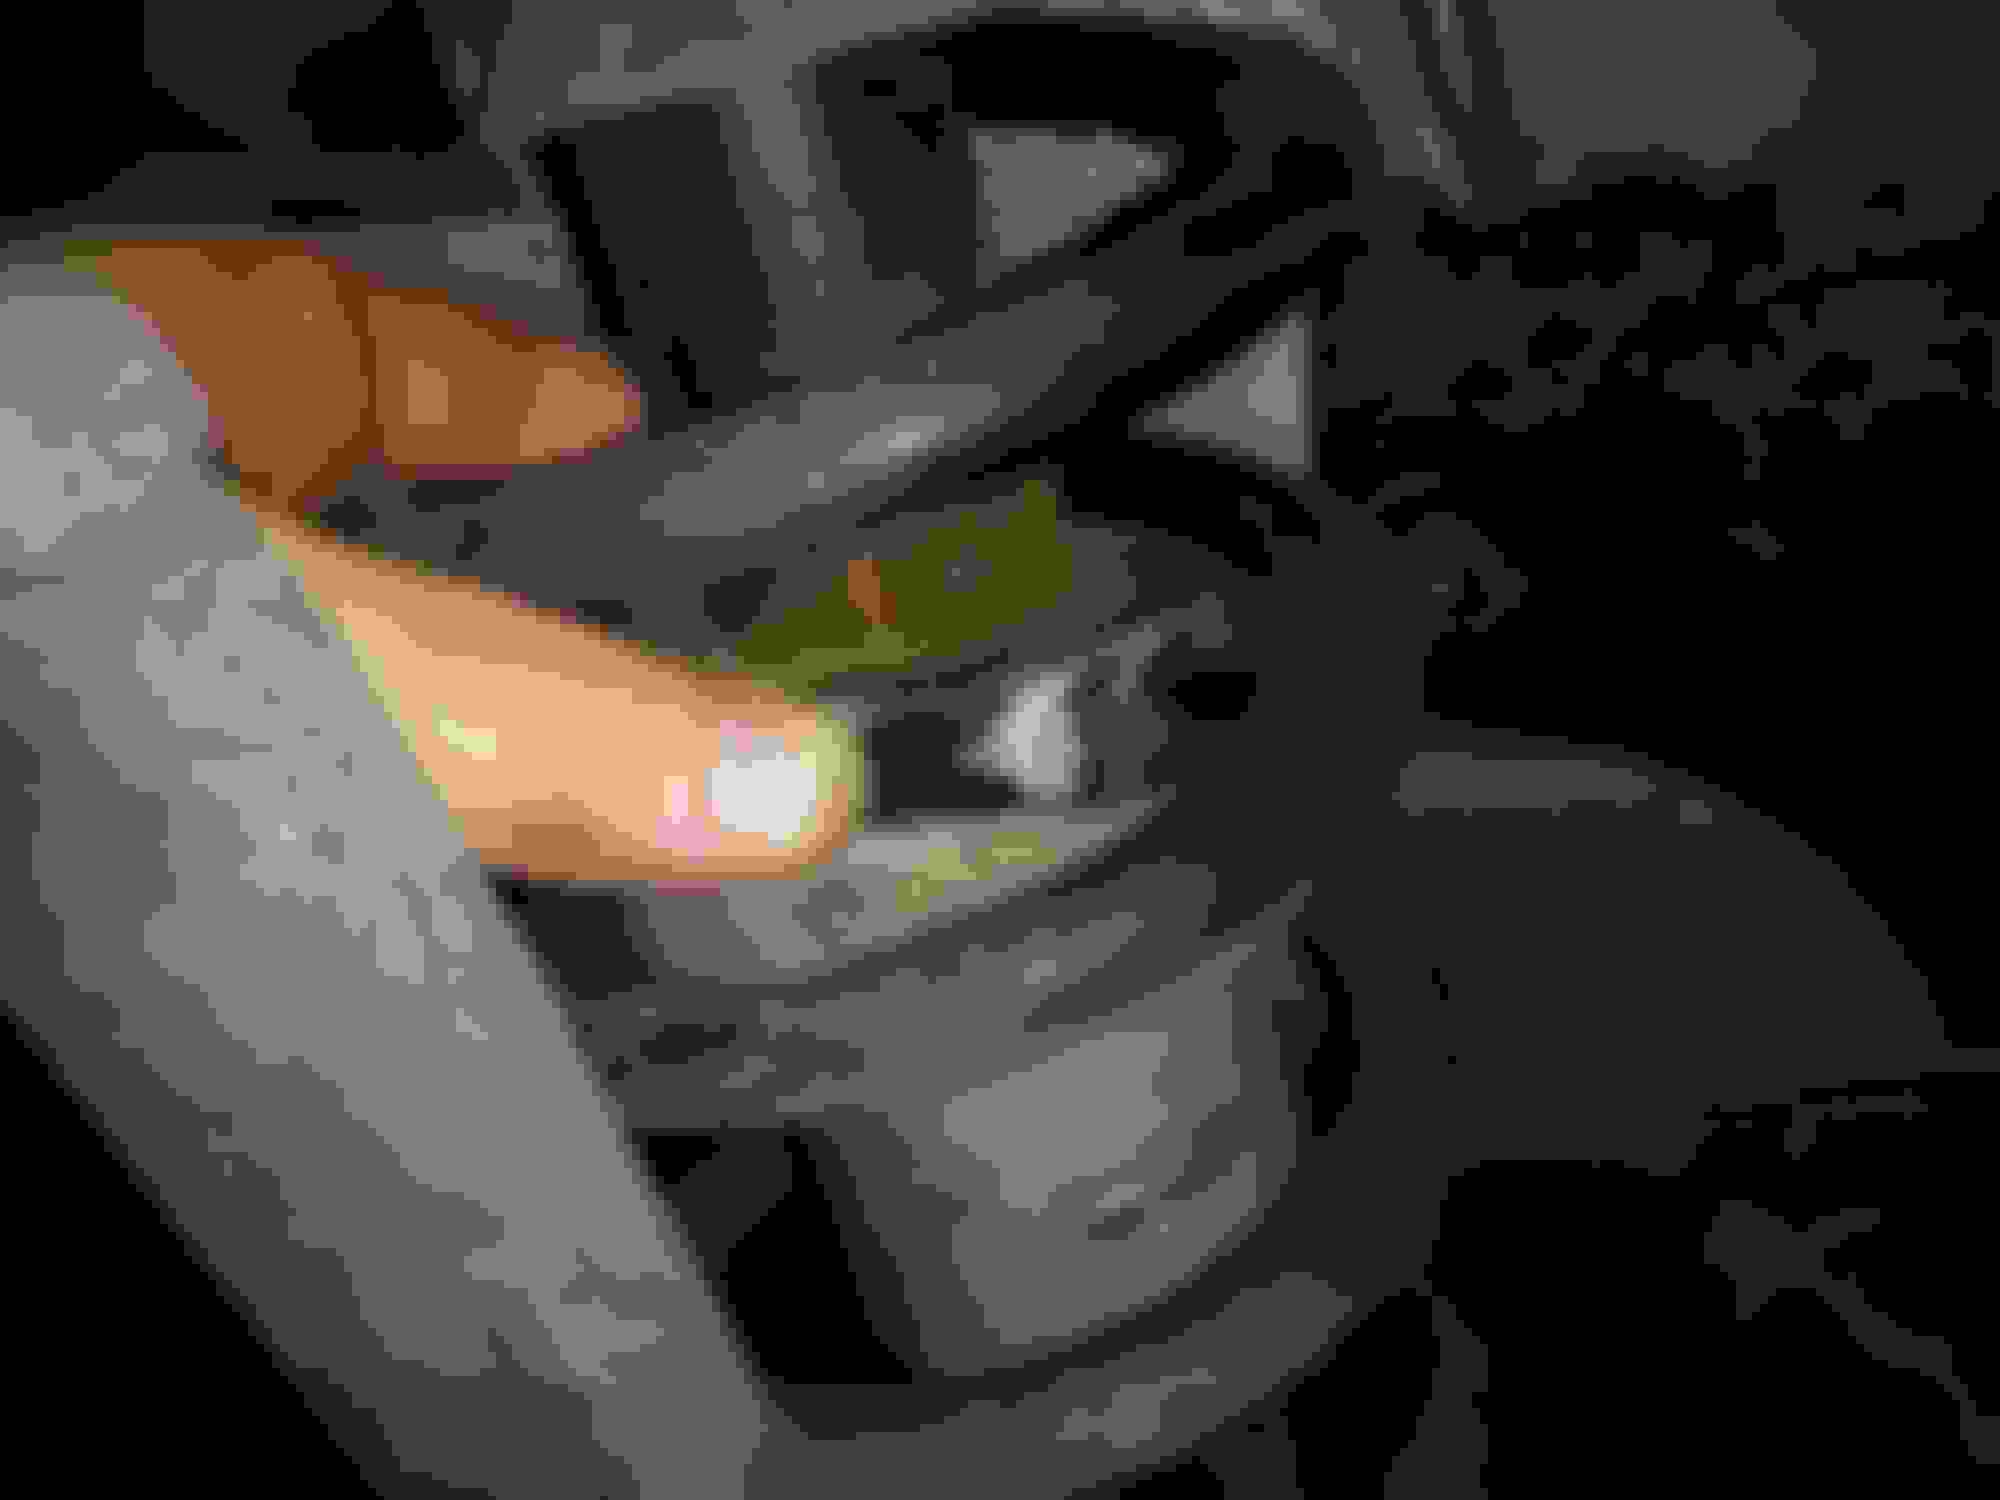
So, the first thing to do is to remove the big bolt at the end of the fork. This is the nut side of the bolt holding the fork. I see some grease coming from under the rubber boot. Metal clamp is broken/loose. I plan to disconnect this ball joint, loosen but do not remove the 2 nuts holding the arm and then swing the arm upwards to allow the strut to come down and tilt. Do I just slide this hose out? Or is it more complicated? Leaking boot. These are the markings. Could you please help me identify whether it is a sport or non-sport package spring?
You may want to take care of that broken axle boot clamp. Eventually the axle will get contaminated with water and debris, which will destroy that axle.
You may want to take care of that broken axle boot clamp. Eventually the axle will get contaminated with water and debris, which will destroy that axle.
How do I do this? Should I cut the second clamp, slide the boot, put grease, slide boot back and put new clamps on?
What grease should I use and where do I get clamps? Thanks.
Also, about the strut fork removal. In this video,
Per your PM - yes you can remove strut to LCA bolt.
as long as the boots not torn just put a new large worm clamp back on it.
luckily now FCP Euro offers brand new GKN axles for $400/each for our 4matics. Before then it as Chinese garbage or OE MB at $900/each which was a rough decision.
use a proper ball joint separater so you don�t destroy the boot.
OTC 6297 Ball Joint Separator https://www.amazon.com/dp/B0015PN010/ref=cm_sw_r_cp_api_i_SG2hDbAW56P9P
undo the nut, but leave it still threaded on at the end of the bolt, slide in separator. Tighten until it pops and done.
You will be starting out with a fully extended new spring.
I would not do that job unless you have a hydraulic wall mounted
spring compressor,it is much more difficult starting out with a relaxed spring...
Per your PM - yes you can remove strut to LCA bolt.
as long as the boots not torn just put a new large worm clamp back on it.
luckily now FCP Euro offers brand new GKN axles for $400/each for our 4matics. Before then it as Chinese garbage or OE MB at $900/each which was a rough decision.
undo the nut, but leave it still threaded on at the end of the bolt, slide in separator. Tighten until it pops and done.
I just looked more closely and both front CV boots are torn all around at the small clamp. That's the reason for the grease to come out. I would have to replace both boots. The inner boots look fine and I think the tears in the outer boots are fresh, because there is no dirt around, just grease coming out.
It was not clicking, as far as I know. It is my mother's car. I don't drive it. The joint looked good inside, no dirt or sand, but there were some traces of water in the grease. I cleaned it all, put new grease in, new spindle clamp, new boot and new axle clamps. As for the coil, I had it compressed for me by a local shop. I rented 2 compressors from Autozone, but both were too short. The big one they have, Powerbuilt kit 91 (641429) says it can do 24'' spring, but it does not open more than 12''. And it even doesn't have a stop at 12'', so in reality it only goes to 10-10.5'' The spring needs to compress from 17'' relaxed to 9.5'' installed. Also this spring is a very small diameter, it would not touch the lips of the compressor, which looks dangerous. I don't have a compressor mentioned in this thread, but it looks like it's length is right on the edge.
Now I need to put everything back together and do another side.
Where? Inside the joint and under the boot? Yes, I packed the joint with grease and there was some leftover for inside the boot. I bought the OEM kits (220-330-01-85), they each have one boot, one spindle clip, a tube with grease, two oetiker clamps, and a hub bolt (27mm). I noticed that once the joint is sealed with the clamps, the air still can come in and out through the spindle. Tightening clamps is a huge pain. I don't know how you guys do it. I bought these
which are supposed to be for Mercedes, they even have 1/2'' drive slot, but they are useless. They don't close enough leaving the ear open. Then I tried it with Ace end cutting pliers https://www.acehardware.com/departme...pliers/2065738 with slightly better success, but only kind of closed the ears half way. Not very happy. with how it came out.Now I ordered
and hopefully would be able to close those ears nicely. I asked a local mechanic to close those ear clamps for me and he said it needs to be done by axle specialty shop which is an hour drive away from me as only they would have the right tool.
Some people said don't bother with ear clamps, just use warm clamps with a philips screw, but I feel uneasy about them as I've seen them fail, and oetiker clamps are certainly made of quality material.
Last edited by ilya980; Aug 6, 2019 at 12:08 AM.
Reason: clarity
I can't put the shock with the new spring back in place. I put the axle in, but the shock fork would not clear the lower control arm. I tried putting the fork in first, but then the top with 3 nuts does not clear the wheel well. If I tilt the shock more I can clear the wheel well, but then the fork can't clear the lower control arm and is stuck behind, close to the opening in the control arm. I tried putting the shock with the top first, then the fork again does not clear the lower control arm with the axle laying on top.
How do I put the shock back in place? I tried pushing the lower control arm with as much force as I could, it moves a bit, but not enough. I even tried putting a 4 ft prybar at the place where lower control arm connects to the hub (and another end on the ground), then stepping on it. The arm goes down some, but still not enough for the shock to clear.
In this video
I did not replace the shock, just the spring. My spring broke, the car was sitting on a strut. I did not have much difficulty taking it out since it was fully compressed. But now with the new spring the shock is longer. The spring is compressed. The top nut does not have any adjustments. Before I took it apart it sat so that there were 5 thread turns visible above the nut on the shock center rod. After compressing the spring the shop put the nut exactly as it was before. They told me the shock will be longer, but said just to press on the lower control arm. Well, after stepping on it with all my weight I need about 1.5 inch more for the arm to go down.
If I remember I may have loosened the lower control arm bolts to allow it to be pushed down to put the strut in.
make sure you don�t have the adjustment/alignment bolts as you�ll shear off the tab if you try to loosen from the bolt-end and not from the nut-end (which is blocked by sway bar to make things difficult).
Told you in my post none of those compressors would work
Wow! I see that I can loosen the 22mm nut on the rear bolt of the lower control arm, next to tie rod, but how do I loosen the front bolt??? The nut is totally blocked by the sway bar!
What did you do? Have you removed the sway bar? Have you used some special wrench on the front 22 mm nut? I can get a 22 mm spanner in there, but there is zero room to turn it.
Have you loosened it on the bolt side? What did you use? 22mm deep socket? How do I know if I have alignment bolts or not?
Is there a way to push the LCA down without loosening these bolts? Maybe jam something between the LCA and the arc? Will it be easier if I put the hub back on and assemble lower ball joint?
Thanks.
This is done. I am sharing my experience while my memory is still fresh. I replaced both front coils and outer CV boots. Thank you all for great advice and suggestions. Nevertheless, some steps were tricky.
I started with a broken front right coil spring and two torn CV boots. CV boots were not too bad, but they were torn and grease was coming out. I decided to keep the OEM axles and shocks because they looked good and just to rebuild the outer CV joints and replace coil springs. Fortunately, OEM springs are cheap. Also, MB sells an outer CV joint repair kit, which has a boot, 2 oetiker clamps, a tube with grease, a snap ring for the spindle and a 27mm hub bolt. Each kit is about $30. Once the car is raised and wheels are removed, I removed the hub bolt (it is 27 mm, but 1 1/16 inch impact socket fits perfectly), the strut fork bolt, the sway bar link, and separated the upper ball joint. No need to separate lower ball joint to remove the spring and the axle, but I found it impossible to put the axle back without separating the lower ball joint (see below).
1) The main hub 27mm nut. I could not break it with an air impact that is supposed to make 550 ft-lb. Maybe my impact is crappy. Anyway, I jammed a piece of 2x4 between the brake pedal and the driver seat to stop the rotor from spinning and then used 5' long heavy breaker bar (old galvanized boat trailer axle). Stepping on it broke the bolt loose.
2) The strut nut is probably the most difficult. It was helpful to use a deep socket on the nut. I did not have 21mm, but 13/16'' worked well.
3) The sway bar link is easy to disconnect with metric wrenches.
4) I struggled with the upper ball joint on one side. Rented ball-joint separator from Autozone, which worked well. I found it useful to align the joint first by slightly pushing on a hub with a jack so that the bolt is perpendicular to the joint. Also, while tightening the tool it is very easy to scratch the paint on the wheel well. Masking tape helps.
5) Removing the shock with broken spring was easy, because it was fully compressed, but installation with new spring was much harder, because shock becomes longer and it is difficult to clear the LCA, axle, steering knuckle, and sway bar. To remove the shock I loosened 2 bolts on the upper control arm and pushed it all the way up, so the 3 shock bolts and the center rod would clear it.
6) Removing the axle on passenger side was tricky. I do not have an MB ("bicycle chain with a bolt") tool. I tried 3'' exhaust clamp with a long pry bar which did not work. The solution I found was to rent a 5 lb slide hammer from Autozone and then wrap 2 loops of 1/8'' steel braided cable (I got 6' from Ace Hardware) between the inner CV joint and differential, around the spindle. Wrapping that cable is tedious, there is a collar extending over the inner joint cup that is in the way. But once it is done, the ends are clamped together and attached to the slide hammer. It took about 10 strokes, not too hard, to pull the axle out. It also helps to make sure that nothing is in the way (hub, sway bar link, brake hose, sensor lines, etc,) before you pull it with the hammer.
7) Rebuilding outer CV joint is relatively easy, but very messy. To disassemble it I hit it rather gently around the spider with a hammer holding it in one hand and rotating around. While putting it back together I realized that the cage can go in both ways, but only one is correct. The larger opening (or thinner rim "circle" on the side of the cage) should be facing the inner joint, i.e. the car. I used rubber mallet to put the spindle back into the joint. To install oetiker clamps I had to buy oetiker Hip 2000 386 compound jaw pincer (around $30 from Amazon).
8) To put the axle back I had to separate lower ball joint. I've seen some videos how people put it back with bare hands. I am not that strong. So, I had to hit it with a rubber mallet. But it was impossible with lower ball joint connected. So, I had to undo the ball joint and push the hub away. Then I had to "compress" the axle with one hand by pushing on the outer joint and hit the spindle with rubber mallet making sure that the splines in the transmission are properly aligned. I could feel the proper splines positioning by gently rotating the inner CV joint cup.
9) I had the spring compressed for me at a shop. I took apart the strut that had a broken spring. I used an impact wrench to remove the top nut.
10) Putting the loaded spring back was difficult. It helps tremendously to put together the lower ball joint before installing the shock with the spring. But the inner part of the axle needs to go in first, because after ball joint is assembled I could not hit the axle with the mallet. The axle, of course, makes it more difficult to put the strut back. A helper would be really handy here. To put a lower ball joint together I had to slowly jack the hub so the bolt would go through the hole in the LCA. After finishing the lower ball joint I pushed on the hub down with my elbow, pushed on the sway bar down with a long pry bar, and wiggled in the spring/shock assembly. It helped to remove the top plate of the strut to clear the upper control arm. Once 3 top bolts are aligned with the holes and strut is ready to be tightened, I put the top plate back. Also, I put the outer CV joint spindle back into the hub only after the strut was in place. While trying to put the strut in, the axle was essentially laying on the LCA as I was pushing down on everything the outer spindle was in between the hub and bottom of the sway bar link. So, don't put the outer part of the axle back into the hub until the strut is in place.
11) The rest is relatively easy. Aligning the LCA hole with the strut hole is easy. But on the driver side my upper control arm bolt started to spin. I did not find a good solution to put a self locking nut on it, except to "jam" it in with an impact. I tried to be very gentle with an impact and not to over torque it, but I am not very happy about it. So, I kind of set it the same as the passenger side, but this is not very satisfactory. I don't know what else can be done. There seems to be no way of grabbing the bolt to prevent spinning. The bolt has no "hat" sticking out from the arm. I would appreciate any suggestions.
12) Some comments. I did not touch the back tie rods. I did not remove the calipers, rotors, or any sensors. Also, I did not touch the bolts holding the LCA (camber/caster bolts), just pushed on the LCA down with my weight. I removed brake hoses from grommets on each strut and I removed sensor cables from grommets (2 on passenger side and 1 on driver side) for moving the hub around without stressing these cables. I had to buy touch up paint to paint scratches in the wheel well I made installing the first spring.
Funny I just replaced my upper control arm, ball joint and cv joint yesterday too. Had the strut out too. Too bad they don't make a quick strut, could have changed it at the same time. Don't have a spring compressor so I've been reluctant to change it out, but I suppose I could get the parts and just have a shop put it together for me. Mechanic I use only trusts the clamshell types and those are over $200, anyone know of a cheaper spring compressor that is safe?
Anyway, the other cv joint boot kit wasn't as bad as I thought. Had to bang it out and bang it back in to replace the boot but it was pretty straight forward. Got rid of the aftermarket Cardone replacement CV joint which was the one causing a vibration. I used the boot kit on the old OE cv axle which I had saved. The upper control arm is pretty crazy, the bolts go through the body of the car and the one in the front wasn't too bad, but the one facing the rear/driver's seat was pretty bad, no room to get your hand in there as the brake lines, master cylinder, wires were all in the way. And it was angled down so hard to get the washer and bolt on. Ended up putting some weak glue on the washer/bolt and the box wrench and then put the bolt through the hole to get it started and then just held the wrench steady as the control arm and bolt was put in.
Putting it back together, the lower ball joint was done first so there weren't any real problems with putting it together as it was all loose. The upper control arm was done last so that was a little tricky as you had to jack up the assembly and then pry down on the control arm to get it to line up, but not too bad.
Anyway, it's nice that it's all done now, no more vibration and the new ball joint eliminated some of the noise I was getting over some bumps.
I had exact same problem, passenger side spring broke gracefully while the car was parked at home
I was able to put the strut with spring back to its place by cutting off the top 3 studs that stick out by about 1/2 inch. That was my only option as attempts to remove the axle failed ( for one my 2007 W211 somehow has 23mm 12 sided bolt for the axle instead of 27mm that everyone else seems to have) after getting 23 mm socket I tried to remove the bolt with my Dewalt impact drive which says it applies 450 lbs of torque but failed. I tried to unbolt the lower control arm 22mm bolts and could not do it as well. When I tried to separate upper control arm from the steering knuckle ball joint stud snapped off. Nonetheless I was able to separate the two with ball joint separator. Removing 2 bolts that hold the upper control arm was doable. Ended up replacing upper control arm as well. Interestingly the nut would not tighten as the stud would start spinning. However the trick was to hand tighten the nut first then lower the car, at which point the pressure on the ball joint stud was enough to tighten the nut to 20Nm.
In summary: I had to remove completely upper control arm, and cut off three studs that stick out normally by about 1/2 inch after the nuts are tightened.
Mercedes SLR McLaren 722 S Is Extremely Rare Example Modified by McLaren
Slideshow: A one-of-one U.S.-spec Mercedes-Benz SLR McLaren Roadster became even rarer after a factory-backed transformation at McLaren's headquarters.