

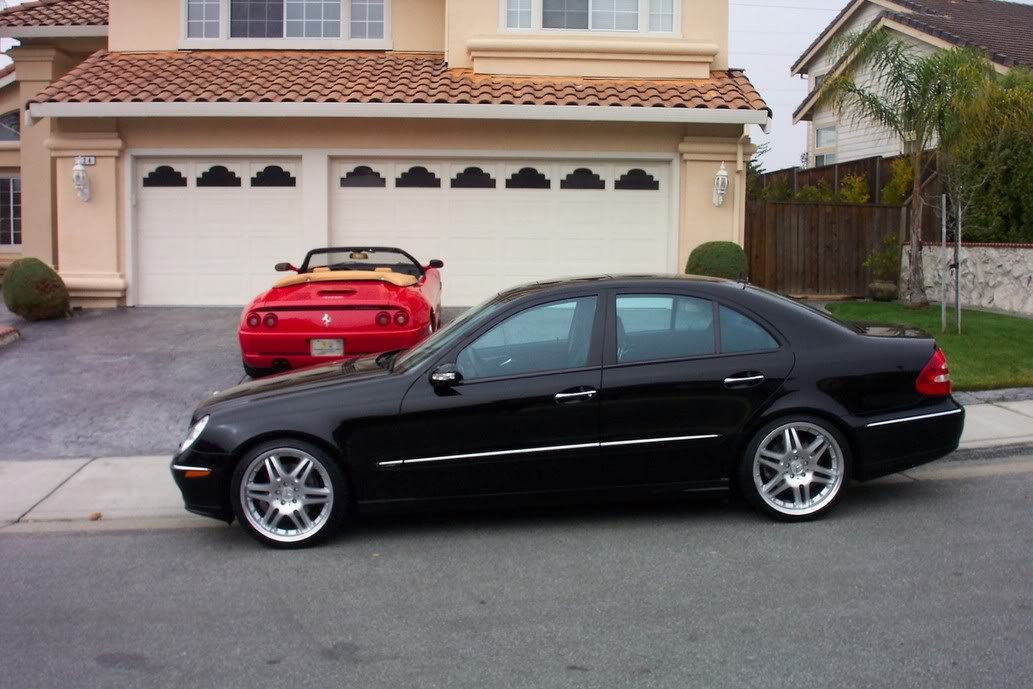
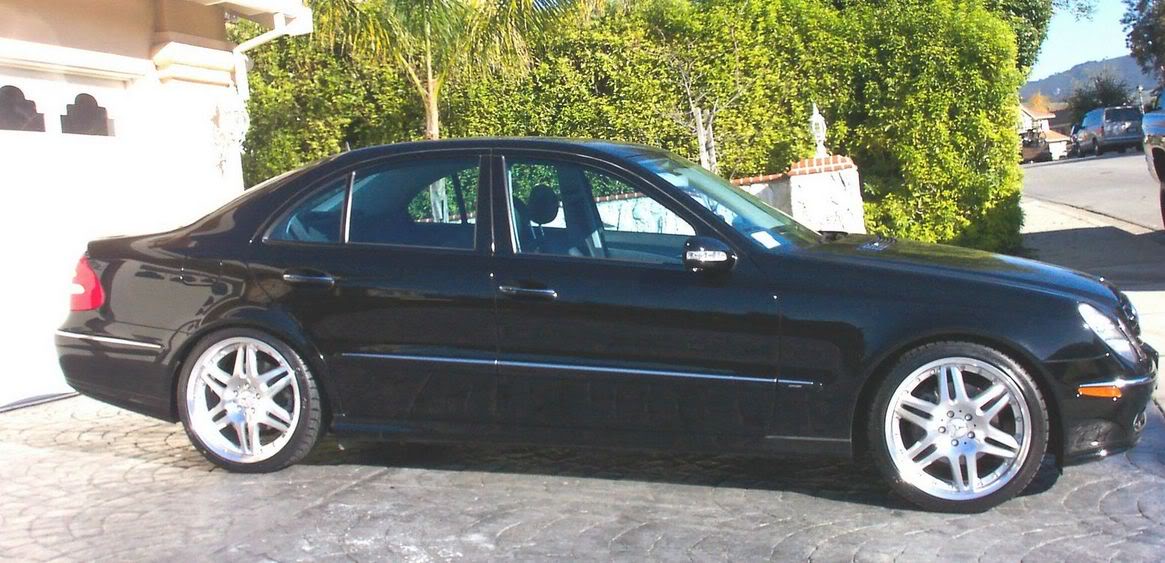
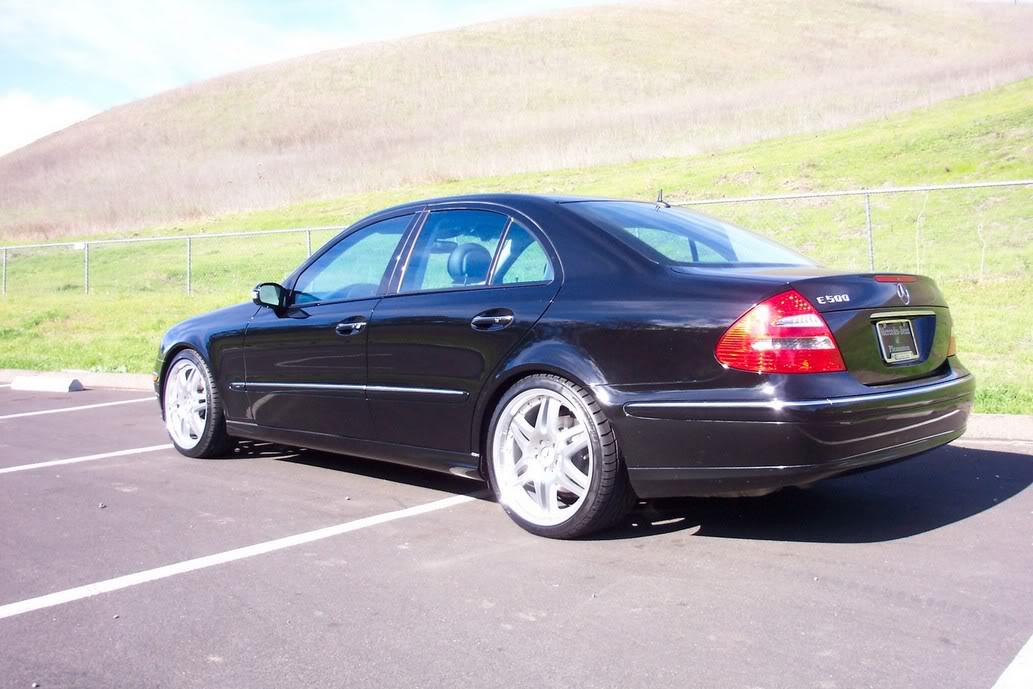


Pics Of My 19" Brabus #1

Thread Starter
Member
Joined: Nov 2004
Posts: 112
Likes: 1
From: Sf Bay Area
2003 E500, 1998 Ferrari Spider
Originally Posted by adx
Looks sweet. Any problems bottoming out with your car being lowered?
Trending Topics
MB World Stories
The Best of Mercedes & AMG

Manual Mercedes? 6 Times Sindelfingen Let Drivers Have All The Fun
Verdad Gallardo
Mercedes SLR McLaren 722 S Is Extremely Rare Example Modified by McLaren
Verdad Gallardo
8 Classic Boxy Mercedes Designs That Have Aged Like Fine Wine
Verdad Gallardo
Flawlessly Restored Mercedes 190E Evo II Heads to Auction
Verdad Gallardo
Electric Mercedes C-Class Unveiled: 11 Things You Need to Know
Verdad Gallardo
Mercedes EQS Gets A Major Update: Everything You Need to Know
Verdad Gallardo
5 Underrated Mercedes-Benz Models That Don't Get the Love They Deserve
Verdad Gallardo
Mercedes 300D Has Pushed Well Past 1 Million Miles and It Ain't Stopping
Verdad Gallardo
10 Most Reliable Mercedes-Benz Models You Can Buy Used
Verdad Gallardo
Thread Starter
Member
Joined: Nov 2004
Posts: 112
Likes: 1
From: Sf Bay Area
2003 E500, 1998 Ferrari Spider
Originally Posted by hlkc
MB SF
How did you lowered 1.75" in E500 airmatic suspension? Btw, your 19" Barbus looks great. Hope to see you around in the Bay area!
Thanks!
How did you lowered 1.75" in E500 airmatic suspension? Btw, your 19" Barbus looks great. Hope to see you around in the Bay area!
Thanks!
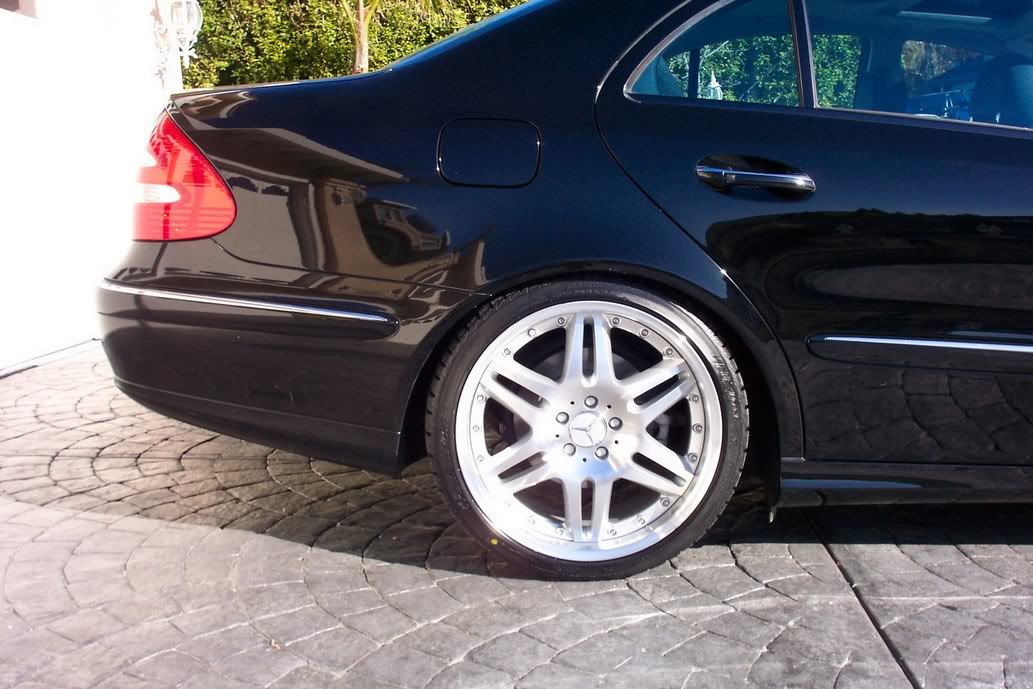
For the front, I ordered another set of links from the MB dealer ($28.00 each). The bolt that goes through the upper control arm is pressed into the "L" bracket. I ground out the bolt (hardened/it was a b..tch) and then used a longer bolt to attach to the upper control arm. It is the same theroey as E Power's "Washer" method but it is a little longer so I can ger more lowering out of it.
I will try to post some pics to explain.

Out Of Control!!
Joined: Jun 2003
Posts: 14,362
Likes: 1
From: Staples Center
w211 & w124
Originally Posted by MB SF
Full credit for the process goes to E Power. Although I have never met him, he had a post back in July. I used his "Notching" method for the rear. It took a dremmel tool, some eye protection, and a half hour of my time.
For the front, I ordered another set of links from the MB dealer ($28.00 each). The bolt that goes through the upper control arm is pressed into the "L" bracket. I ground out the bolt (hardened/it was a b..tch) and then used a longer bolt to attach to the upper control arm. It is the same theroey as E Power's "Washer" method but it is a little longer so I can ger more lowering out of it.
I will try to post some pics to explain.


