


My HID Install
Thread Starter
Member
Joined: Feb 2014
Posts: 126
Likes: 4
From: Las Vegas, NV
2011 E350 Sedan
My HID Install
Ordered the following:
HID Kit:
Error Canceler:
This was done on a 2011 E350 with halogen lights.
The key to the install is exactly what others have said, remove the inner wheel wells! They are easy to remove, there are three of the pop pins, two 8mm bolts (silver heads), and two 10mm nuts (black).
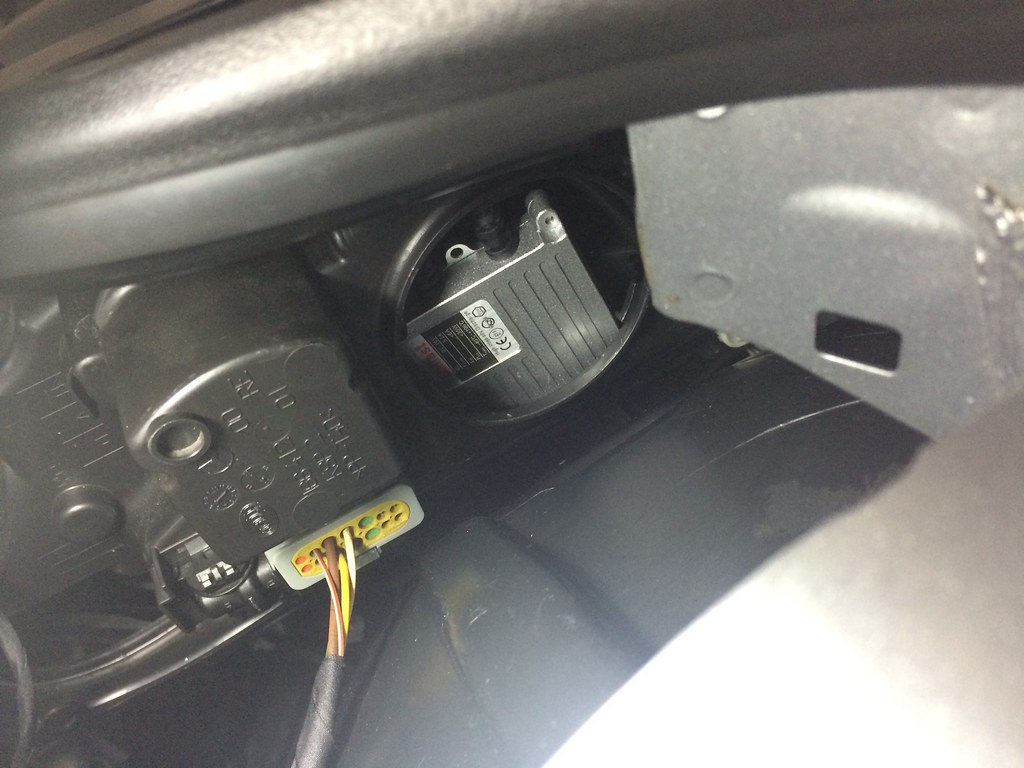
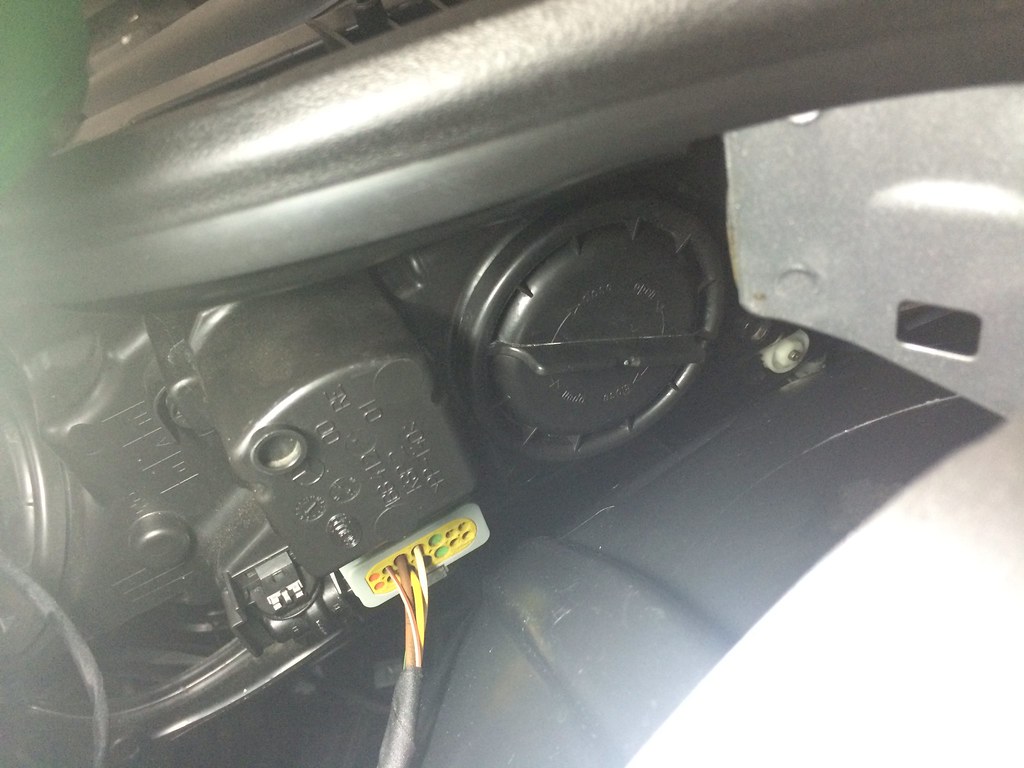
Once removed you can see the round access cover for the lights:

The clip that holds the factory bulb into the housing is also attached to the plug, so to remove the factory bulb, you rotate the bulb and the plug. Once removed you have to use a small flat head screwdriver to release the plug from the bulb.
You reuse the clip to hold the HID bulb. The bulb goes in the same way as the factory bulb.
Make the connections per the instructions of the light kit. The factory plug has two slots in it. One slot has a single wire, and the second slot has multiple wires going to it. In the case of my install the black wire for the HID kit went into the slot with the multiple wires.
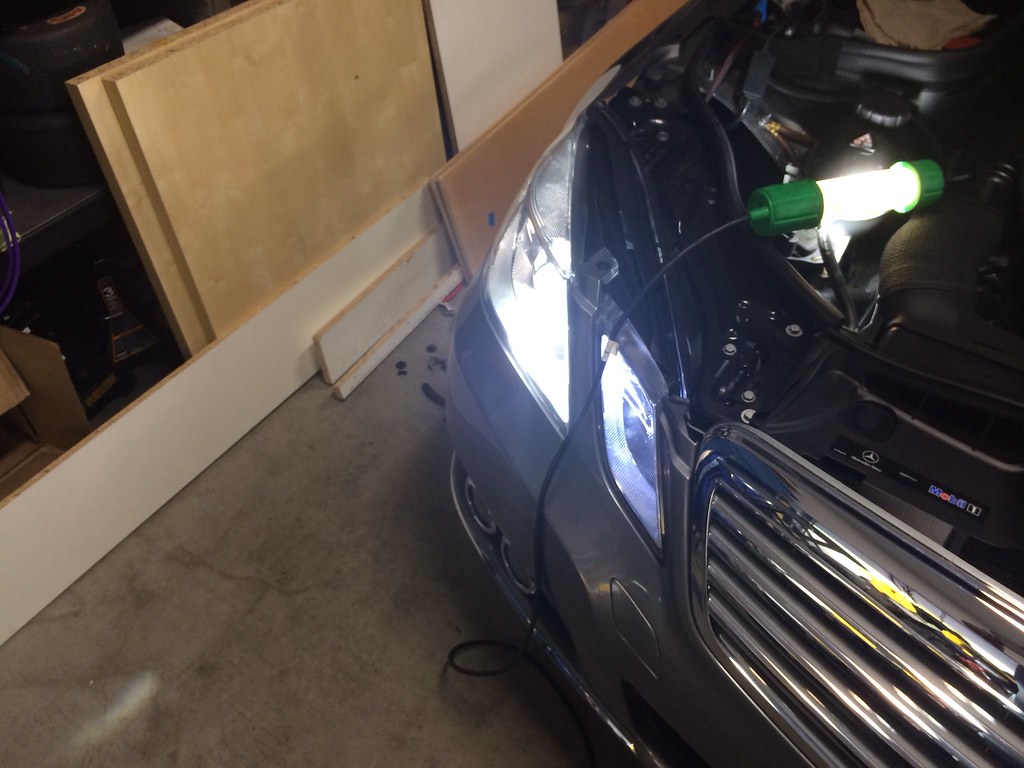
The kit I ordered has slim ballasts and I did this on purpose. Once all connections are made I was able to put all the parts inside the back of the housing:
Then it's just a matter of replacing the cover:
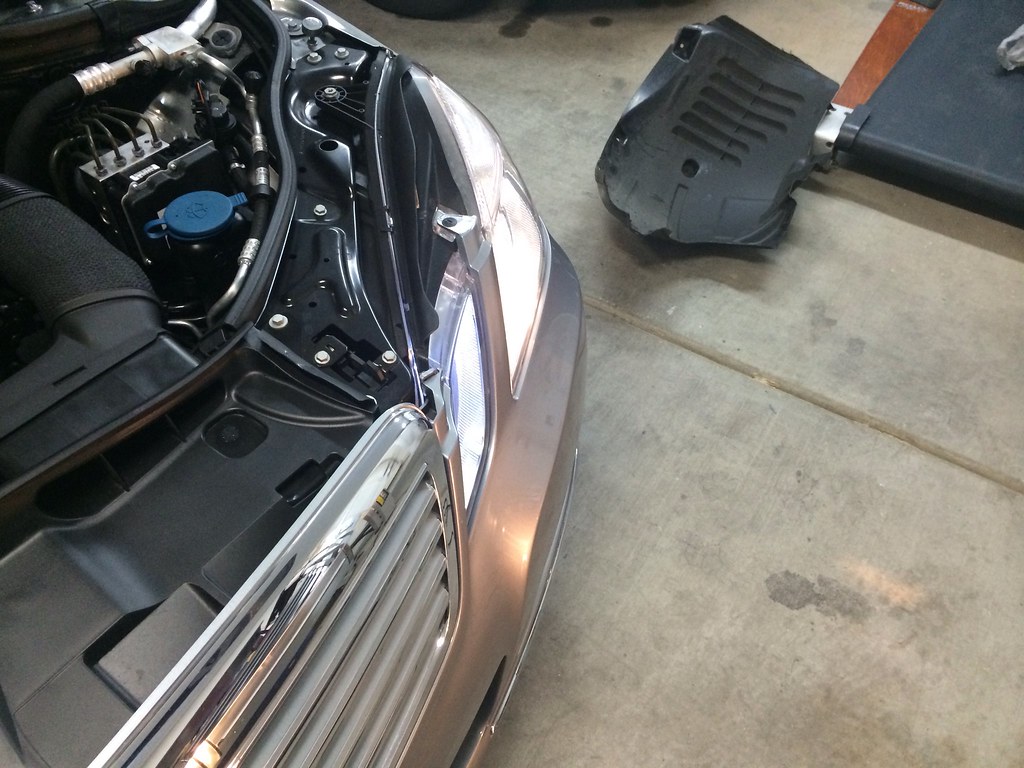
Here is the before look:
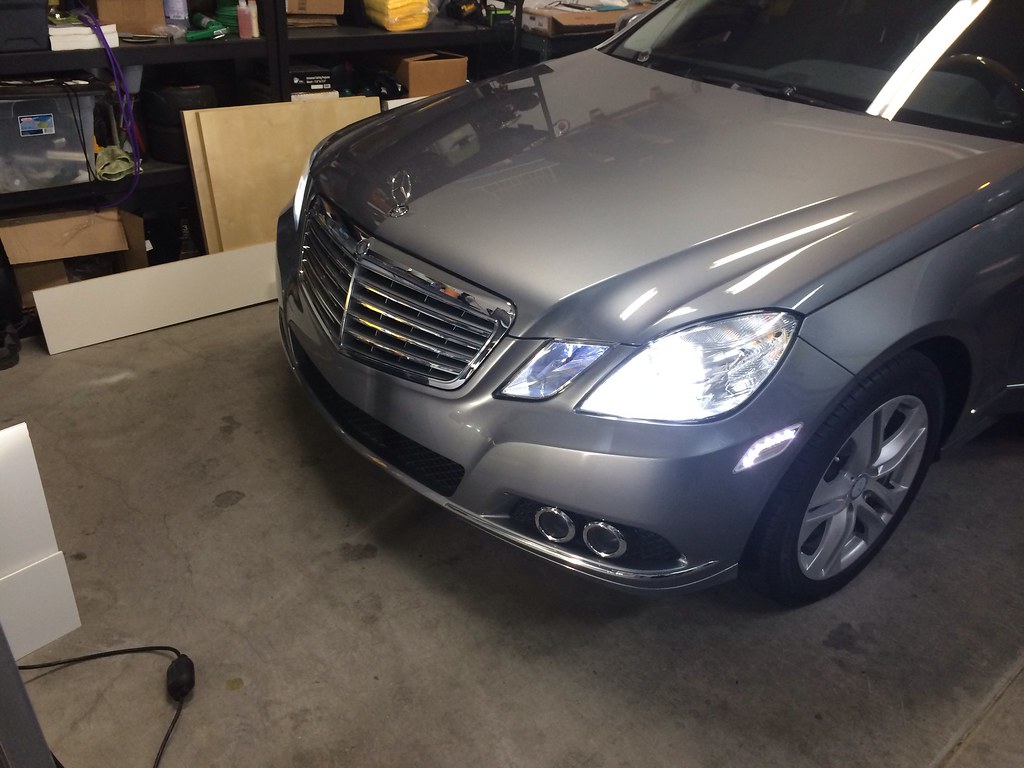
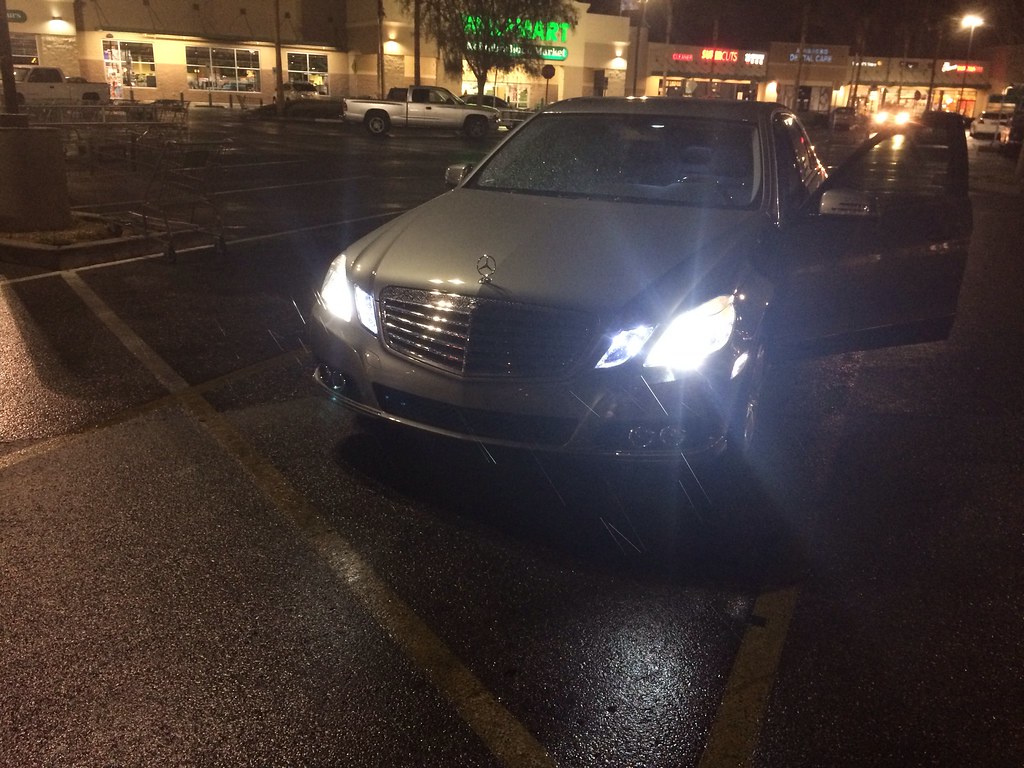
And the after:
And don't forget to clean the fender liners while you have them out!
HID Kit:
Error Canceler:
This was done on a 2011 E350 with halogen lights.
The key to the install is exactly what others have said, remove the inner wheel wells! They are easy to remove, there are three of the pop pins, two 8mm bolts (silver heads), and two 10mm nuts (black).
Once removed you can see the round access cover for the lights:
The clip that holds the factory bulb into the housing is also attached to the plug, so to remove the factory bulb, you rotate the bulb and the plug. Once removed you have to use a small flat head screwdriver to release the plug from the bulb.
You reuse the clip to hold the HID bulb. The bulb goes in the same way as the factory bulb.
Make the connections per the instructions of the light kit. The factory plug has two slots in it. One slot has a single wire, and the second slot has multiple wires going to it. In the case of my install the black wire for the HID kit went into the slot with the multiple wires.
The kit I ordered has slim ballasts and I did this on purpose. Once all connections are made I was able to put all the parts inside the back of the housing:
Then it's just a matter of replacing the cover:
Here is the before look:
And the after:
And don't forget to clean the fender liners while you have them out!
Last edited by LasVegasMike; Mar 1, 2014 at 02:52 PM.
Thread Starter
Member
Joined: Feb 2014
Posts: 126
Likes: 4
From: Las Vegas, NV
2011 E350 Sedan
Much more clear. It tends to light up the projected area much more then before. You're almost expecting people to flash you because they are so bright, but because they are in a protector housing, the cutoff line of the light doesn't reach up to the eyes of oncoming drivers.
Thread Starter
Member
Joined: Feb 2014
Posts: 126
Likes: 4
From: Las Vegas, NV
2011 E350 Sedan
Kind of makes you wish all cars were required to use projector lights. As long as they are properly aimed!
Trending Topics
MB World Stories
The Best of Mercedes & AMG

7 Craziest Things AMG Gas Ever Built
Verdad Gallardo
New Electric Mercedes-AMG GT 4-Door Coupe Unveiled: 10 Things You Need to Know
Verdad Gallardo
6 Mercedes Models That Did NOT Age Well (But Are Somehow Still Cool)
Verdad Gallardo
Manual Mercedes? 6 Times Sindelfingen Let Drivers Have All The Fun
Verdad Gallardo
Mercedes SLR McLaren 722 S Is Extremely Rare Example Modified by McLaren
Verdad Gallardo
8 Classic Boxy Mercedes Designs That Have Aged Like Fine Wine
Verdad Gallardo
Flawlessly Restored Mercedes 190E Evo II Heads to Auction
Verdad Gallardo
Electric Mercedes C-Class Unveiled: 11 Things You Need to Know
Verdad Gallardo
Mercedes EQS Gets A Major Update: Everything You Need to Know
Verdad Gallardo
Thread Starter
Member
Joined: Feb 2014
Posts: 126
Likes: 4
From: Las Vegas, NV
2011 E350 Sedan
Consider most kits come with either plastic zip ties, or double sided tabs to mount the ballasts, so they can't be expecting too much heat if you can mount it with that stuff. If it won't melt a plastic zip tie, it shouldn't melt the housing.
Thread Starter
Member
Joined: Feb 2014
Posts: 126
Likes: 4
From: Las Vegas, NV
2011 E350 Sedan
These error free #194 bulbs:
http://store.ijdmtoy.com/Mercedes-Er...ree_t10_2r.htm
I assuming you meant the driving/city lights?
http://store.ijdmtoy.com/Mercedes-Er...ree_t10_2r.htm
I assuming you meant the driving/city lights?

Member
Joined: Aug 2012
Posts: 202
Likes: 0
From: San Francisco
2013 E350
These error free #194 bulbs:
http://store.ijdmtoy.com/Mercedes-Er...ree_t10_2r.htm
I assuming you meant the driving/city lights?
http://store.ijdmtoy.com/Mercedes-Er...ree_t10_2r.htm
I assuming you meant the driving/city lights?

Thread Starter
Member
Joined: Feb 2014
Posts: 126
Likes: 4
From: Las Vegas, NV
2011 E350 Sedan
I laid everything out, made the connections, then plugged it into the car to test it out. Then I did the actual install. This also helped me determine that both new lights were working before mounting everything.
Thread Starter
Member
Joined: Feb 2014
Posts: 126
Likes: 4
From: Las Vegas, NV
2011 E350 Sedan
Member
Joined: Aug 2012
Posts: 202
Likes: 0
From: San Francisco
2013 E350
Newbie
Joined: Apr 2014
Posts: 6
Likes: 0
2011 E350
This install guide is perfect. The drivers side is harder than the passengers side. Honestly, you don't even need to take the passengers side wheel plastics off. Theres enough room to work from the engine bay. I literally ordered everything the same, the LED's match, the HIDS are perfect and has an amazing crystal color to everything.
Awesome post!
I also took my side markers and replaced them with smoked. I broke the first side until i realized you need to access the back of the side marker to pop it out. You live and your learn!
Awesome post!
I also took my side markers and replaced them with smoked. I broke the first side until i realized you need to access the back of the side marker to pop it out. You live and your learn!
Thread Starter
Member
Joined: Feb 2014
Posts: 126
Likes: 4
From: Las Vegas, NV
2011 E350 Sedan
This install guide is perfect. The drivers side is harder than the passengers side. Honestly, you don't even need to take the passengers side wheel plastics off. Theres enough room to work from the engine bay. I literally ordered everything the same, the LED's match, the HIDS are perfect and has an amazing crystal color to everything.
Awesome post!
I also took my side markers and replaced them with smoked. I broke the first side until i realized you need to access the back of the side marker to pop it out. You live and your learn!
Awesome post!
I also took my side markers and replaced them with smoked. I broke the first side until i realized you need to access the back of the side marker to pop it out. You live and your learn!


