When you click on links to various merchants on this site and make a purchase, this can result in this site earning a commission. Affiliate programs and affiliations include, but are not limited to, the eBay Partner Network.
Hard Wiring Radar Detector to Overhead Map Lights Issue on my W212 - 2016 E400
COVID-19 has presented time to tinker with the car, I am hard wiring my Radar Detector (Uniden R7) to the overhead map light so it is on switched power. This will allow for the Radar Detector to turn on when the car is running and turn off when the car is turned off.
I followed the instructions from a W212 youtube post:
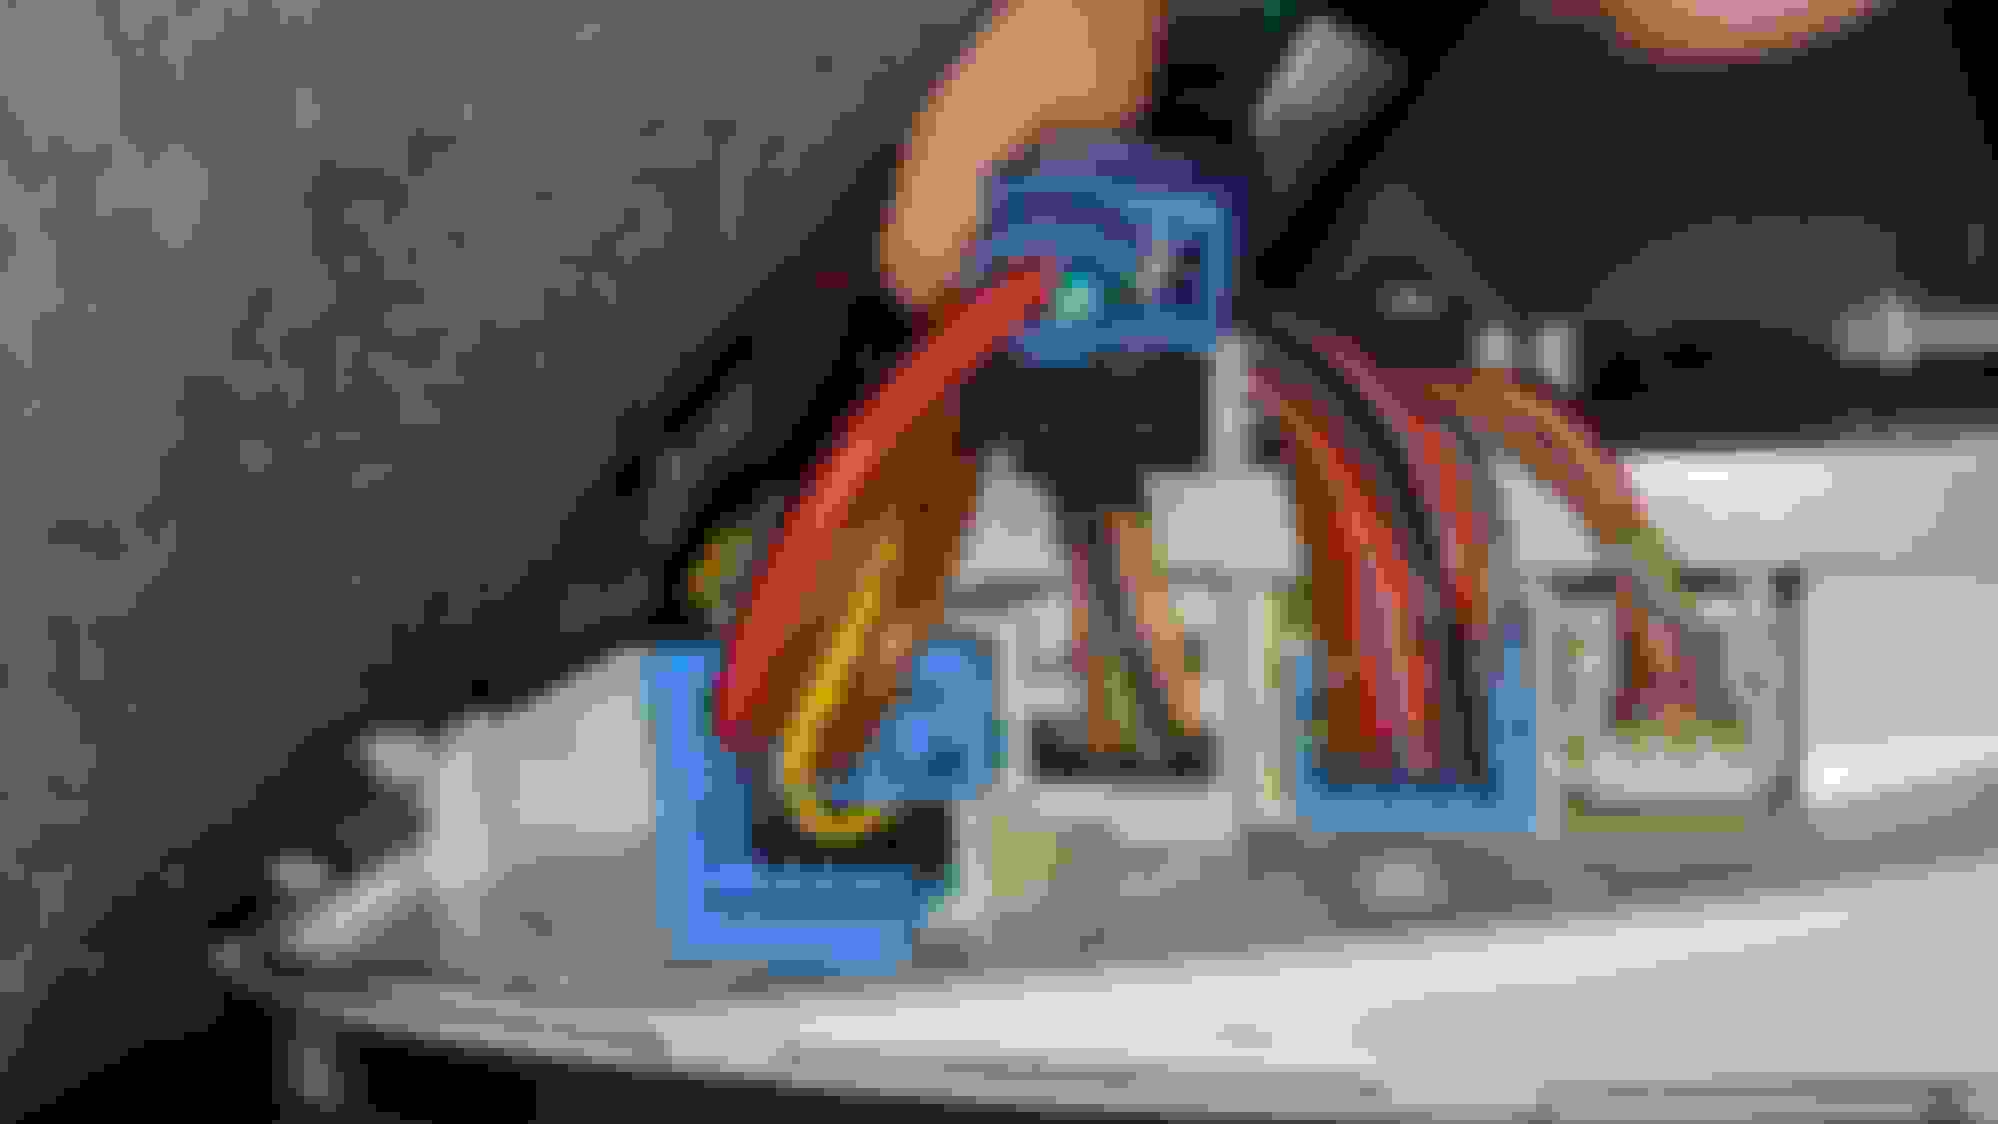
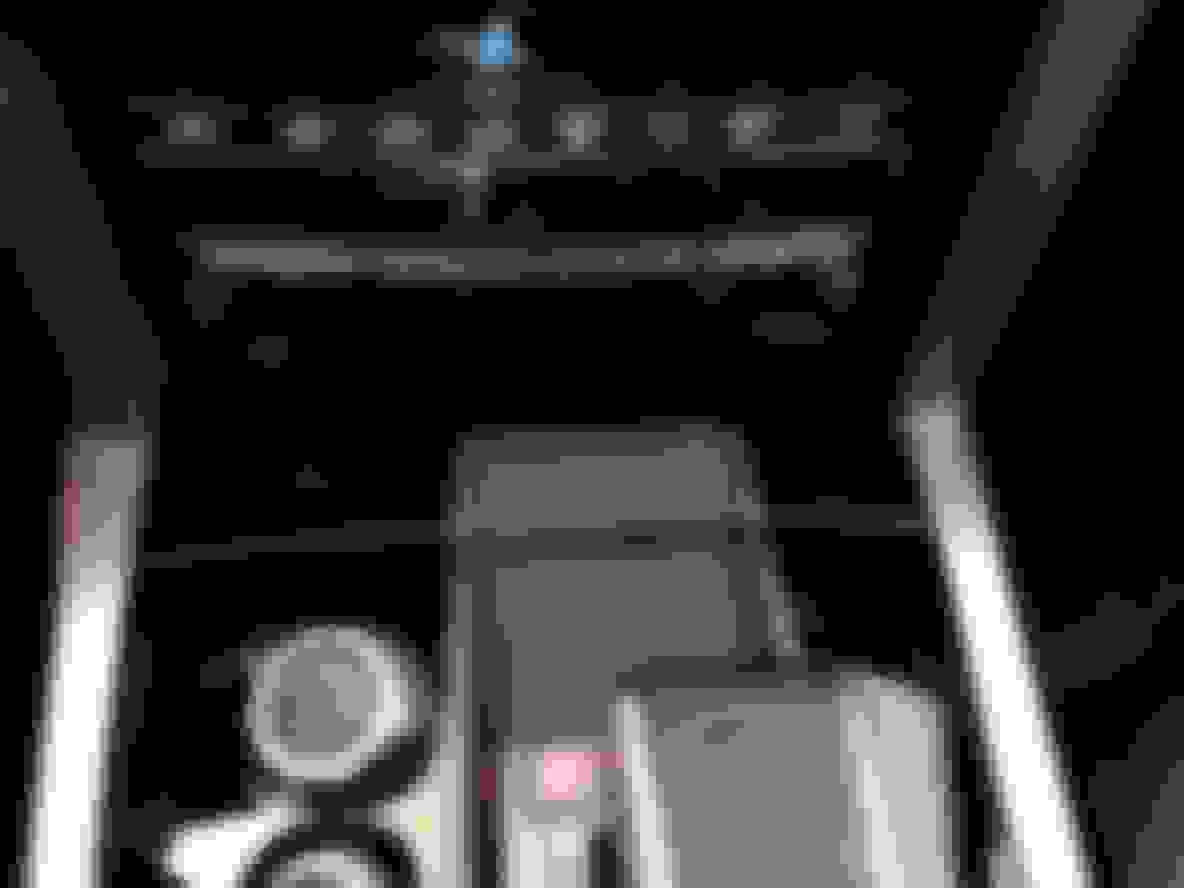
, however, the radar detector is not powering on. Attaching screenshot of the red cable as indicated in the video, tapped for power, and the overhead bolt for ground.
I also found radar hardwiring MB World forum posts for C class but could not locate one for W212, I am sure there will be plenty, perhaps the keywords I used did not line up.
Unsightly wires are the worst thing about having a radar detector. Learn how to hard-wire a radar detector in your C-Class, saving you fr...
mbworld.org
C63 AMG (W204) - C63's w Hardwired V1 Detectors - I've done some research and it seems only a few C63 members have a hardwired V1 radar detector. Does anyone know which wires to tap and where. Lots of posts for other benz's but not anything really for the C63 that anyone has go thru it. I Just...
mbworld.org
The issue could very well be with the RJ11 wire I have (thin wire may not be picking up enough juice, I think!) or I need to tap another wire for power. Before I go crazy tapping wires, I was hoping someone could point me to a switched power source if the one I am tapping into is not the right one?
Thanks in advance guys!
Last edited by manishjain24; May 12, 2020 at 10:16 AM.
Reason: Missing link
best thing is to check for 12V and ground with a multi-meter. Check for power at the new wire where it is cut on the end(on the right in the first pic. The small wires in the kit should not be an issue, it takes very little current to run an RD. My bet is either the "Tap" didn't pierce both wires or your chosen ground is not grounded. Check it out and let us know
I would reconsider installing the R7 closer to the rearview mirror, unless you have dedicated anti-laser countermeasures. The R7 only picks up laser closer to the bottom of the glass, and it still works awesome for standard radar.
I would reconsider installing the R7 closer to the rearview mirror, unless you have dedicated anti-laser countermeasures. The R7 only picks up laser closer to the bottom of the glass, and it still works awesome for standard radar.
At the moment I do not have anti-laser countermeasures, that will follow in time. I agree and understand the positioning of the Detector, though if I am hit with a laser, I am toast anyways without Anti-Laser countermeasures.
I was able to locate the source of the issue. I was using the Red and the Black cable from the RJ11 that had 4 cables (Red, Black, Green, and Yellow). Using Red for Power and Green for Ground addressed the issue.
The issue with switched power remains: The video and the pic I have attached above of the wiretap, the person in the video indicated it is switched power, it is not. That red cable receives Power even when the car is switched off or Locked. I will be looking for other wires in the overhead map light section for switched power, if anyone is aware of it, can you save me time, please?
The conundrum continues, I have tried all the hot (red) wires in the MapLight area, none of them are on switched power on my 2016 E400. Am I missing something or have you guys had similar results?
I am assuming there are others who have tried hardwiring their radar detector to the overhead map lights.
Uniden R7 has a 'Battery Saver' feature, if it detects 0 MPH for an hour, it shuts down. While I could use that feature and rely on it, though I really do not wish to be stranded somewhere with a dead battery.
Unfortunately, 2016 E400 does not have the fuse box on the driver side.
I was trying to avoid the work involved with unhooking center console to get to the cigarette lighter but it seems like that is where I am headed next.
2016 E350 Sport; Mom Wrecked the 2008 E350; sold the 2002 C320
The most likely situation is that the power to the map lights, etc., is controlled by the CANBUS (I'm no expert - this is simply my conjecture to rationalize the full-time power). For peace of mind, your best bet would be to run a wire from the cigarette lighter as you are comtemplating.
The most likely situation is that the power to the map lights, etc., is controlled by the CANBUS (I'm no expert - this is simply my conjecture to rationalize the full-time power). For peace of mind, your best bet would be to run a wire from the cigarette lighter as you are comtemplating.
This is true, but, what you can do is let the car go to sleep and then test for power. You'll have to be in the car with the key off, then close all doors(hood/trunk etc. will also need to be closed completely). Car will take a few minutes to fully sleep(best way to monitor is with a current clamp on battery cable, looking for draw to go to nearly zero...). Once it is asleep, checktcheck power sources again, but watch the amp-clamp value as you could possibly wake the CAN just by probing the "wrong" wire. It's not likely, but possible. In which case you'll need to let it go back to sleep before continuing probing. Look for one that does not have power when CAN is asleep, that should be the one you use. Let us know what you find.
I finally got around to fixing my issue with hardwiring radar detector.
I ran the cable from the radar detector mounted on the windshield to the fuse box in the trunk, with a fuse tap on location 71 (Cigarette Lighter), it is working as I initially wanted to, on a powered switch.
Initially, I thought running wires to the trunk and using a fuse tap was going to be a lot of work, but took all of 10-15 mins, which was less than the time I spent splicing overhead cabled.....
Thanks for the advice guys, much appreciated
Congrats! This is my next project....my lighter plug and coiled cable is so ugly......Can you show/explain how you ran the wires to the trunk?
I mounted the radar detector on the driver side, right next to the rearview mirror, and routed the cable to the trunk from the right side of the car.
1: I started with routing the wire from under the rain sensor. (I bought a telephone cable from eBay that worked for me, in my case red was used for hot and green for neutral. depending on how the wire is crimped, your connections could very well be different)
2: then tucked it inside the headliner on the right side
3: then routed it via the A-Pillar
4: pushed it in the front passenger side door seal (weather channel)
5: then routed it via the B-Pillar
6: pushed it in the rear right passenger side door seal (weather channel)
7: with the contour of the passenger door seal, continued to route it towards the C-pillar
8: opened the trunk, folded the right passenger seat
9: after folding the seat, with a little bit of tug the right passenger shoulder/armrest will pop out of its latch
10: Route the wire through it, you should be able to push it from here to the trunk opening
11: from the trunk, pull the black liner aside, and grab the cable that was pushed through the armrest opening.
12: then push the cable from the liner location into the fuse box location
13: Auto Zone carriers the Fuse tap: 'Bussmann ATC Add-a-Circuit Fuse Tap'
14: Remove the 15AMP fuse from position 71 (cigarette lighter)
15: Pop the 15 AMP fuse in the lower section of the fuse tap, this will allow you to operate the cigarette lighter
16: Also bought 3AMP fuse from Auto Zone, 2AMP would suffice but could not find that at the Autozone i stopped at.
17: Pop the 3AMP fuse to the top position in the fuse tap
18: Crimp the wire on the fuse tap that will carry juice to the radar detector
19: Hook up the other wire from radar detector for ground, there are several screws right next to the fuse box that are screwed into the body of the car, any one of them will do
20: Obviously after hooking up the fuse tap back into position 71, you will not be able to close the yellow latch you opened but the fuses are pretty snug in there, no chance they will dislodge.
All done, the radar detector will power on when you start the car and turn off when you switch off the car.
The only tool I needed was the plastic prying tool for pushing cable behind A-B-C Pillars
1: If you plan to use the original wire that came with the radar detector, that is fine too, you can solder a low gauge speaker wire to it and hook that up in the fuse box.
2: If you plan on buying a cable as I did from eBay or another place, make sure you use a multimeter to figure out the hot and ground before testing it with your radar detector, you can toast it if the wrong wire is tested with.
Since E400 does not have a fuse box in the driver side dashboard I had to run it to the trunk, I know from online research E350 has it, I see you own an E63, assuming yours doesn't have a fuse box on the driver side either.
Easy mod, it won't take you more than 15-20 mins.
Good Luck!
Last edited by manishjain24; Jul 14, 2020 at 09:17 PM.
manishjain24, Thanks again. I took your instructions and wired up my radar detector today. Next upgrade is the actual detector, but I like the one you got (Uniden DFR 7), so the power cable connector (RJ-11) will be the same.
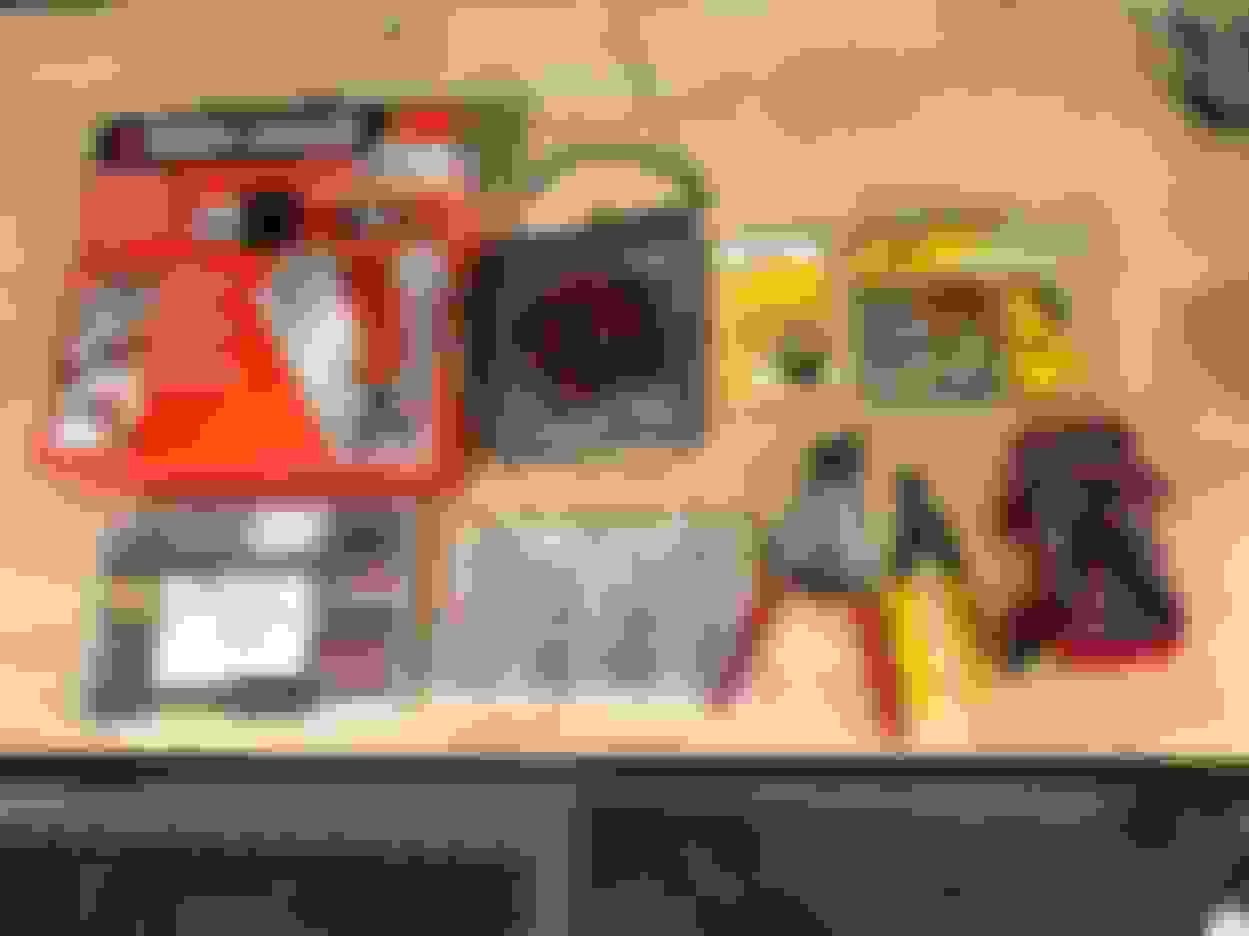
I assembled my wire (22 AWG), Add a Fuse tap (need a replacement mini 15A fuse and a 2A mini fuse), waterproof pre-soldered connectors, a heat gun, trim panel pry tools, wire strippers, zip ties, shrink wrap, a 10mm socket and wrench, a crimp-on spade connector for the ground wire, and my previous RJ-11 power cord from my knock-off Blendmount.
I made the connections at the 'radar detector' end first. I laid out the wire and cut 19' of wire. In hindsight, I could have cut the end after I was done routing the majority of the wire through the car all the way to the trunk....oh well. I actually only needed probably 15' of wire, but the additional length let me apply the heat gun outside of the trunk, which made me feel better......
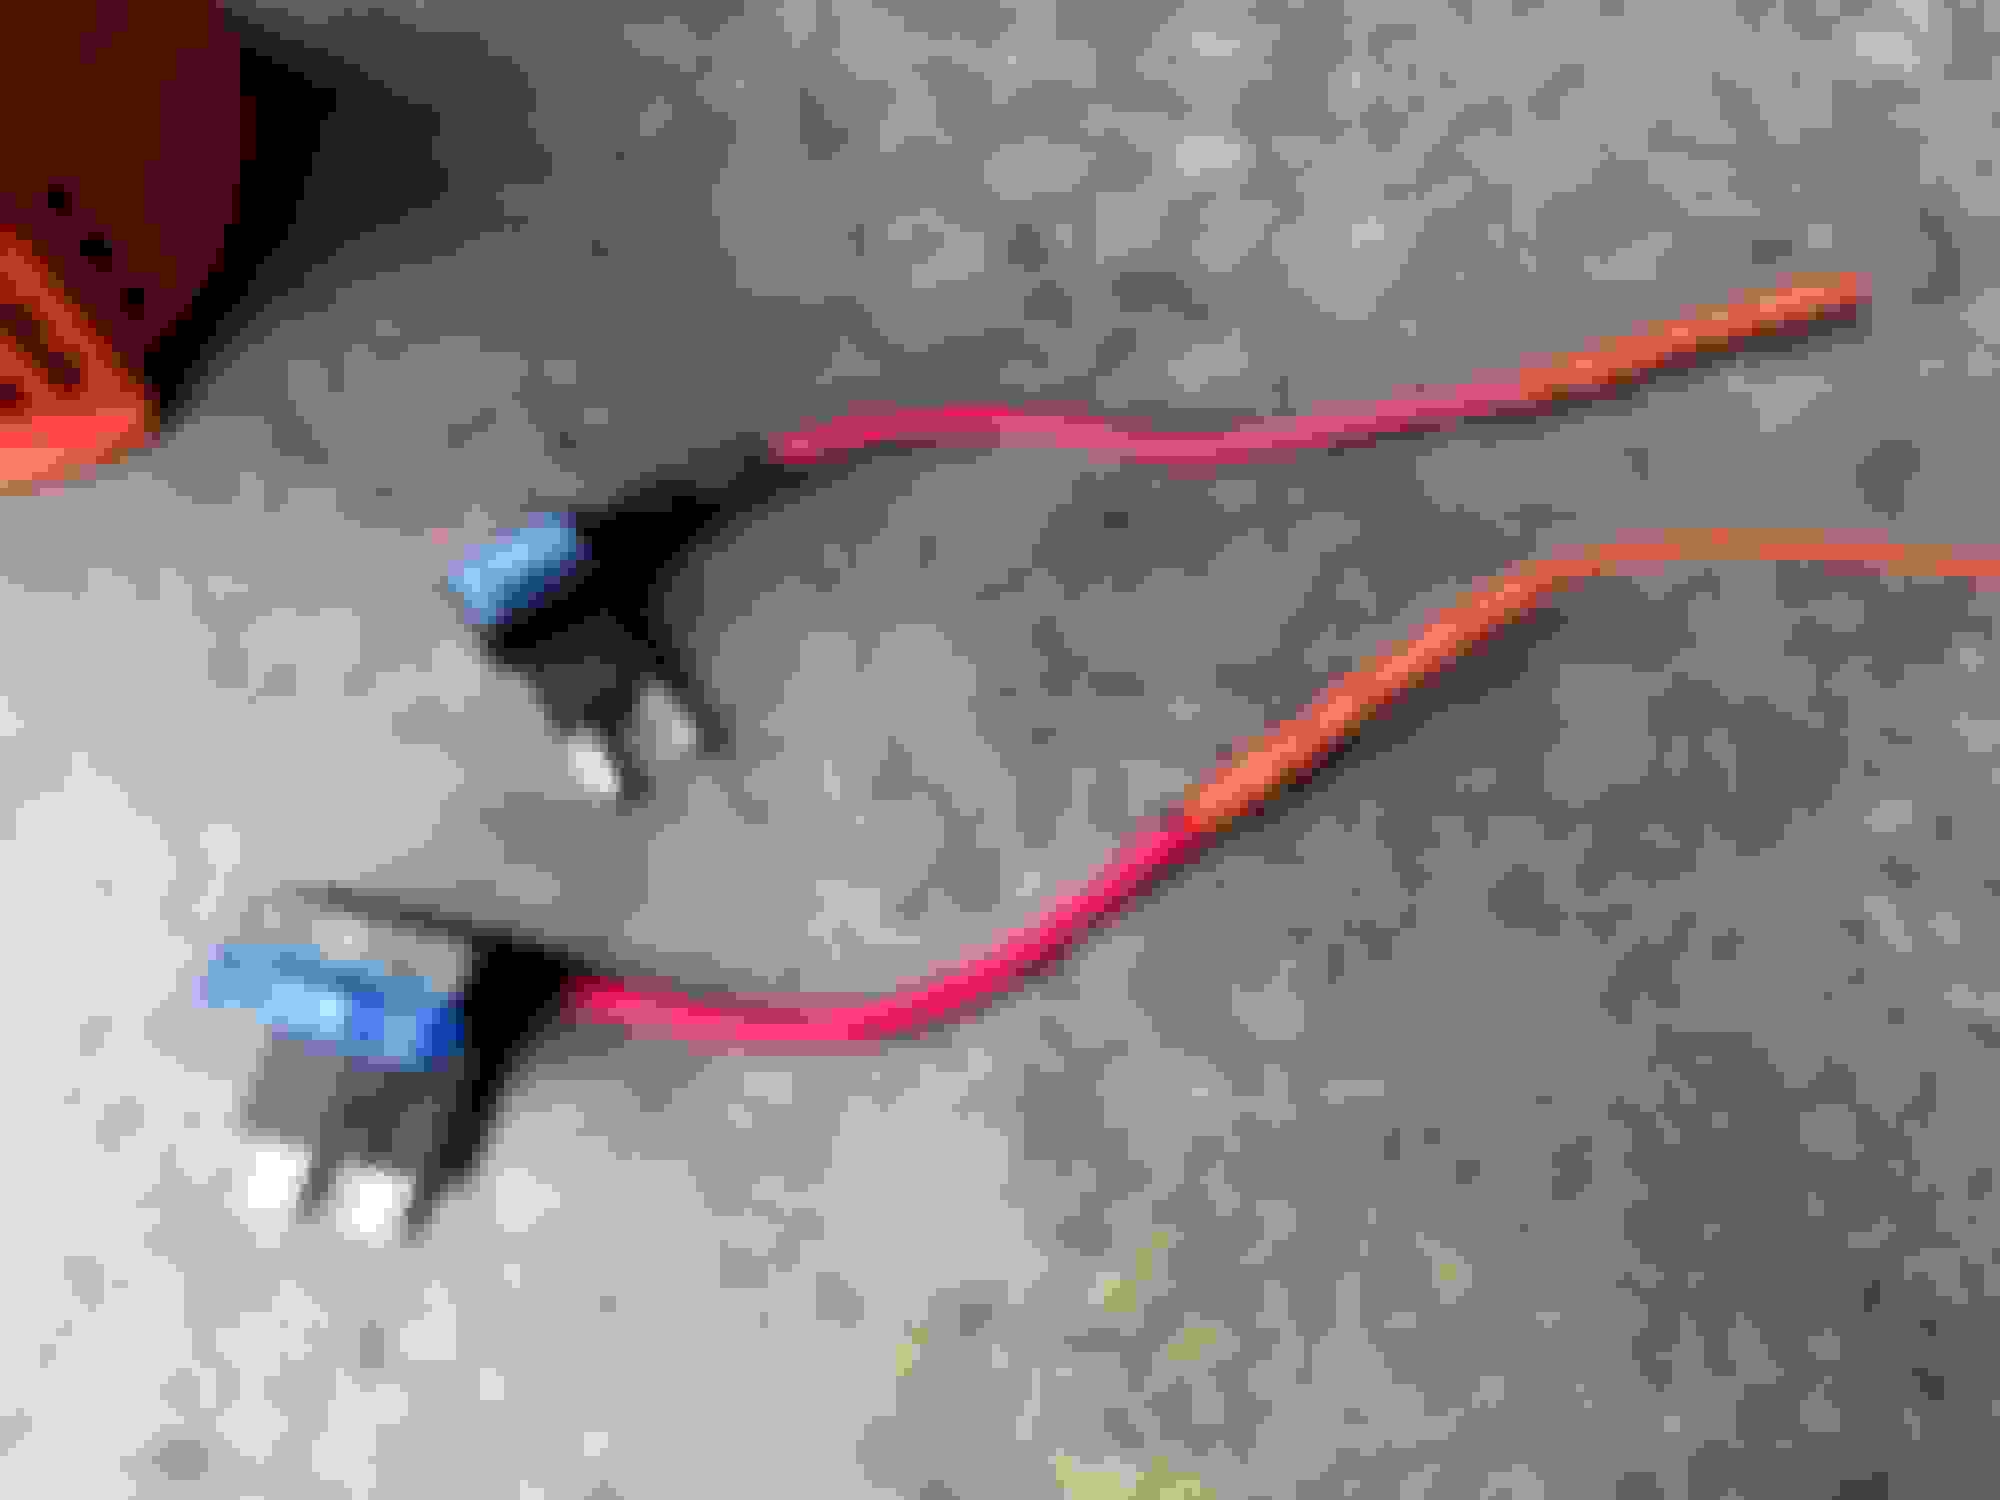
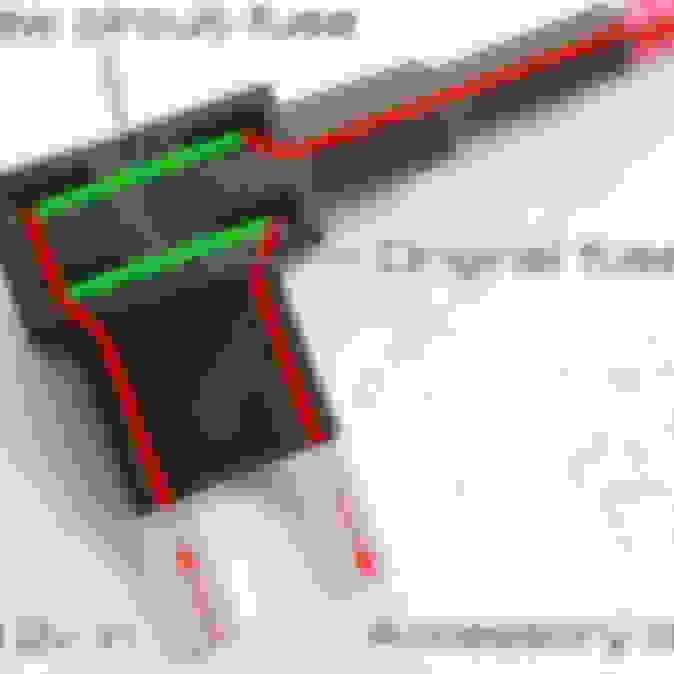
These waterproof pre-soldered connectors are great, a heat gun melts both the solder and the red beads to "grab" the wire, then the clear plastic shrinks up tight Before heat after heat! See soldered connections and 'shrunk' clear plastic. The black section on the red cable is a tiny in-line fuse from the mirror tap cable I used as a donor cable Shrink wrap complete to secure the original woven wire cover
1: I started with routing the wire from the driver's side headliner (since this is where I wanted to mount the detector), and then around and under the rain sensor plastic trim.
2: then tucked it inside the headliner on the right (passenger) side 3: then routed it via the A-Pillar through the seam in the trim 4: pushed it in the front passenger side door seal (weather channel) 5: then routed it via the B-Pillar 6: pushed it in the rear right passenger side door seal (weather channel)
7: with the contour of the passenger door seal, continued to route it towards the C-pillar 8: opened the trunk, folded the right passenger seat 9: after folding the seat, There are 3 attachment points for this bolster, top and bottom (loops) and a middle one (large loop). I was able to disconnect the large, more fragile middle clip, then the top latch by pulling straight on it (very firmly)with a little bit of tug the right passenger shoulder/armrest will pop out of its latch. I was not able to disconnect the bottom one, and stopped after fearing I would break something expensive. It was able to tilt out of the way.
10: Route the wire through it, you should be able to push it from here to the trunk opening - I was able to push the wire under the plastic trim into the trunk here: 11: from the trunk, pull the black liner aside (I followed the spare tire floor's seam instead of removing the trunk liner.) and grab the cable that was pushed through the armrest opening.
12: then push the cable from the liner location into the fuse box location
13: Auto Zone / Amazon carriers the Fuse tap: 'Bussmann ATC Add-a-Circuit Fuse Tap', I cut off the crimp connector and stripped the end (Note: I accidentally used an ATM Add a circuit tap (for mini fuses) the first time, and the tap didn't sit correctly in the fuse block, so I replaced it with a standard ATO/ATC tap yesterday). FYI, the lighter fuse in the MB is a 15A fuse, and these types of taps are only rated for 10A. I was initially worried about that, but then realized that is only critical for the tap portion, since the part that is connected to the original fuse block location, thus passing up to 15A of current, is most likely all solid metal and NOT a limiting factor. I suppose if I was REALLY paranoid, I could replace the 15A fuse with a 10A fuse and not worry about it. But I don't use the actual lighter element, I just have a low profile double USB plug...so I'll probably be OK.
18: Crimp the wire on the fuse tap that will carry juice to the radar detector (I used solder and the heat gun, and then shrink-wrapped the ground wire and used the waterproof solder connectors and shrink wrap for the add a fuse connector ()
14: Remove the 15AMP fuse from position 71 (cigarette lighter)
19: Hook up the other wire from radar detector for ground (I used a 10mm wrench to loosen this bolt and install the ground), there are several screws right next to the fuse box that are screwed into the body of the car, any one of them will do
17: Pop the 2AMP fuse to the top position in the fuse tap: then only installed the 2amp fuse (the one 'in-line' with the tap wire (further from the tap's blades), pushed the tap into location #71 to test the radar detector (success!), then I
15: Pop the replacement 15 AMP mini fuse in the lower section of the fuse tap, this will allow you to operate the cigarette lighter
20: Obviously after hooking up the fuse tap back into position 71, you will not be able to close the yellow latch you opened but the fuses are pretty snug in there, no chance they will dislodge.
This is SOOOO much nicer than using the coiled cable in the lighter plug.
Last edited by Oliver Liu; Aug 24, 2020 at 01:36 PM.
Reason: Incorrect part used, now corrected
A picture is worth a thousand words! GOOD JOB Buddy!
This will become a great article for the next DIY looking to hardwire their Radar Detector.
Unfortunately, I ended up returning my Uniden R7 because the holder was no longer clipping the detector, this is when I 'NEVER' unhook my detector. Thankful for the Amazon return policy.
I learned Radenso Theia is going to be launched pretty soon, they claim it to be the BEST AI detector, with COVID, I am not driving a lot, therefore waiting for the launch, if it is as good as they claim, it will be worth the wait, or I will buy R7 again.
If I move to Theia, it uses USB-C port instead of RJ11, that will be a quick swap, soldering, etc.
The next project is hardwiring Front/Rear Dashcam (parking mode included), with the world full of crazy drivers, it is peace of mind and cheap insurance, to be honest!
I've watched this thread from the beginning to see what developed.
I wired the radar detector on my C320 many years ago with the extension wiring going to the rear fuse box in the trunk. So I understand the procedure.
For my W212, I decided to make the journey shorter. The radar detector is mounted to the underside of the driver's visor, in it's own leather case velcro-strapped around the visor. (It could just as easily be suction-cupped to the windshield, but I wanted a slealthier installation.) From there, the extension cord is tucked under the headliner to the left A-pillar, and routed down the A-pillar behind the airbag into the leftside dash area. From there, it's fed over the steering wheel and into the foot well above the accelerator pedal. There's no need to remove the radio, etc.
I then removed the center console area containing the cupholders, sliding cover, ashtray and cancer stick lighter. It comes out as a complete unit (no need to remove the entire console). There are several videos on how to do this. Here's a good one... https://www.youtube.com/watch?v=mA7_...ature=youtu.be
No need to remove the lighter from the console tray. I just took the unit inside the house to a work surface, turned it over and soldered a two-element extension wire to the already soldered electrical connections on the lighter. This extension wire was only 8-12" long, enough to provide wire slack should l ever have to remove the unit again. To this extension, I crimped common, electrical spade connectors to each lead. Back to the car...
I bent a wire shirt hanger into a 2-foot long fish hook. With the center console now removed, I fished the hanger wire down the inside of the plastic console surround into the foot well. I tied the extension wire from the detector to this and simply pulled the wire into the sub-console area, then tucked any wire exposed in the footwell behind the plastic pieces. Feed the wire by hand the rest of the way through the (black) sub-console frame (there's a big hole) just below where the cancer stick lighter will sit.
I then crimped corresponding electrical connectors to this wire, and plugged the two connections together. Test the continuity to the radar detector. Once satisfied everything worked, I then reinstalled the console unit, feeding the excess length of cabling through the hole in the black sub-console. I used electrical tape liberally to seal the electrical connections and prevent rattles.
BTW, the radar detector on my wife's Sonata is direct wired within the rear-view mirror electronics.
Much less complicated electronics on the Sonata...
2013 E350 wagon cuprite brown; sold:2014 ML63; R500 Saks Edition; R500; more W124s than I can count
I followed the original YouTube video and it took all of 10 minutes...true that it is powered on all of the time, but it draws little current and I occasionally turn it off.
BTW, the radar detector on my wife's Sonata is direct wired within the rear-view mirror electronics.
Much less complicated electronics on the Sonata...
That�s what I had in the previous car! A MirrorMount, a knock off of a Blendmount that tapped into the rear view mirror�s exposed connection block!
That�s what I had in the previous car! A MirrorMount, a knock off of a Blendmount that tapped into the rear view mirror�s exposed connection block!
OK, to clarify... the Sonata's detector is not mounted to the rear-view mirror, but suction cup mounted on the windshield to the driver's side of the mirror. The power cable runs into the mirror/overhead light electronics and is connected there.
I've watched this thread from the beginning to see what developed.
I wired the radar detector on my C320 many years ago with the extension wiring going to the rear fuse box in the trunk. So I understand the procedure.
For my W212, I decided to make the journey shorter. The radar detector is mounted to the underside of the driver's visor, in it's own leather case velcro-strapped around the visor. (It could just as easily be suction-cupped to the windshield, but I wanted a slealthier installation.) From there, the extension cord is tucked under the headliner to the left A-pillar, and routed down the A-pillar behind the airbag into the leftside dash area. From there, it's fed over the steering wheel and into the foot well above the accelerator pedal. There's no need to remove the radio, etc.
... ...
I am not creative so I pretty much copied you.
I have a mount for the VR2 that I use 3m double sided tape to hold to windshield on driver side of rear view mirror.
Ran the supplied phone/cableto passenger side up under head liner and down behind beige colored door seal thingy.
Then under side dash trim and left end of this wire into glove box by RH side.
Watched link video and another - and ripped apart ceter console to get to cupholder part out.
ONce out I actually made my connection no the car side to the connector so cup holder thing can still easily be removed.
NOw the geeky electrical engineers may not like how I did it - stip off insulation and then wrap my wire around this bare spot and cover with a electrical tape.
But it works and I have been doing that for countless year... to those who solder and heat shrink and use other things... cool... I am lazy and it was freaking hot out.
So take this wire whcih I have now attacted to the feed to the cigarette lighter and went low and to the right.
Deop the black underdash cover on passenger side by removing 3 bolts. and just push front down.
Reach up by where the front corner of this underdash corner was and there is my wire....
GRa all I need and leave some slack inside.connect the V2 power supply by twisting copper and loads of electric tape.
Bring this into glove box on RH side same way I ran the power phone cord down into glove box.
Connected the two.
Reason I put them in glove box is I can check fuse and unplug if I want to and when I sell the car I can take the power supply with me.
TEST SYSTEM PEEPS - ALways test before putting it back together...
WORKS like I want only on Key .
Then put it all back together.
WIpe up all the sweat and I did clean each part as I re-installed.
Over all if it was cool out I could have done in an hour.
but due to heat it took me way longer as I would do a little work and go inside to cool off.
I did nto want to be a sweaty pig dripping everywhere inside the car so I did it in like 5-10 min work steps followed by 5-10 min of sport watching inside.
(I should have used my other CAr Barn and turned on AC)
All I can say is way better as stupid cord out of view now - which is really a nice thing.
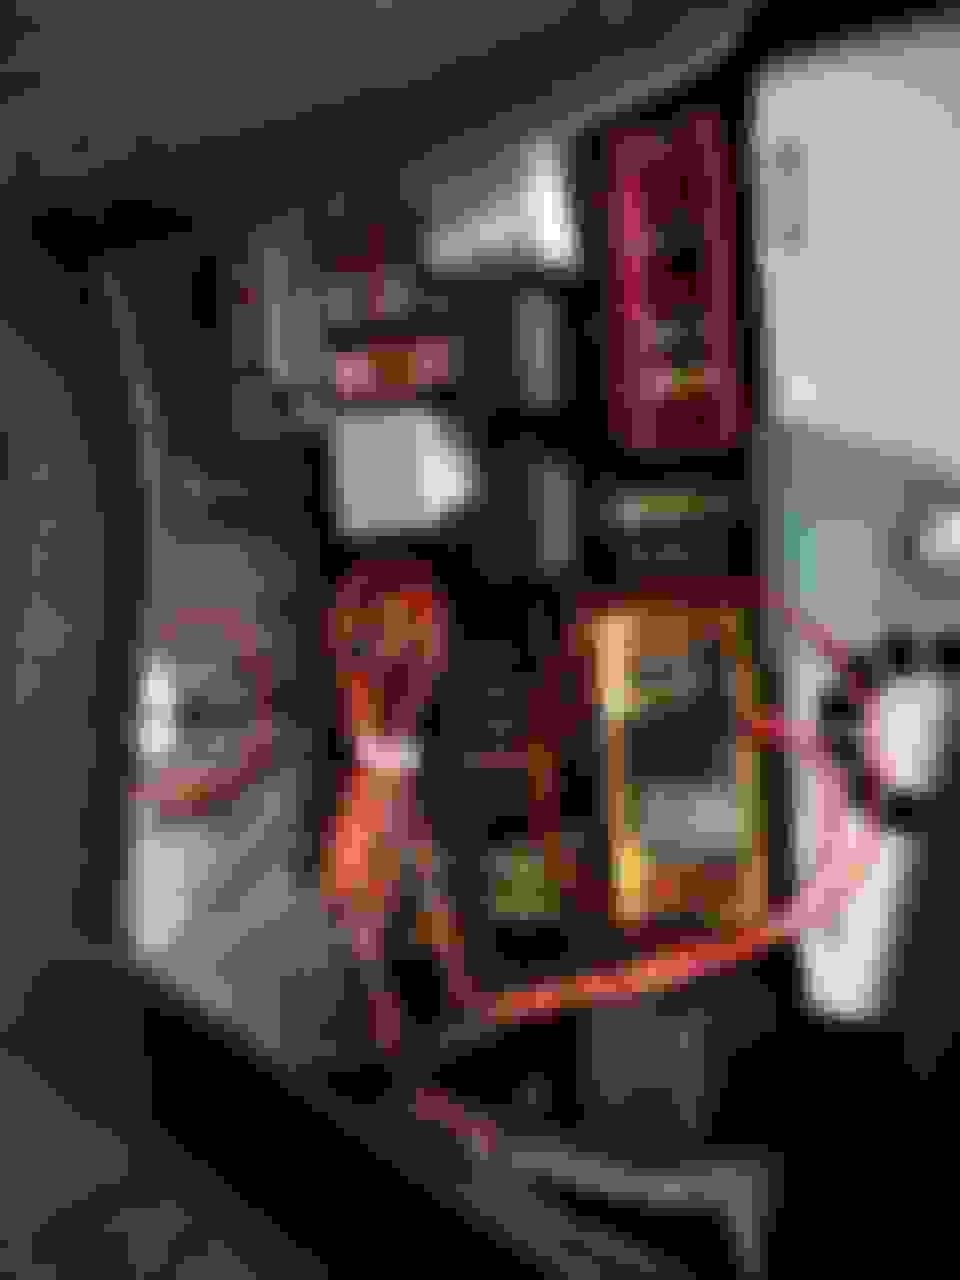
Just a pre-caution. If a DIY person is not aware of this fact :
Anyone using fuse tab, please observe orientation of fuse tap install, so that the side with red cable out is for the OUTPUT of the fuse you are tapping from.
The non wired side is then the INPUT side of the fuse.
If installed correctly as described whihc means car's fuse INCOMING/INPUT power is indeed the left side, the top fuse which is for whatever new accesory you are installing, that top fuse can then blow if any short circuit occured.
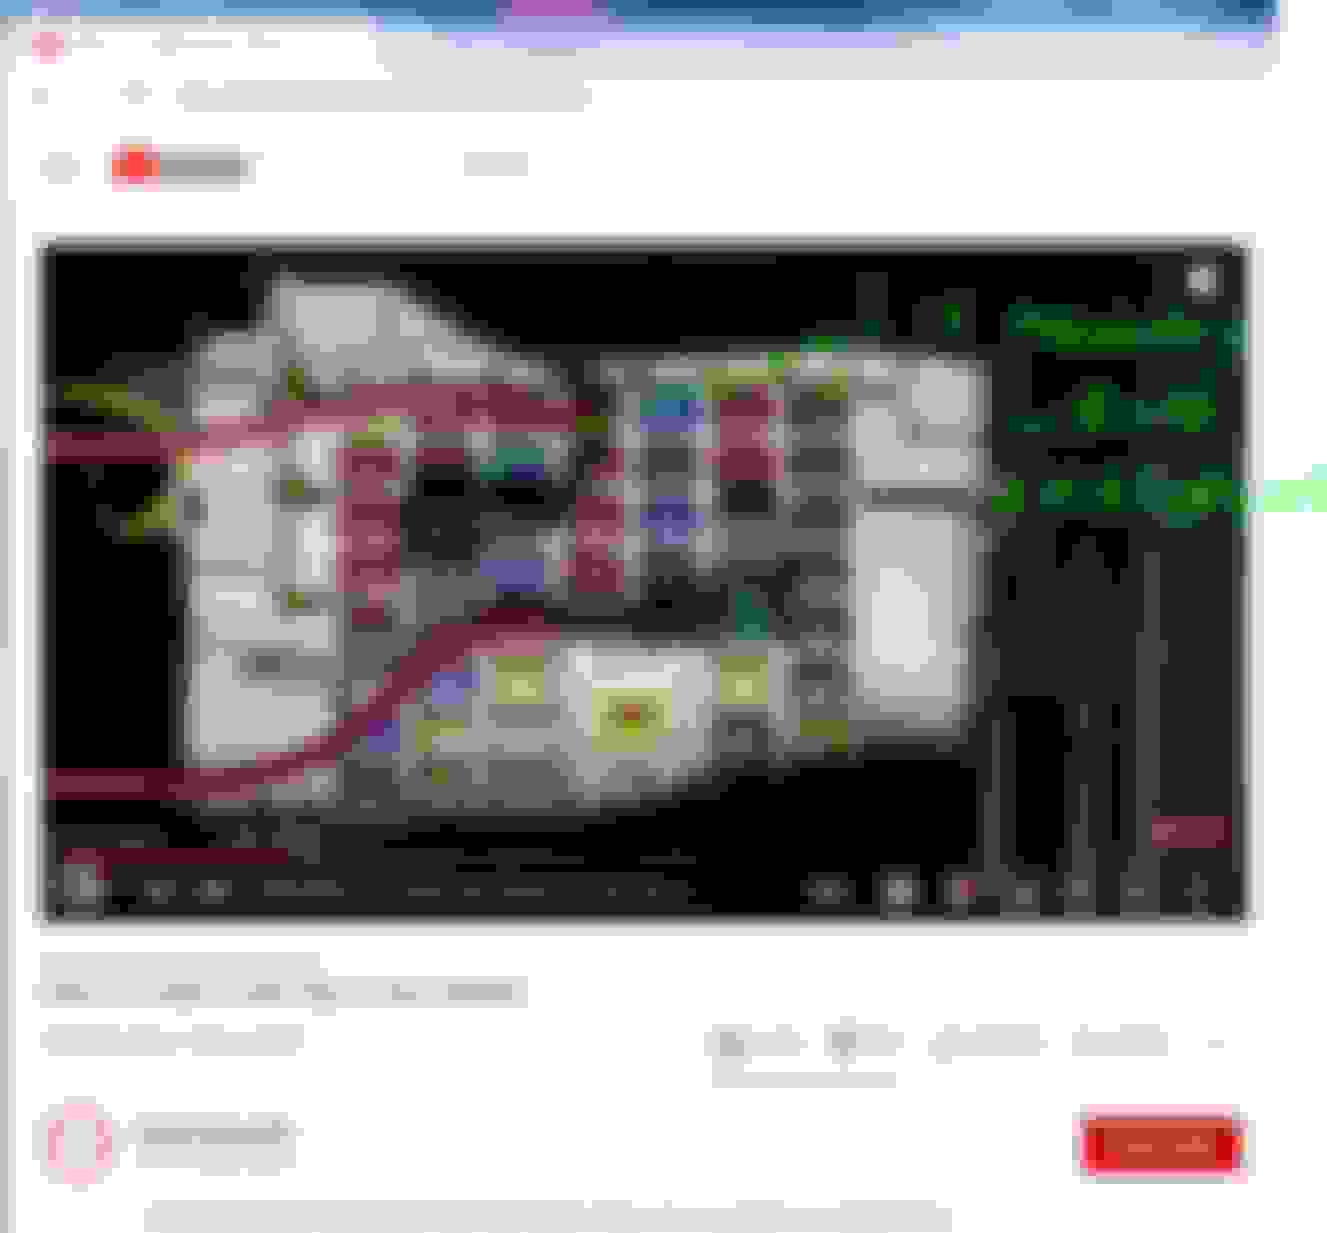
If installed wrong* orientation, like one of the fuse tab in this video below : *If a short circuit occured, you will burn the cable to the new accessory and worse, you may damage the rear SAM copper trace at the PCB power board.
I have not measured the rear SAM fuse box, but I so happened yesterday I was messing with the front SAM.
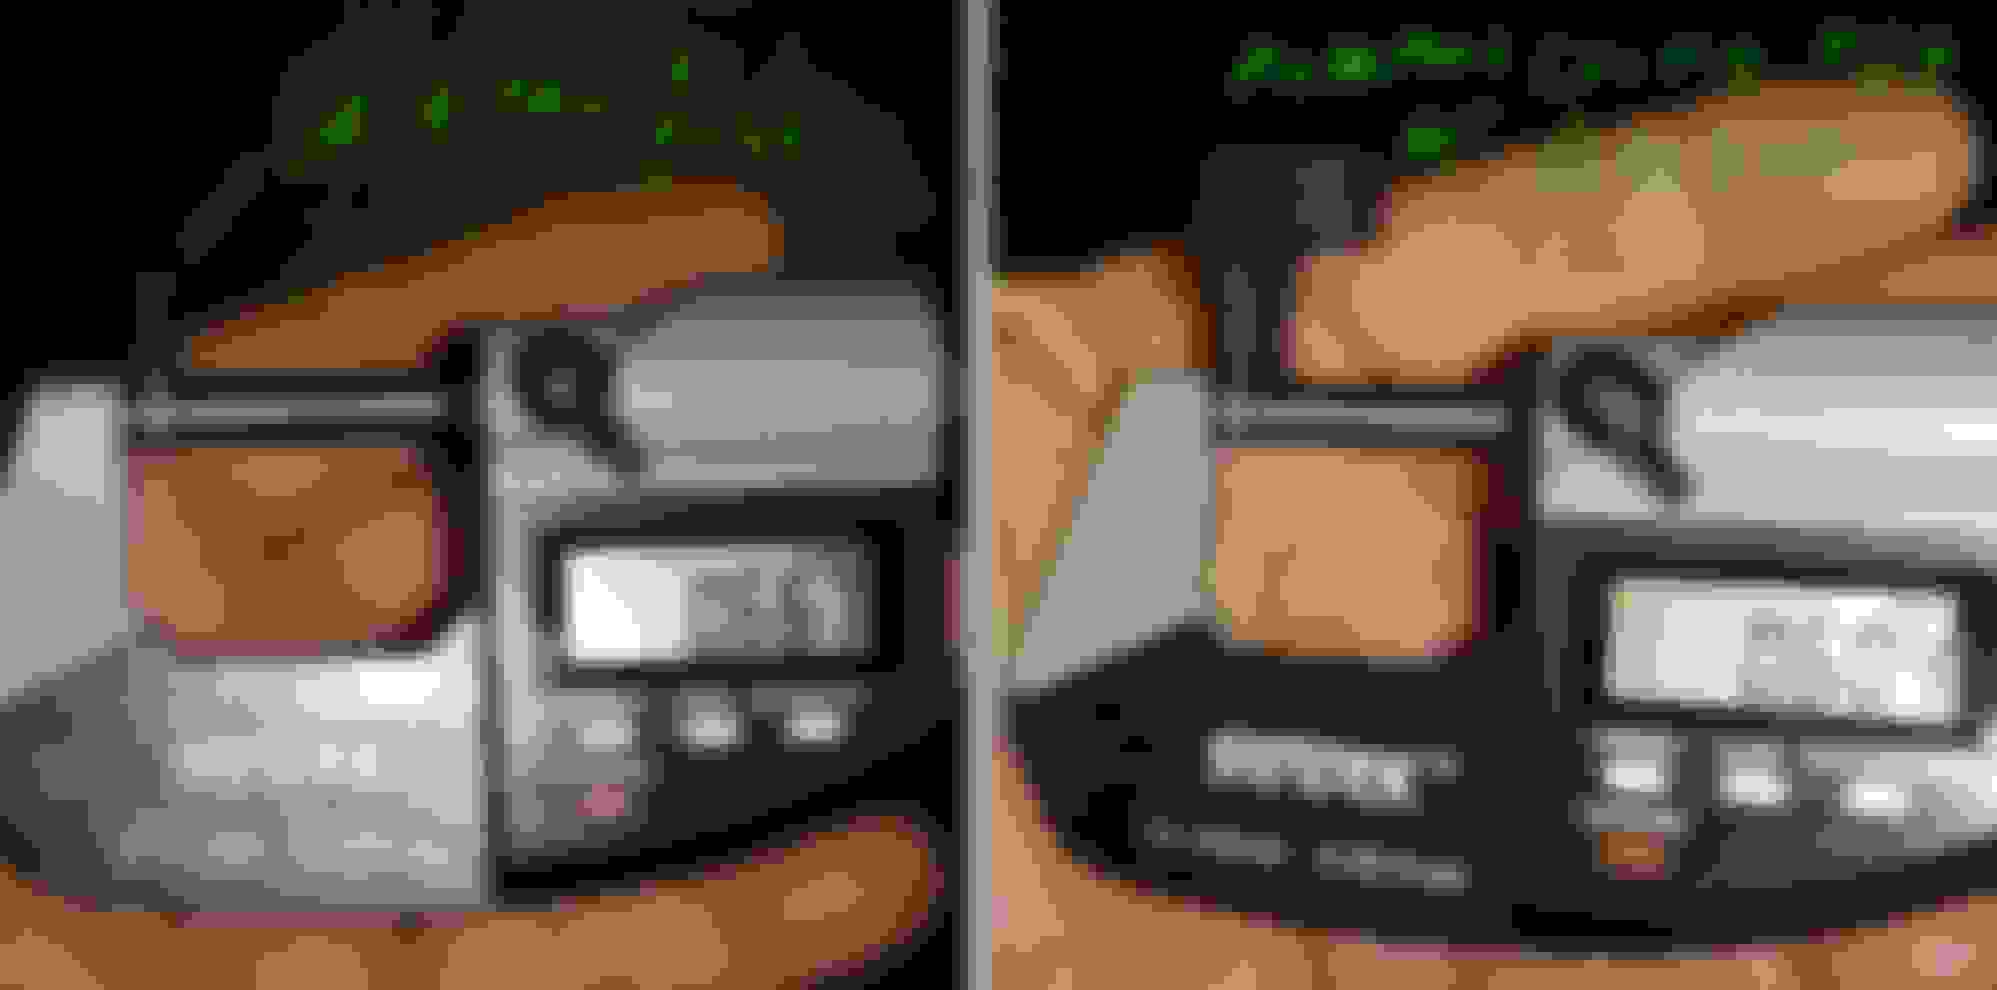
Front SAM, the power INPUT side of the fuse is at the left* ( *viewing front SAM from front bumper towards car interior) for those 2 fuses I marked, I tested them.
I would measure first and would not assume that all INPUT then will be at the left. My front SAM has 3 power sources from F32.
Also : RELAY/S in the front SAM itself and at rear SAM, anytime there is a relay, that means there is another secondary circuit ( 15 or 87 ) and please
re-confirm the fuse/s downstream of the relay output 87, which side of the fuse in then the INPUT ?
I am using fuse tap not for any permanent accessories, I am using it to tap +12V for some experiment I cam conducting to measure ECM input voltage.
So be warned again when you buy fuse tap, its quality.... if it is of low quality. I trust Bussman, even if China made too, its dimension and thickness of the blade
would mimic original fuse.
ATO fuse is friction based fitting, so thickness and width of the contact blade matters.
Albeit I am only going to use this fuse tap for a few days, measuring voltage to ECM , I need the connection to be at its best during engine hot operation
and with road vibration.
Happy wiring guys........ be safe.
Last edited by S-Prihadi; Jun 8, 2021 at 11:15 PM.
Reason: add image
Whatever you please do not run the cable thru the top side of the headliner. The wires can tangle up with the side airbags, and not protect you. The proper way is thru the floor scuff plates.
Mercedes SLR McLaren 722 S Is Extremely Rare Example Modified by McLaren
Slideshow: A one-of-one U.S.-spec Mercedes-Benz SLR McLaren Roadster became even rarer after a factory-backed transformation at McLaren's headquarters.