When you click on links to various merchants on this site and make a purchase, this can result in this site earning a commission. Affiliate programs and affiliations include, but are not limited to, the eBay Partner Network.
But the above 2 cars does not have curve crash bar like W212 ...which will make the mounting BAR open up like donald duck walking
By being a curve crash bar, the mounting plate to the LED BAR will come at an angle and not a nice straight one. I may need to custom made also an angled shim.
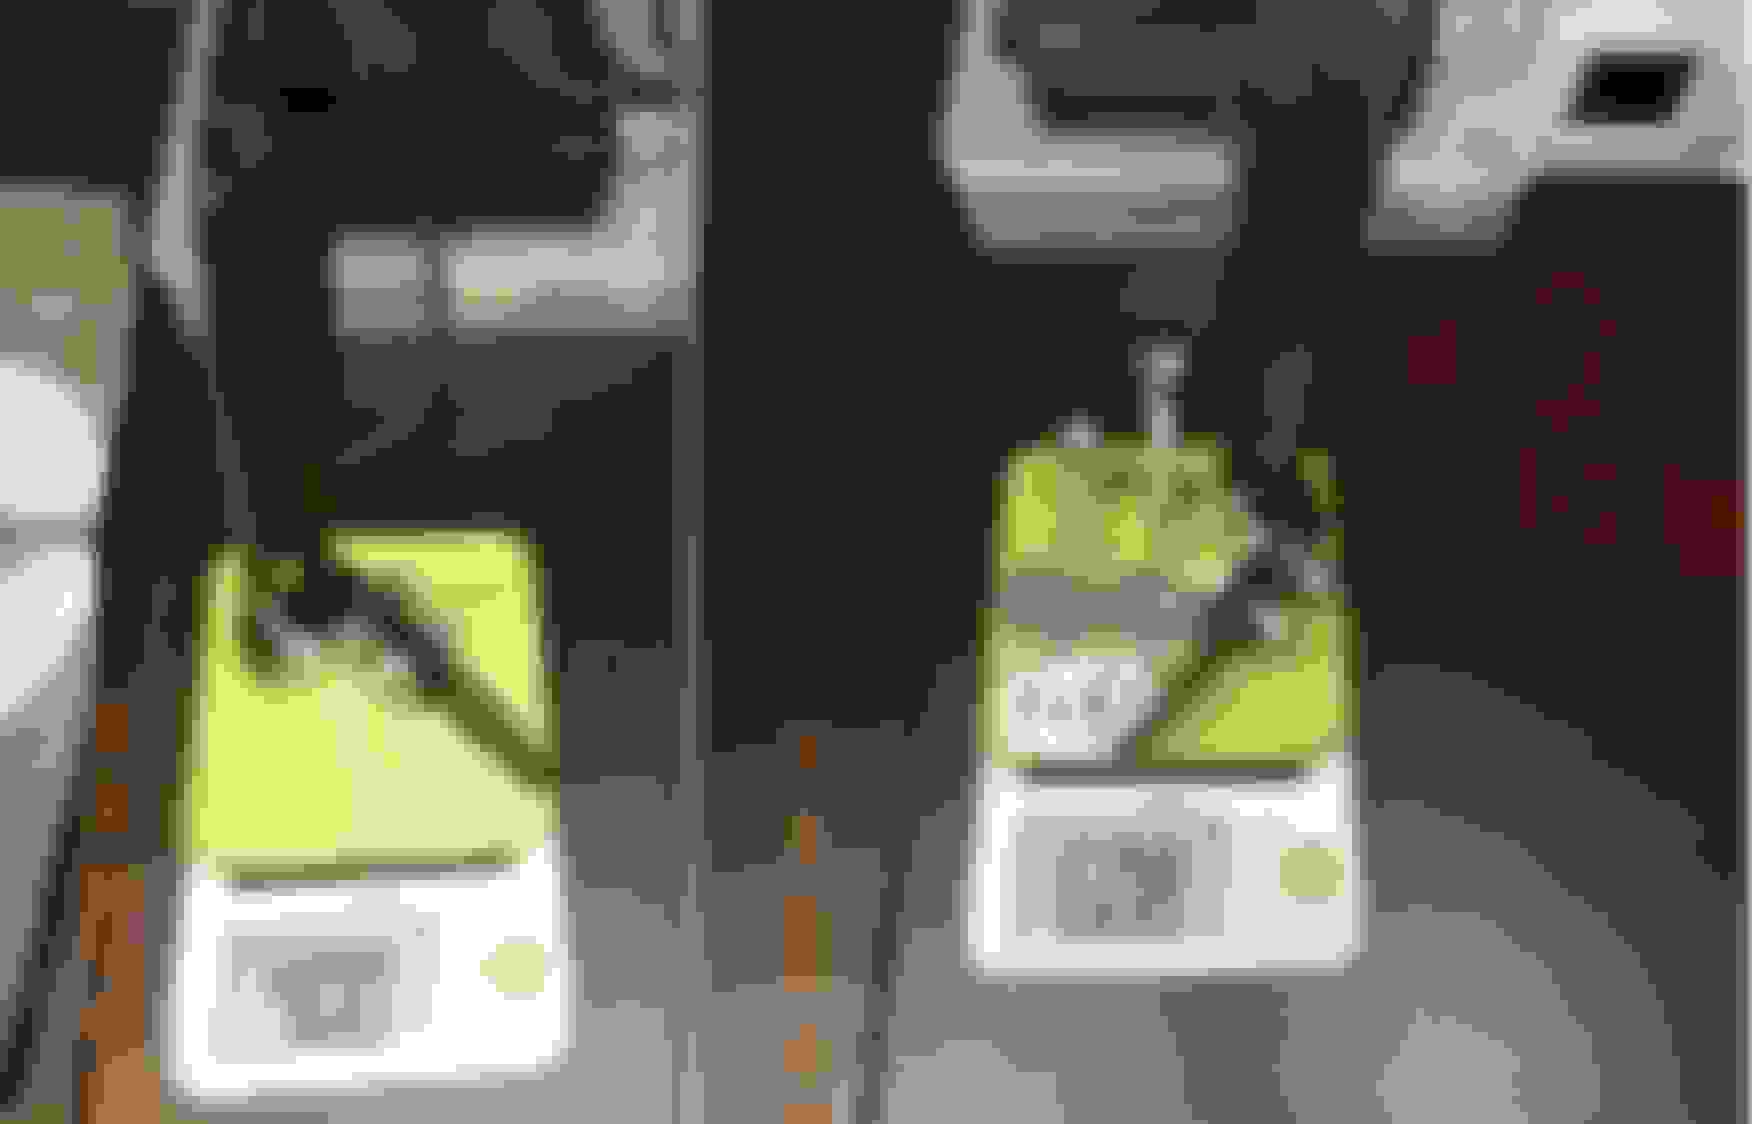
A warning reminder sticker I made for myself or anyone doing the drilling later. Battery to be disconnected when drilling the alunimum crash bar. I worry the crash sensor may trigger the airbags ... LOL.
I am still doing simulation on 27th Aug.
I need to see where the LED BAR will be at and how long the vertical mount need to be and how much adjustment for up-down and rear-forward.
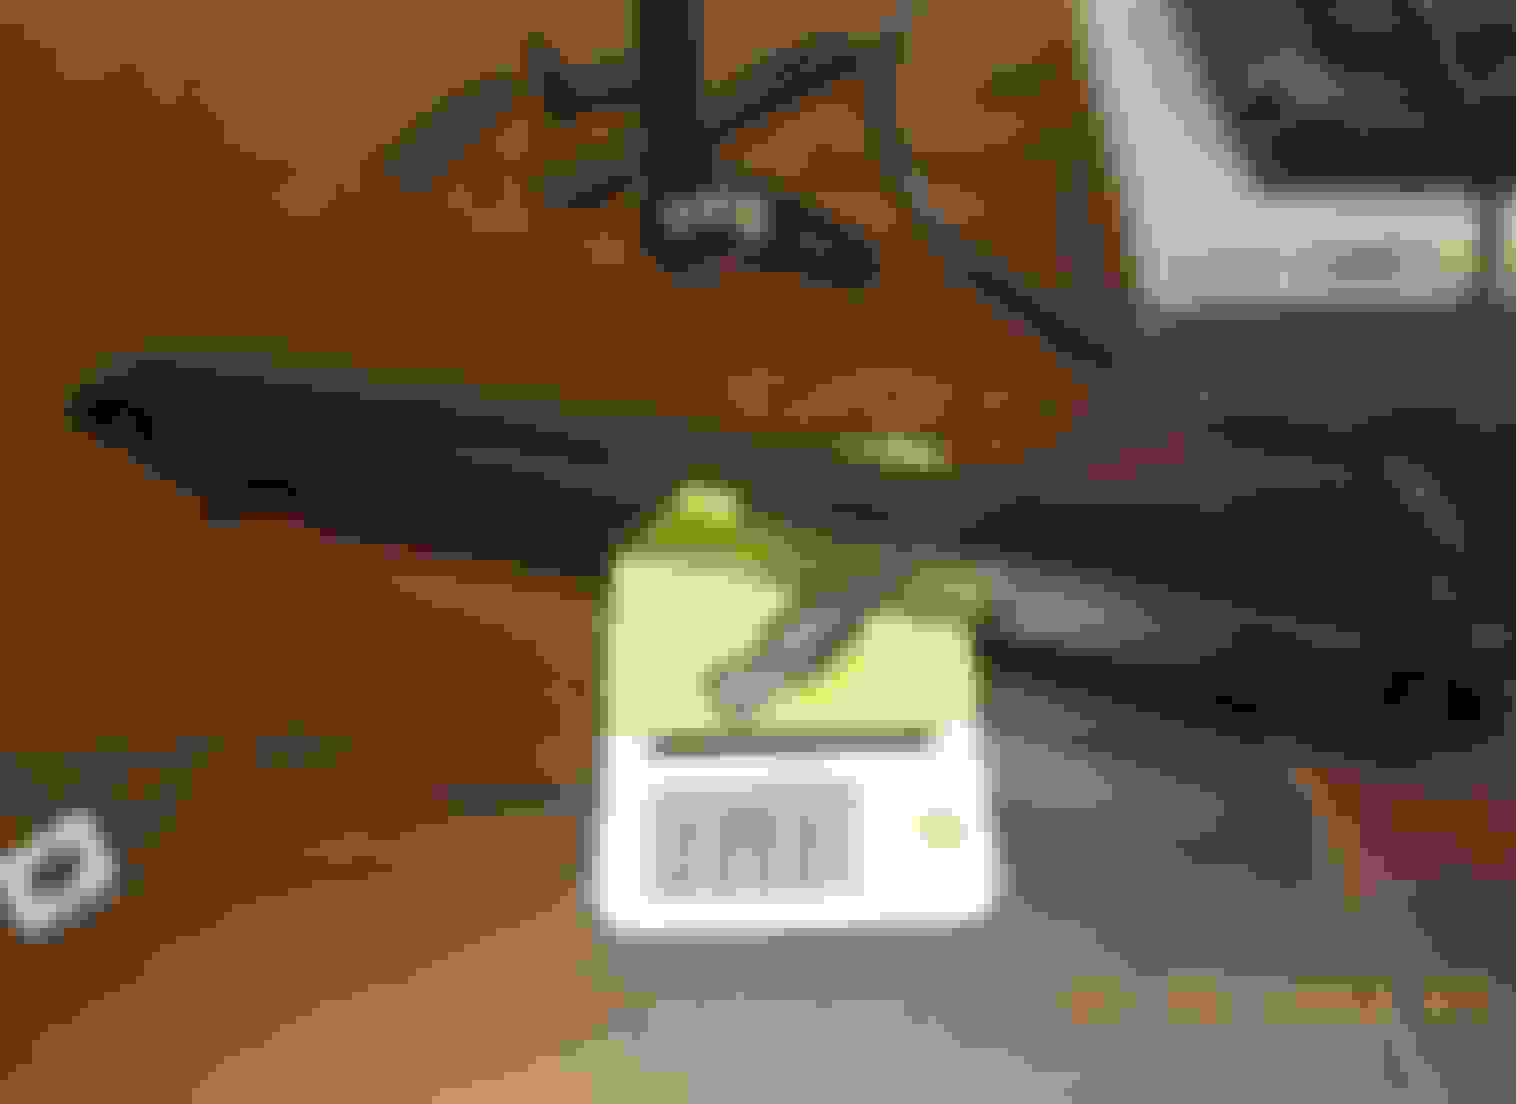
I use plastic sheet, black one to protect my condensor fins.
=======
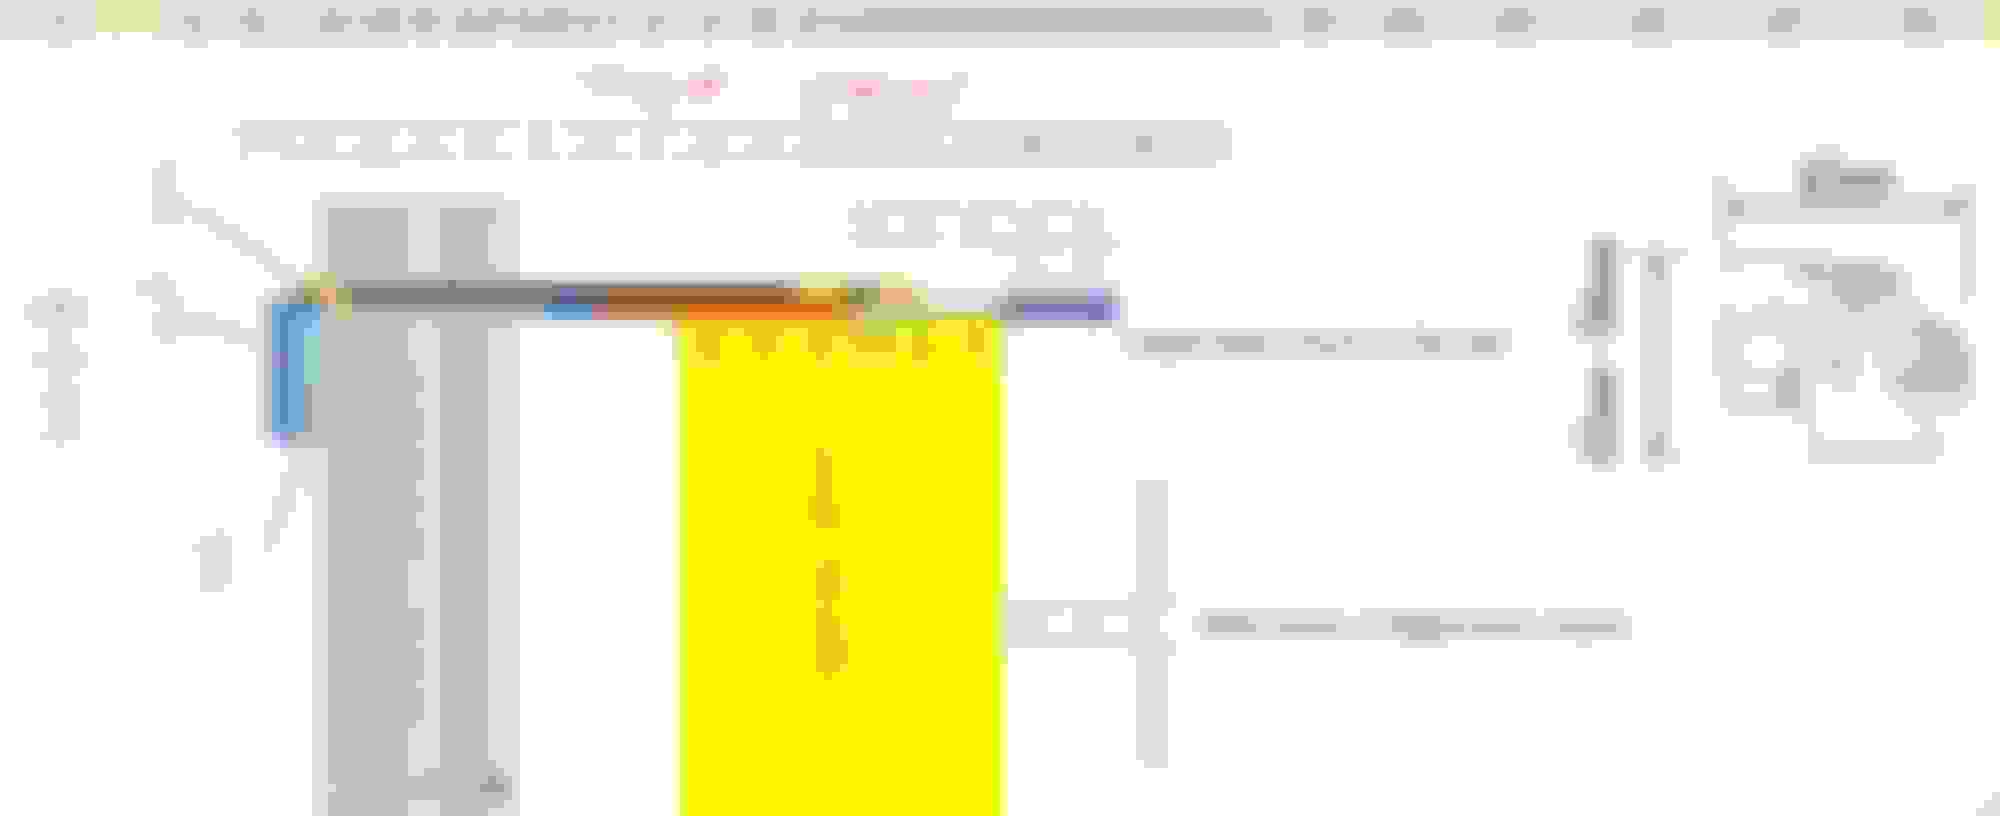
I can't use autocad, so I use excel ... LOL.
I need to see scale wise the movement of the LED BAR rear-forward.
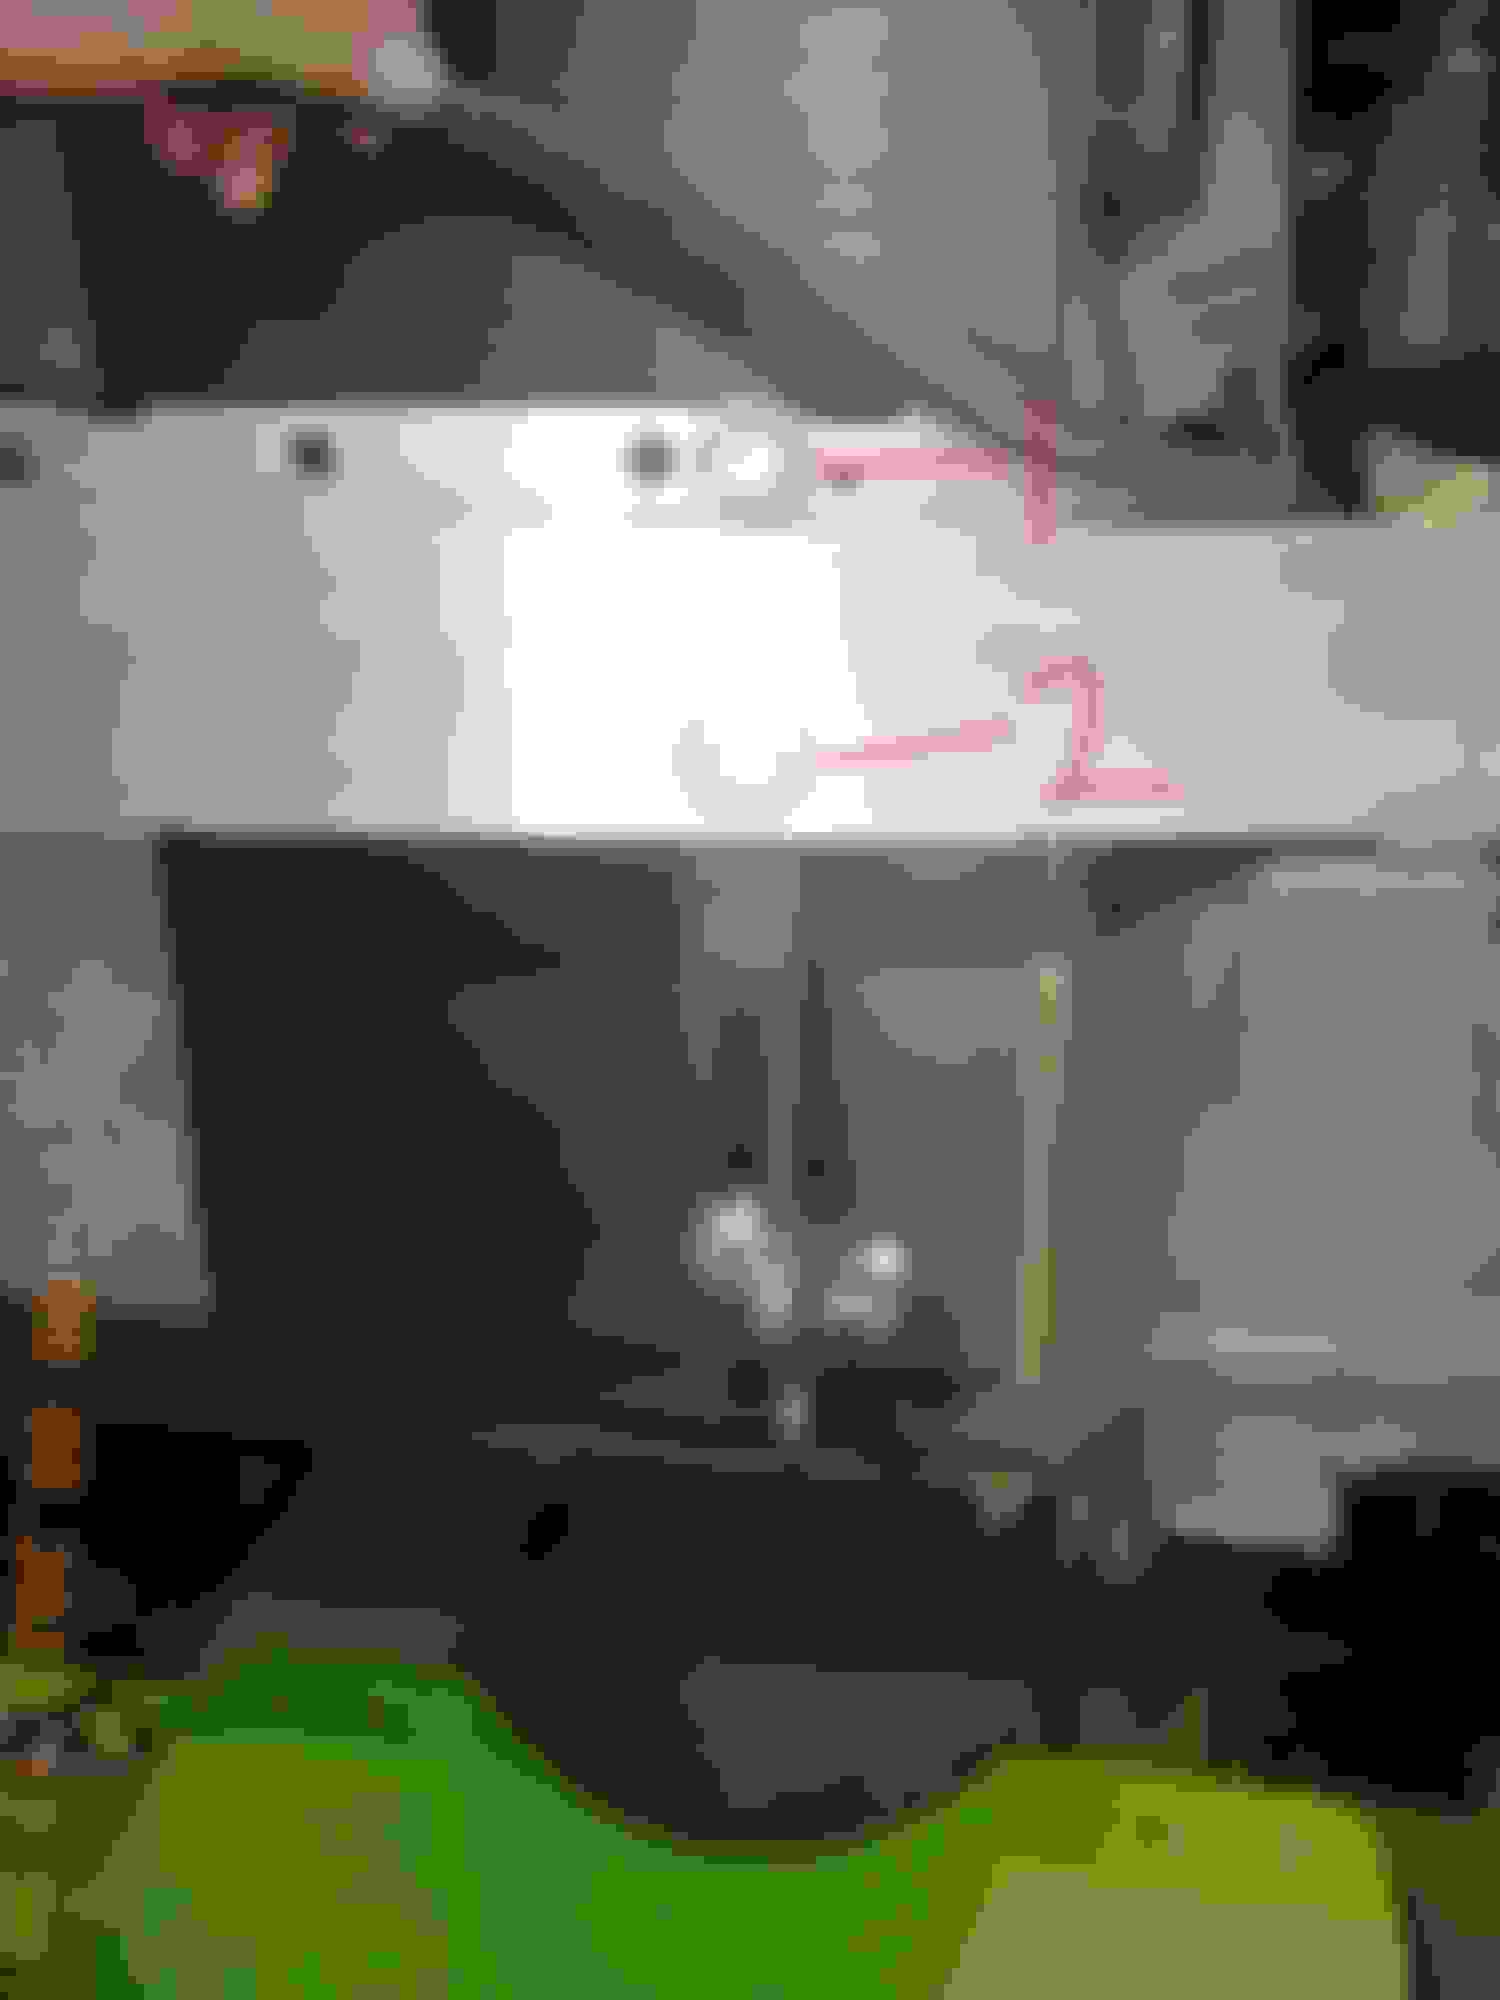
1,2 and 3 are the components I must custom sized and drill. Measurement are in centimeters.
Item 2 and 3 is a 6mm thick Alu 6061-T5.
Item 3 is 32mm wide.Will be 24.5cm long.
Item 2 will be 35mm useful width, wIll maintain its L shape. 1 side being 60mm long and the other 38mm.
Item 1 is SK5 spring steel of 3.5mm thick and will be 35mm wide and 11.5cm long.
Unlike the Utube video where the vertical metal strip/bar is clamped using 2nd strip/bar. Me will drill the vertical strip/bar to the crash bar with 2 bolts.
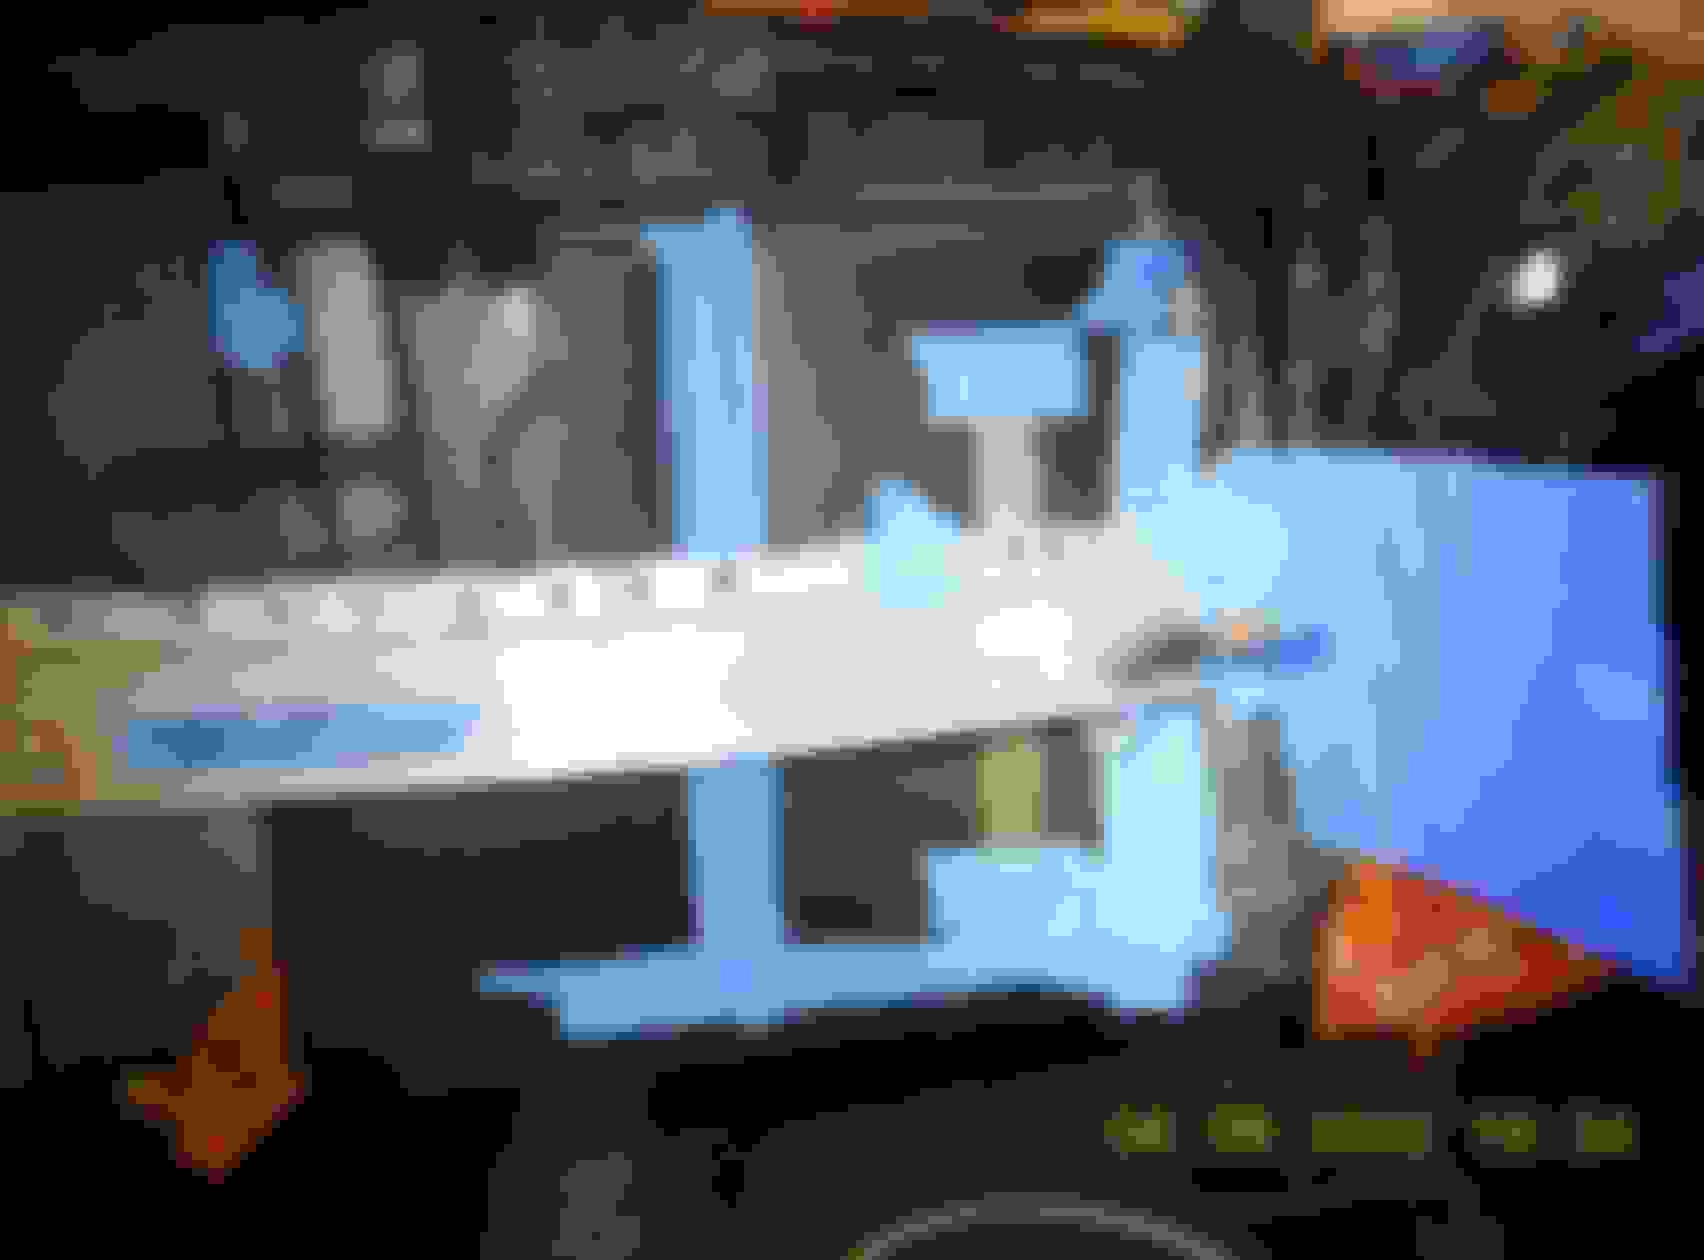
Simulated below : orange dots as imaginary bolt
==
Tomorrow I hope the machine shop would have completed all the drilling and sizing down all I need them to do, I kinda copy the utube video one but mine is super thick and stiff.
I hate light mounting which has even the most minor vibration play. Lights shaky shaky looks cheap from the opposite traffic point of view and not good for me too.
============
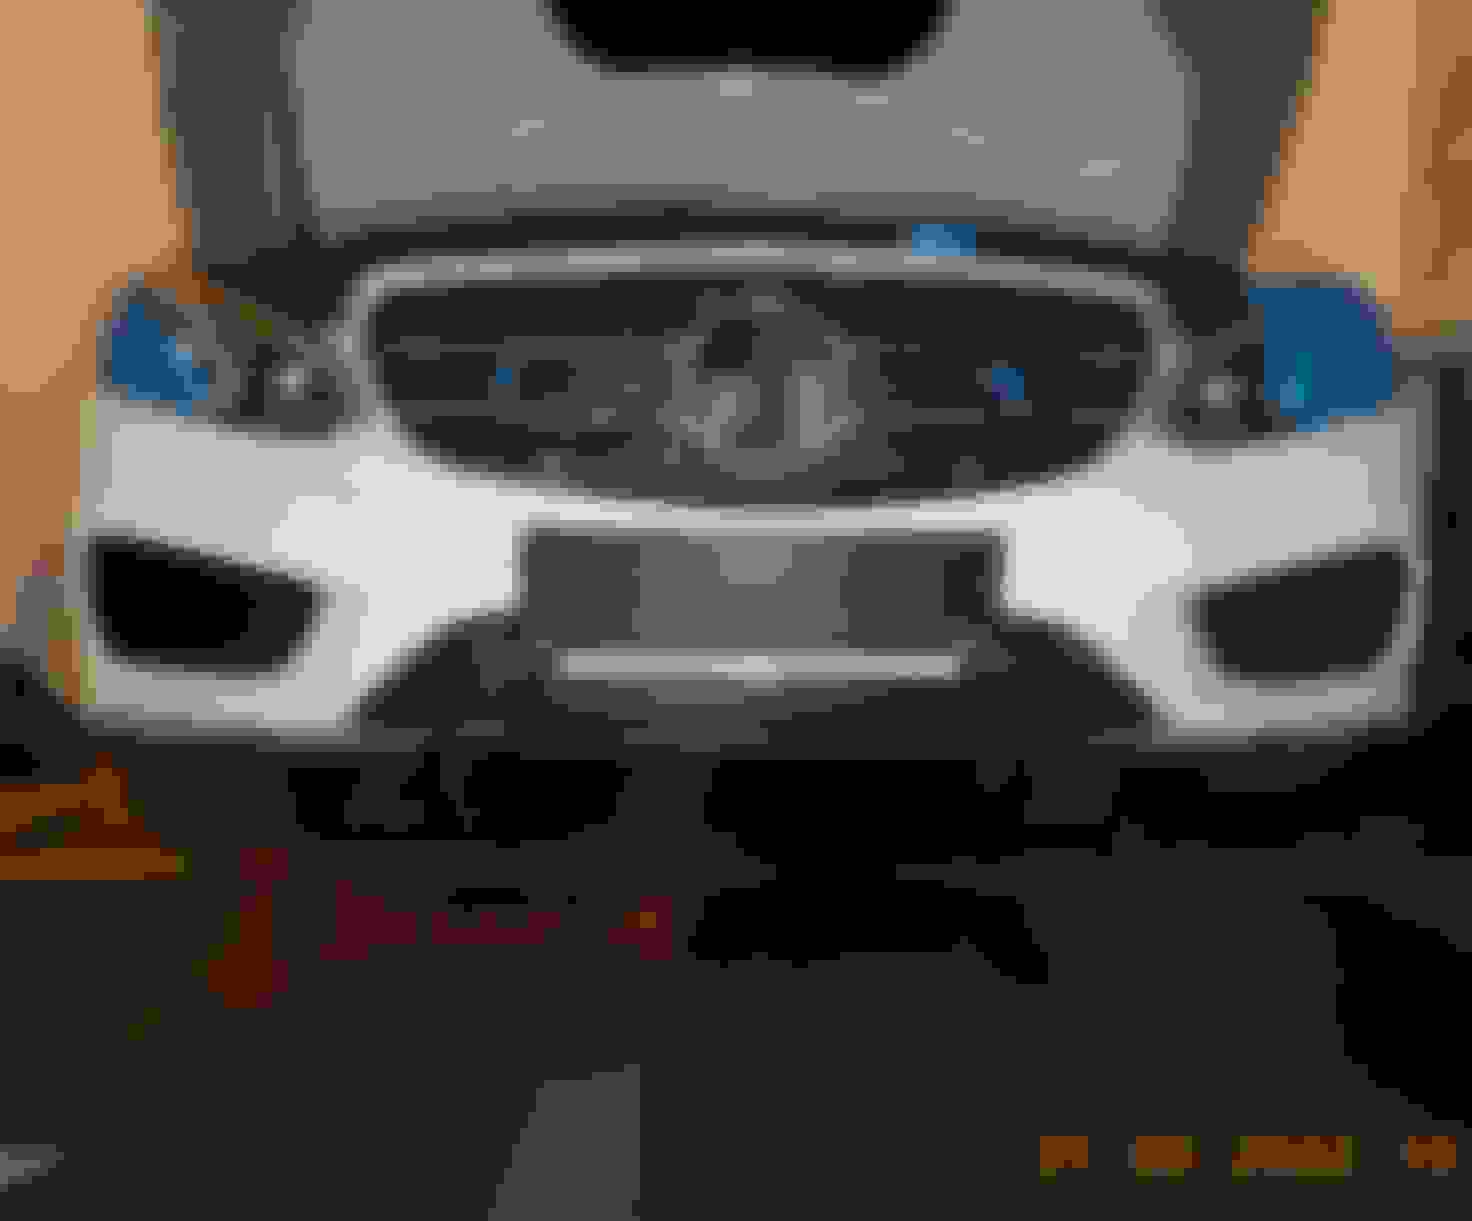
Today I tried removing the lower black grille where the light will be at, but little did I know that it is not removeable, it is part of a 100% one piece bumper.
So the bumper is actually a 2 + 1 piece. 1st piece is the big bumper itself, all black plastic.
2nd piece is the one with clips and colored/painted to your car color and is as big as the bumper too.
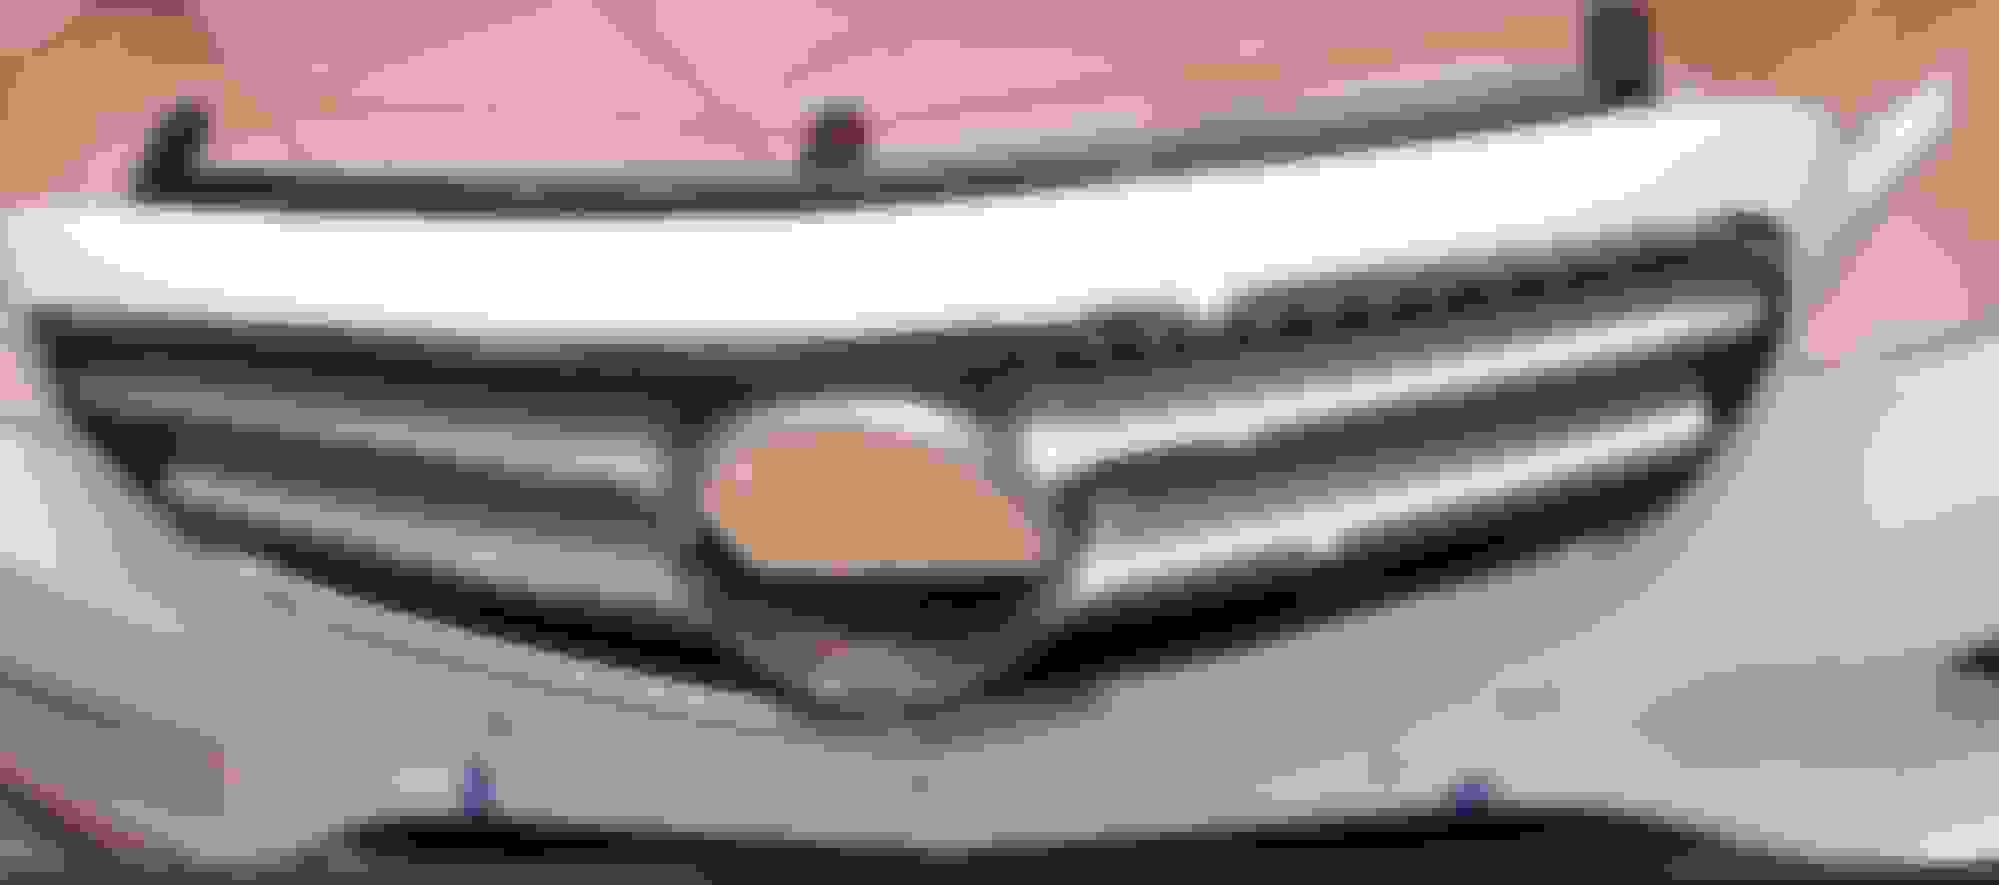
The big mid center grille with MB logo, yes, that can be removed as 3rd piece.
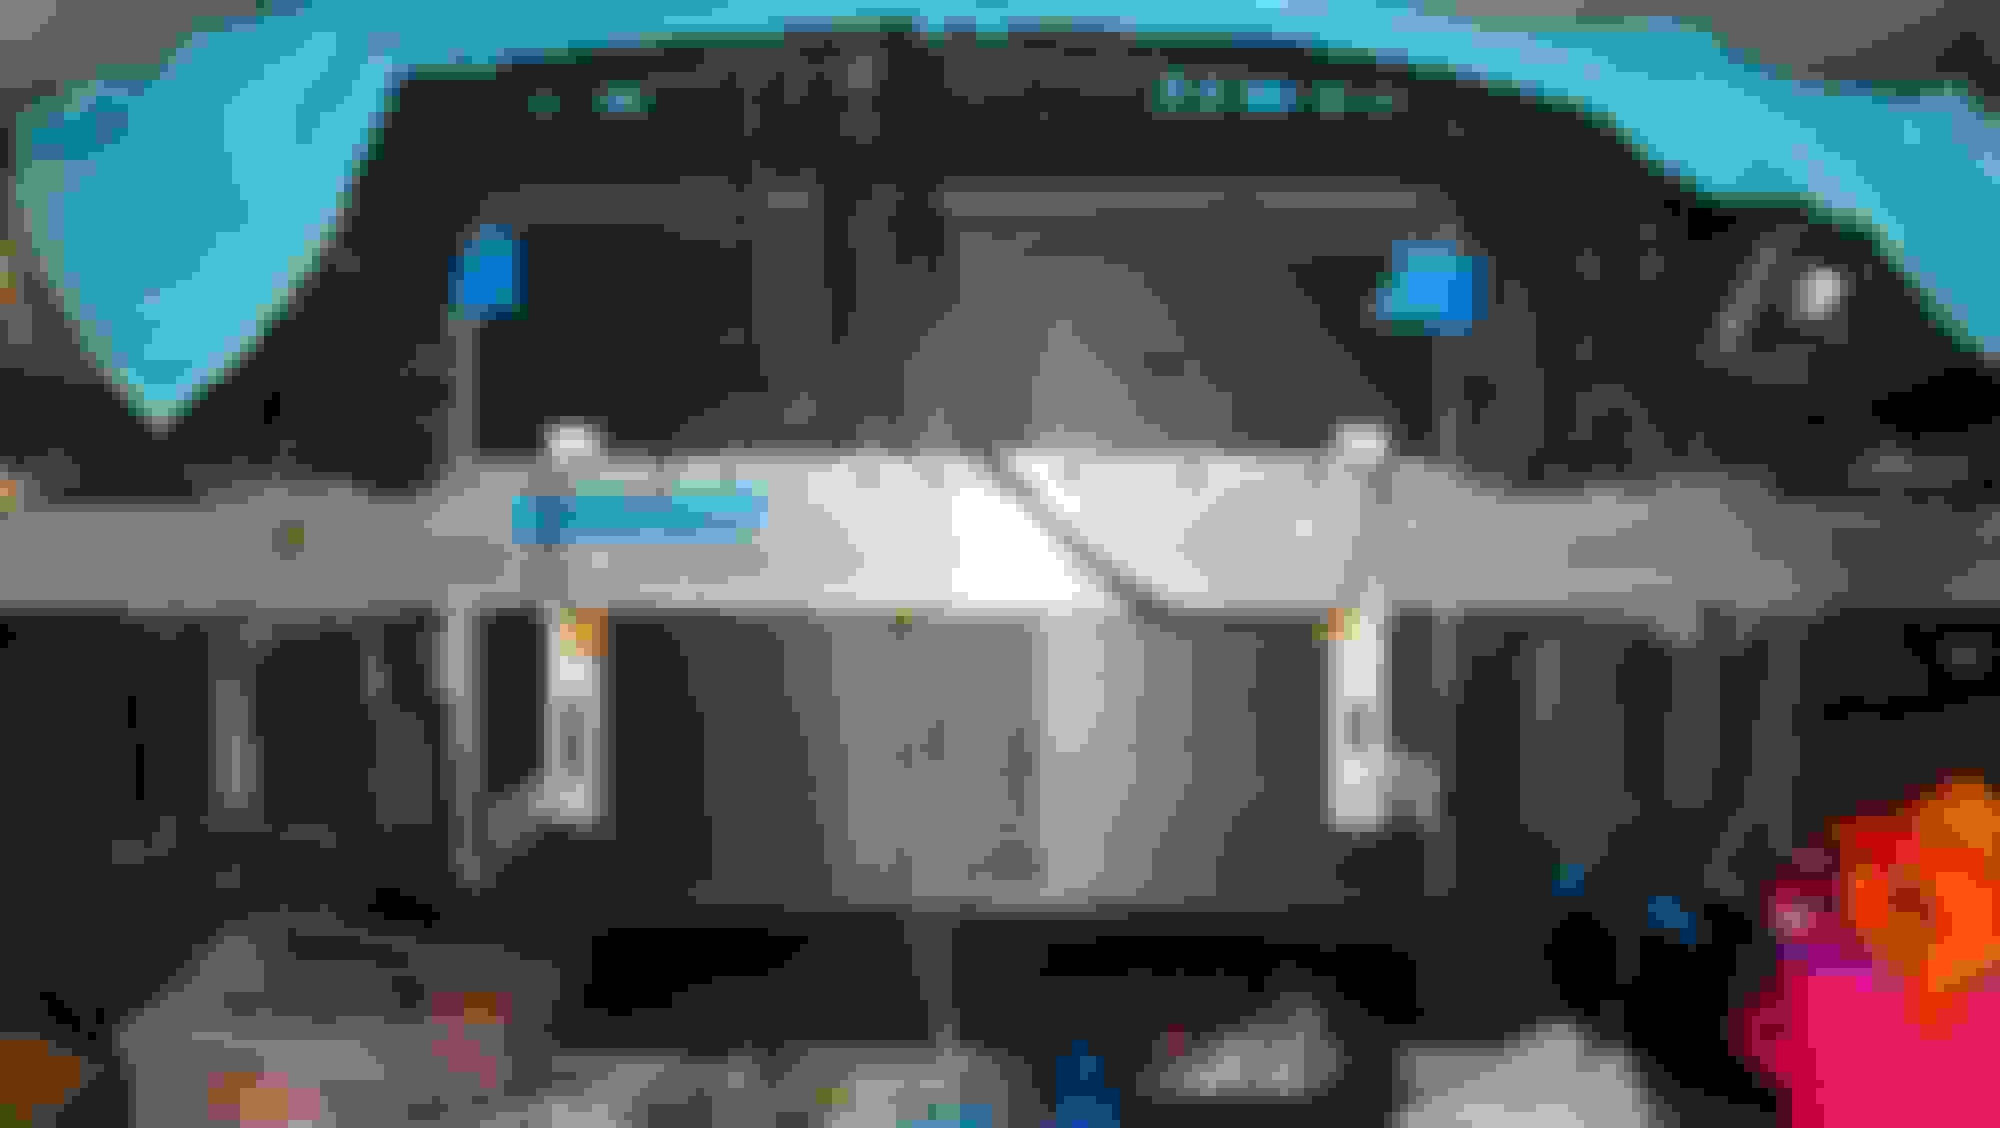
My target position of the LED BAR
REAR VIEW - of the LED BAR
TOP VIEW of a simulated LED BAR. The curvature of the grille and also the bumper + registration plate holder will create positioning of the LED BAR front lens not able to flush flat with registration plate holder.
However, I plan to have the LED BAR be 3 cm rear-ward of registration plate, to make it look more invisible at 160cm eye height.
Let's hope my calculation doesn't go very wrong ....
Shall update
Thats a good idea, how best and easy way to do it ? thanks
We would use regular silicone sealant but because these assemblies are exposed to engine heat I use engine RTV.
Use that anywhere you see a wire entering a connector or directly into devices such as parking sensors.
The goal is to prevent water penetration by capillarity when connector seals conveniently shrink instead of swell.
WHERE (Open list...) :
bumper radars
bumper pkg sensors
HL connectors + controllers
Windshield washer pump
anything item exposed to rain and road splash!
I think the HL itself is a special topic because we needs to figure all the ways the water that puddles at the bottom near controller comes in. Is the Wiring only responsible for creating all that tandem HL mess?
So far I have resisted dropping my bumper to fully weatherize the fancy LED HL - We know your detective skills are limitless... you'll find nuggets we have not yet thought about protecting from controlled destruction
Last edited by CaliBenzDriver; 08-30-2022 at 01:21 AM.
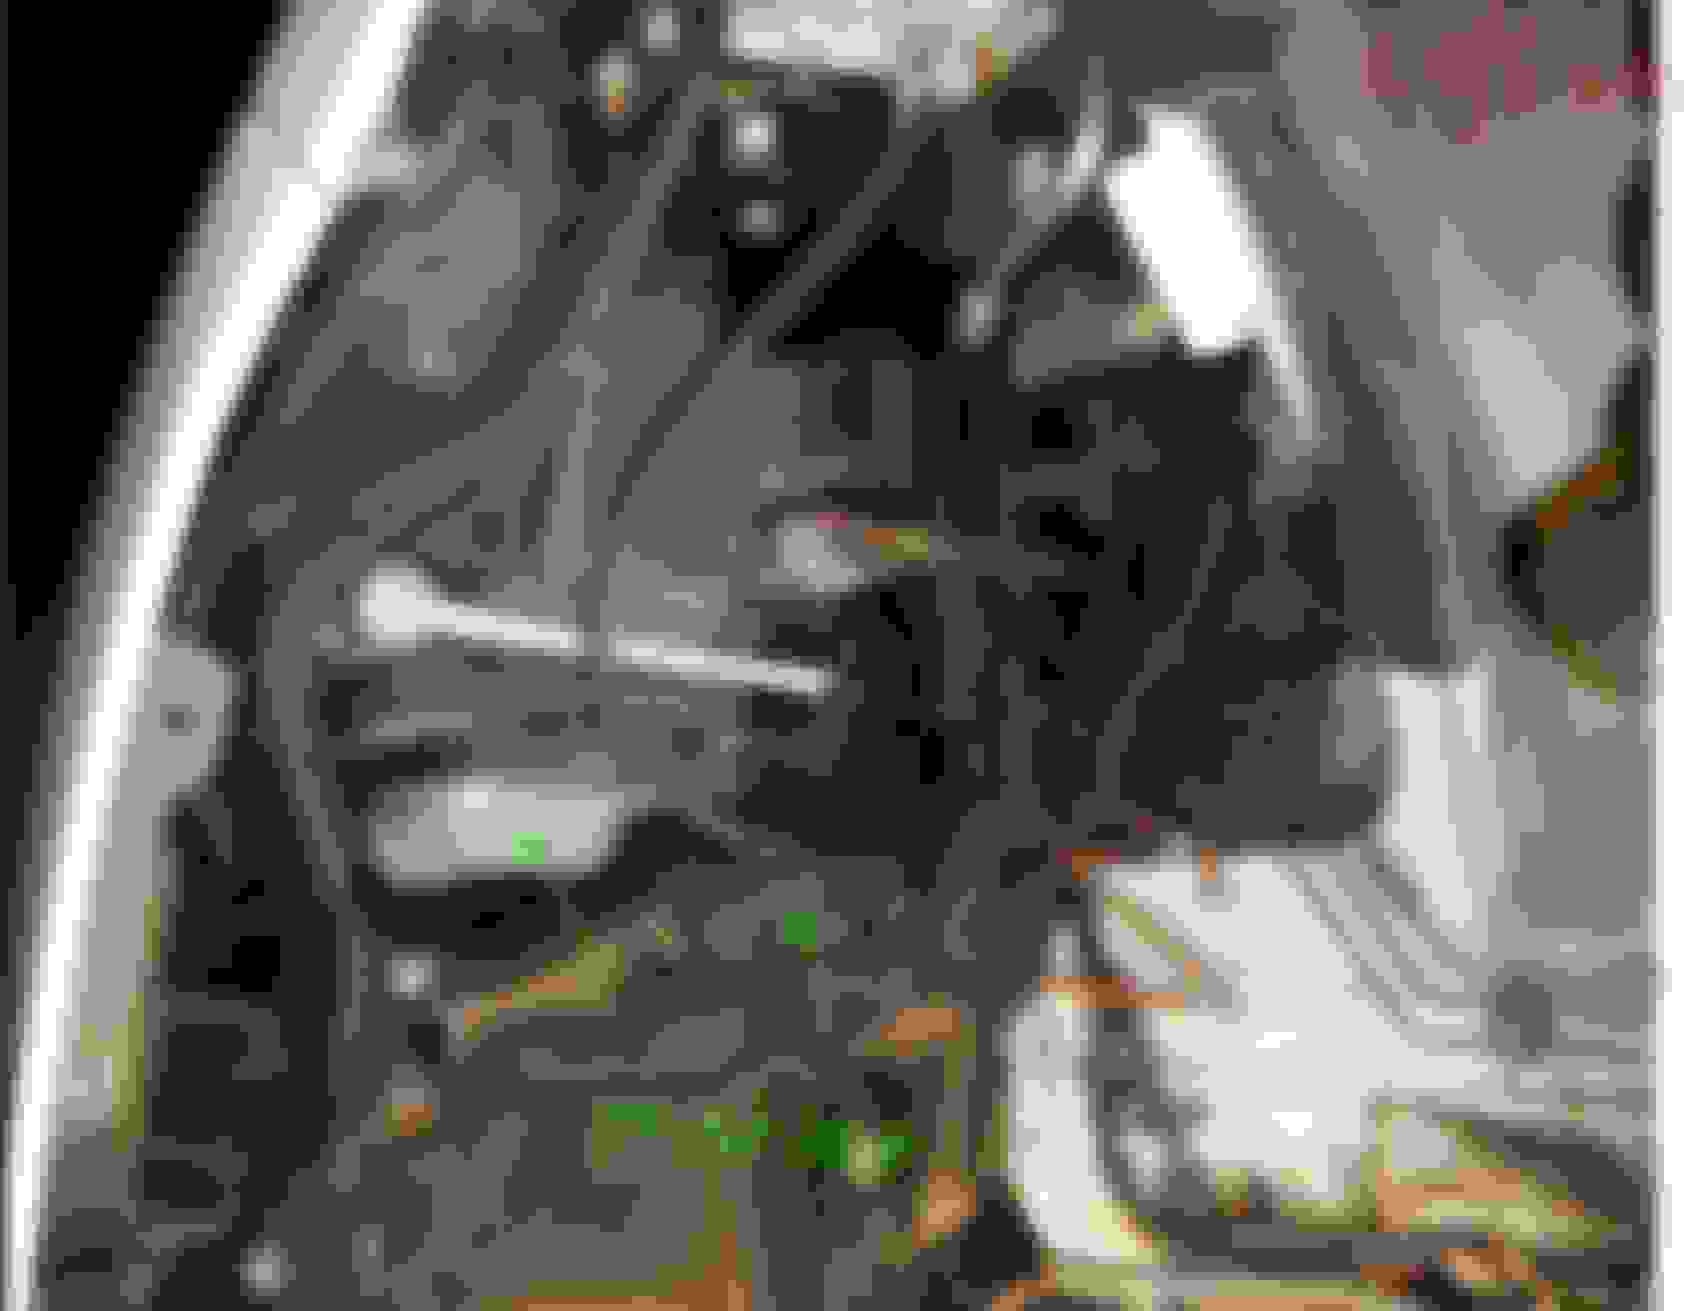
The headlight water entry potential is at the connector only, the 2 modules with aluminum casing is installed downward facing the ground, so water can't get in and its splash protected by the small
portion of wheel well liner front one.
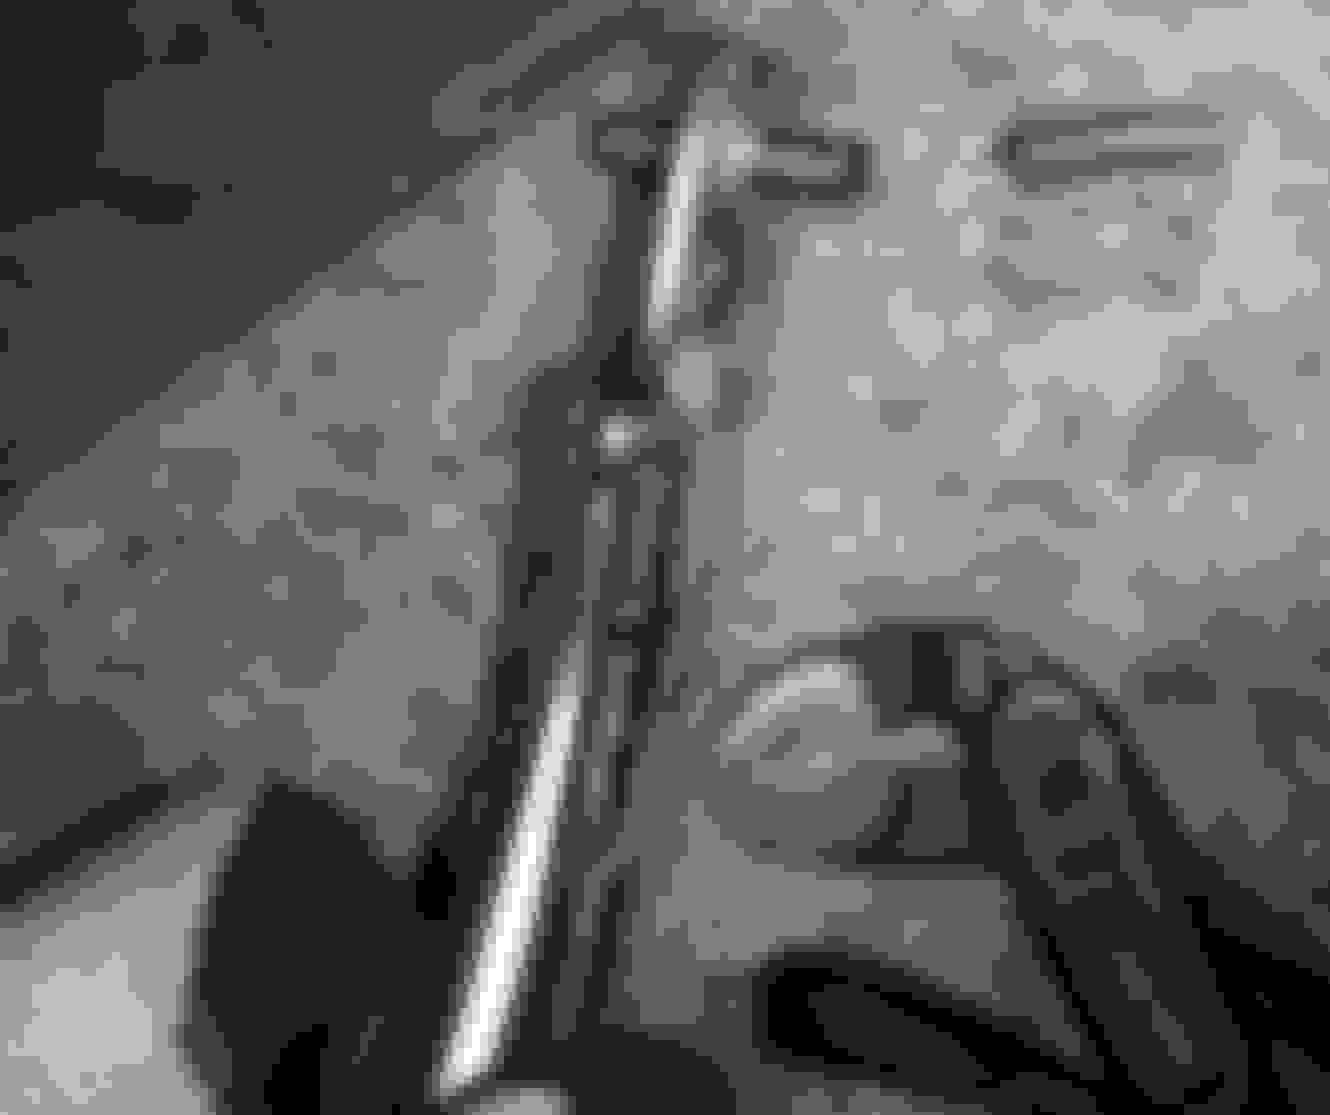
Right side Head Lamp from underneath, sky view
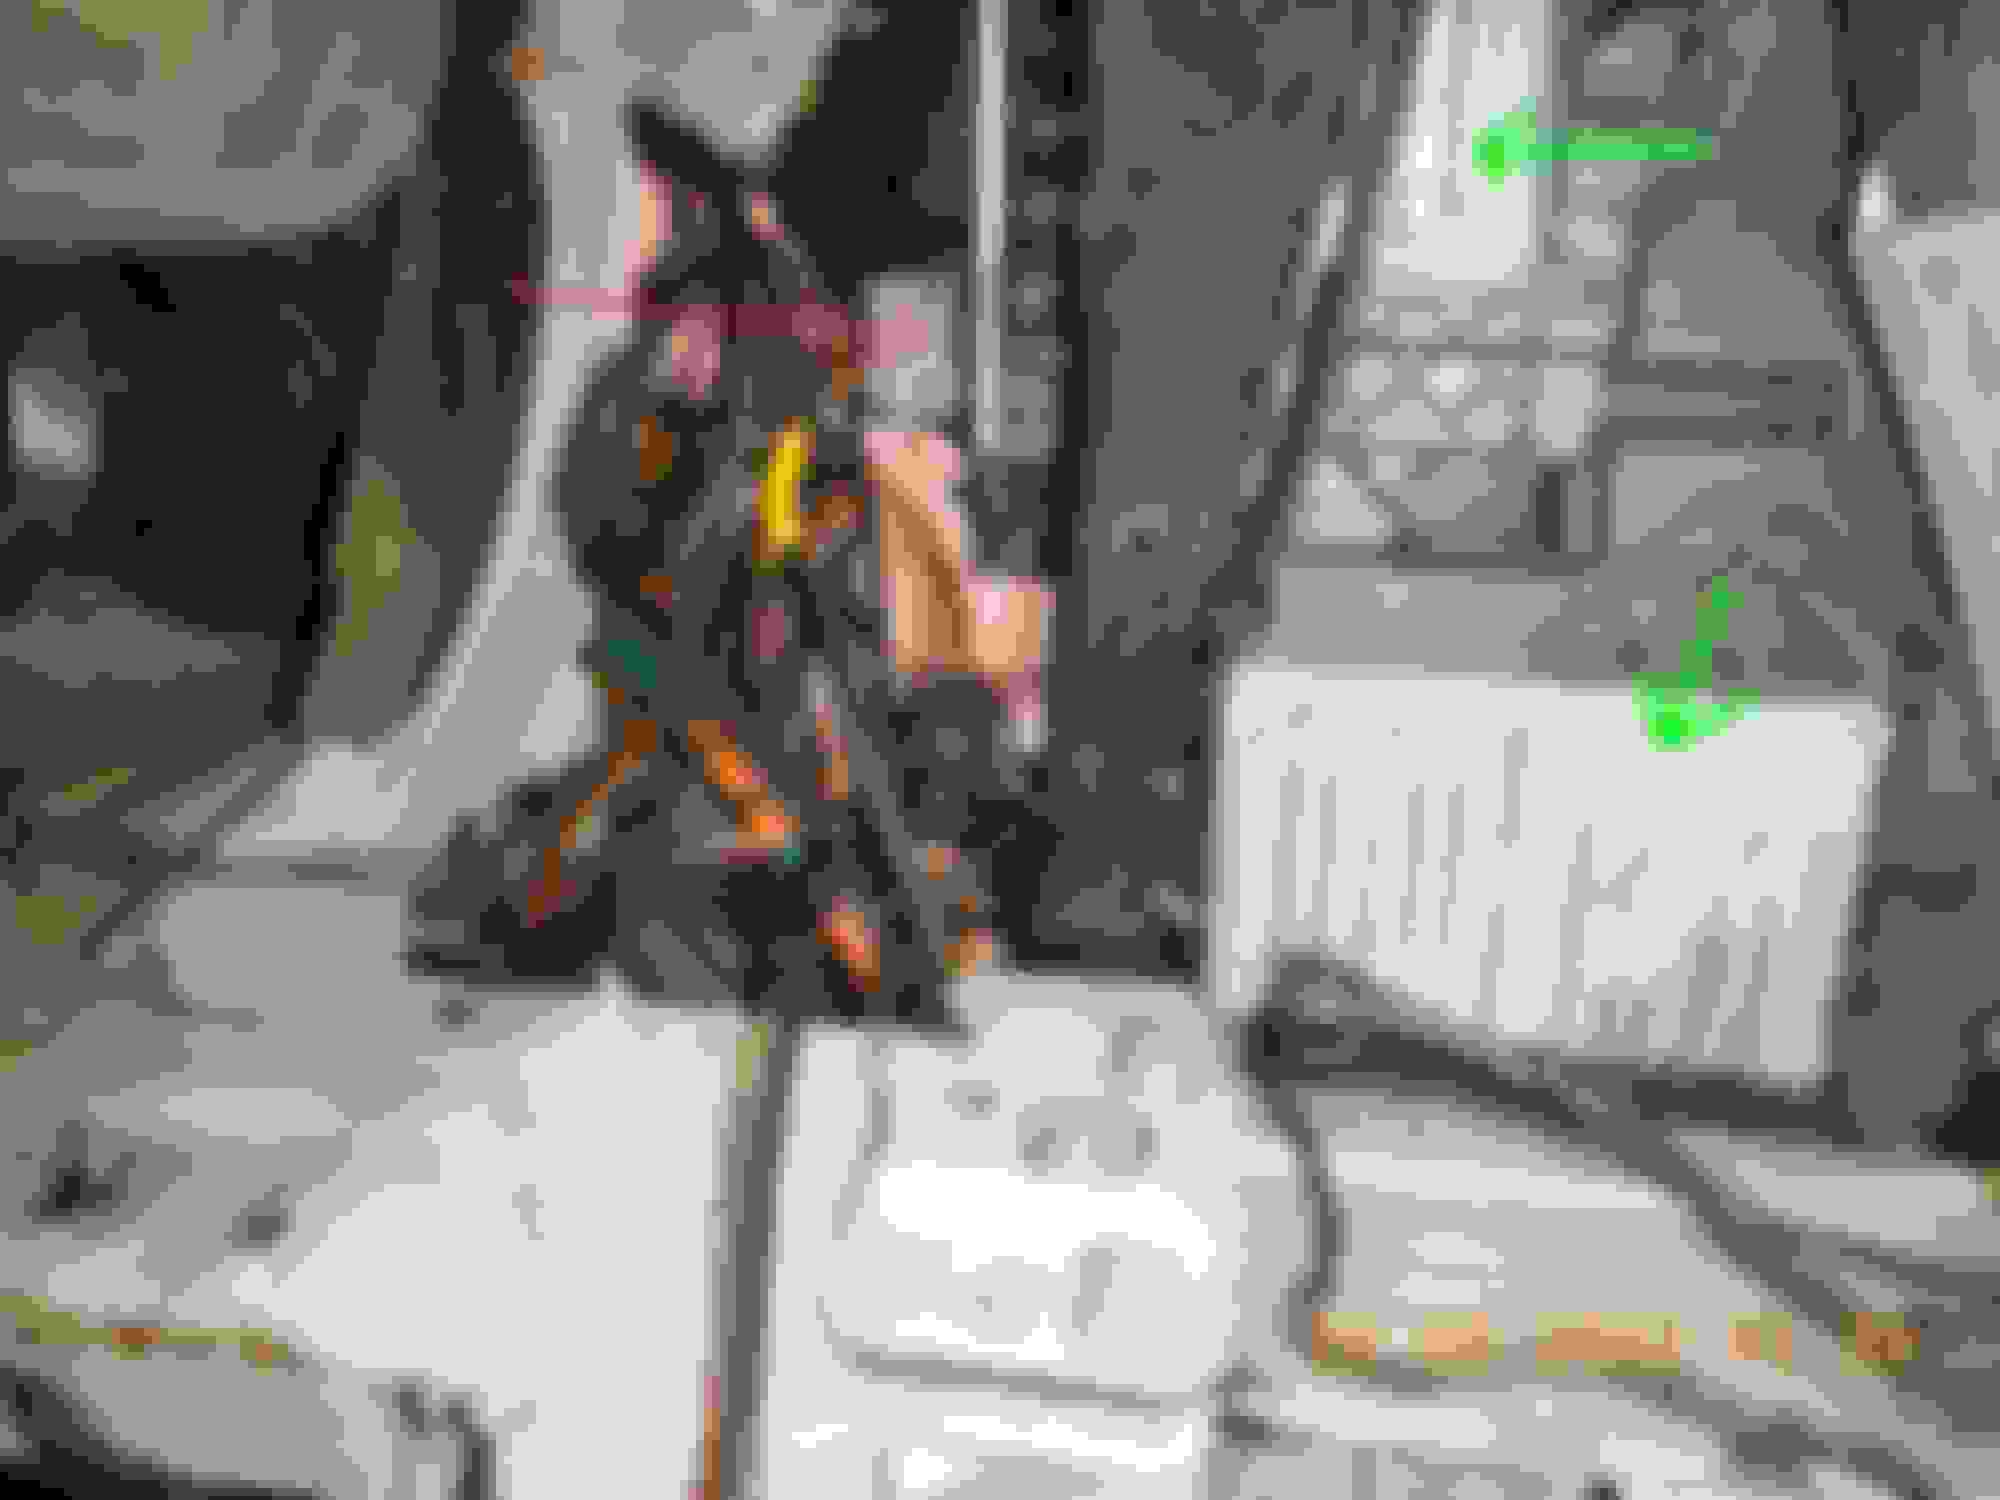
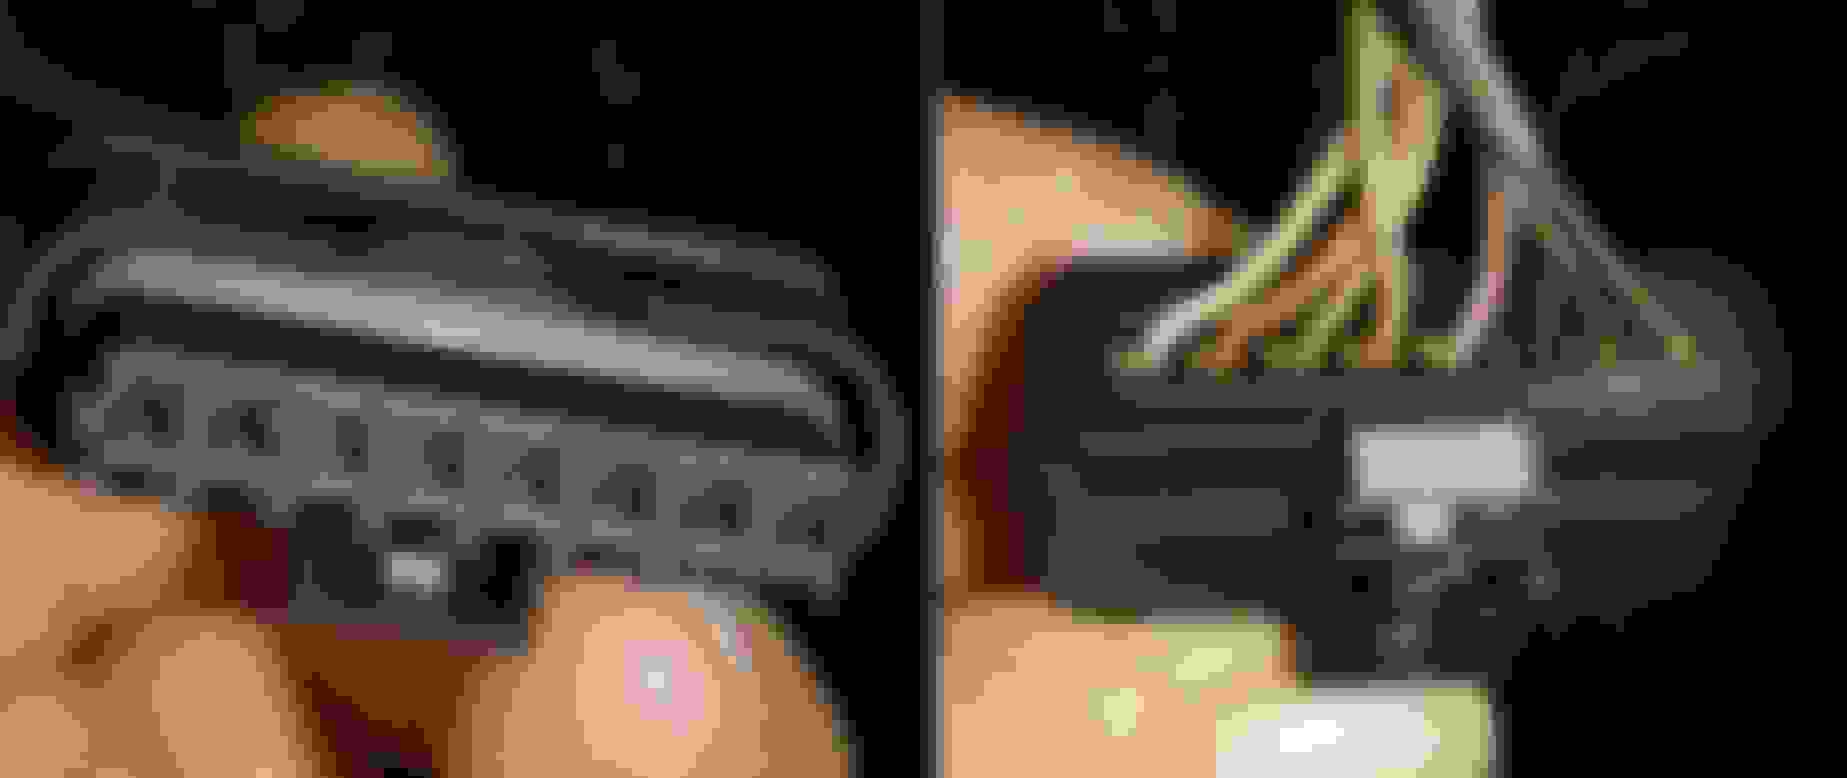
The bumpers 6 sensors connectors and its multipin main ones, yep, will RTV them ....
1 of 6 Proximity sensor/s at bumper
Last edited by S-Prihadi; 08-30-2022 at 04:17 AM.
Reason: typo
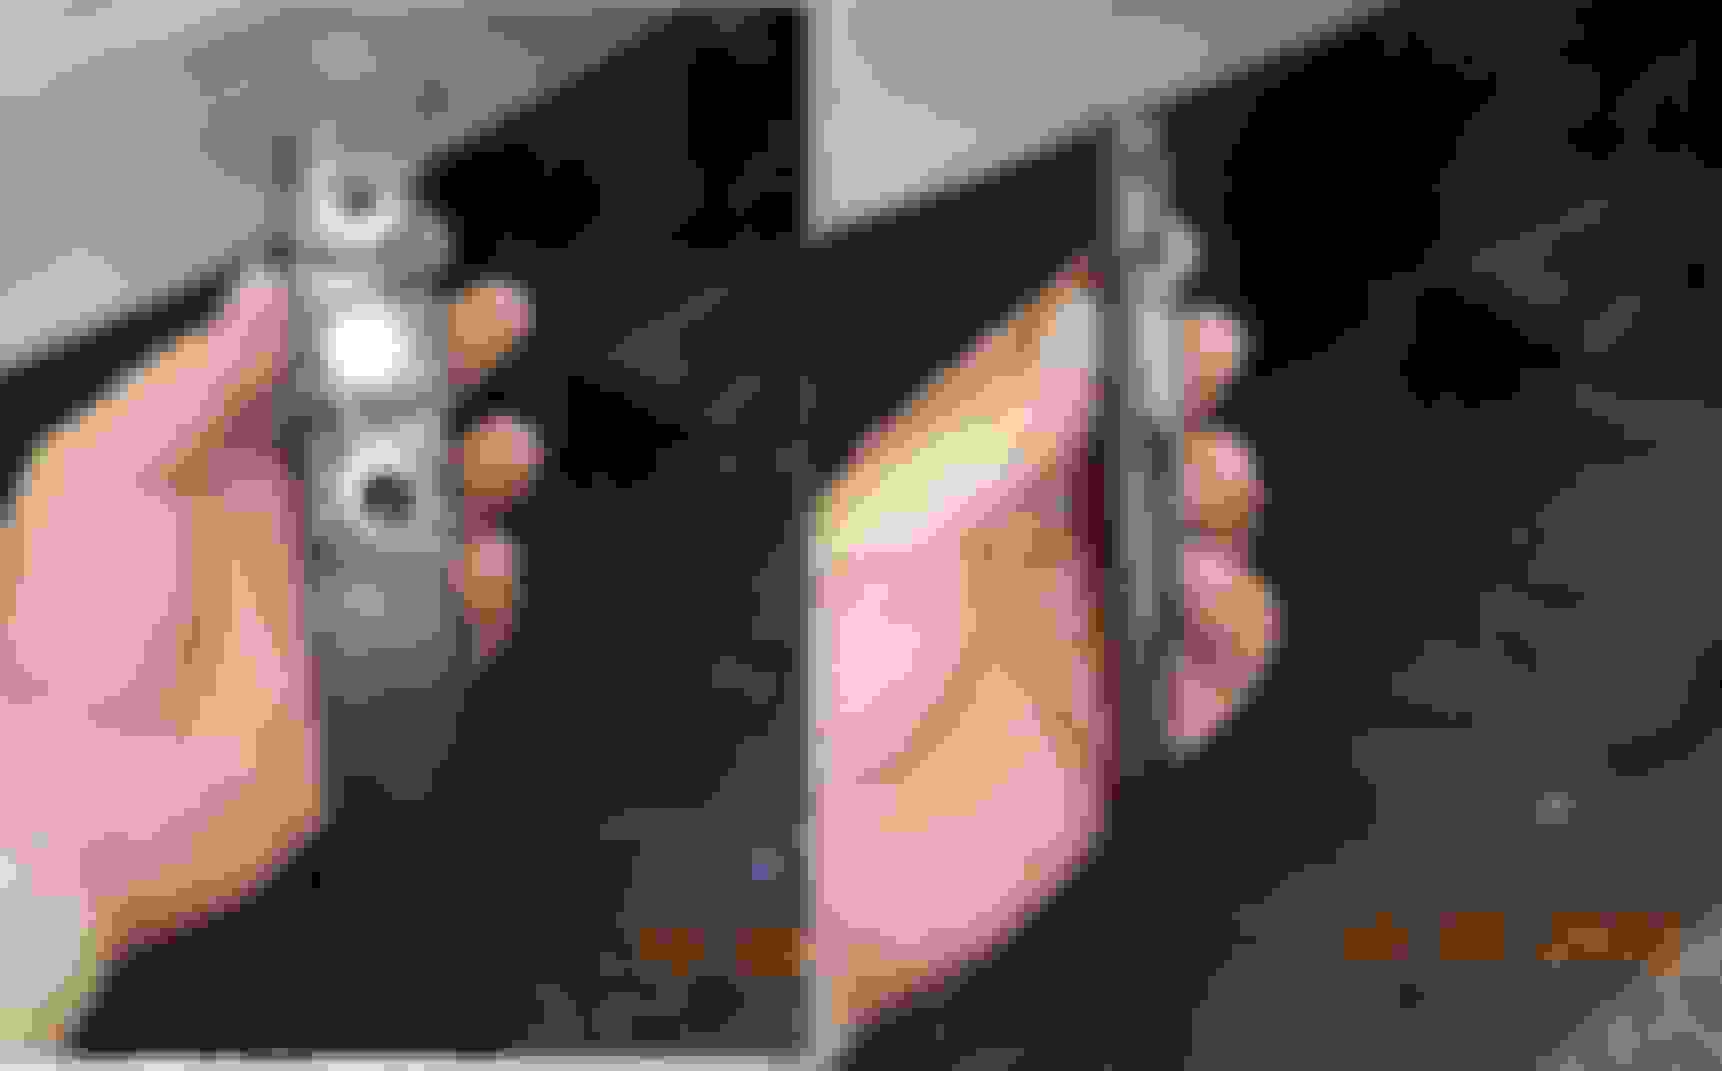
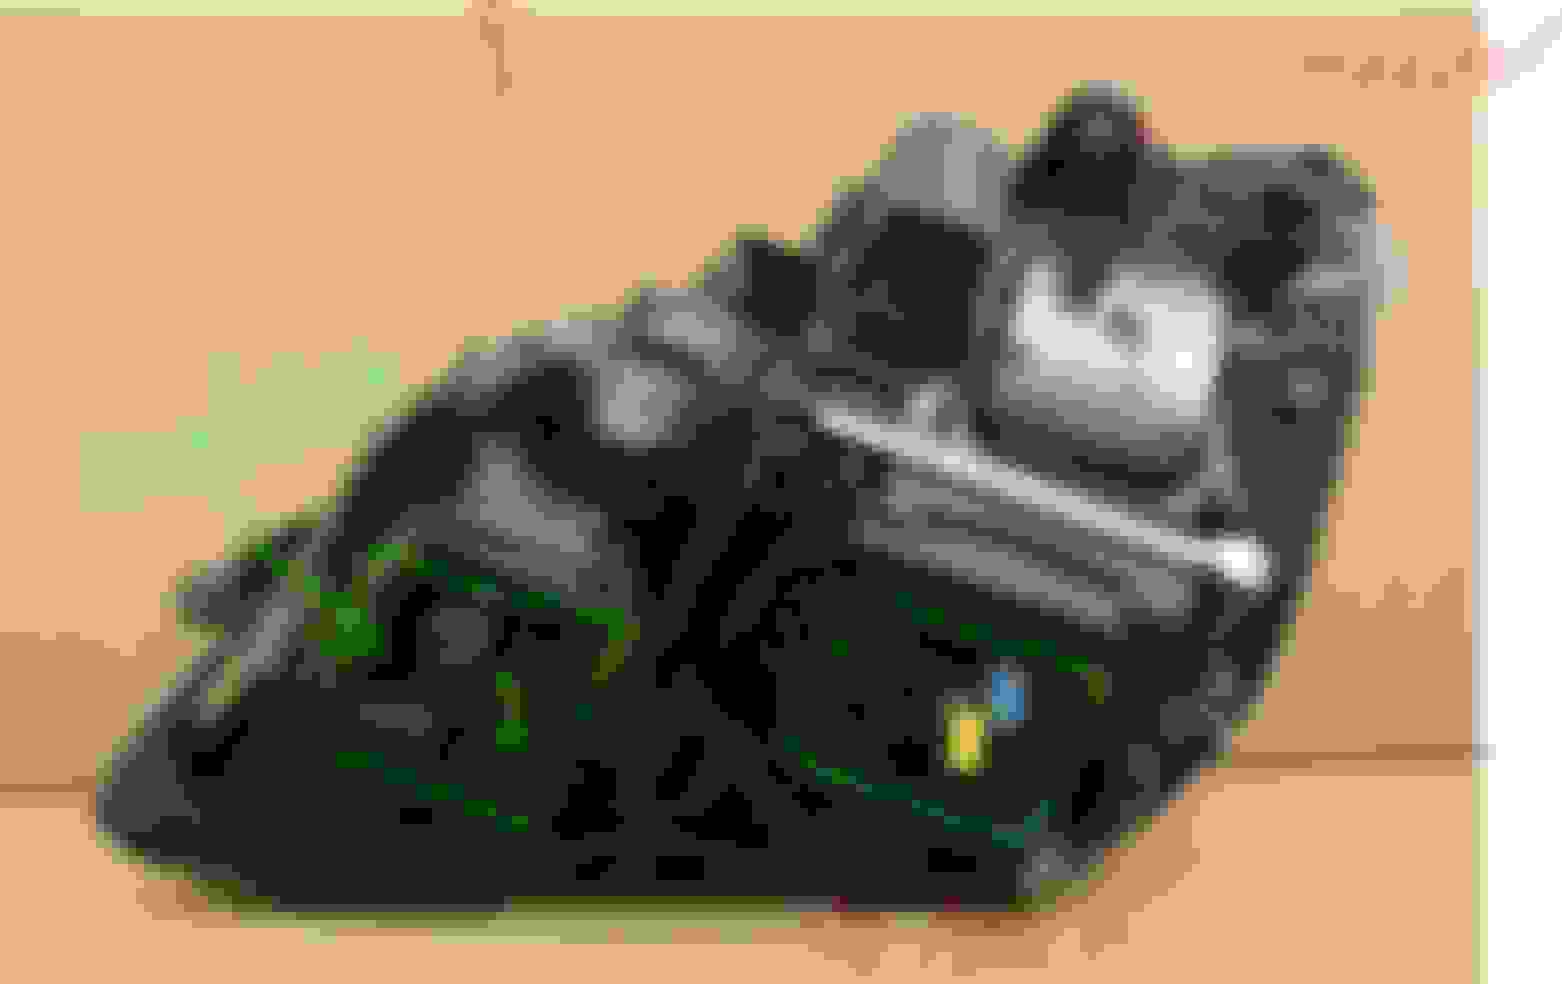
seal has opened up harness shows signs of splash signs of splash heavy splashing dark oxidation plenty of splash discolored oxidation
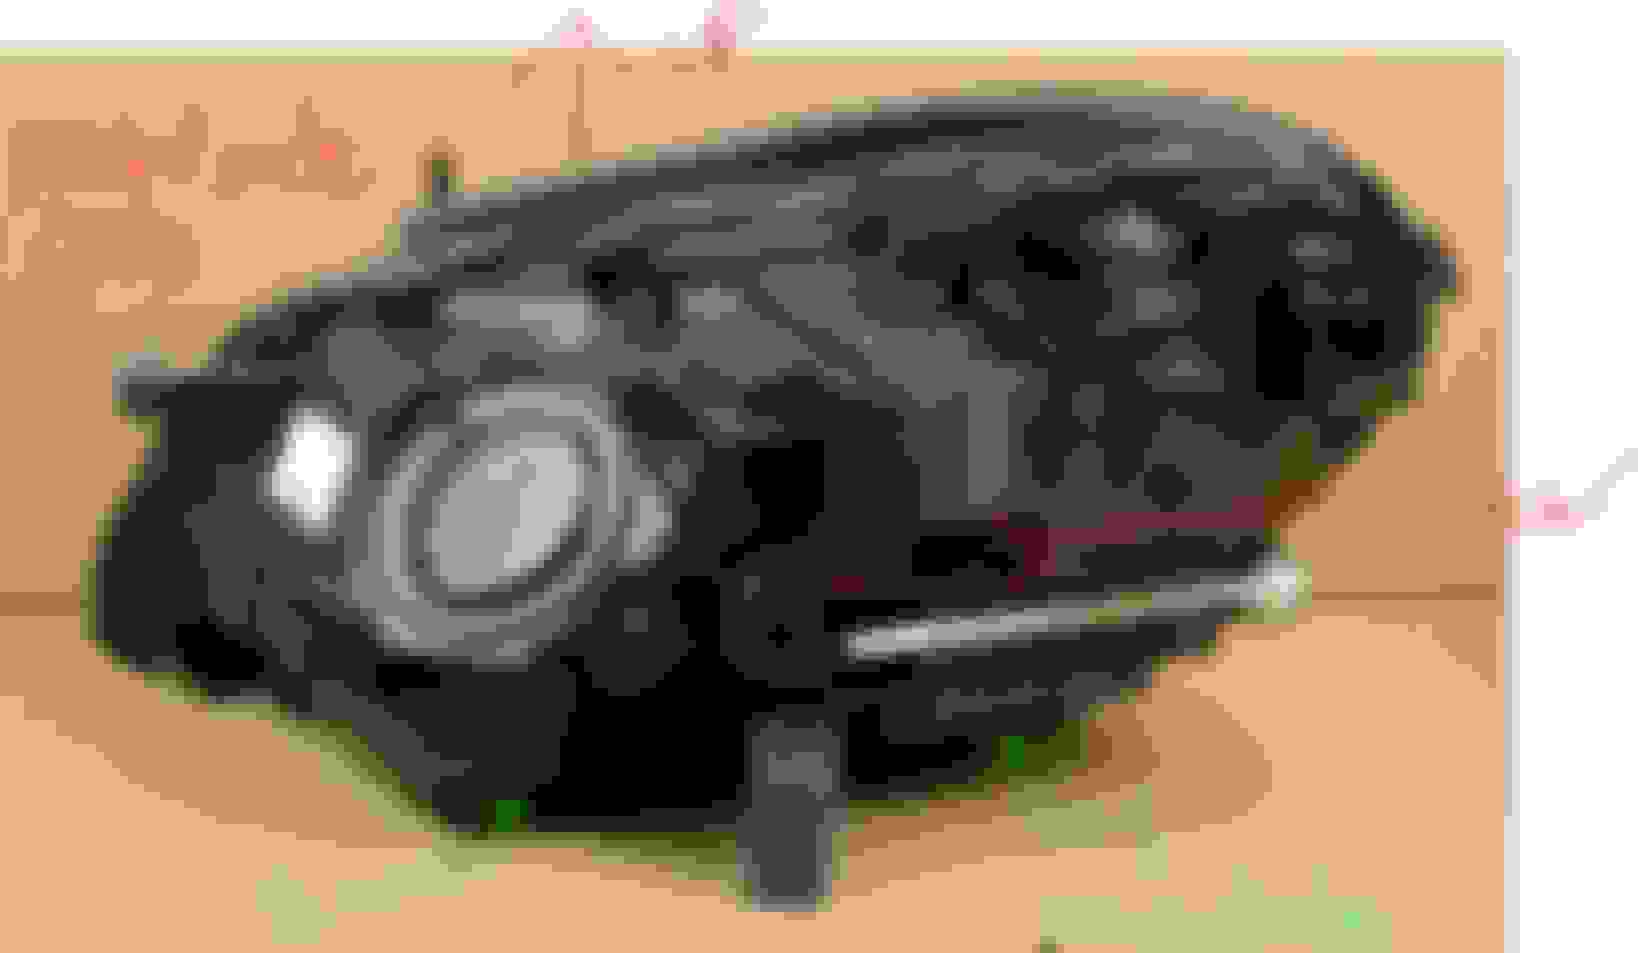
thank you Surya for your detailed survey of LED HL, front modules and connectors.
For me the above pics are evidence the connector seals are temporary decoys to stop water egress.... some water come from the bottom and some comes down from the top by the side of the hood line.
I am not totally "CERTIFIED" .... yet I RTV exposed connections as a simple policy. I remember your remarks about the cost of redoing seals on ships you worked on...
I did not RTV my forward GND screws when I cleaned them initially, I shall correct that.
Last edited by CaliBenzDriver; 08-31-2022 at 09:36 AM.
Those whitish residue is first owner very hard water supply. Its calcium .
I will need magnifying glass to see better for those you mentioned, thanks my man.
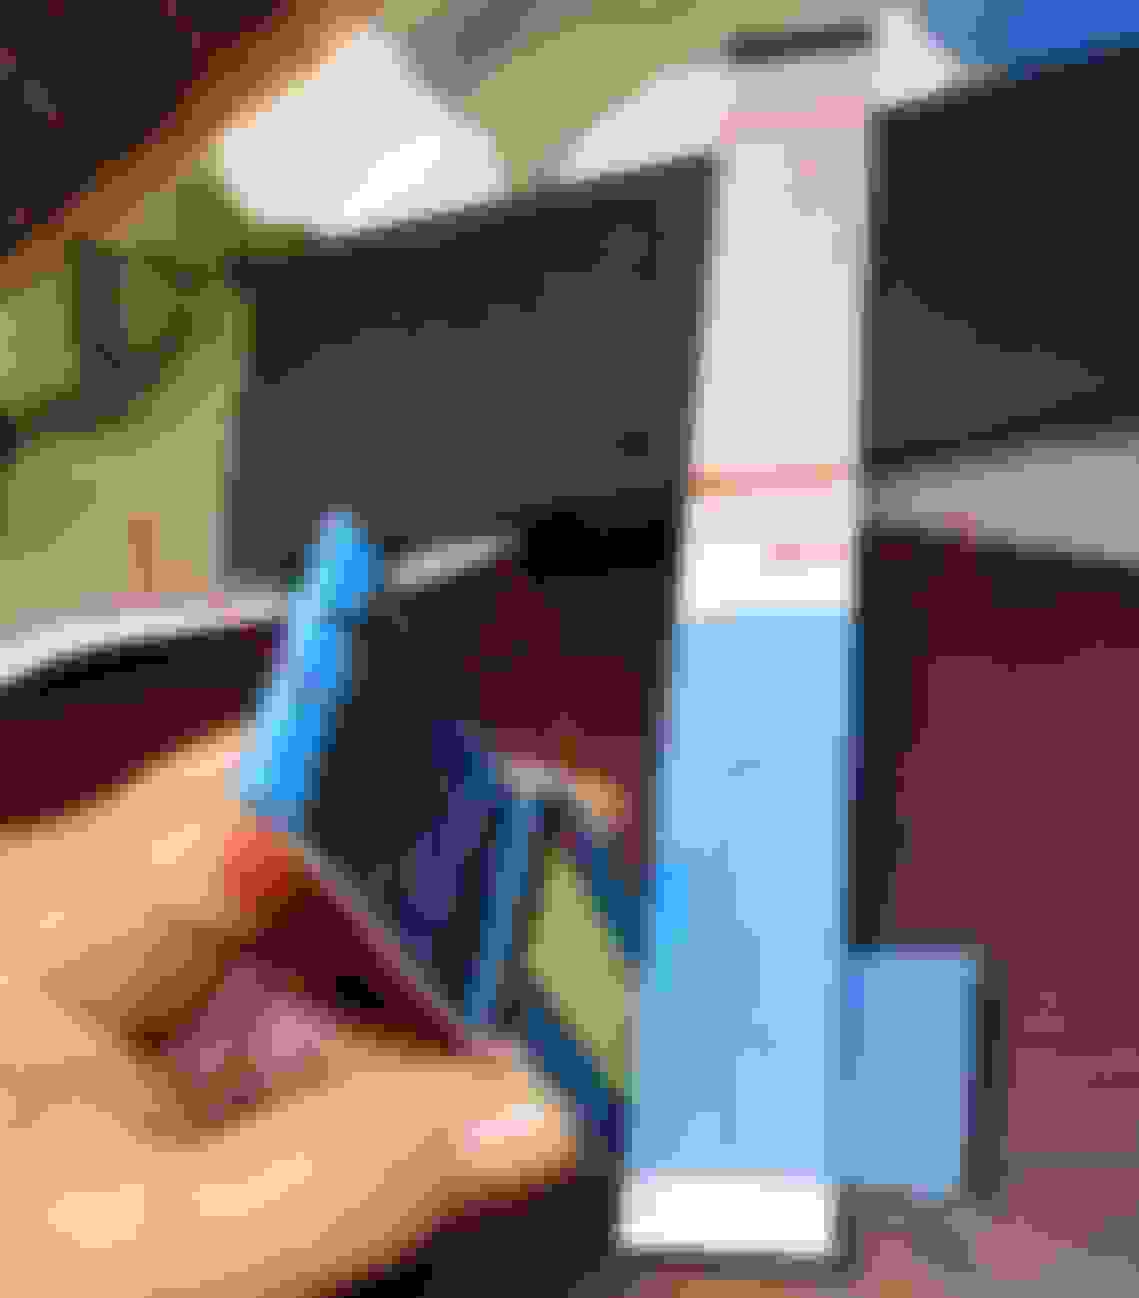
If I do correction at the final 6mm bolt at the LED BAR itself using angled shim, it won't be good when I need to move the LED BAR rear-forward.
In green is angled shim or washer they call it if for LED BAR. Some call it wedge shim.
In red is what I plan to use for the vertical alu bar and that can make everything easier for adjustment. https://id.misumi-ec.com/pdf/fa/2014/p2_245_002.pdf
I have done rough test and it seems I need a 7.13 degree wedge shim at the vertical alu bar itself to make the L plate and the rear-forward slider plate be straight and sweet.
Initial test showed I need 4.xx mm jacking up of one side to make it straight. This is before I tightened down with cable tie.
So I used polyurathene sheet. 2mm x 2 layers to make 4mm. A bit more than 4mm because a double side tape was needed too.
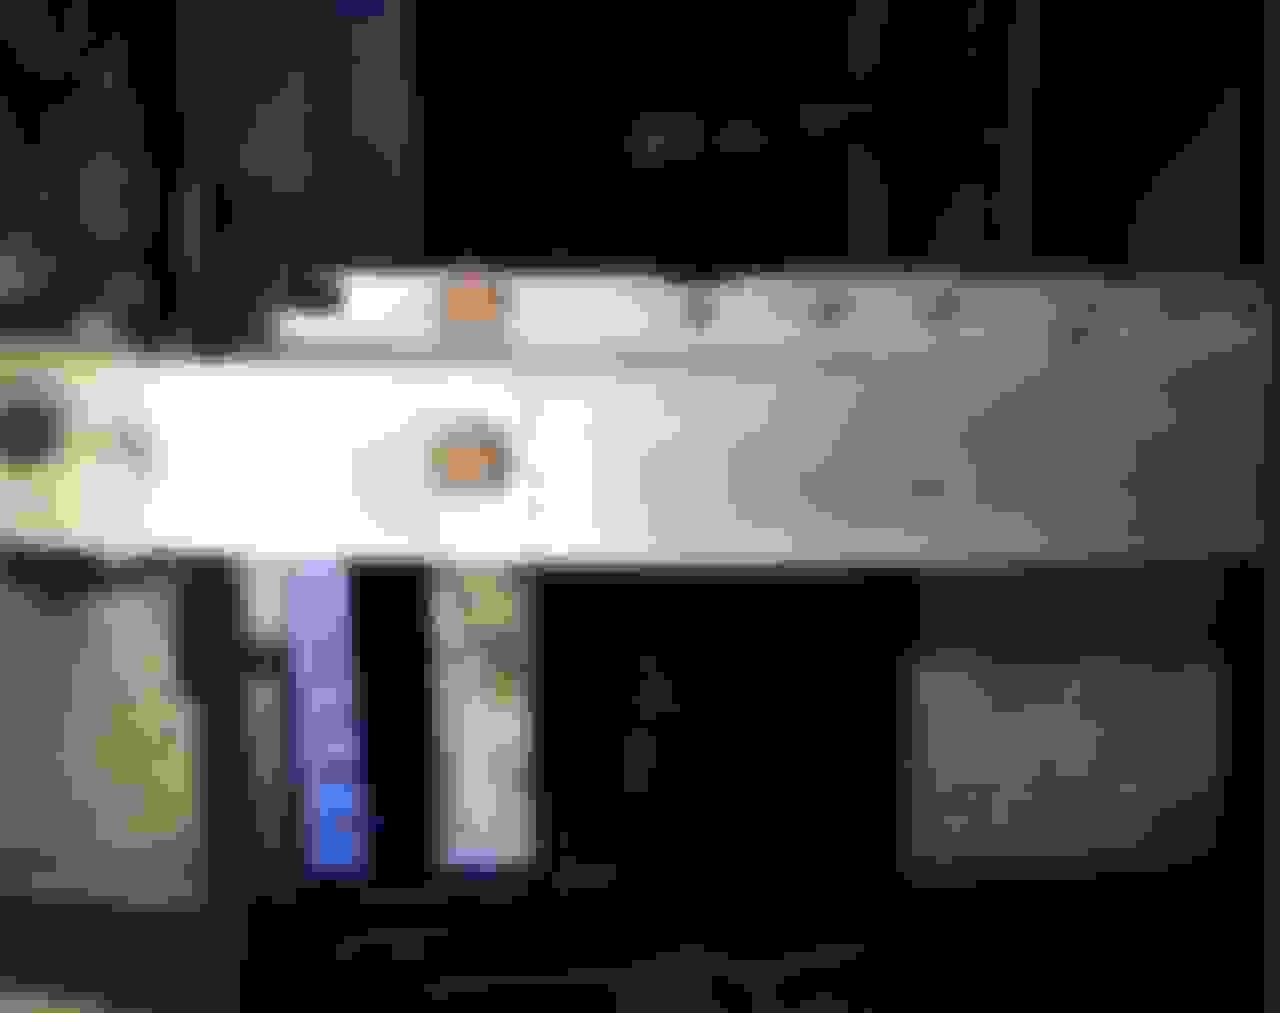
This is the RIGHT side
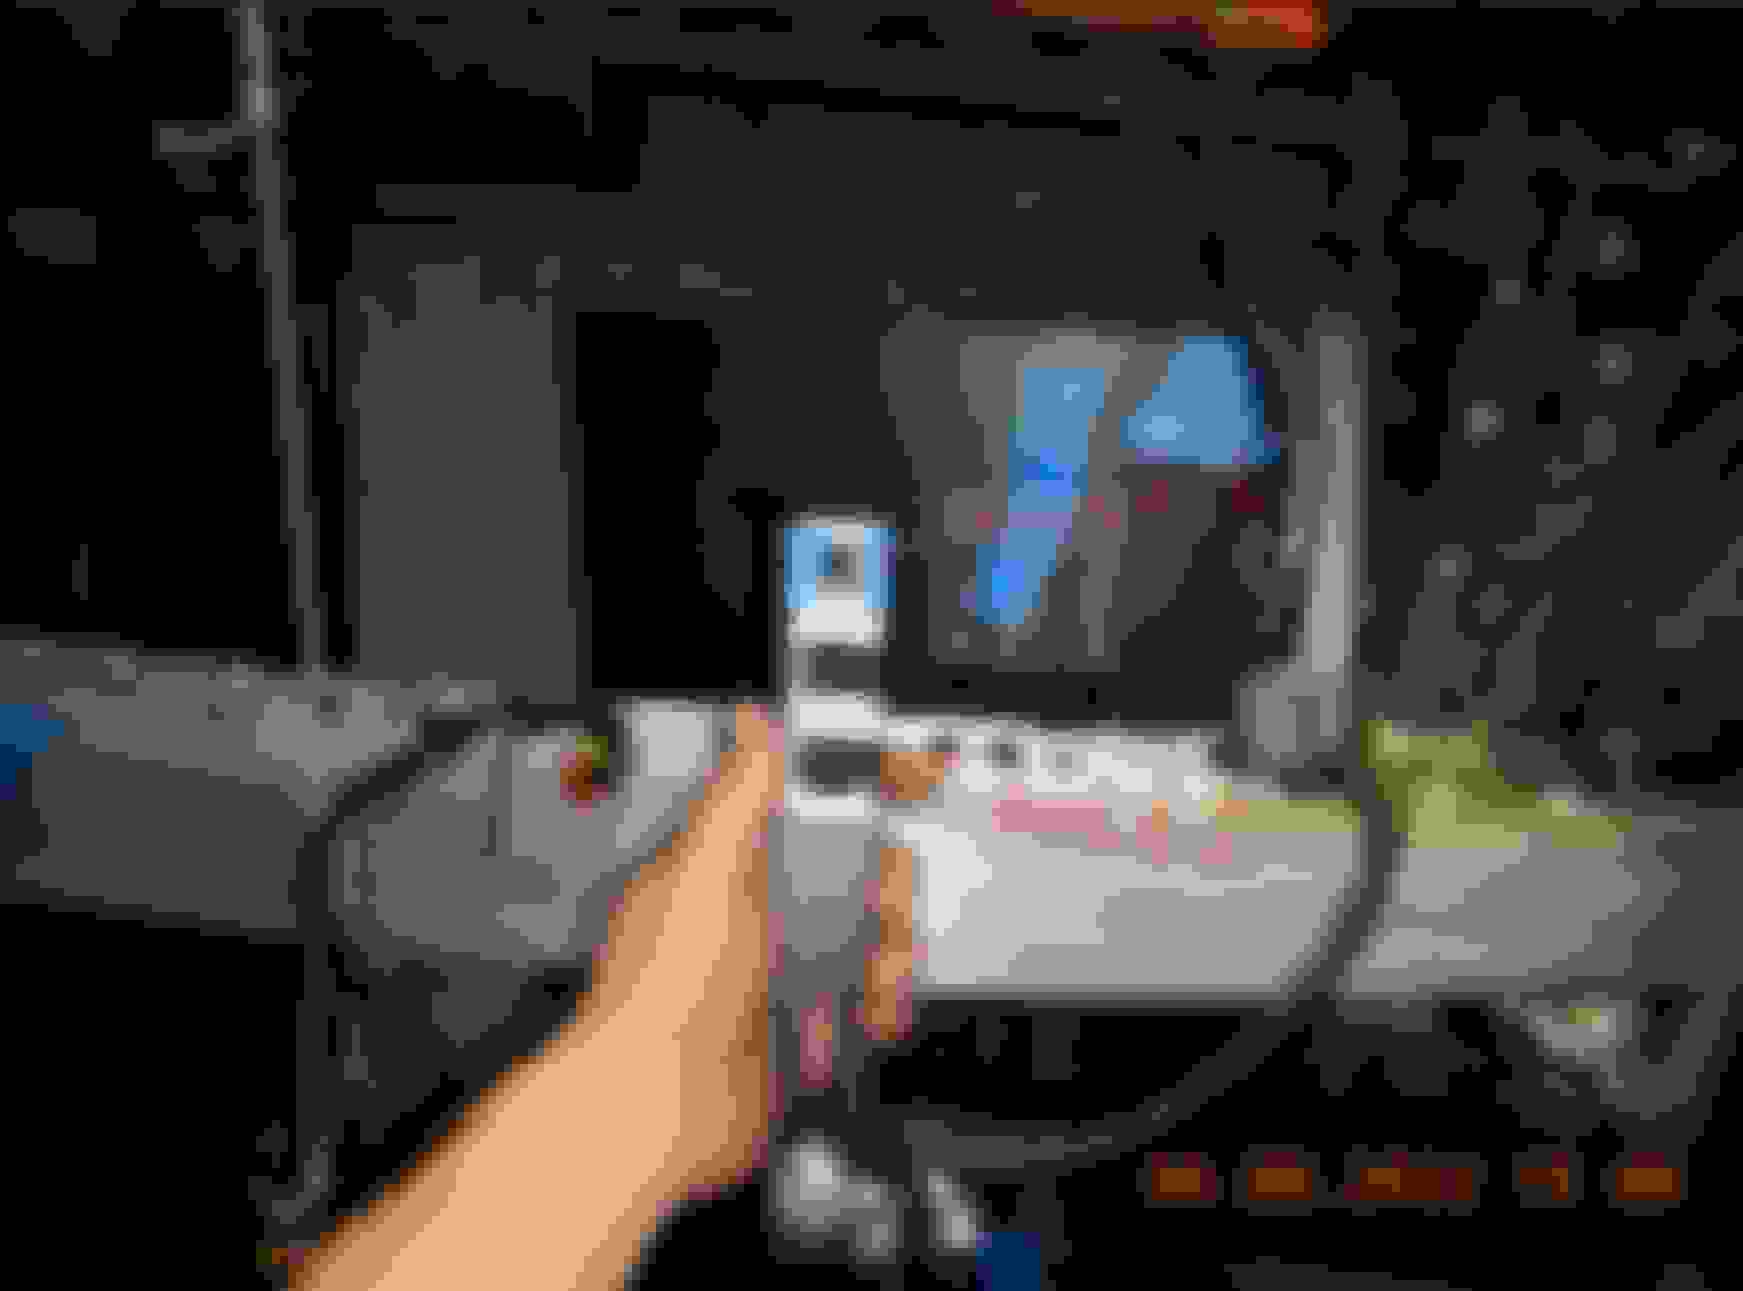
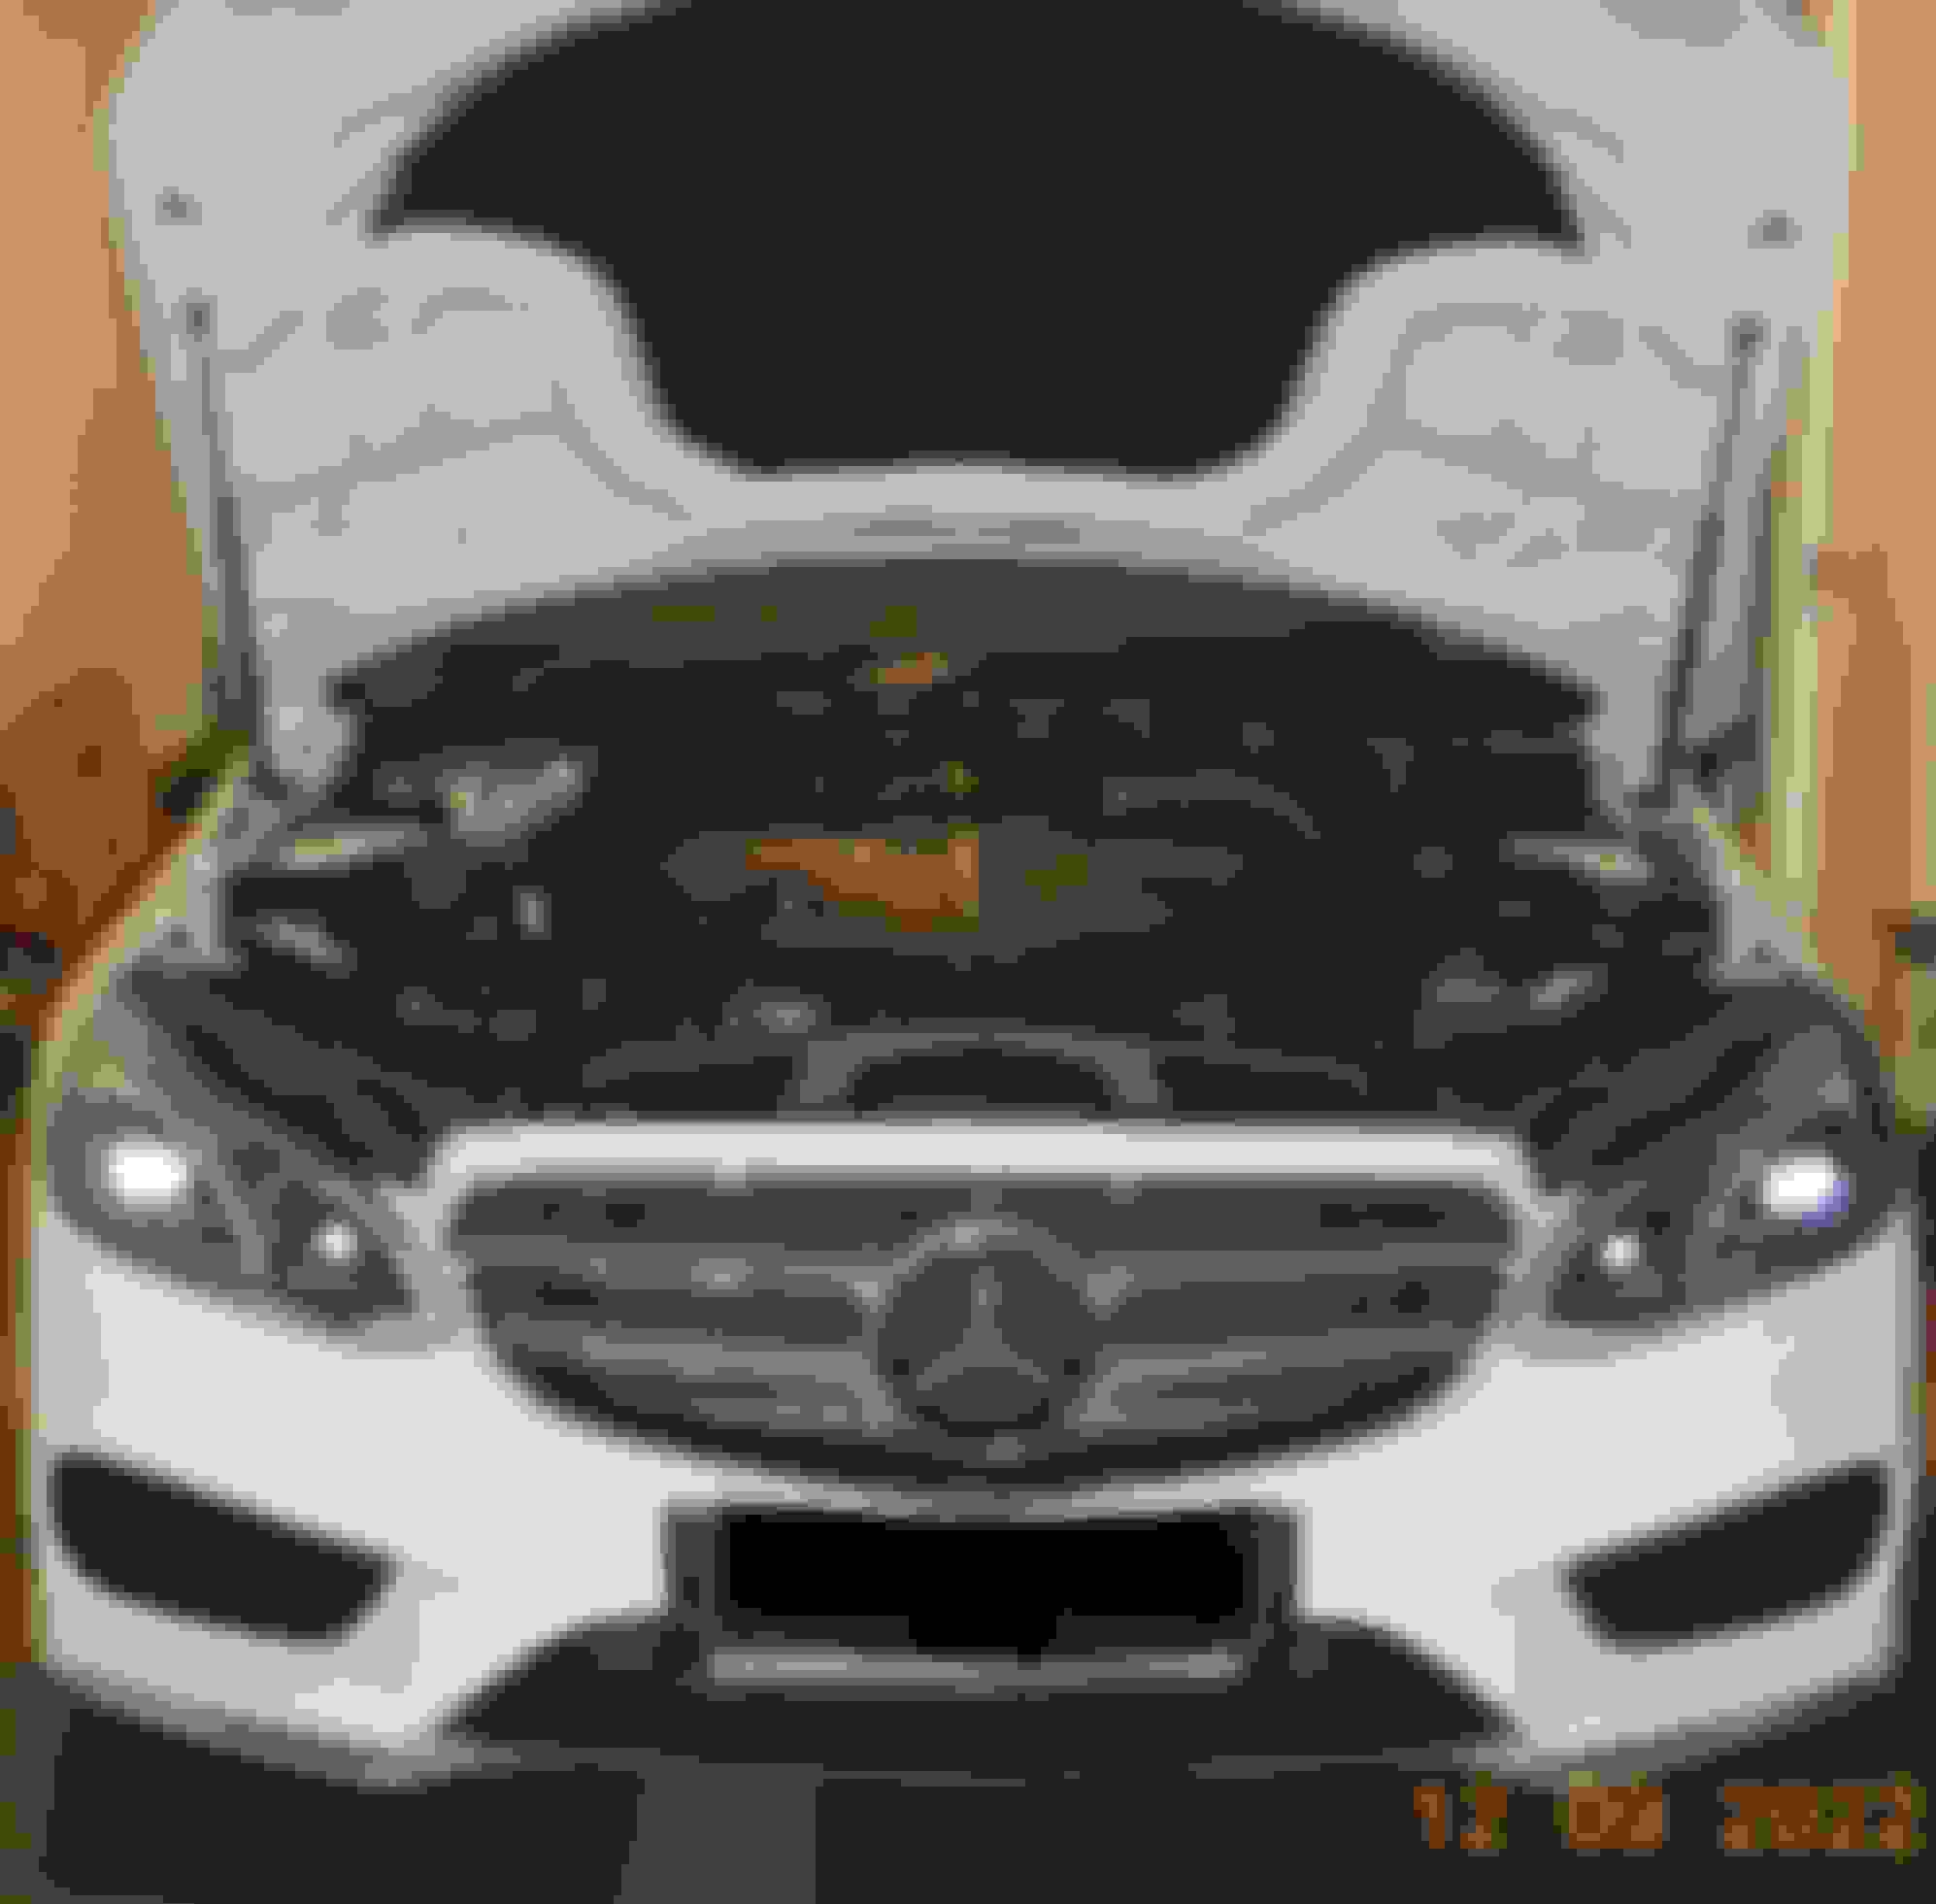
Using disposable chopstick as guide rod , to estimate where the middle of the light will pop out of the grille.
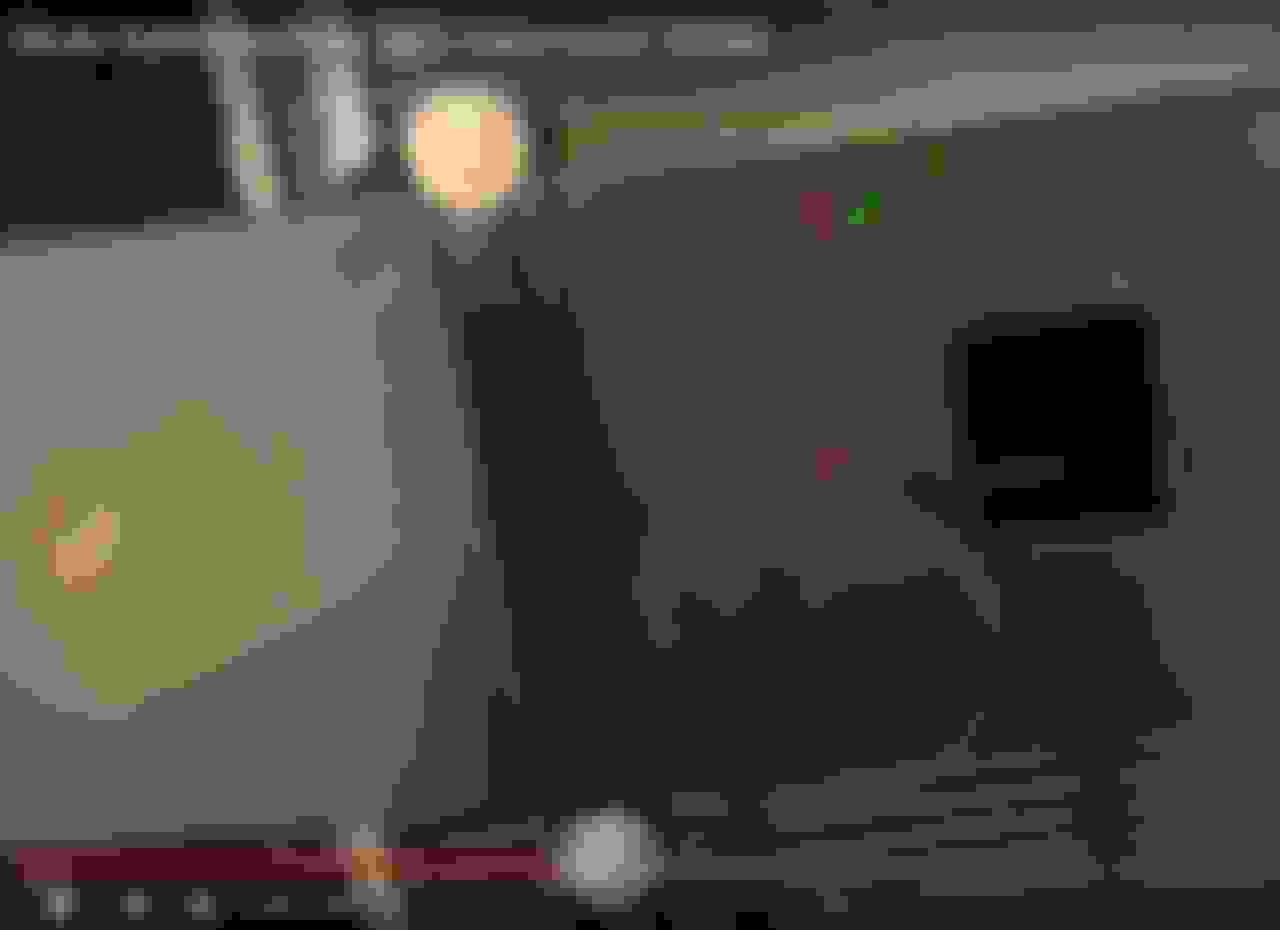
For the time being - WORK IN PROGRESS
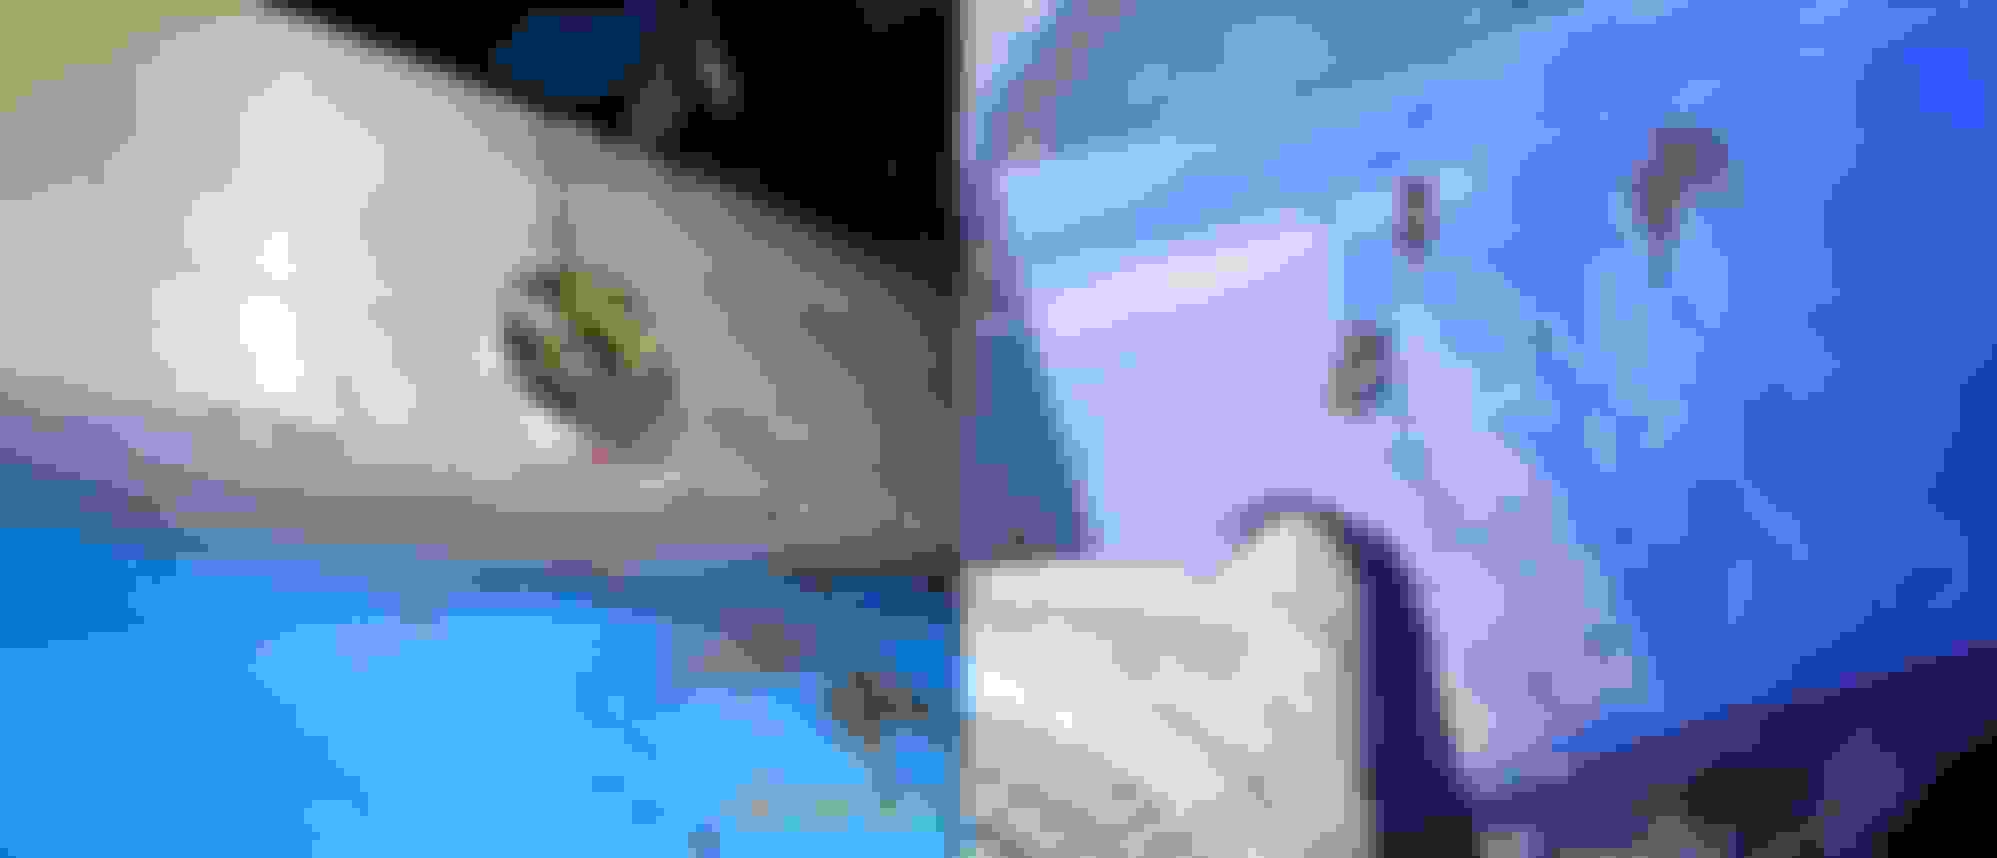
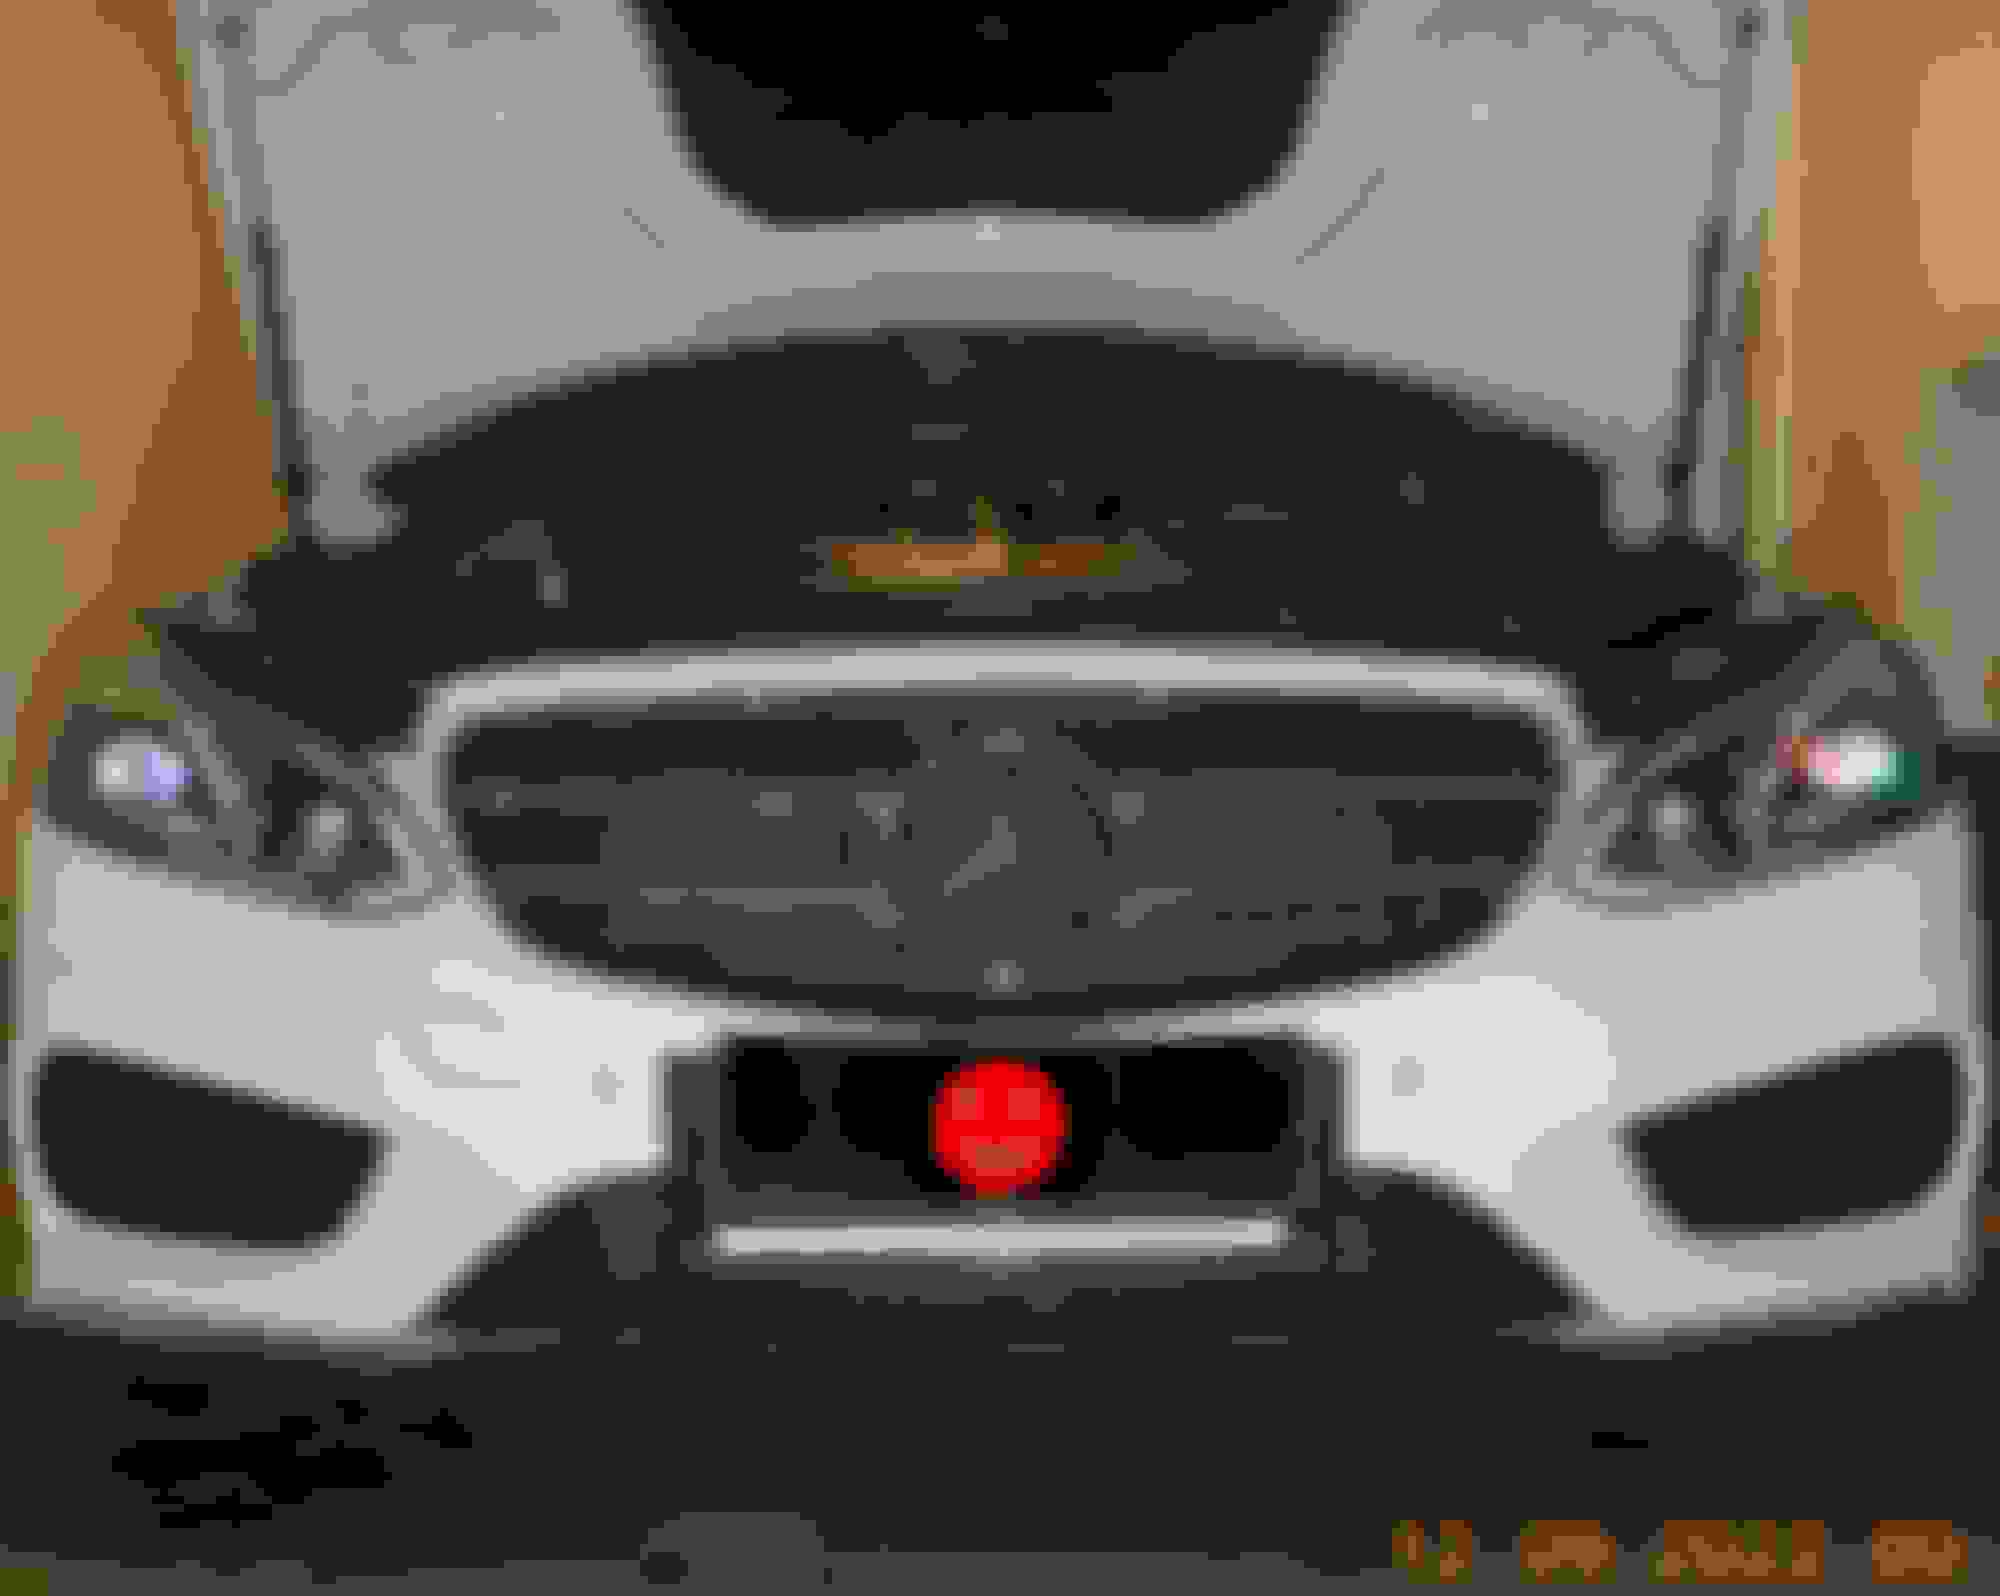
This light super bright zone is safe at current installed protrusion of LED BAR out of grille aka how far back from registration plate holder.
This Elite 18 light spray is as follows :
I measured as follows. Based on light is zero to horizon.
Per 1 cm the LED BAR is from say a wall or test paper, the low intensity outer beam of the light is 5mm rise from above the top part of the Led Bar Body. Horizontal spread on its upper side, sort of.
At the moment, at maximum forward, the lens of the LED BAR is approx 5ish cm away from the registration plate mid center. Hence you see the low intensity beam splatter still shine on the
registration plate holder.
Same point of view as above, but exposure reduced because camera flash hit the white spoiler/bumper.
Playing/experimenting with height of eye (camera sensor ) view.
Eye height, direct straight line view.
I can make the rear-forward sliding frame longer. This way I can have less low intensity light hitting the registration holder.
However I want this LED BAR to be sort of invisible unless one really look at it.
Now the mid horizon of the LED BAR is at 32cm above ground, Lazer reccommends minimum 35cm.
Higher is good for spread of light beam without too much glaring people.
However, in my W212 as is, 35cm is only possible if the LED BAR is exactly under and touching the registration plate holder plastic and must pop out that much.
Since the registration plate holder is also curved, LED BAR is straight.....hhhmm not nice too look at from aesthetic point of view...mine.
For now the wedge/angled shim has to be solved first.
Last edited by S-Prihadi; 09-01-2022 at 07:13 AM.
Reason: add info
I fear breaking the 3 pcs of friction lip of the bumper top holder.
I have removed and re-install this bumper like 10+ times now
I ordered a 5 degree wedge shim, that is all available locally. Carbon steel one.
An M16 size is good 32mm x 32mm, as wide as my vertical alu bar. However the bore hole is 18mm and I must filled up the hole to 11mm for nice work sake.
Maybe use RTV or putty or whatever, no need strenght, just good to have less big hole/bore.
If 5 degree correction is do-able, I then no need to custom made a 7 degree wedge shim which is not easy to do because how to secure something so small and while machining it down and angled too ?
Again, I HATE METAL WORKS !!!!!!
Now your integrated LED bar looks like a very nice addition <<< Thank u
Here is an example of water intrusion screwing up Xenon + side marker <<< YIKES now touring beautiful Canyon region in AZ ✌️<<< Enjoy my Man
Okey dokey, 5 degree angled shim is close, almost.
Final angle correction is using extra washer at the inner bolt of the rear-forward slider.
The rear-forward slider plate being spring steel SK5, it handles stiff bending very well ..... Yipee !!!
This is the slider plate when the LED BAR in a relaxed not tightened condition.
When all tightened, this mounting system is crazy stiff and stable. I am happy.
01. Next is to order ( done) the stainless steel version of the M16 taper washer. 6 of them. Each vertical bar/strip will use 3 for best load spread, but only 2 will have bolts into the crash bar.
02. I will slim down the front of the slider before painting.
Wheeewwww finally, solution for mounting system to be "straight" is found.
So did I screw up somehwhere along this project ?
I sure did
Its because I was so frustrated waiting for the stainless steel version of the 5 degree angled shim.
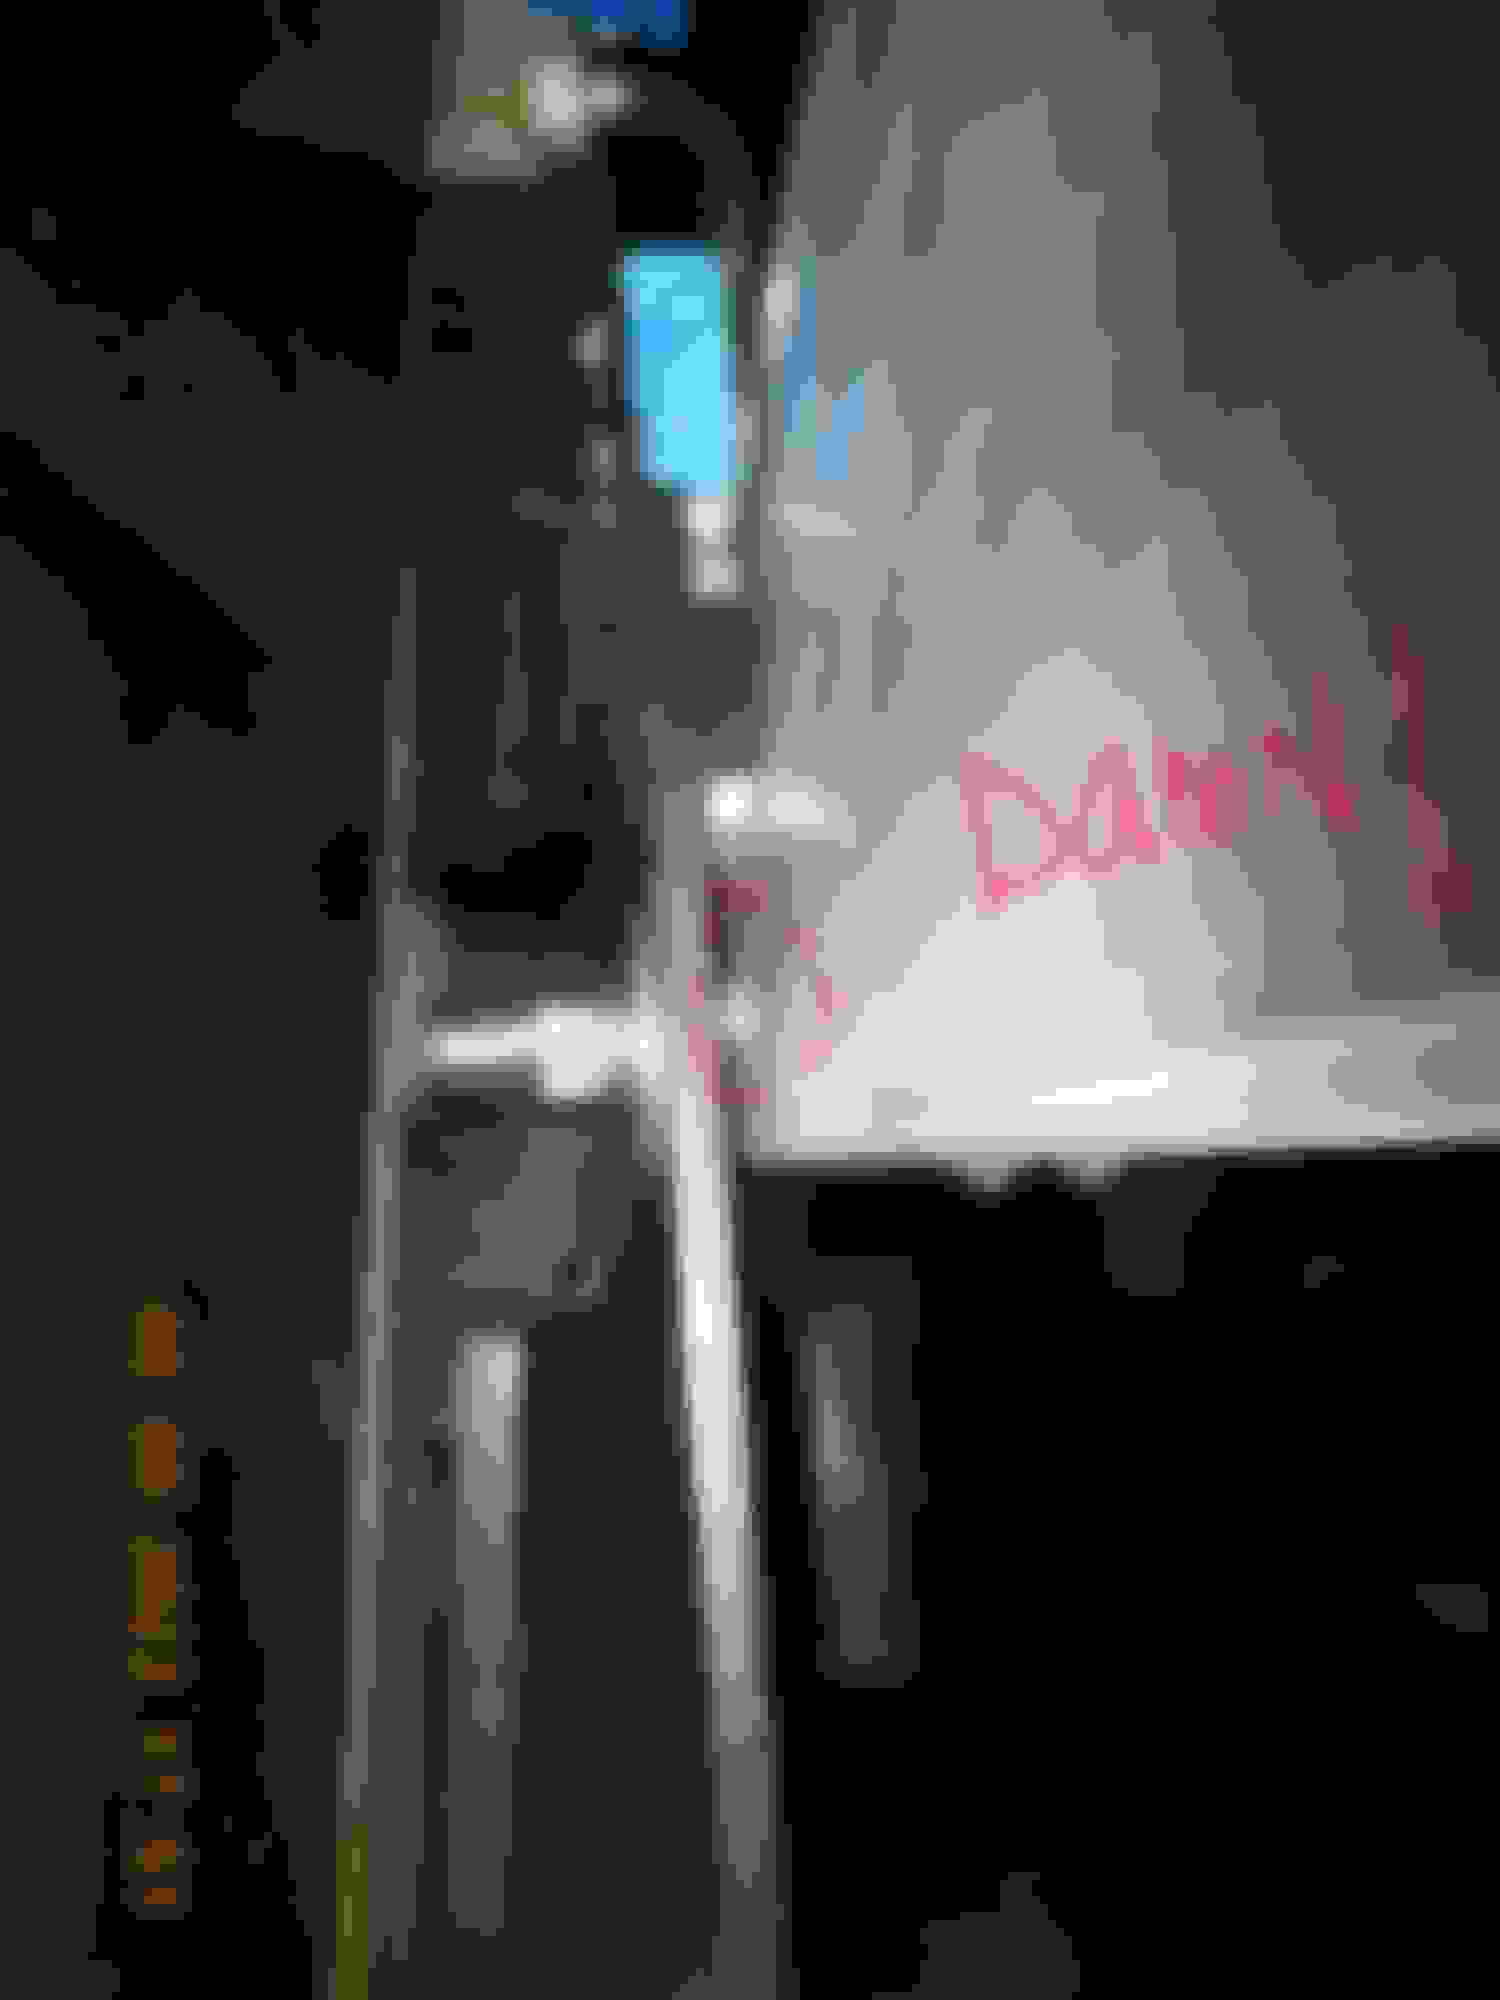
One seller after 3 days told me no stock !!! DAMN
Another seller is sooooo slow despatching the angled shim, its like a week lost already overall and I still dont have it in my hand.
Where did I screw up ?
For the LEFT side mounting brackets. I forgot to stick the last angled shim. I was doing the holes drilling, so I can use the carbon steel angled shim I have as positioner.
My brain wasn't thinking straight for LEFT side bracket
The RIGHT side one is with the proper 3 angled shim. With 3 angled shim, the pressure applied by the 2 of M10 bolts will be good and equal.
So when I tightened the LEFT side lower (2nd ) bolt, the 6mm thick alu bar bend a bit and the S.Steel bolt thread was fighting and got galled.
SS often when tightened hard gets galling. I seen often on marine works where all bolts and nuts are SS.
I can't then remove the 2nd bolt. I got to cut the bolt head....hick hick hick. I am not very good with a grinder.
Since I have to use 7cm long SS bolts for 2nd bolt position.... even when the head got cut the main shaft/thread was too long to be removed...DAMN !!!!
So I got to cut also the thread/shaft. Hurt my back having to bend sideway and looking up. I dare not lie down under the bolt when grinding.
I do not have a full face helmet, only safety glasses and gloves and no work coatup to neck area to take all those flying sparks-metal....to my face.
Managed to do the 2nd cut and no harm done to my bumper's crash bar or my bracket ...wheeewwww
I cover as much as possible all areas from flying sand-like metal shavings.
If they get to the HVAC condensor, rusty metal from grinder and SS 304 bolt... can eat into my alu condensor. SS304 will rust....yep when it is deprived of oxygen.
===================
Now for the happier part
Sliding rear-foward bracket slimmed down. Black painted for all except the SS bolts.
The mounting system is 45 grams heavier than the light .....LOL. But it is crazy firm and solid, guaranteed shake free at any speed and road condition.
If the freakin' SS angled shim does not come by Friday, I am installing the carbon steel ones.
Will use glue to position the angled shim and the 2 bolts compression will hold them there firm and sweet.
The bloody stainless steel angled shim never arrived. Seller is an azz-hole...period.
So I used the carbon steel one and painted it matt black.
It is glued down to vertical bar using a not so agressive glue.
All blots/screws are loctite-ded
The 1st road test. Need to drive more at super dark road to refine final horizontal adjustment if any needed.
 08-29-2022, 01:14 PM

 ...which will make the mounting BAR open up like donald duck walking


 thank you Surya for your detailed survey of LED HL, front modules and connectors.