When you click on links to various merchants on this site and make a purchase, this can result in this site earning a commission. Affiliate programs and affiliations include, but are not limited to, the eBay Partner Network.
I previously owned a 2002 G500 and sold it when I took a job in Asia. Ever since I've landed back on the Stateside, I've been casually browsing G ads keeping an opportunistic mindset to land one again if it comes along. 3 weeks ago a 2011 G55 that's local came across my radar. Got a PPI done and pulled the trigger on the same day. It ticked off a lot of items on my "wish list":
relatively low mileage with 43k on the odometer
onyx wood trim interior (what the wish really is anything but the walnut trim)
dirt friendly exterior color for the Pacific Northwest
non-black color seats
Coincidentally, the previous owner had to sell due to a move to the UK. There was a plan to overland build this rig and the owner started on it, so as an added bonus there were some suspension upgrades already done earlier this year.
2 inch ORC lift spring
King 2.5 shocks
Fox steering stabilizer
Eurowise adjustable track bar F/R
This saves me some money, time and effort; especially with the recent supply chain and logistic issues. The purchase includes all the OEM springs, shocks and trac bar.
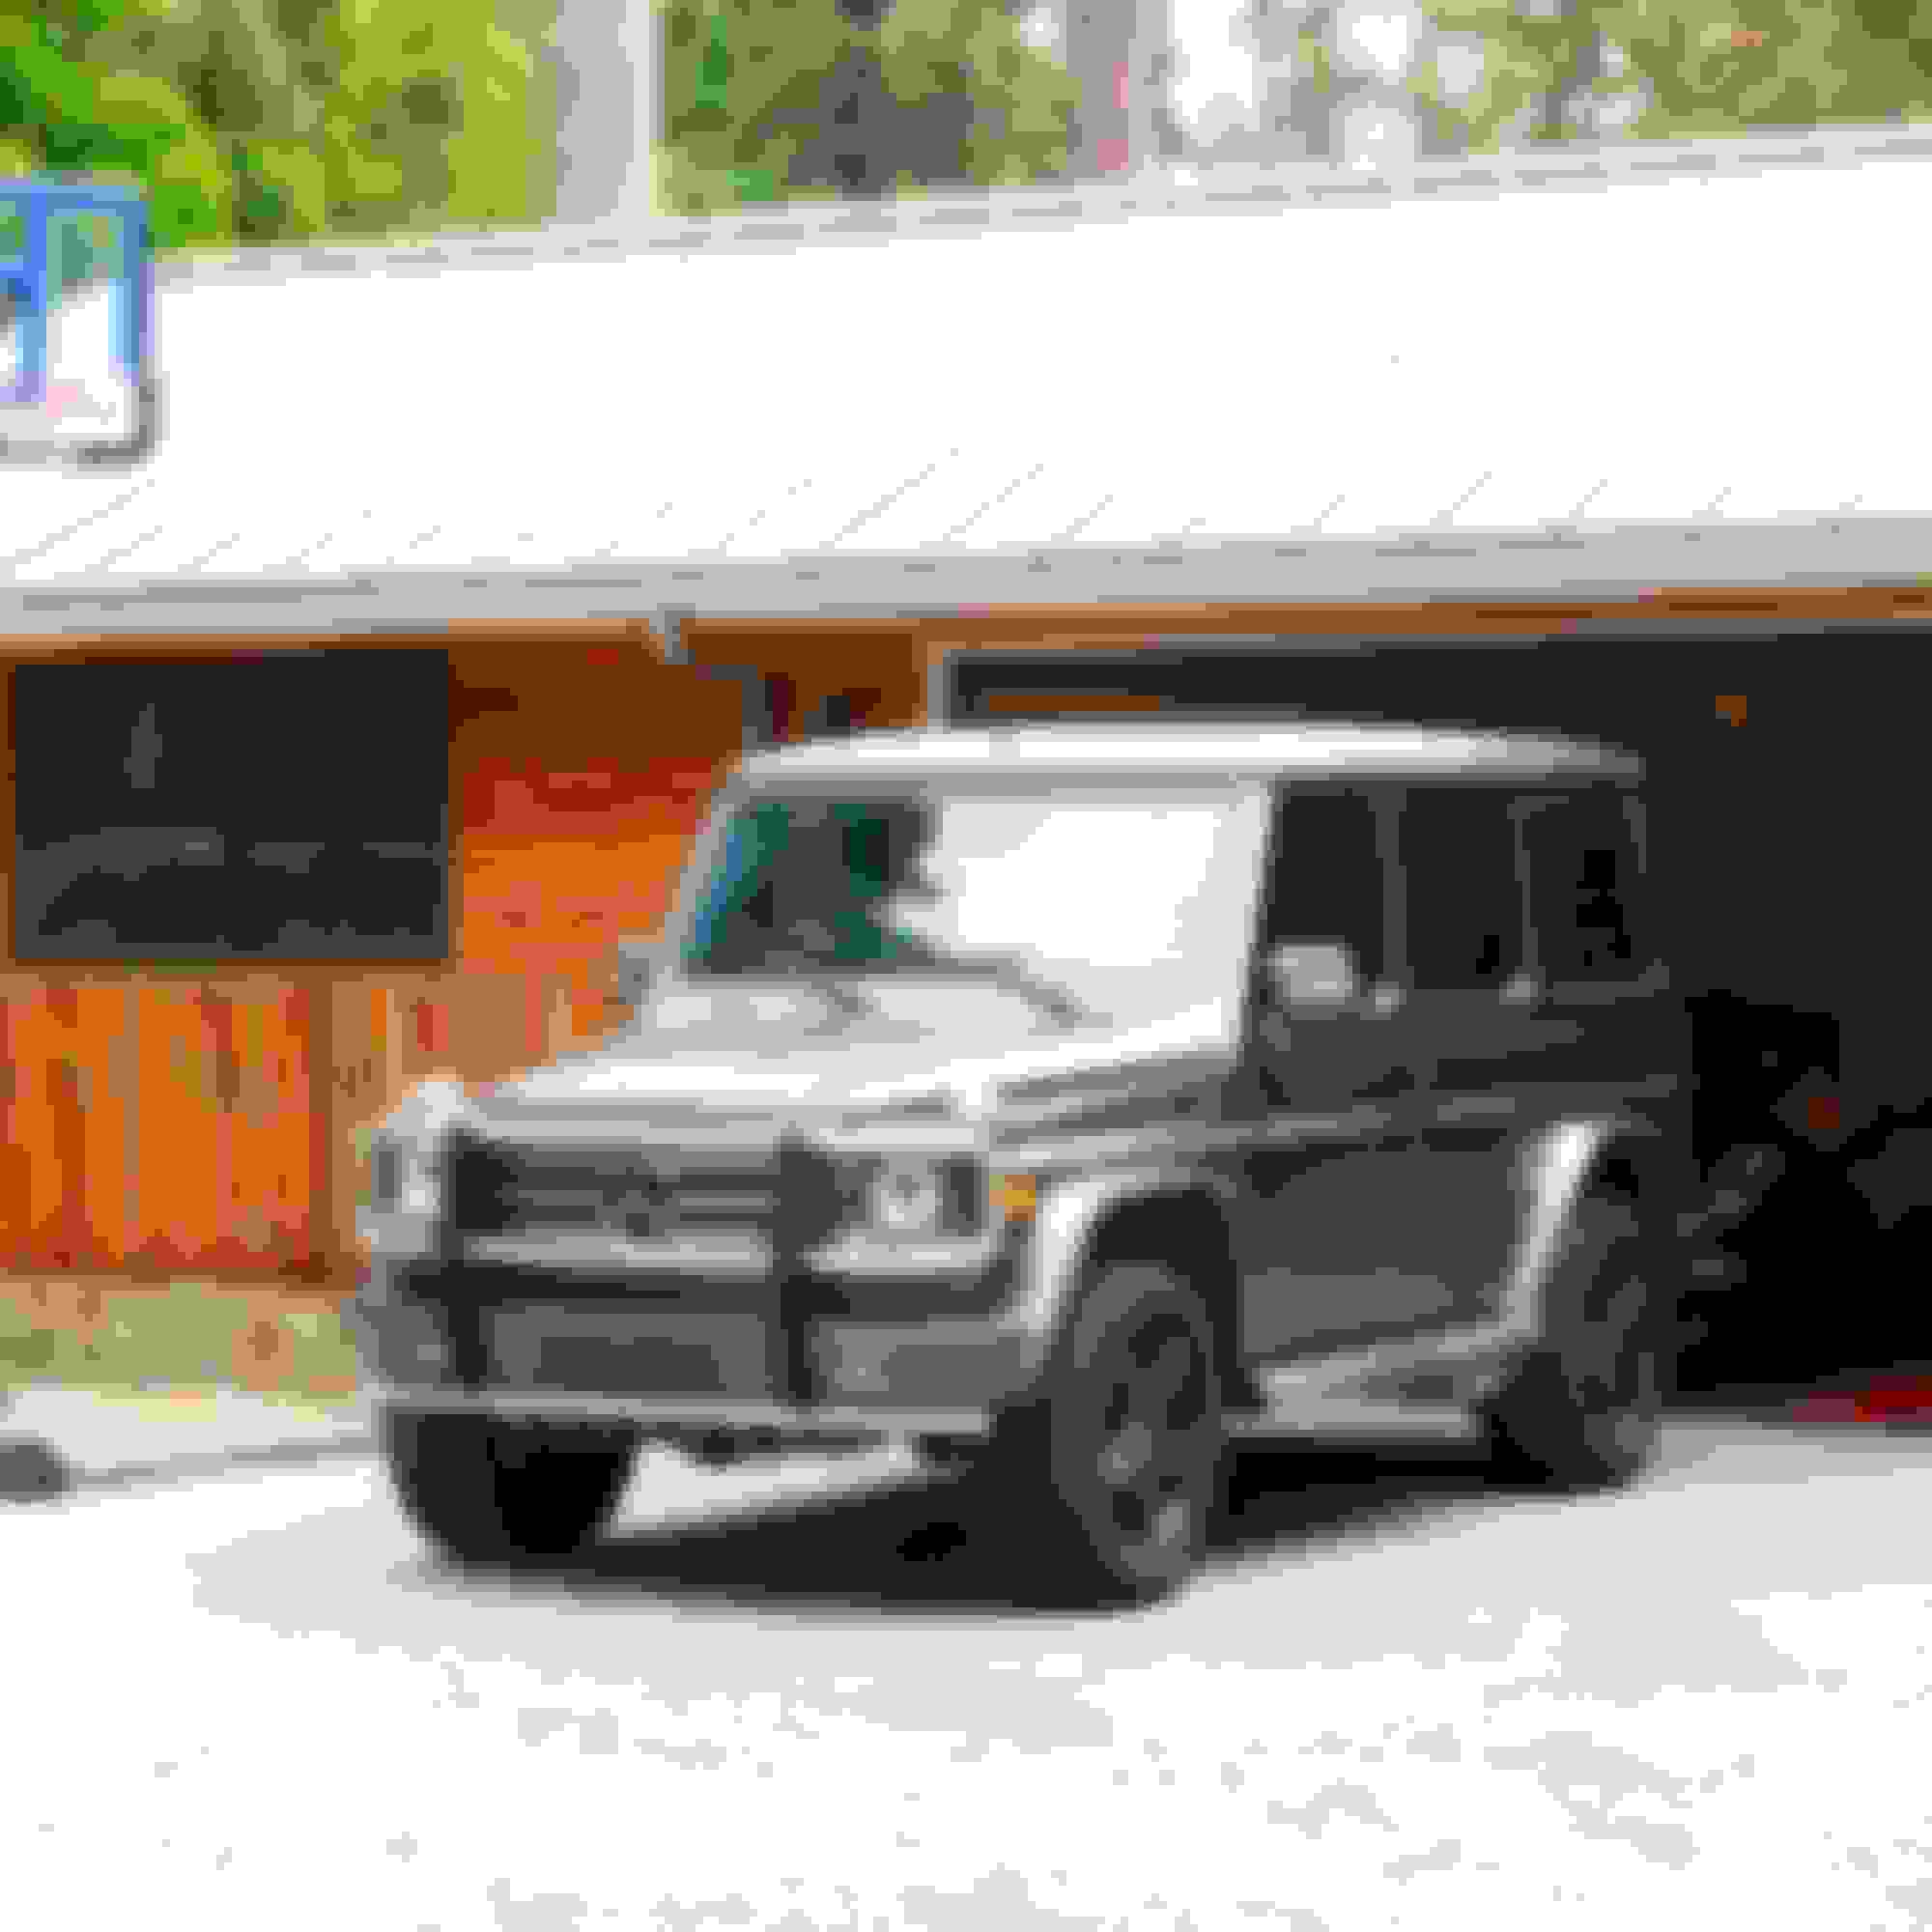
I normally don't write build threads but with relatively little information available for the G wagon, I'm hoping my contribution can be helpful for others in the g community. Here's the rig the day it was delivered.
In the 2 weeks since I've taken ownership, I've made quite a few changes to the rig. Already done for the initial phase are:
90% dechrome - dipped the badges and vinyl on everything else
Outstanding are the chrome strips on running boards. Why they put chrome on running boards is beyond me.
Removed lower section of OEM bull bar
Replaced OEM chrome bull bar with an eBay black bull bar
I have this already from the previous 500
Installed Front Runner Slim Line II rack that I already had in possession
Ordered 3 pairs of legs for the gutter
18in x 9 Alpha Equipt Echo wheels in Bronze
275/65/18 (32.6 x 10.6) Falken Wildpeaks (C rating)
Yellow tint on OEM fogs
In the work for Phase 1:
Bar mounted aux lights
Vision X CG2 4.7
Aux accessories controller
Trigger 6 Sharpshooter
Awning
Ironman 4x4 4.5 ft with quick release
Trunk storage
DIY as I want to learn and mess around with aluminum extrusion
Hitch receiver
Curt to be mounted on rear skid plate
Soft spare wheel cover
TBD (Recommendations highly appreciated)
After Phase 1, I'm just going to enjoy it for a little while over the winter before starting Phase 2 next spring. No build list yet but I'm thinking about:
Cascade 4x4 solar panel on hood
Second battery (trunk mounted)
Flat bottom steering wheel with leather upgrade
Light bar + ditch pods
"Safari" style custom seat covers over existing leather (3 kids + cream leather = bad idea) with matching spare wheel cover
Congrats on the low-mileage G! Always fun to score a good one.
I have a question re: the Curt rear skid plate mounted tow receiver. My newly purchased 11 G550 has this installed, but I read online the reason MB didn�t put a hitch on was due to where they placed the rear gas tank on the 11 models. Apparently it could be a punch object leading to a possibly unfavorable rear end collision issue.
What are your thoughts on this? Perhaps this being on the backside of the skid plate makes it safe Vs how the OEM one would have been? I�d like to be able to tow my jet ski, but not at the expense of a large safety issue.
I had read the same thing. I'm comfortable with the design of the hitch receiver where its a large enough surface being mounted to the skid plate that in the event the receiver tube is pushed against the plate, the mounting surface will spread the force of the impact. My backyard analogy is punching a wall with a sharp object vs punching a wall with the palm of your hand.
I'm even more comfortable after receiving the receiver. The entire thing is a lot bigger than what the picture depicts online. The mounted surface area is def larger than expected. Additionally, there are 17 bolting area I believe on the skid plate, I'm not worried about hitch usage causing movement on the skid plate. I will likely inspect it from time to time to make sure all bolts are tightened to spec. Welding the hitch to the skid plate is also something I may evaluate for (bolts will still be on).
I'm hoping to get it up and installed in the next few days. Will post close up pic afterward if you're interested.
Is this skid plate mount limited to Class II / 1-1/4" tube?
Looking great so far! Keep us posted. Build threads like this are always fun to watch because you get to see someone's vision from start to completion.
Great pickup and nice build so far. You're sure making quick work of it! I'm a fan of the AlphaEquipt Echo's in bronze. I want to do the same with either gold or bronze on my black G.
DIY trunk storage system with aluminum extrusions (80/20) is a good route. Design it and have a supplier cut everything to length for you so you can just assemble. Makes it a lot easier. I was originally going to do the same, but debating between plywood and a steel frame. The frontrunner system is nice from everything I have read, but may be difficult to get or discontinued now.
For the rear tire cover, I got a semi-rigid plastic face/vinyl wrap around from Boomco. I upped my tire size (and spare) to 285/60R18's (~32") and had to go with a new cover. Works well and was inexpensive.
If you're going to build out a large storage unit in the back, or just have a lot of stuff back there when overlanding, I would suggest a rear view camera and rear view mirror LCD screen. It's been a game changer for me for view out the rear. I have this one which is cheap and works well. Easy to replace in the future if something breaks, or upgrade to better units when they come along, which there area many already. Vantop H610. Vision at night isn't that great but not any worse than view out the rear at night with dark tints.
Looking forward to see how far you take this build!
Yea, the OEM rear camera is pretty terrible fidelity wise but more importantly, really awkward to angle my head down to look at the display. I have a 30 fter Class A so backing this thing isn't that bad lol.
I squeezed out a little bit of time to install a couple of (rolling my eyes) "light cannons" - Vision X CG2 4.7" round lights on the bull bar. These aren't spots or floods but rather you can get covers that are designed for different beam patterns. Also can choose different colors to adapt to different conditions. Haven't picked up any covers yet but I'll likely go for the combo cover (spot + peripheral).
I also installed a Trigger 6 shooter accessory control system to power the lights. While it's not necessary just for 2 front fogs, it'll make it more efficient later if (well, more like when) I decide to add more aux lightings. I really like the form factor and design of Switch Pro but ultimately went with Trigger because I can do a complete install without going through the wire wall.
Piecing together the wiring is straightforward; took me less than 30 minutes to get it up for testing. Getting everything in the engine bay, however, is a completely different story. We are all aware how little wiggle room is available for the engine bay, and this install is a test of creativity. Long story short, everything is in there but it is far from elegant. I'm going to have to pick up some additional supplies on Monday and evaluate for a long term routing plan. I don't love the idea but I think I'm going to have to take out the front headlight covers and grill to get a cleaner install. Currently, I have the controller module zipped tied to the drivers side fender and routed the light wires via dropping down behind the driver side headlight and curling them back up via the front bumper.
The switch module is where I wished I had ponied up for a Switch Pro. The footprint is fine for most rigs out there but for the G, there just isn't an ideal location for mounting. I end up zip tying it to the passenger side handlebar. I figure I'll usually have a navigator with me on trips that'll require shooting the cannons, so there's some function in it being located there.
The fogs are mounted to the bar using Nilight mounting bracket from Amazon. I've used them on several vehicles and they're solid. I also put some yellow tints on them for now purely for looks.
For knowledge sharing, here are some observations for anyone who is looking to DIY install:
Make sure you size up the control module before purchasing so you can source a space for mounting in the engine bay.
The positive post connecting to the battery has very little room for adding more wiring; especially with trying to jam the cap box back on.
With a control module installed, routing for roof top lighting (via A pillar cover) and ditch pods look to be relatively straightforward.
If anyone has done an elegant install, please do advise! Happy to save myself the trouble of designing a wiring route.
Yesterday I took the rig out to do some mudding at a nearby off road course 30 minutes away. A great environment to test out the Falken Wildpeaks. With a good amount of rain over the past couple of weeks, the course was ripe for getting dirty.
The good news is my bootstrap routing of wirings held up over 2 hours of ups and downs. How do we live without zip ties, I don't know.
Overall a fun morning. The tires felt great and I was able to exercise the lockers a little bit. Although flipping through some pics, them tires are pretty skinny looking .
It has been a few months, want to give a quick update on the latest of the rig's build.
I replaced the hard spare tire cover with a canvas cover from Equipt1 for more of a safari style vibe. Pure cosmetic move, no real value. It does come with a pocket so I supposed there's extra storage space.
Also added Frontrunner brackets for the recovery boards and an additional slimline slat in the front for additional flexibility.
For the interior, I started messing around with some aluminum extrusions and built a removable storage platform in the trunk area. The flatness of the G's design really helped with putting it together.
I bought a roll of plastic mat from Home Depot for 20.00 and trimmed to fit. Now it can take a beating and cost efficient to replace.
There is also a Frontrunner rear ladder. FYI for those who are interested, the AMG letterings have to come off to fit.
Perfect fitment from Explore Glazing in the NL. Install was straight forward as well. The rear windows are held only by a rubber seal, no glue to mess with.
I wanted to keep my rig period correct, so trying to avoid anything from G6X. It was really tempting to upgrade the steering wheel from a later model because it's not a difficult swap but decided a refresh on the existing design keeps the interior vibe intact.
The beefier grip feels superb. Driving dynamic, however, stayed being a G.
Mercedes SLR McLaren 722 S Is Extremely Rare Example Modified by McLaren
Slideshow: A one-of-one U.S.-spec Mercedes-Benz SLR McLaren Roadster became even rarer after a factory-backed transformation at McLaren's headquarters.