When you click on links to various merchants on this site and make a purchase, this can result in this site earning a commission. Affiliate programs and affiliations include, but are not limited to, the eBay Partner Network.
Replaced the main battery. The vehicle is exactly 5 years old and has 94,500 miles. In very cold weather the starts were just a bit slow/sluggish, so the time was drawing near.
Factory installed part number A0009829108 is now A0019828208, $257.00 + tax + core in stock at the local dealer.
In total the job took almost 2 hours. It's generally a pain, but as usual if you go slowly and methodically, it is doable. Next time the job would take one hour because the carpet has already been cut and because of familiarity.
Follow WIS and you will be successful. The only exception I take to WIS is that the now-cut carpet flap can't (easily or at all) be folded forward to give clear access to the full length of the battery. The passenger seat doesn't go forward enough and the electric connectors under the seat prevent the carpet from being flipped forward. Other than that, it is straightforward.
No electrical anomalies, all memory settings (eg radio station and most recent climate control setting) were retained. I did not use a trickle charger or battery maintainer. The car was either fully “dead” or had a small amount of energy coming from the aux battery which I did not touch.
The new battery did not come with a plug for the unused vent port, so you need to remember to remove the plug from the old battery and reuse it.
Aux battery is next on the list.
Nice write-up!
A few questions on the battery change:
- Looking at the attachments (thanks for attaching the PDFs), is the MB replacement an AGM battery? I had thoughts of shopping around to see how pricing is and if there are AH/CCA options or not.
-For the comment on the carpet, would/should you cut it differently given the comment.
-Did all programming steps go as advertised after replacement?
-Does a STAR diagnosis need to be done or to reset anything?
I have had my '16 GLE350 on a Battery Tender now driving only a few times a week and have plans to get a load test done to see what the condition really is being the original battery is still in service. No starting issues at this time, yet it is getting up in age.
Last edited by SUV John; Mar 29, 2022 at 01:48 AM.
Nice write-up!
A few questions on the battery change:
- Looking at the attachments (thanks for attaching the PDFs), is the MB replacement an AGM battery? I had thoughts of shopping around to see how pricing is and if there are AH/CCA options or not.
-For the comment on the carpet, would/should you cut it differently given the comment.
-Did all programming steps go as advertised after replacement?
-Does a STAR diagnosis need to be done or to reset anything?
I have had my '16 GLE350 on a Battery Tender now driving only a few times a week and have plans to get a load test done to see what the condition really is being the original battery is still in service. No starting issues at this time, yet it is getting up in age.
- I wouldn’t cut the carpet differently, it’s simply a tight space to work in
- I believe the OEM battery is AGM. Only $30 more than the local parts store.
- no programming needed, no STAR or XENTRY needed. I included those docs because they were referenced in WIS.
- I wouldn’t cut the carpet differently, it’s simply a tight space to work in
- I believe the OEM battery is AGM. Only $30 more than the local parts store.
- no programming needed, no STAR or XENTRY needed. I included those docs because they were referenced in WIS.
I'm sure others will find the update helpful, thanks for the information. I have generally found replacement batteries at a much higher quality and CCA than factory original batteries, but I have to say the one in my vehicle continues to perform well so it's certainly worth going with a second one. The price for an AGM battery isn't surprising either as they are a high-performance battery.
Last edited by SUV John; Mar 31, 2022 at 08:26 AM.
I'm sure others will find the update helpful, thanks for the information. I have generally found replacement batteries at a much higher quality and CCA than factory original batteries, but I have to say the one in my vehicle continues to perform well so it's certainly worth going with a second one. The price for an AGM battery isn't surprising either as they are a high-performance battery.
Agreed. The MB AGM battery was less than $300 at the dealer, reasonable in my opinion.
Replaced the aux battery today. Vehicle has 95k miles.
The battery was not in the right rear taillamp area! The WIS I have is for up to 2016 model year and I mistakenly assumed 2017 would be the same. Not so. My vehicle is a 2017 SUV base model.
The battery is under the left second row seat. 1 hour job the first time, 20 minutes next time.
- remove luggage load floor
- fold both seat bottoms forward, fold both seat backs down
- using a flat blade screwdriver, carefully pry off two lashing D-ring plastic covers and remove two lashing D-rings, remove full width carpeted trim cover thereby released
- remove two rear screws fastening left rear seat back assembly to floor
- fold left rear seat back up
- remove two remaining screws holding left rear seat back assembly to floor, lay seat back assembly down on rear luggage floor
- remove left rear door weatherstrip adjacent to sill protector
- using trim wedge, pry left rear door sill protector from the front and work rearward, remove sill protector
- using trim wedge, release carpet from under side trim panel, lift carpet to expose auxiliary battery
- spread two plastic battery retaining clips, slide battery up and forward out of plastic holder, leaving leads attached to battery
- remove leads from old battery, connect leads to new battery
- start the vehicle to confirm proper function
- reverse the steps for assembly
Everything is straightforward, no gotchas other than working with trim which is always fussy. No programming, no codes, no XENTRY.
While doing the job, I inspected the liftgate perimeter seal (good) and the spare tire area for leaks (bone dry). On my vehicle with harman kardon stereo and steel suspension, there is virtually nothing located in the spare tire area, except the tools needed to change a tire. No electronics, unlike W/X164. There is a ground point an inch or two above the lowest point, but that is low risk and had zero corrosion - the chrome on the terminals was shiny like new.
Old part number and new part number are the same, 000000-004039 $47 + tax in stock at the local dealer.
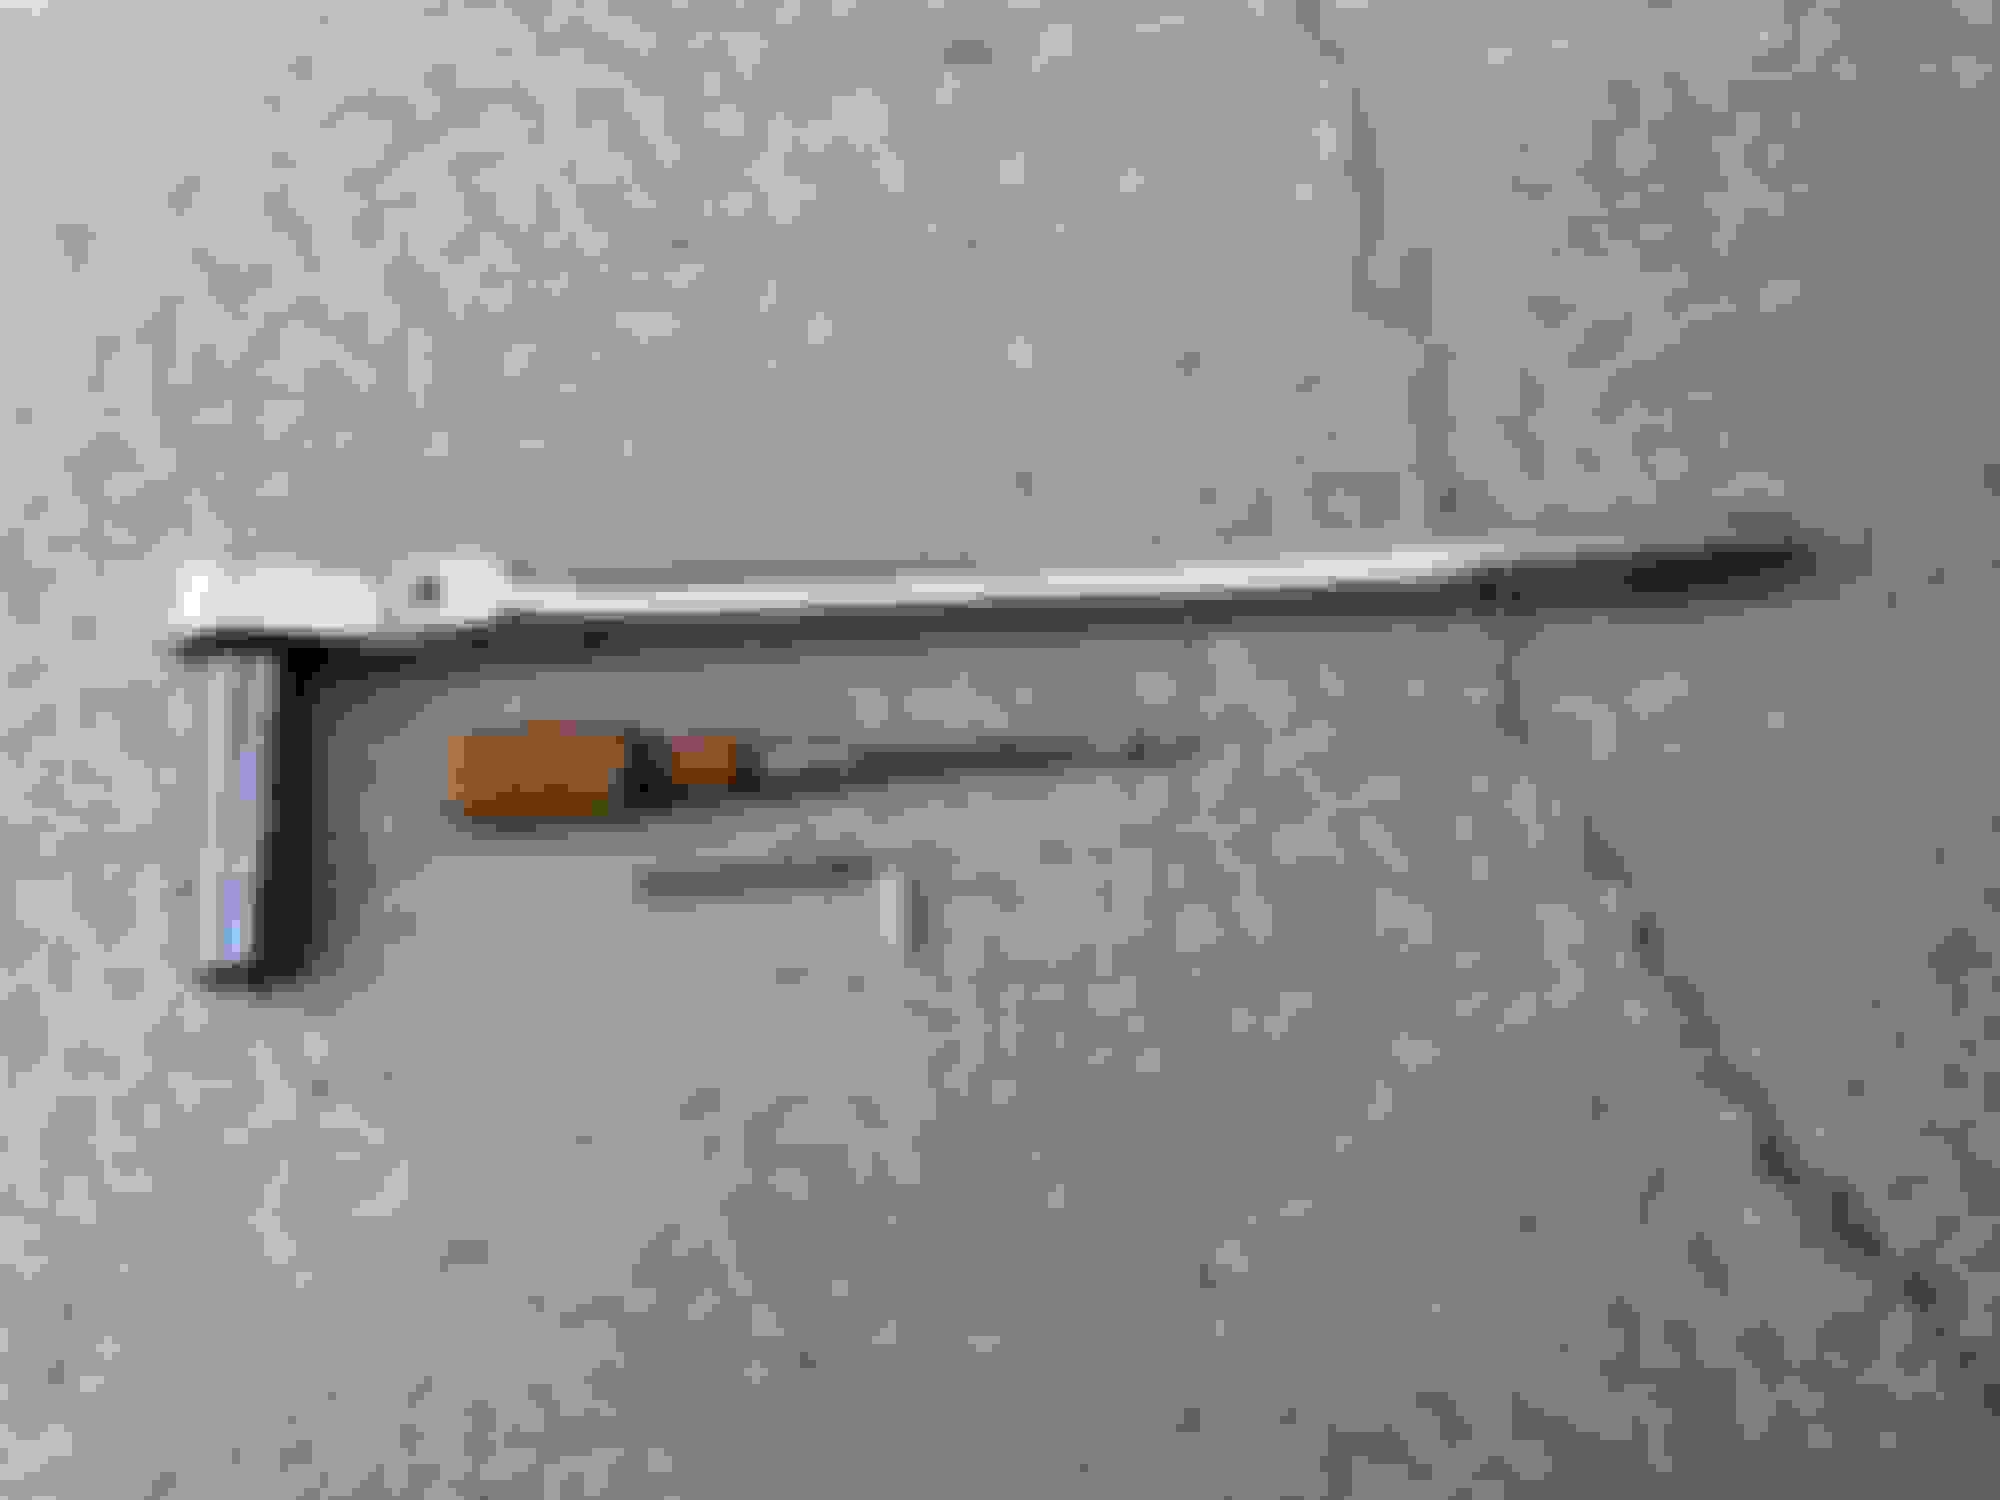
Tools: E12, T40, T30, 3/8" ratchet drive, 3/8" medium-long extension, trim wedge, screwdriver. TRIM PRYBAR NOT REQUIRED - I used it to remove the spare tire trim clips when I first looked for the battery in the rear.
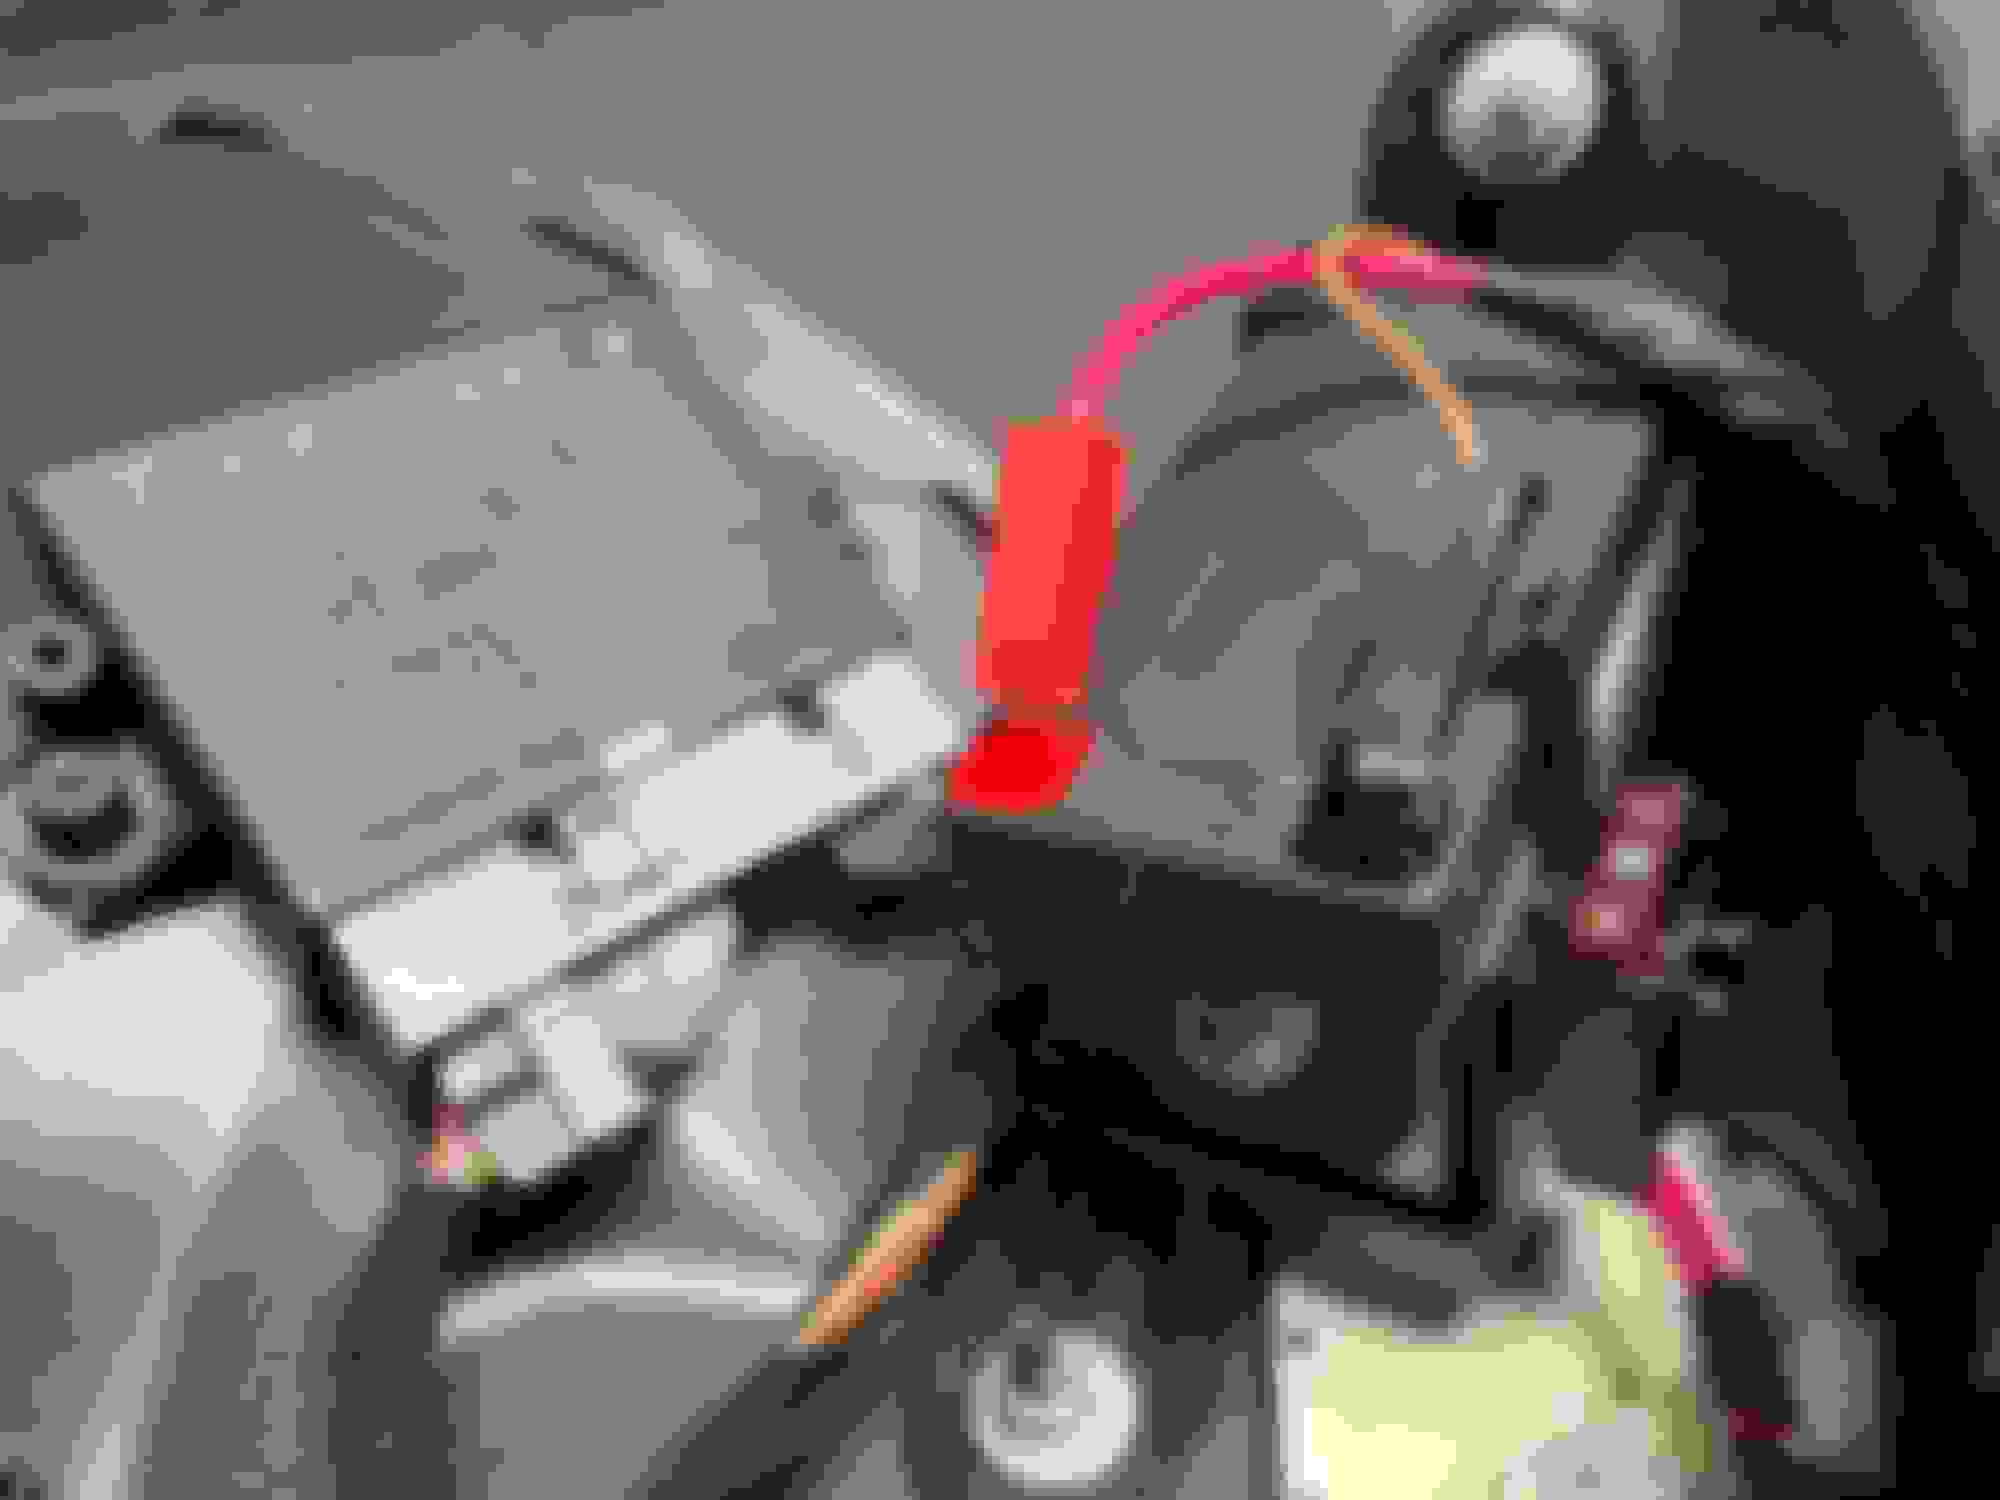
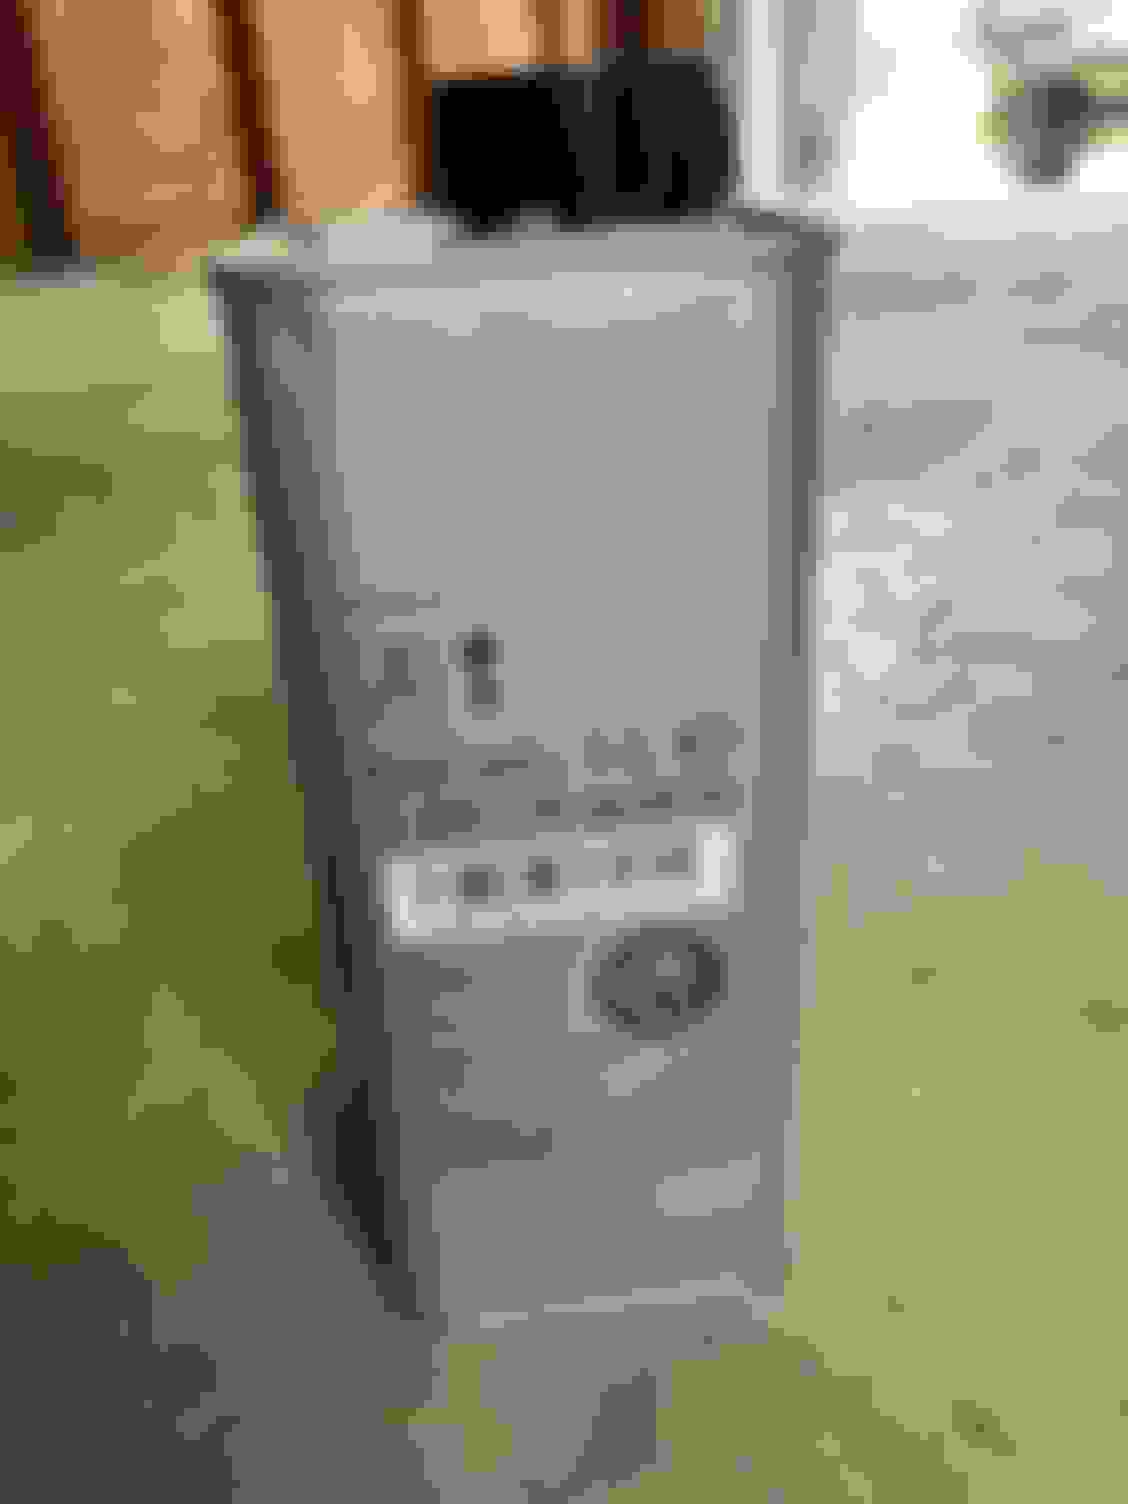
Old battery in place before removal
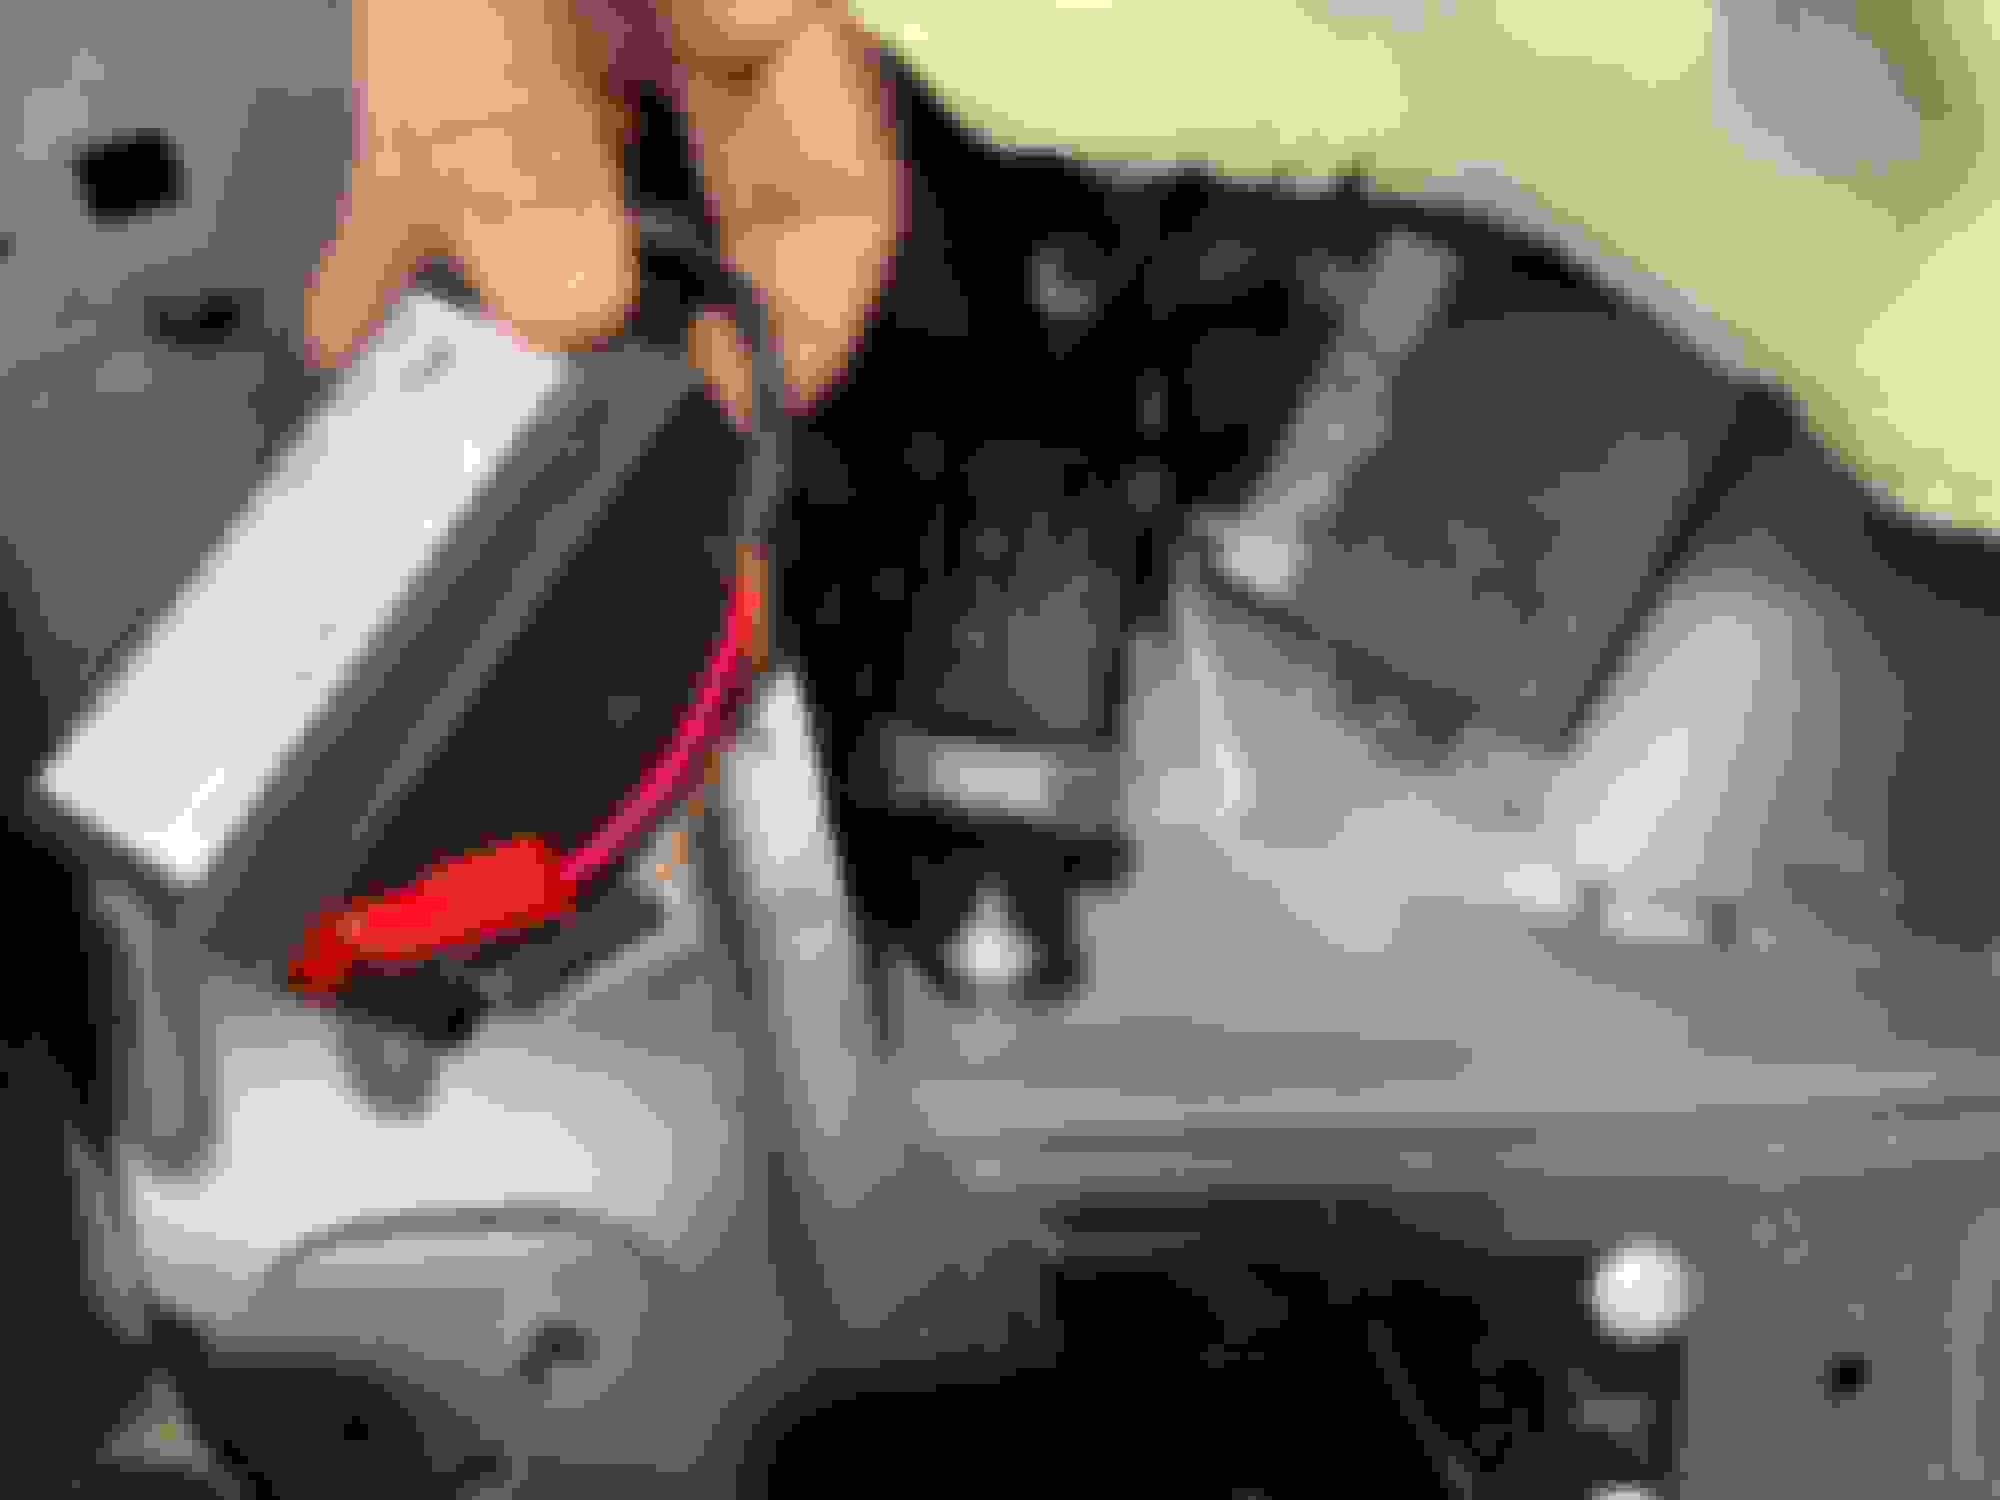
Old battery removed from plastic bracket before removing leads
Tools - trim prybar on left is not required
Old battery - new battery is the same part number
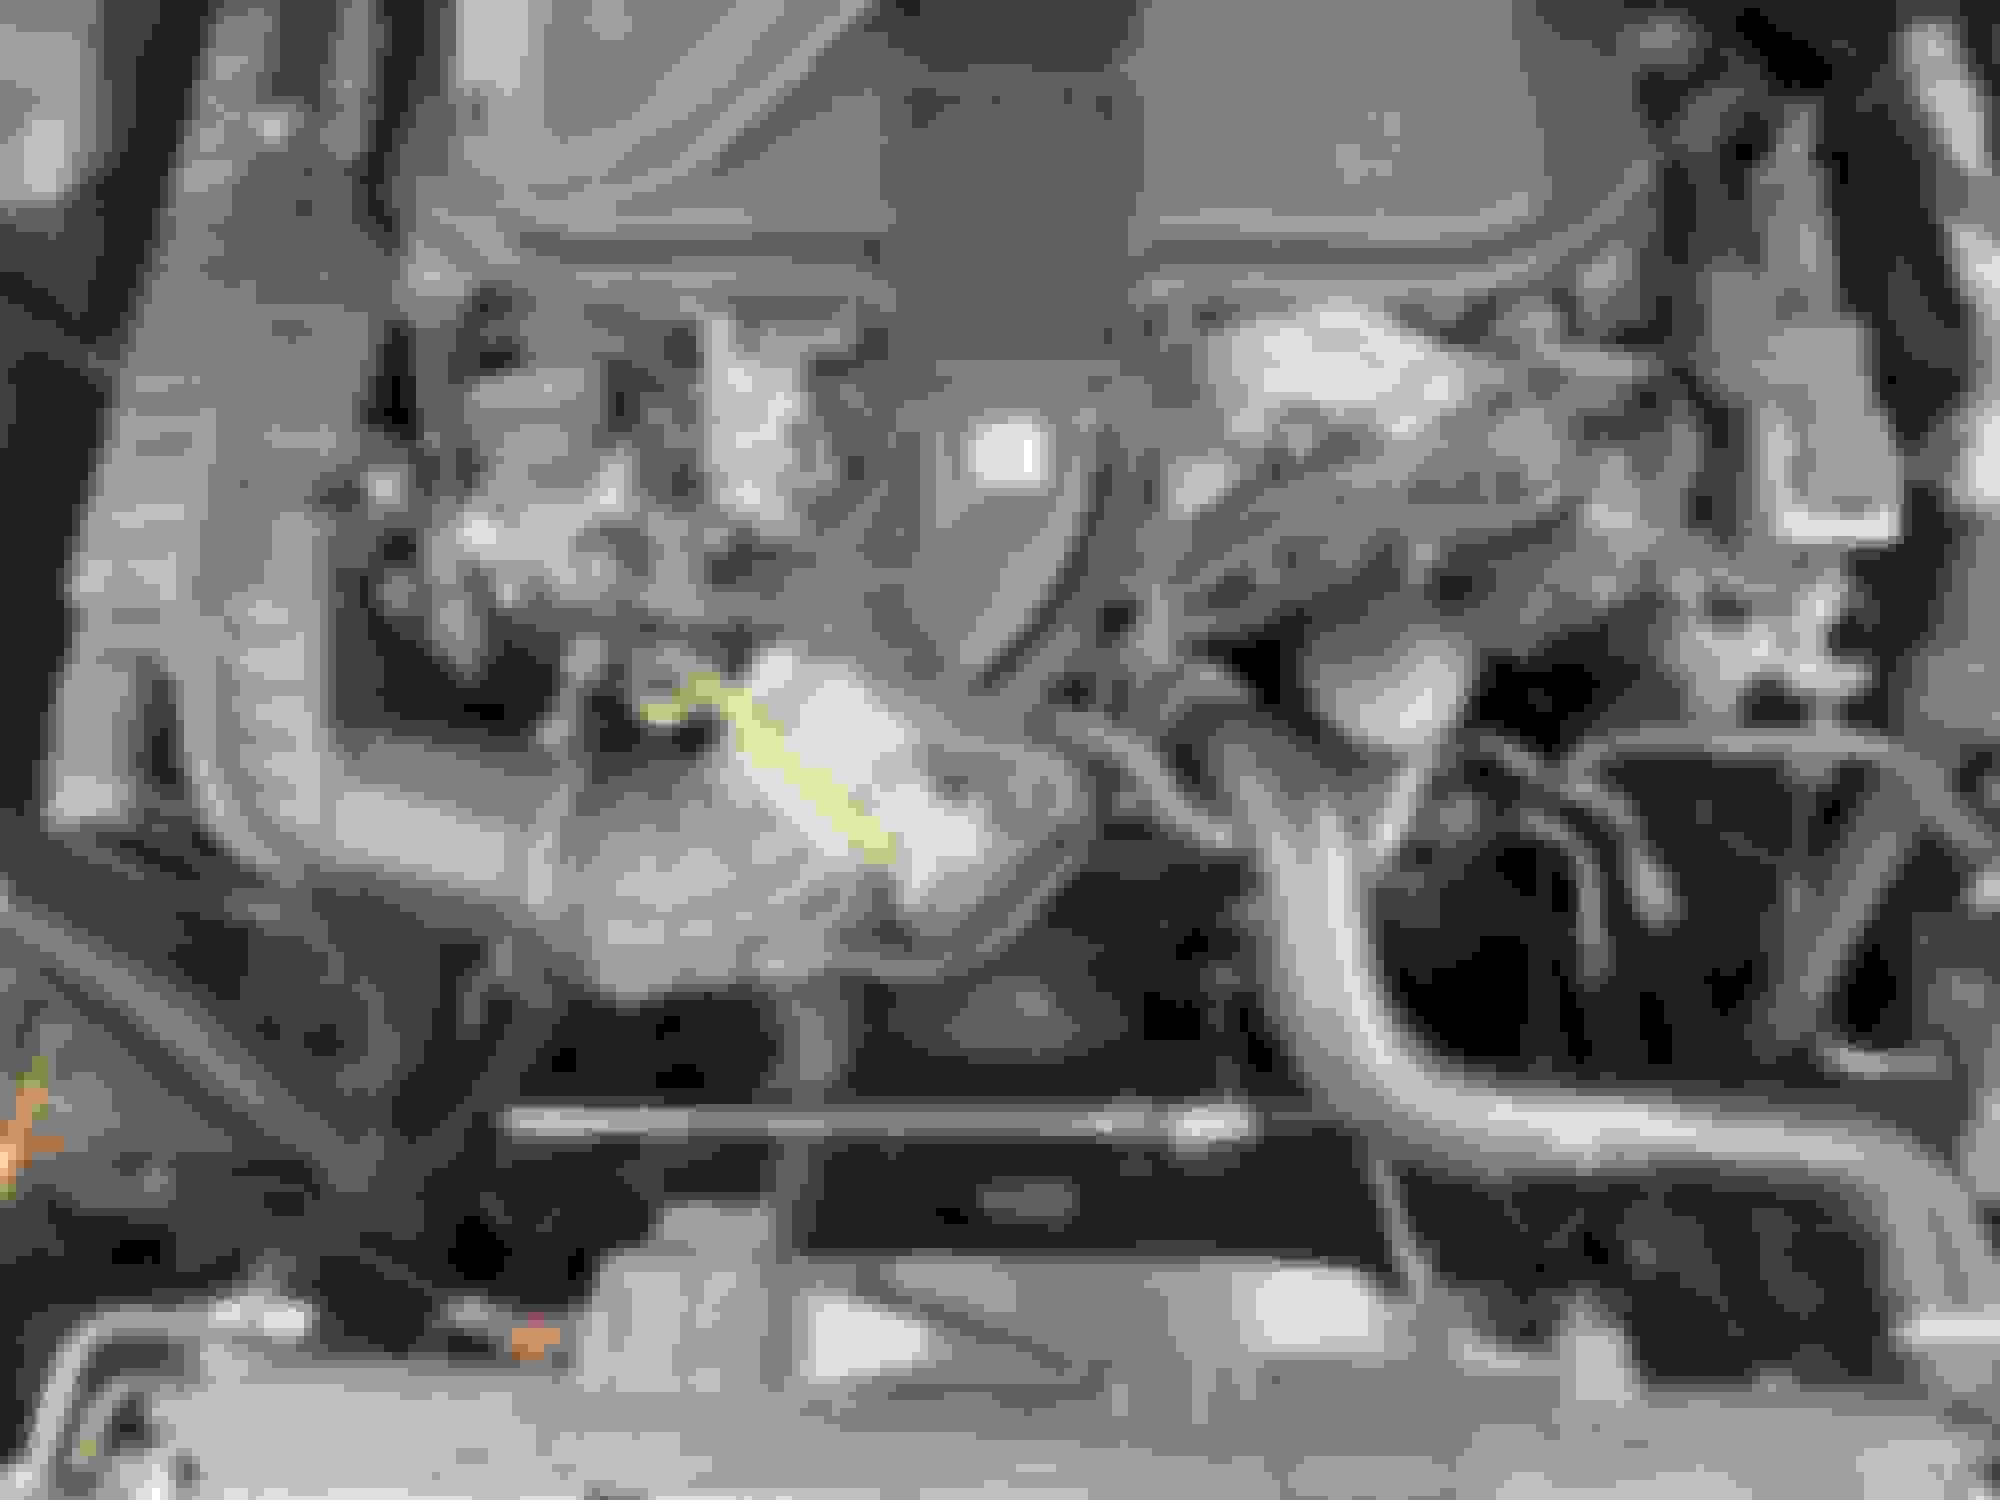
View looking from inside the spare tire area - no aux battery!
View looking down from the removable panel near the mesh netting - no aux battery!
Aston Martin Vantage, GLE 43 AMG, Volvo XC60, BMW X1 35i, Ram 1500, BMW Z4 35i
Originally Posted by chassis
Replaced the aux battery today. Vehicle has 95k miles.
The battery was not in the right rear taillamp area! The WIS I have is for up to 2016 model year and I mistakenly assumed 2017 would be the same. Not so. My vehicle is a 2017 SUV base model.
The battery is under the left second row seat. 1 hour job the first time, 20 minutes next time.
- remove luggage load floor
- fold both seat bottoms forward, fold both seat backs down
- using a flat blade screwdriver, carefully pry off two lashing D-ring plastic covers and remove two lashing D-rings, remove full width carpeted trim cover thereby released
- remove two rear screws fastening left rear seat back assembly to floor
- fold left rear seat back up
- remove two remaining screws holding left rear seat back assembly to floor, lay seat back assembly down on rear luggage floor
- remove left rear door weatherstrip adjacent to sill protector
- using trim wedge, pry left rear door sill protector from the front and work rearward, remove sill protector
- using trim wedge, release carpet from under side trim panel, lift carpet to expose auxiliary battery
- spread two plastic battery retaining clips, slide battery up and forward out of plastic holder, leaving leads attached to battery
- remove leads from old battery, connect leads to new battery
- start the vehicle to confirm proper function
- reverse the steps for assembly
Everything is straightforward, no gotchas other than working with trim which is always fussy. No programming, no codes, no XENTRY.
While doing the job, I inspected the liftgate perimeter seal (good) and the spare tire area for leaks (bone dry). On my vehicle with harman kardon stereo and steel suspension, there is virtually nothing located in the spare tire area, except the tools needed to change a tire. No electronics, unlike W/X164. There is a ground point an inch or two above the lowest point, but that is low risk and had zero corrosion - the chrome on the terminals was shiny like new.
Old part number and new part number are the same, 000000-004039 $47 + tax in stock at the local dealer.
Tools: E12, T40, T30, 3/8" ratchet drive, 3/8" medium-long extension, trim wedge, screwdriver. TRIM PRYBAR NOT REQUIRED - I used it to remove the spare tire trim clips when I first looked for the battery in the rear.
Old battery in place before removal
Old battery removed from plastic bracket before removing leads
Tools - trim prybar on left is not required
Old battery - new battery is the same part number
View looking from inside the spare tire area - no aux battery!
View looking down from the removable panel near the mesh netting - no aux battery!
should the aux battery be a preventive maintenance item or wait until it goes... is it a catastrophic issue?
I did it as preventive maintenance. From reading the forum posts, loss of shifting function is the result of a dead aux battery. It�s personal opinion whether that is catastrophic. At 11pm on a cold winter�s night in the mountains it might be inconvenient.
If anyone has experience with a dead aux battery please chime in.
Aston Martin Vantage, GLE 43 AMG, Volvo XC60, BMW X1 35i, Ram 1500, BMW Z4 35i
Originally Posted by chassis
Replaced the aux battery today. Vehicle has 95k miles.
The battery was not in the right rear taillamp area! The WIS I have is for up to 2016 model year and I mistakenly assumed 2017 would be the same. Not so. My vehicle is a 2017 SUV base model.
The battery is under the left second row seat. 1 hour job the first time, 20 minutes next time.
- remove luggage load floor
- fold both seat bottoms forward, fold both seat backs down
- using a flat blade screwdriver, carefully pry off two lashing D-ring plastic covers and remove two lashing D-rings, remove full width carpeted trim cover thereby released
- remove two rear screws fastening left rear seat back assembly to floor
- fold left rear seat back up
- remove two remaining screws holding left rear seat back assembly to floor, lay seat back assembly down on rear luggage floor
- remove left rear door weatherstrip adjacent to sill protector
- using trim wedge, pry left rear door sill protector from the front and work rearward, remove sill protector
- using trim wedge, release carpet from under side trim panel, lift carpet to expose auxiliary battery
- spread two plastic battery retaining clips, slide battery up and forward out of plastic holder, leaving leads attached to battery
- remove leads from old battery, connect leads to new battery
- start the vehicle to confirm proper function
- reverse the steps for assembly
Everything is straightforward, no gotchas other than working with trim which is always fussy. No programming, no codes, no XENTRY.
While doing the job, I inspected the liftgate perimeter seal (good) and the spare tire area for leaks (bone dry). On my vehicle with harman kardon stereo and steel suspension, there is virtually nothing located in the spare tire area, except the tools needed to change a tire. No electronics, unlike W/X164. There is a ground point an inch or two above the lowest point, but that is low risk and had zero corrosion - the chrome on the terminals was shiny like new.
Old part number and new part number are the same, 000000-004039 $47 + tax in stock at the local dealer.
Tools: E12, T40, T30, 3/8" ratchet drive, 3/8" medium-long extension, trim wedge, screwdriver. TRIM PRYBAR NOT REQUIRED - I used it to remove the spare tire trim clips when I first looked for the battery in the rear.
Old battery in place before removal
Old battery removed from plastic bracket before removing leads
Tools - trim prybar on left is not required
Old battery - new battery is the same part number
View looking from inside the spare tire area - no aux battery!
View looking down from the removable panel near the mesh netting - no aux battery!
I'm glad to find another man satisfied with Mercedes, considering that all my friends are BMW fans and only I go with Mercedes. I haven't cheated on Mercedes for 10 years, and I remain loyal to this company. I appreciate their safety and quality the most. In all these years, I changed 2 cars, and I didn't have any problems with one. At both, I only change the consumables in the right term. I derive them from reliable auto services with quality management. My husband, who also has a car service, told me that this management is due to software such as autoleap.com. I consider that we are lucky to own a Mercedes.
Picked up a poly-v belt from the local dealer, $47 + tax in stock. I checked it with the belt on my vehicle and it appears to be the right part. Width, grooves and part number on the old belt match. I won't have time to do this job until next weekend, I expect it to be less than 30 minutes.
Picked up a poly-v belt from the local dealer, $47 + tax in stock. I checked it with the belt on my vehicle and it appears to be the right part. Width, grooves and part number on the old belt match. I won't have time to do this job until next weekend, I expect it to be less than 30 minutes. Part 003-993-57-96
When I decided to change my belt I found that the local OReilly's carried a Gates belt that fit. It was about $35 (but mine's the diesel). Maybe that will save you a long trip to the dealer next time.
It took about an hour to do mine, much of it trying to figure out how the plate mounted to the engine just forward of the belt could be removed fully from the car. I don't know if you'll have this issue but I had to remove fasteners from air duct plastics that attach above the radiator support. After that it was fairly easy. I saved the old belt and carry it as a spare.
I highly suggest printing out the belt routing diagram before you start so you have a reference. My GLE did not have one under the hood and it took me a few failed tries before I had to come inside and find and print the routing diagram.
Changed the poly-v belt today. Easiest job ever. It took 20 minutes including fetching tools and putting them away, and I really took my time. Poly-v belt replacement is not a recommended maintenance item by MB, I chose to replace it because I wanted to do it. The new belt should be good for more than 100k more miles.
There is really not much to say. 17mm socket to release belt tension, use a 4mm allen key to lock the tensioner in the released position. Pull old belt off, put new belt on, release tensioner tension, remove allen key, and ease tensioner onto belt. Done.
No codes, no XENTRY, very easy. The engine sounds like it runs a bit quieter with the soft new belt that is a bit shorter than the hard stretched belt with 96k miles. I kept the old belt as a spare.
Tools:
1/2" ratchet drive
17mm socket
4mm allen key
thin flat screwdriver to release the intake s-duct
Parts:
Belt 003-993-57-96 $47+tax in stock at the local dealer
I didn't use this video, but it is a good guide for the M276 3.5L NA.
Replaced the brake fluid today, 5 months early. Pretty easy job. The majority of the time is spent gathering tools, removing and replacing the wheels, and cleaning up.
New brake fluid part number from MB, fluid type remains DOT 4 Plus. The metal cans are far more difficult to open than the prior plastic bottles.
Brake fluid DOT 4 Plus MB331.0 A0009895605110111
97k miles now. Everything is working as it should.
Tires are getting close to needing replacement. Front brake pads and rotors (factory original) have some time left.
Next jobs in a couple of months are:
- spark plugs, and probably coils
- front pads and rotors
- oil change
- transmission service
Next year will be coolant replacement and possibly fuel filter replacement.
Gummi Pflege’d the door and liftgate seals. It’s a nice way to check the seals for abrasion, cracks and tears.
There have been reports of 166 liftgate seals splitting at the bottom near the latch striker at the rubber mold die parting line, allowing water into the spare tire area. On 164 models the taillamp gaskets leak at high mileage, causing lots of electrical damage to modules mounted below the drip line. Thankfully 166 (base model, no Airmatic and no B&O stereo) has no modules mounted in the spare tire area.
Spend some time cleaning and inspecting the seals, it can avoid collateral damage to electric modules if the seals are ripped or punctured.
I recall seeing a post somewhere and turned by spare key fob off which saves the battery. Not taking mine out of my pocket and using only the door sensors to lock and unlock the doors have made the battery last going on 2 years now.
Had the dealer do the 60k mile transmission fluid drain and refill, plus transmission filter....
The transmission shifts pretty well. I put it through some good paces in Sport and Comfort, at WOT and part throttle. It seems to shift more smoothly and decisively, but that could be psychosomatic on my behalf.
I don't think it's your imagination. Just had my transmission service done (fluids, filter, gasket, screw) at 56K miles and mine definitely shifts more smoothly too. Before it was almost like I was towing an invisible trailer which kind of gently yanked the car backward with each shift as power was interrupted. Now I barely notice any loss of momentum between shifts. Nobody should skip this service every 60K miles.
Turned 100,000 miles. Time for new tires. I went with the Conti CrossContact LX25 again. Great tire. Much more comfortable, quieter and longer lasting than the factory LX Sports which were slappy, loud and short-lived.
The LX25s lasted about 60k miles. I run them with 45-50psi when hot (road temp). Around 45psi cold.
Still on the factory front rotors and pads. They have some life left.
Spark plugs are due next, I have three coils and 6 plugs and plan to change the passenger side first. Driver's side will come later when I have more time.
Mercedes SLR McLaren 722 S Is Extremely Rare Example Modified by McLaren
Slideshow: A one-of-one U.S.-spec Mercedes-Benz SLR McLaren Roadster became even rarer after a factory-backed transformation at McLaren's headquarters.