When you click on links to various merchants on this site and make a purchase, this can result in this site earning a commission. Affiliate programs and affiliations include, but are not limited to, the eBay Partner Network.
Recently 1 of the brake light bulb burnt out. I attempted to switch the led version, but failed. None of the canbus led work, regardless the price and brand Went to the dealership and got a new pair of oem bulbs This is the sample of led i got from amazon. Almost $40, still don't work The oem bulbs looks pretty high quality This is the part number for the oem bulbs
My coolant was due at 240 000, but so busy lately with work, so didn't get a chance to change it till 250 000 km This is the coolant i got from my local Mercedes dealer. Not bad at all in terms of price, only $30 CAD. And it a 50/50 mix, that mean you can get 8L out of it Make sure you use the distilled water. Only $2 from no frill. I didn't have the proper size of tube to direct the coolant. I made a little bit of mess, but was able to clean it up after with brake cleaner. Next time if i do it, i will get a tube to direct the coolant, rather than make a mess. I believe it a 10mm tube to plug in the brain plug. Also took forever to drain out the coolant You will need 1 of this tool to loose the drain plug. There are only so much room when it comes to loose the coolant drain plug, a small version of this tool will probably work amazing Drained out almost 7L of old coolant I gave the coolant housing a good clean I topped up the coolant. Took it out for a spin, wait till it cool down, and topped out again. Took me 3 tires before i can put back 7L of fluid in the system. Don't forget to turn on the heat while bleeding the air out from the system
This is the video i used to help me flush the coolant. It helped me out a lot. Without this video, i don't think my coolant flush will be that smooth. I can see why dealership will charge like $200 to change the coolant since it takes time to drain. The shop has the vacuum tool, which can save them some time to refill the coolant. Overall, this is a easy DIY for weekend warrior
Did some repair on my ML It turns out great 6 coats of plastic dip and 3 coats of glossifier. I am planning to add a coat of "dip coat", apply 2 coats of ceramic coats after the plastic dip is fully dry. There were a lot of scratches on the chrome bumper protector. I don't know why Mercedes did that, but the chrome looked horrible after it got age and the scratches are so noticeable. Now it looks a lot better. I had some paint chips on my lower rear bumper. Because of the exhaust location, I cannot keep this area clean. Special I did the DPF delete, I can never keep up with the soot. My kid used a shopping cart to hit my car Not as bad on the other side, still a lot of paint chips.... This is what it looks like after the paint repair. Again, 6 coats of plastic dip and 3 coats of glossifier I also sprayed outside of my trailer hitch to cover up some surface rust spot. I know it not forever repair, but at least it looks clean now. I do think the plastic dip looks pretty good. This is the final outcome. So far so good Matched my black emblem.
For the longest time, I have my block heater core hidden around the wiper, which sometimes caused vibration and noise So I finally decided to mount the block heater core plug in on the bumper
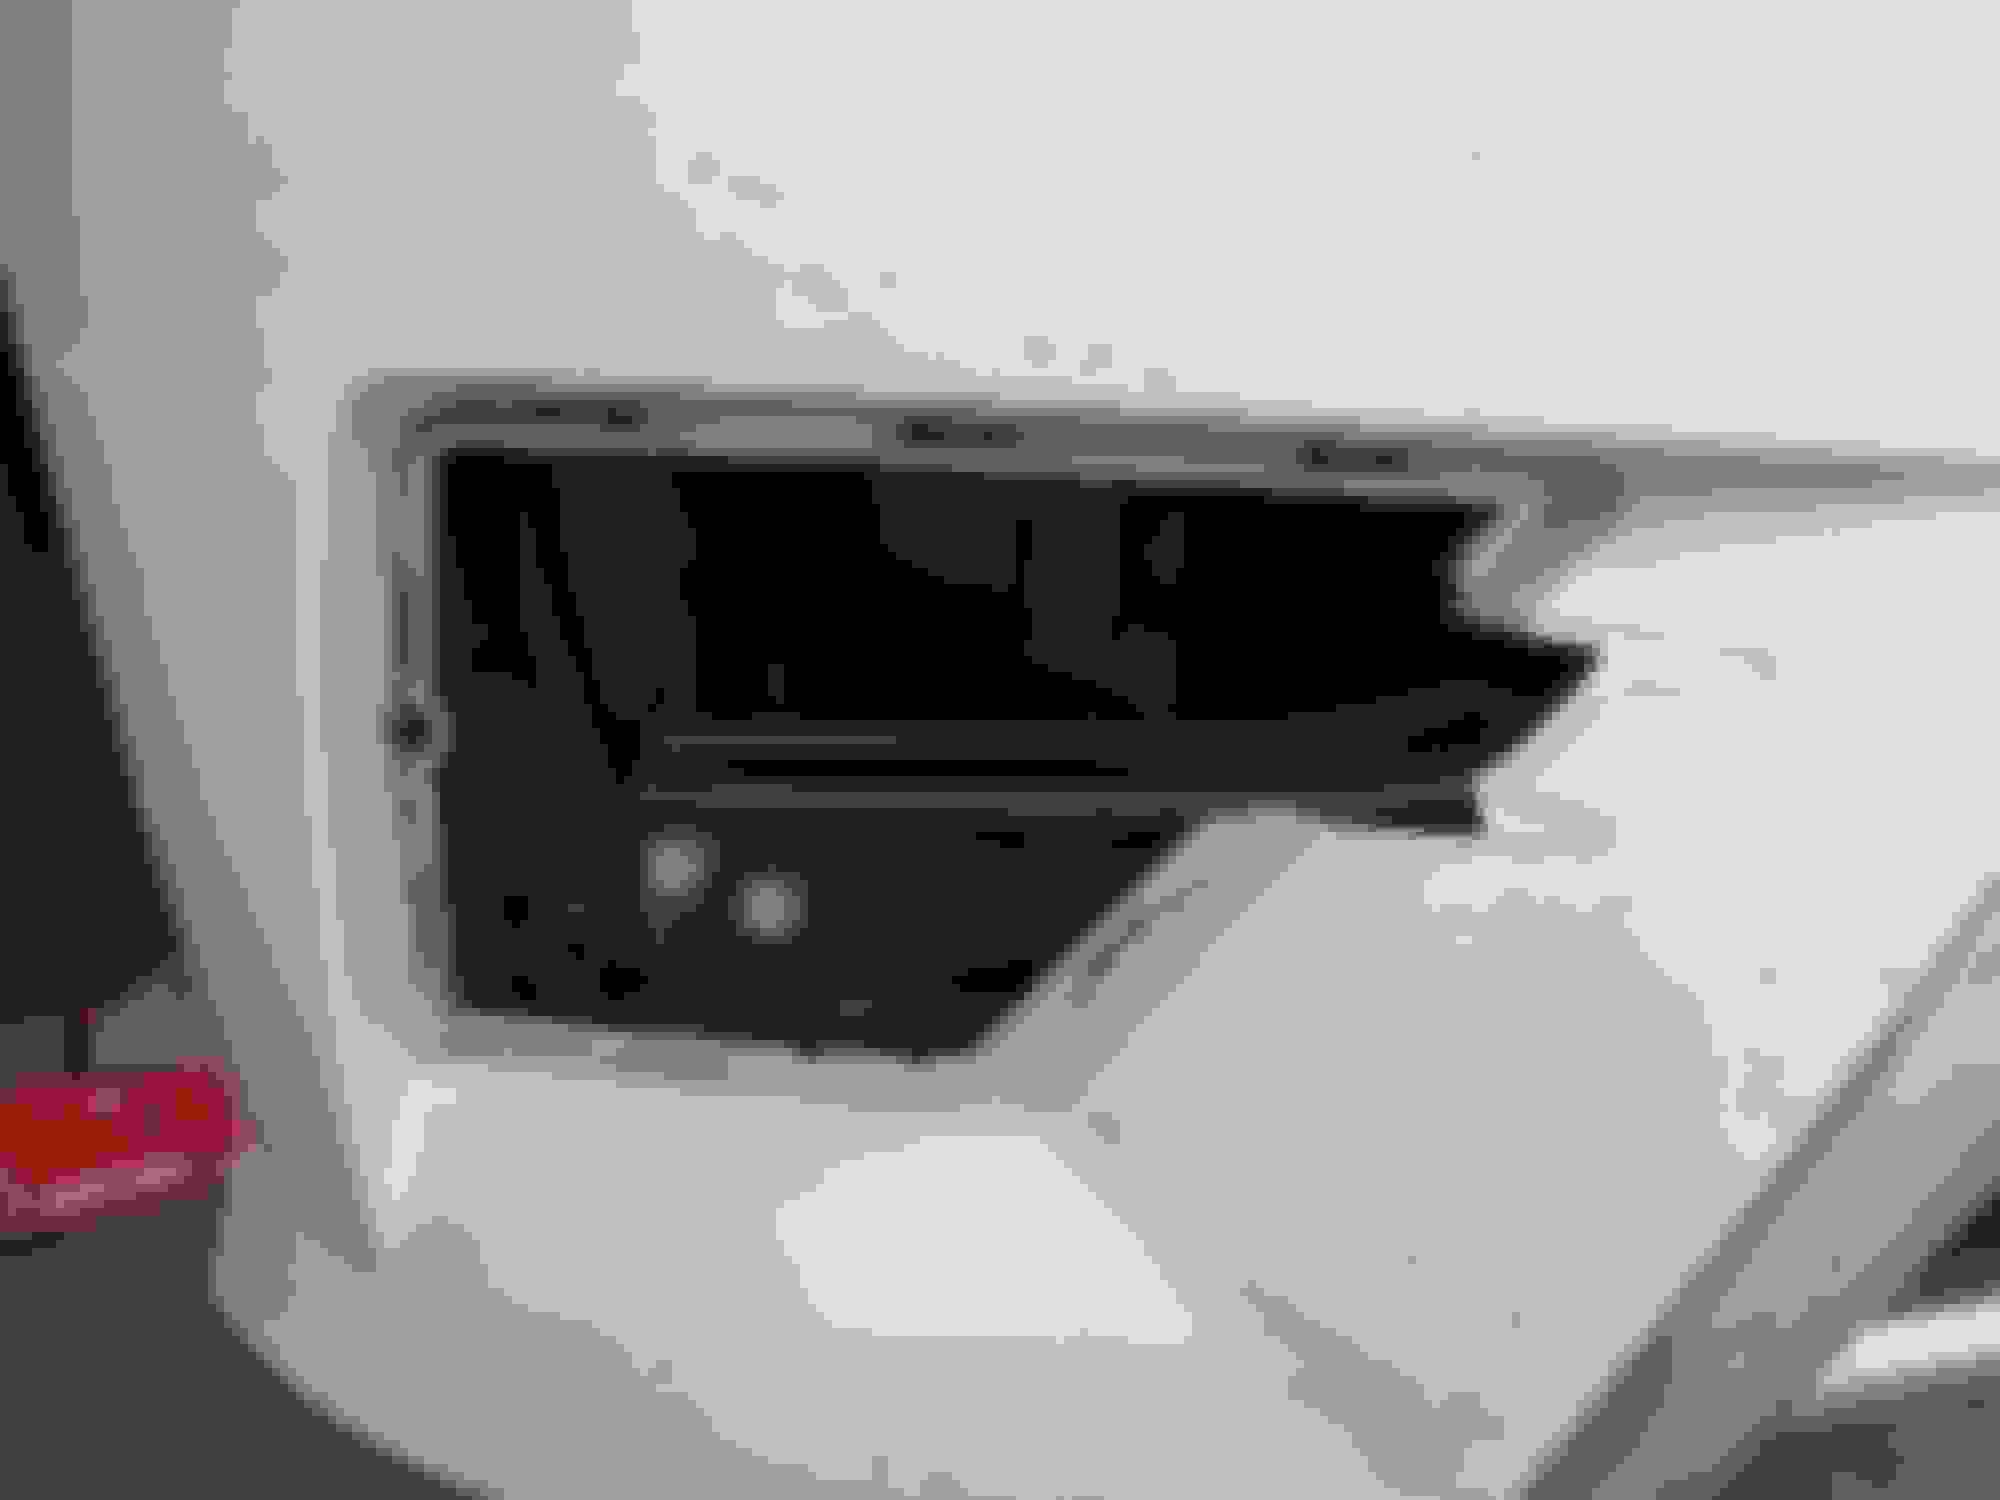
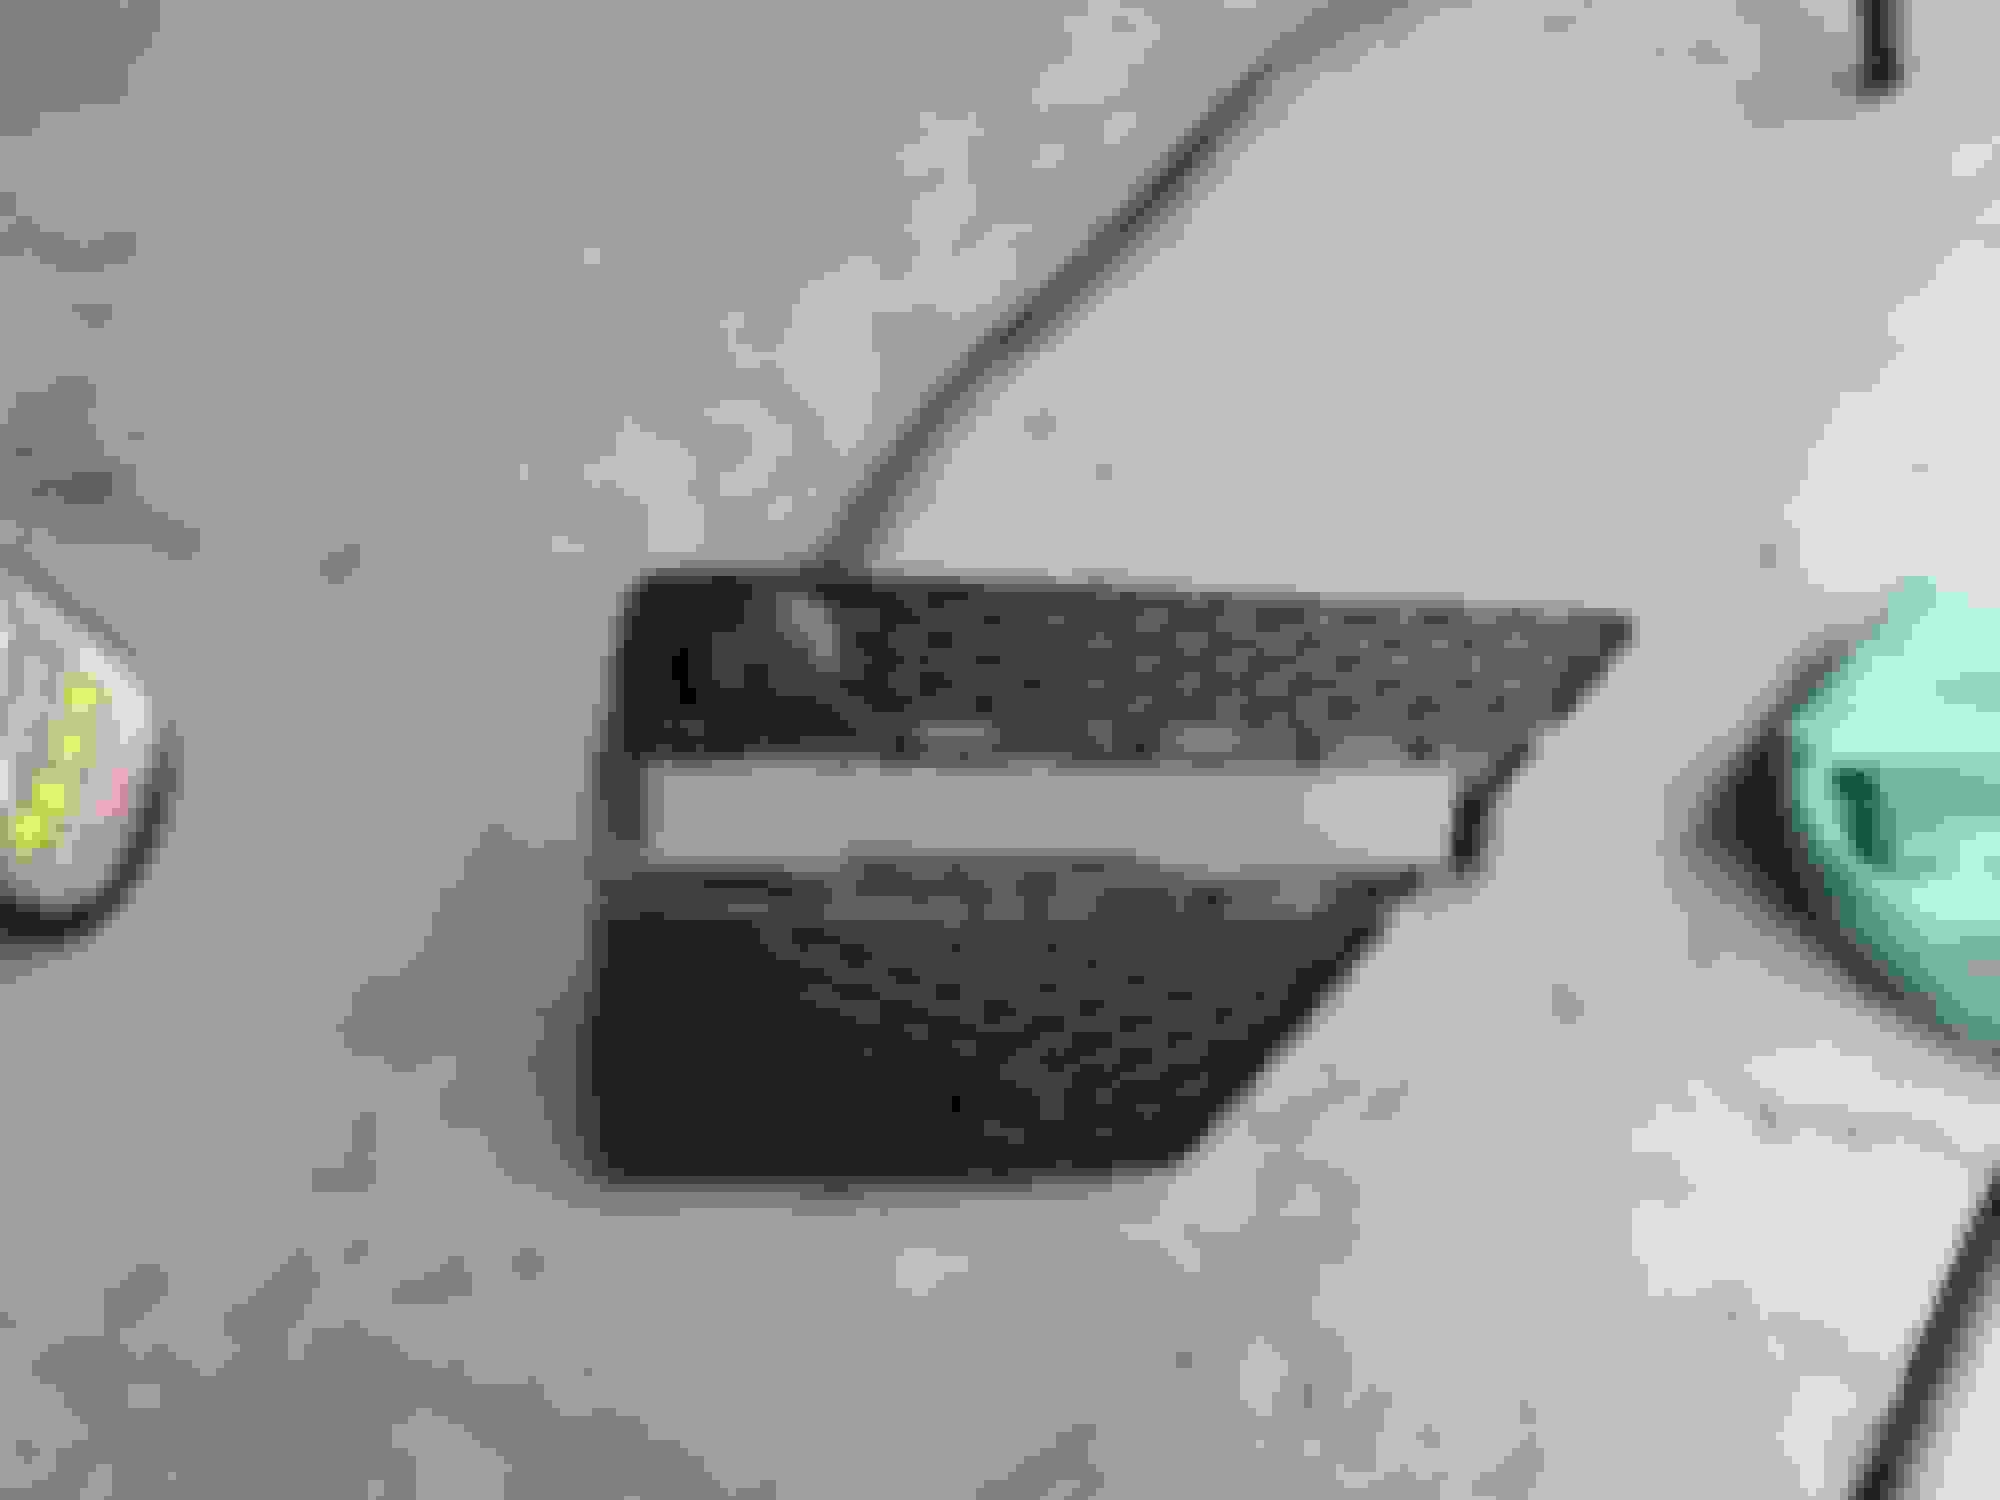
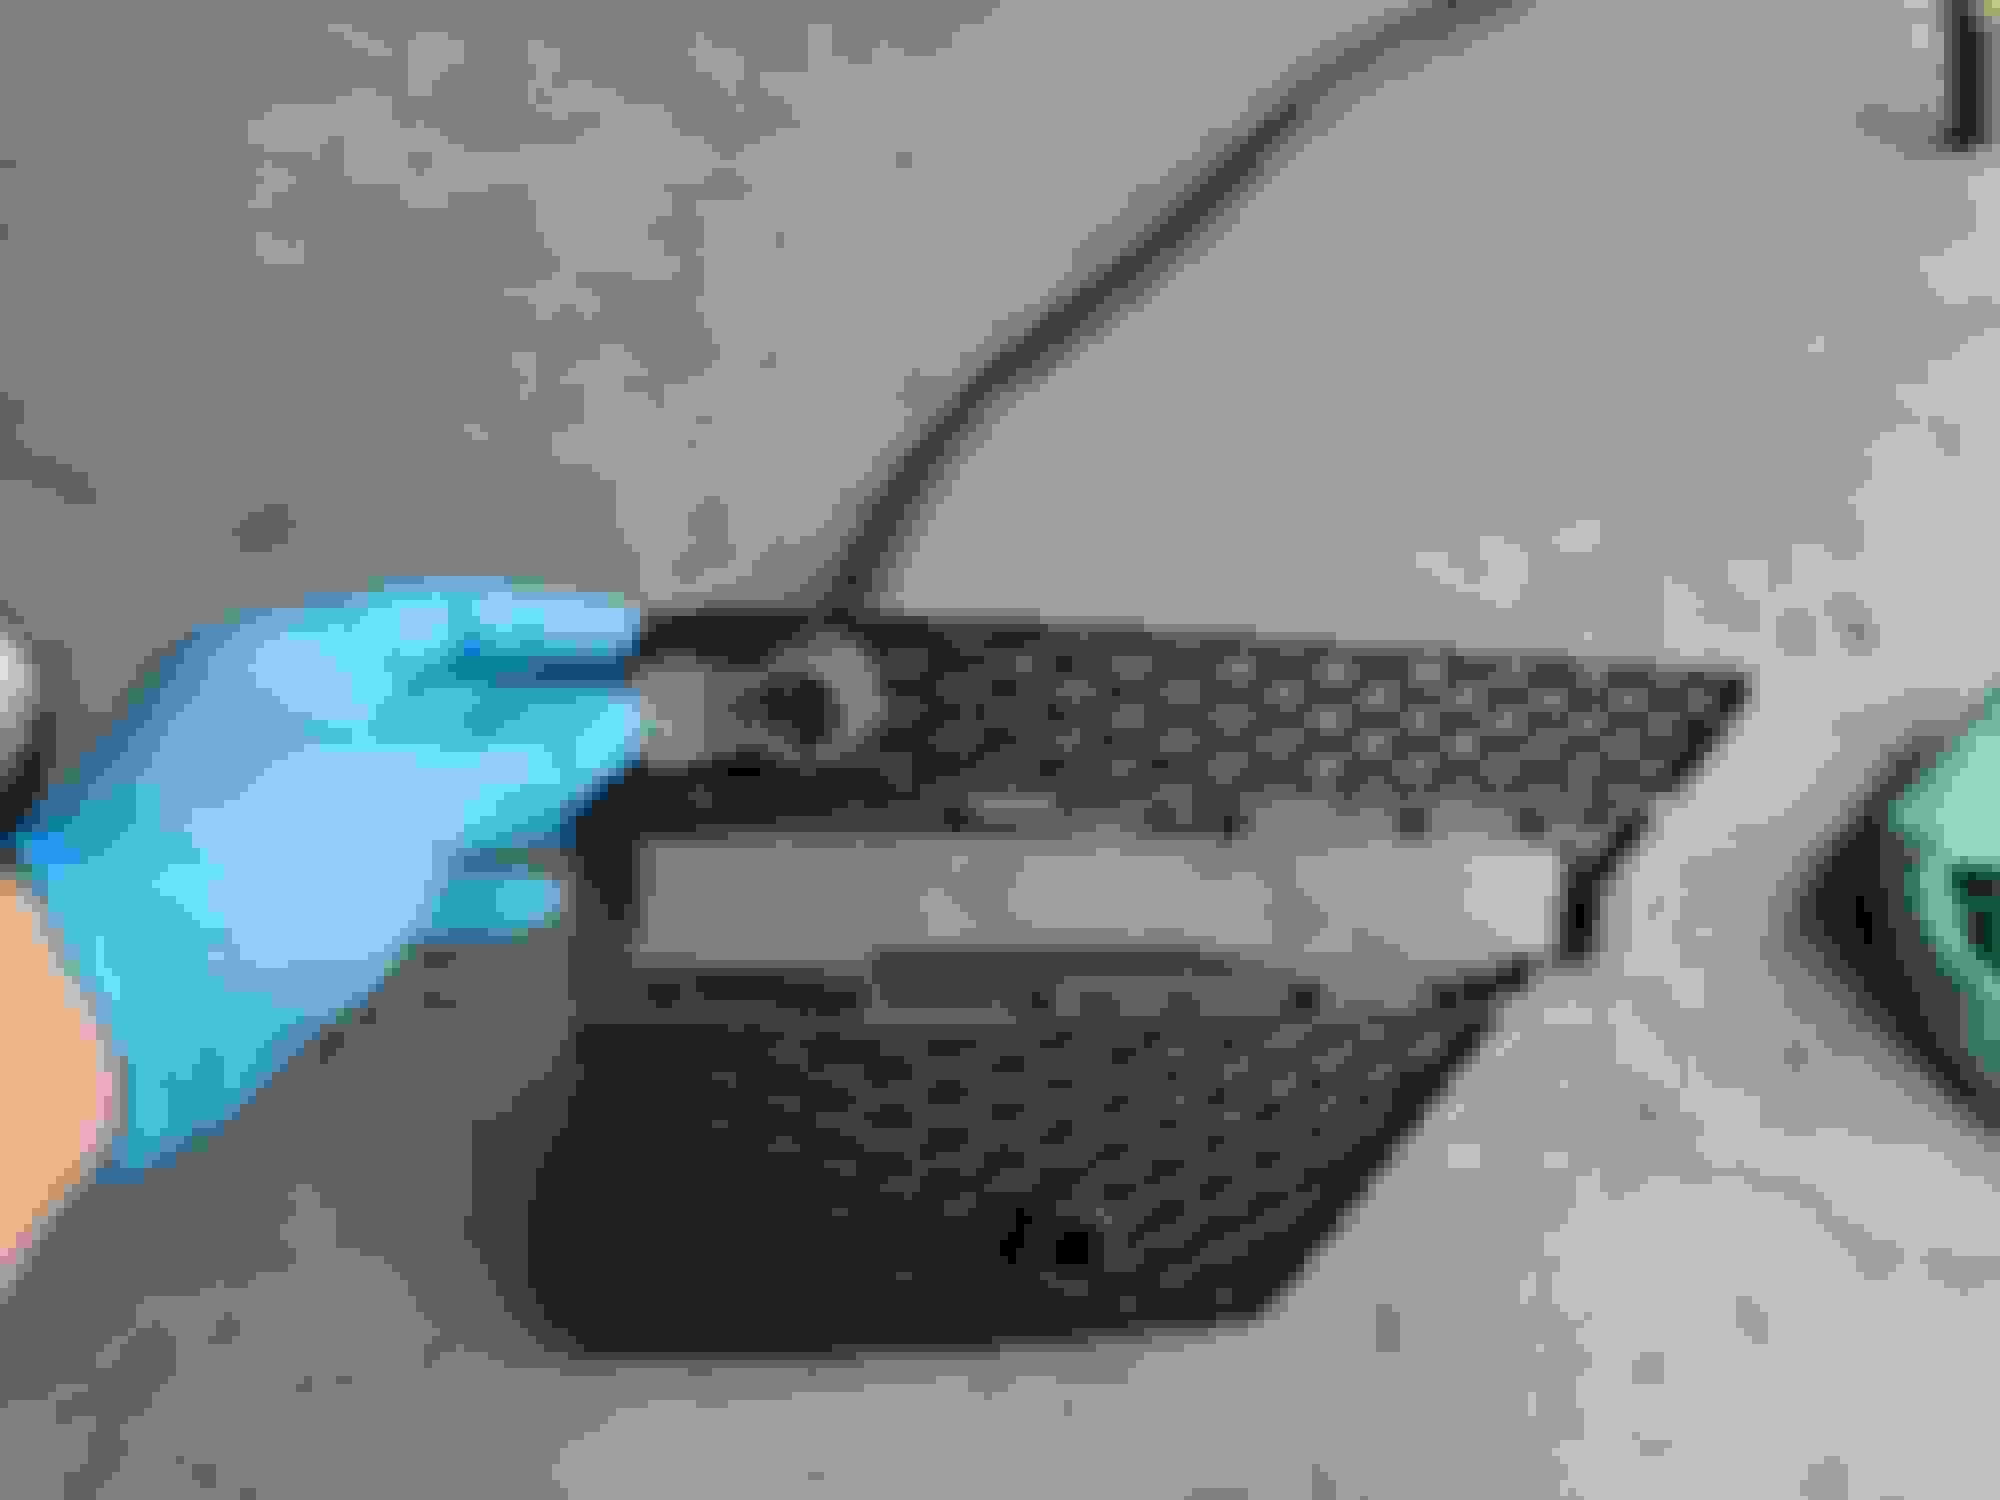
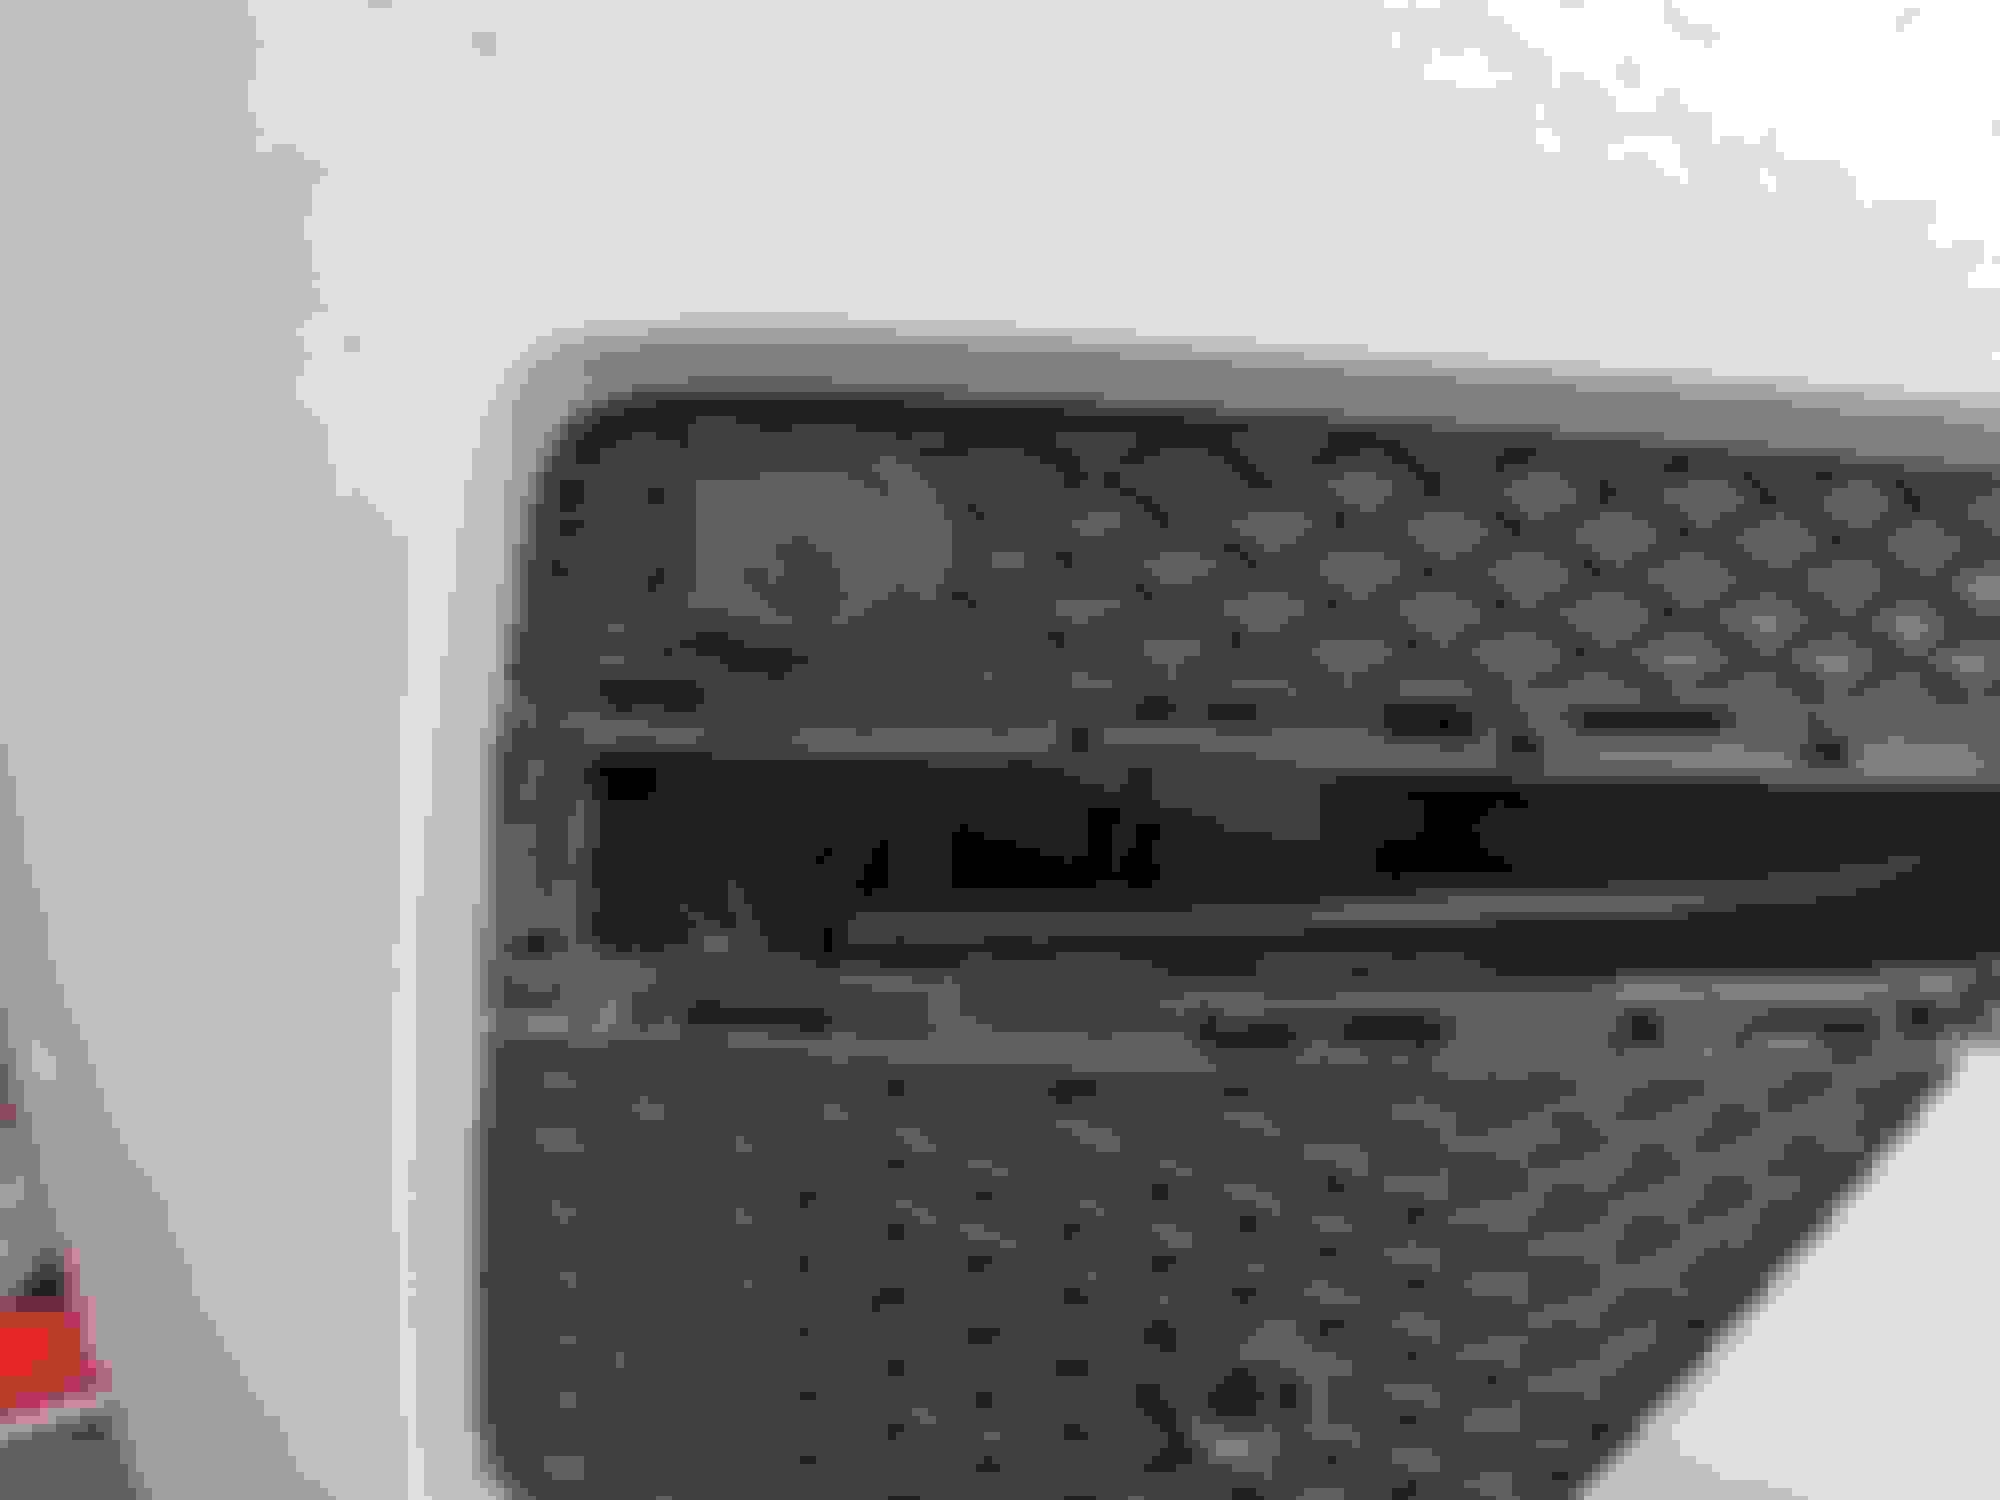
In order to mount the block heater on the bumper, first you have to remove the inner wheel liner on the passenger side. Once you removed the wheel liner, you will be able to access with the DRL panel , which is pain in the *** to remove. I tried with the trim removal tool, no luck. I was able to get it off with a long flat head screw driver. There are also one clip on the side on the panel, make sure you remove it before you attempt to remove the panel. Once you removed the panel, then you can disassemble the chrome trim and the DRL. Start drilling the hole Make sure you measure it few times before you start drilling Test it and see if you can open the cap freely , and the secure connection Now test fit and see how it looks before you reassemble everything back This is what it looks like after the panel got secured. I have to cut out one of the bumper clip in order to reassemble the drl panel Before I reassemble everything, I decided to plastic dip everything before I put everything back. Once again, 6 coats of plastic dip and 3 coats of glossifier Alberta rock chip hit my DRL :S I was going to order a new set from Amazon, but decided to keep using it until it burn out. I polished it and it turned out ok This is the final product after I ceramic coated the black DRL panel This is where the block heater plugged into. It located in the front of the engine bay on the passenger side This is where I connect my ground This is the final product. looks super clean And the other side
I had the LED emblem for the longest time too. Since I disassembled the DRL, I decided to connect to the DRL. I simple tapped into the DRL wire to power the LED emblem. It turned out great. Hopefully I don't get in trouble with the police since it a factory option and sold by Mercedes Canada.
I hidden the DRL wire on top of the front grill This is the picture, I used some 3M tape I probably can do a better job, but no one can see it. And I may replace my front grill to full black, so still have another chance to redo the wire This is the connection for the DRL. I was worry about the moisture will get into the connection, so i wrapped up with the electrical tape The DRL connection and the Block heater connection It looks clean after the install Here is the night photo. I know the led light and the DRL looks different colour on the picture, but in real person, it looks the same
Got another set of rims from Tire Zone. This set of rims mounted with Winter Tire. Blizzard DMV2 I ceramic coated my rims twice. Hopefully that can help it to keep clean Can't wait to try it out on the snow
Love this thread, over 150k miles! Any issue with rust creeping up? I am in upstate NY and my '13 ML350 (gas) only has 55k, previous owner didn't drive much and not really drove it in the winter much.
It's great that these panzer tanks have a lot of plastic underneath to protect the underside, but I am uncertain on how the body will fare.
No issues with rust. Maybe because alberta don't use salt much. The panel are great for protection, but pain in the *** to install back every time
Recently installed the garage heater in my garage. Special thanks to Jeremy to help out with the heater. If you live around Calgary area and looking for a garage heater, give him a call. Even the unit is small, it blows heat like crazy. Here is his business info. No more freezing while changing oil in winter time
After the garage heater installed, it time for me to do some maintenance work on my vehicle. This oil change, I decided to change the cabin air filter and the fuel filter along with the all the seals. While I had the engine apart, I took out the EGR pipe and see how bad the carbon built up. My car had the EGR disabled, it worked great. No carbon built up at all. Just little dirty. The turbo inlet pipe seal was all ****ed, which is probably my fault. I only re used a few times and less than 2 years from the last time i replaced. From now on, every time I take off that turbo inlet pipe, I will replace the red seal. Because the seal was not seal properly, there was few oil dripped on the belly pan. I was still able to drain approximately 8.5L oil from the engine, so I am not too concerns about it. And this time, I make sure the seal was sitting properly. On top of that, this is my first time ever doing the oil change when the oil is hot hot. I normally do it after the car has been sitting for a night, but man, this time, the oil drained so fast. I felt like i was able to get more oil out when the engine is hot. Overall, the maintenance was pretty easy, only took me few hours to do. And almost all the parts are cover by fcp euro with life time warranty, so I am only paying for shipping and tax, which should be around $120 CAD.
Last edited by GLK Super Fan; Oct 18, 2021 at 12:31 PM.
Hi, so is the drain plug for the deff fluid on the passenger side and the fill plug is on the driver side for 2014 ML350 W166?
Thanks for your help.
Rear differential, yes. Passenger side is the lower drain plug and drive side has the fill plug. Make sure you loose the fill plug first. Get the fluid from fcp euro
Rear differential, yes. Passenger side is the lower drain plug and drive side has the fill plug. Make sure you loose the fill plug first. Get the fluid from fcp euro
Great! Thanks.
This weekend I will work on the rear and front deff and also try to change the transmission and transfer case fluid. If I run into any issue I will let you know.
That is correct. I heard and saw few videos that says not that much fluid comes out of the torque converter and its a little hard when doing alone. However i'm planning on doing the transfer case ATF fluid change today.
That is correct. I heard and saw few videos that says not that much fluid comes out of the torque converter and its a little hard when doing alone. However i'm planning on doing the transfer case ATF fluid change today.
Thanks
I want to say maybe another 2 to 3 Liters came out on mine. I don't think it a big deal if you drain the torque convertor or not. Just have to change the fluid more often than the Mercedes recommend, once every 120 000km seems too much
Great post and thank you for taking the time to post so many photos and additional details.
I also have a lighted star that I need to install. Do you have instructions on how to complete the installation?
Thank you in advance.
Chris
I take off the wheel fender on the front passenger side. From there , i tap the star light wire to the led light. Super easy. Not difficult at all. Just get some quick wire tap connection from amazon for the job
Mercedes SLR McLaren 722 S Is Extremely Rare Example Modified by McLaren
Slideshow: A one-of-one U.S.-spec Mercedes-Benz SLR McLaren Roadster became even rarer after a factory-backed transformation at McLaren's headquarters.


 It turns out great