


Help needed to get the alternator out
Thread Starter
MBWorld Fanatic!


Joined: Feb 2011
Posts: 1,752
Likes: 175
From: London, UK
W212 - E63 AMG
Help needed to get the alternator out
Hi guys, I need some pointers for getting my alternator out.
I've so far got the top bolt out (damn, it's long!) and so I kinda need to get the big fat radiator hose out out so I can get the lower bolt out....I've got the thin metal wire clip off from the rad port, but I can't get the hose out.
Do I just need to use brute force and yank it out, or is there some finesse that I'm lacking here?
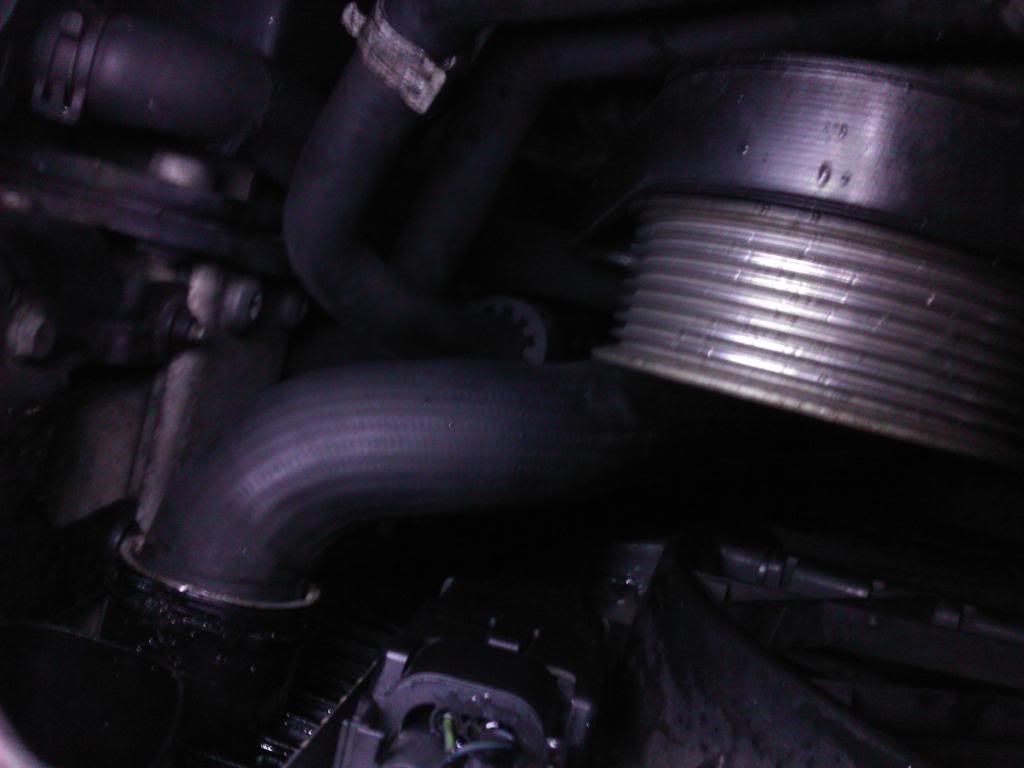
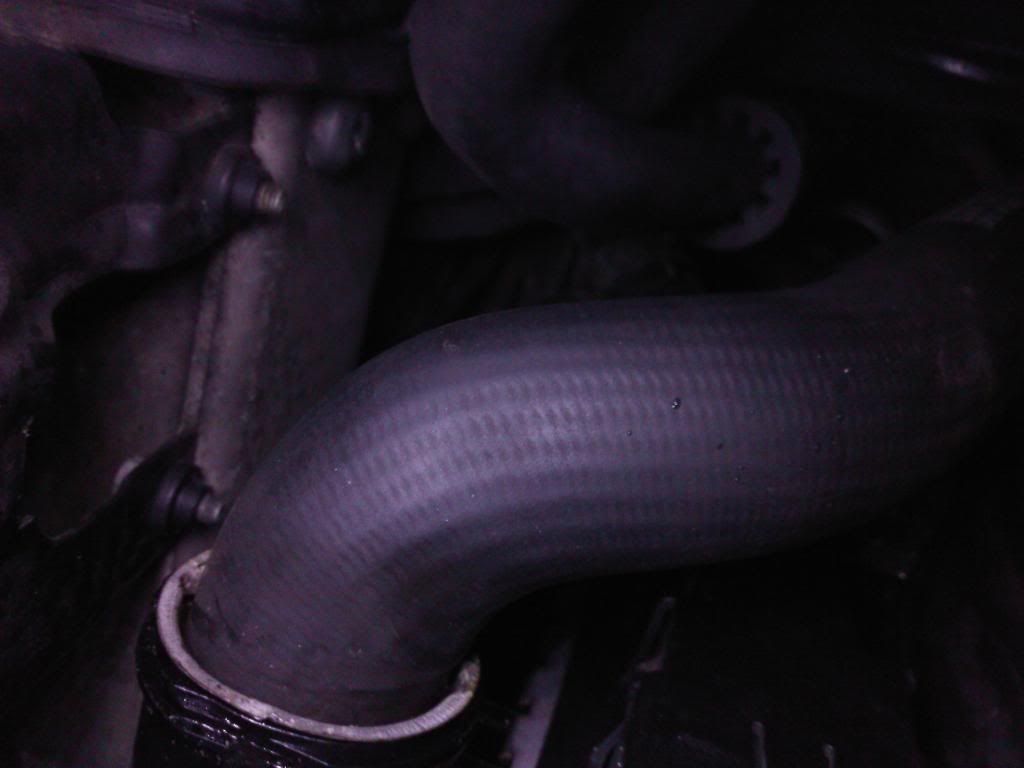
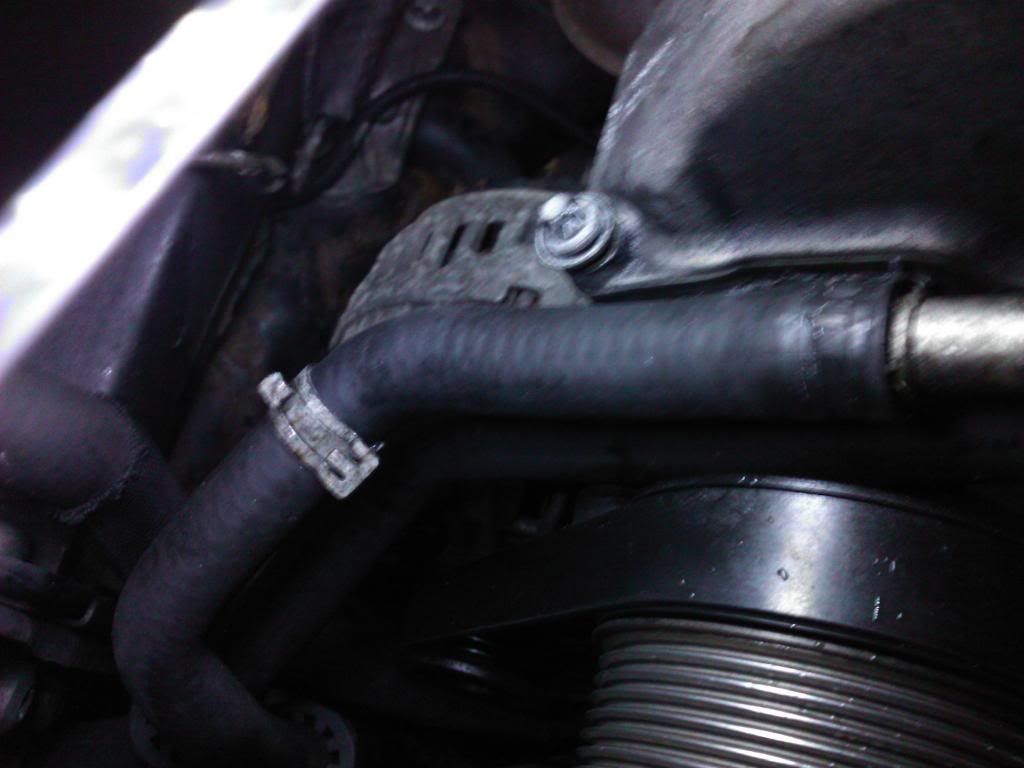
Also, I take it these top pipes have to come out also? I've undone the clip...but again, is it brute force that I need? I've yanked really hard but they won't budge.
And if anyone is wondering why the belt it still on....um...FML
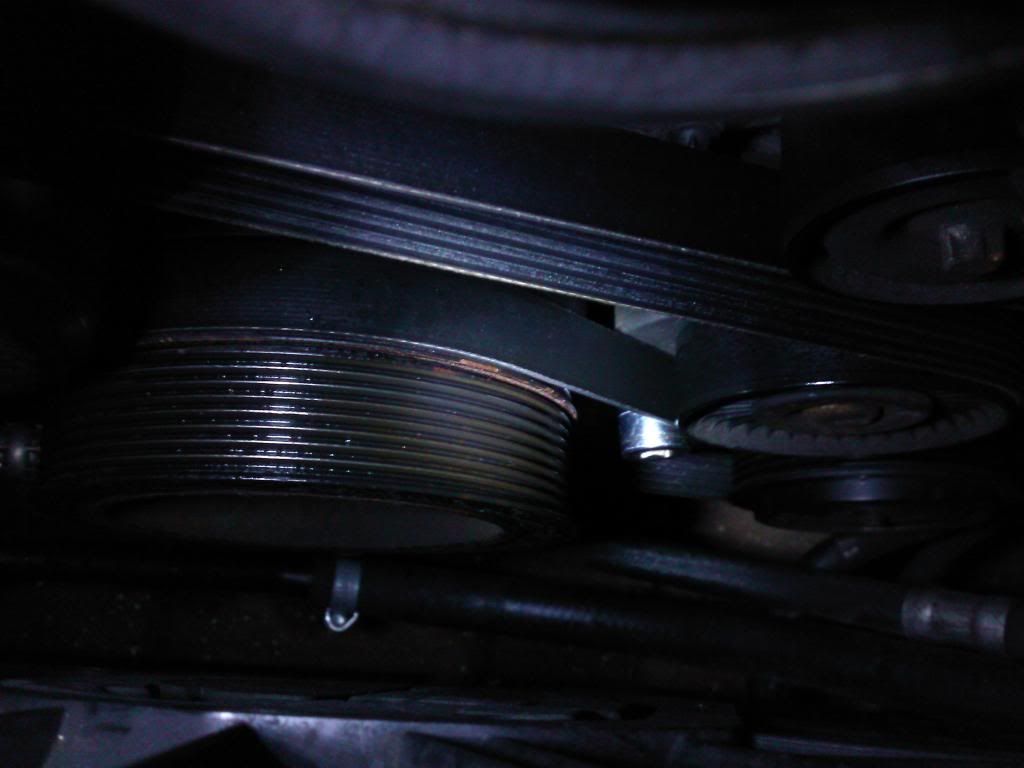
^^^ you can see my shiny 17 socket, jammed onto the tensioner...how annoying. I might have to get medievil with a pair of pliers and a blowtorch...
Also - am I on the right track with this? Those pipes come out for access and then I should be able to wriggle the alternator out, or does the whole radiator have to come out?
I've so far got the top bolt out (damn, it's long!) and so I kinda need to get the big fat radiator hose out out so I can get the lower bolt out....I've got the thin metal wire clip off from the rad port, but I can't get the hose out.
Do I just need to use brute force and yank it out, or is there some finesse that I'm lacking here?
Also, I take it these top pipes have to come out also? I've undone the clip...but again, is it brute force that I need? I've yanked really hard but they won't budge.
And if anyone is wondering why the belt it still on....um...FML
^^^ you can see my shiny 17 socket, jammed onto the tensioner...how annoying. I might have to get medievil with a pair of pliers and a blowtorch...
Also - am I on the right track with this? Those pipes come out for access and then I should be able to wriggle the alternator out, or does the whole radiator have to come out?
Member
Joined: Oct 2010
Posts: 96
Likes: 0
From: Kingwood, TX
2003 E55 AMG Silver with Merlot Interior
I did my alt and waterpump last year. Just pull out the fan shroud and the alt will come right out. Theres a torx screw holding a bracket on the the bottom of the shroud if I remember correctly and the rest are the upper core support bolts... I pulled my rad hoses as well, but I was doing the wp at the same time.
Senior Member
Joined: Dec 2008
Posts: 361
Likes: 3
From: Northern California
05 e55
I changed my alternator about a year or so back.. Since the 55 isn't my main car, it was roughly a 3-4 day process as I took my time.. Be warned, this isn't as simple as it seems.. There is no way to remove the alternator without removing the fan shroud. You also have to remove the radiator cables which means you need to drain the coolant.. I took a lot of pictures for a write up but I never got around to completing it.. I'll try to see if I can complete it and help you out..
P.S. You also have no choice, the accessory pulley will need to be removed too..
P.S. You also have no choice, the accessory pulley will need to be removed too..
Thread Starter
MBWorld Fanatic!
Joined: Feb 2011
Posts: 1,752
Likes: 175
From: London, UK
W212 - E63 AMG
I've so far removed the three top bolts (well, one 10mm bolt and two torx) in the middle of the upper support bar...they're tiny though...not sure if/how they even hold anything? I've also removed the two black twisty things and disconnected the harness plug.
The two torx bolts at the bottom...those are the ones connected to that tubular silver thingy, right? It just ate (snapped) two of my torx bits which I had of the same size :| It's not even rusted on!!! I'm going to pop to the hardware store now and buy some (hopefully stronger) new ones then try again.
It's such a pain in the *** doing this, especially in 2 degree's centigrade temps
Thread Starter
MBWorld Fanatic!
Joined: Feb 2011
Posts: 1,752
Likes: 175
From: London, UK
W212 - E63 AMG
Update:
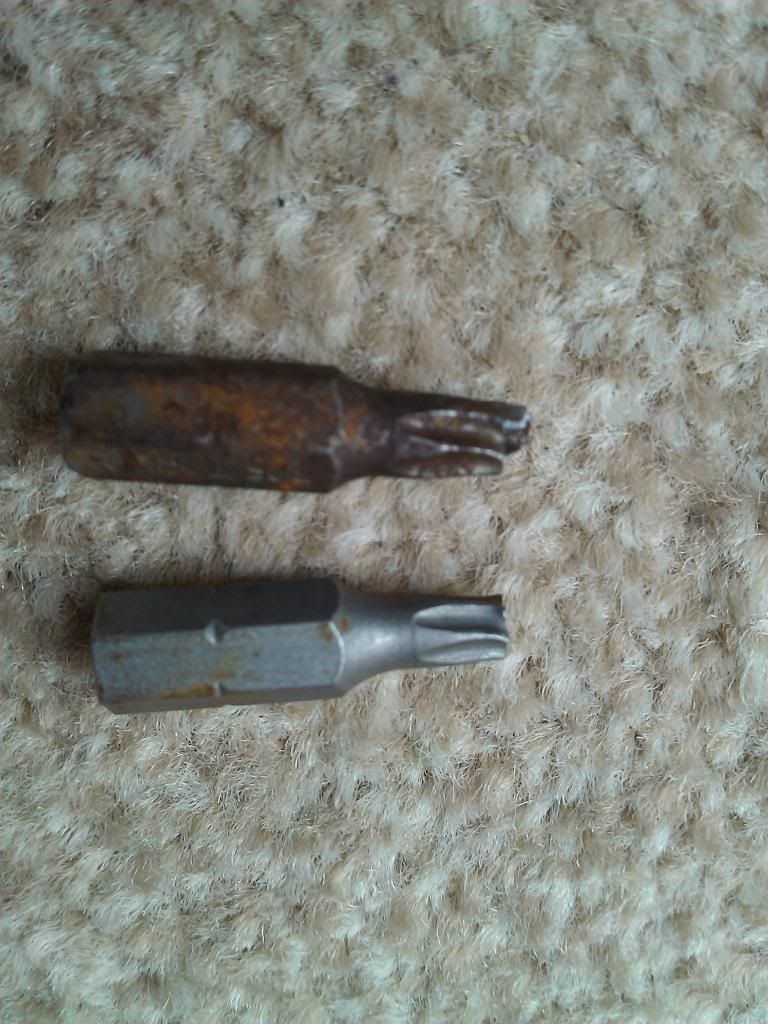
Ok so here are my broken torx bits... lol, I had to buy a new one. For anybody wondering, the size needed is T25 for the top torx bolts (which I'm sure I probably didn't need to take off) and the lower thingy...which I'm sure I misinterpreted also...
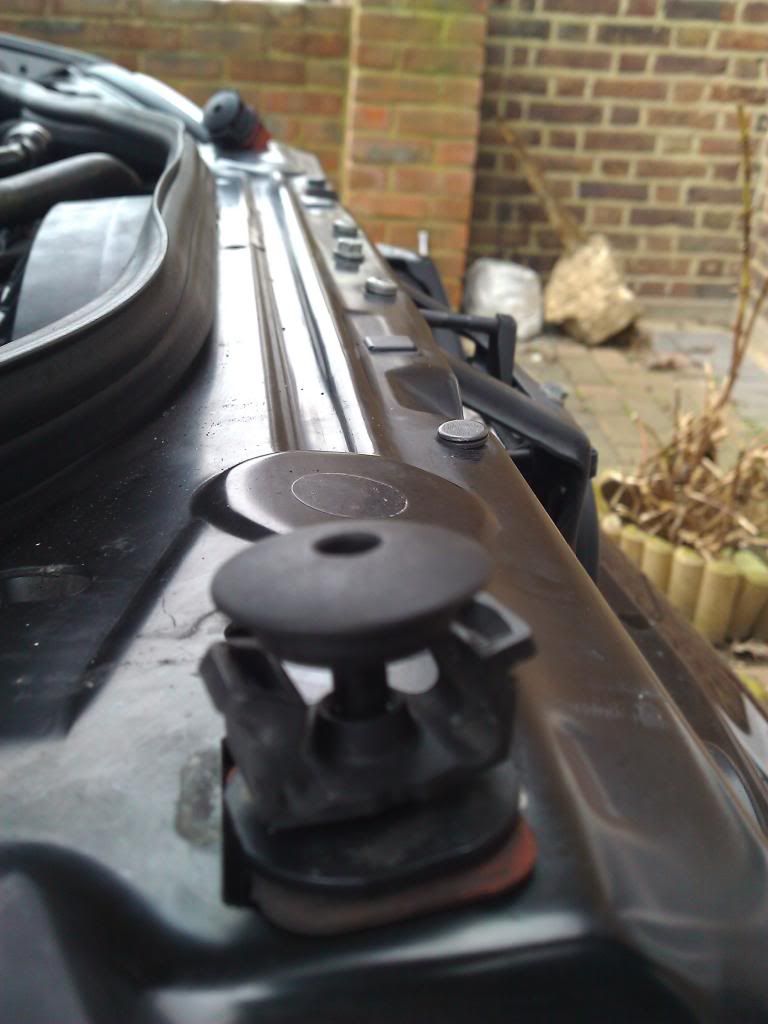
For anybody wondering, these are the top black plastic plugs which help to hold the rad in place:
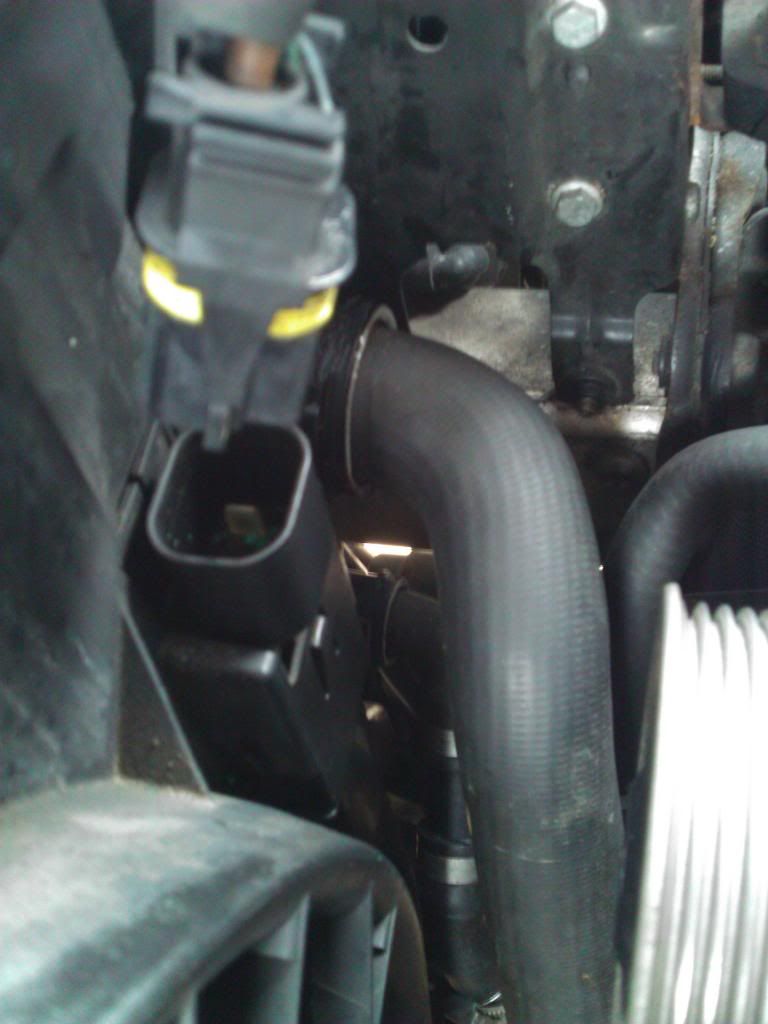
Rad connector plug:
I took these lower Torx bolts out...pretty sure I did nothing by doing that (Notice the Behr rad - mine is a late 2003 model)
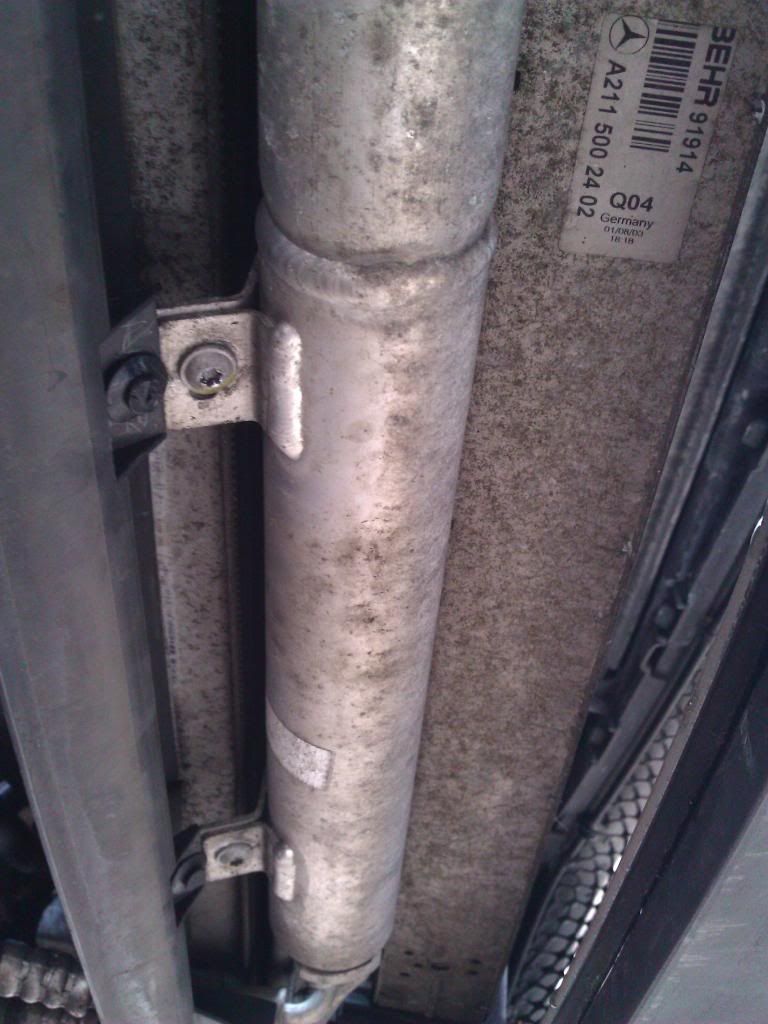
I figure this is the lower torx bolt that I needed to remove? (faintly you can see it around the bottom of the middle of the pic...if that makes sense)
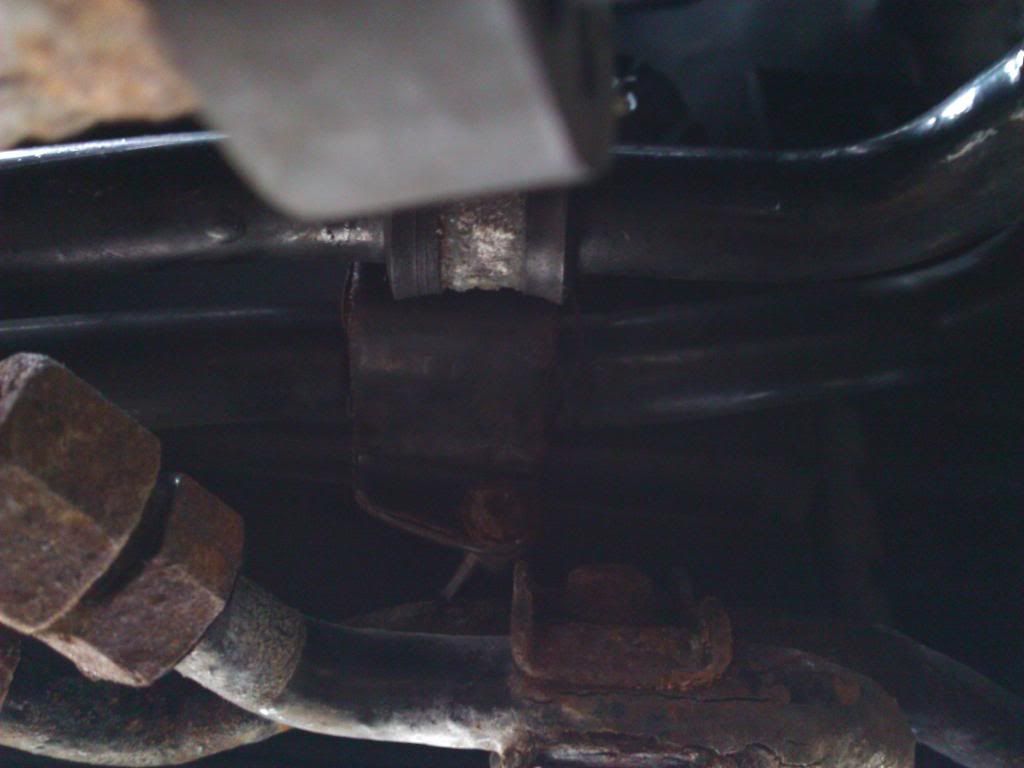
I couldn't though...it's badly rusted from the inside and it rounded off nicely after one turn
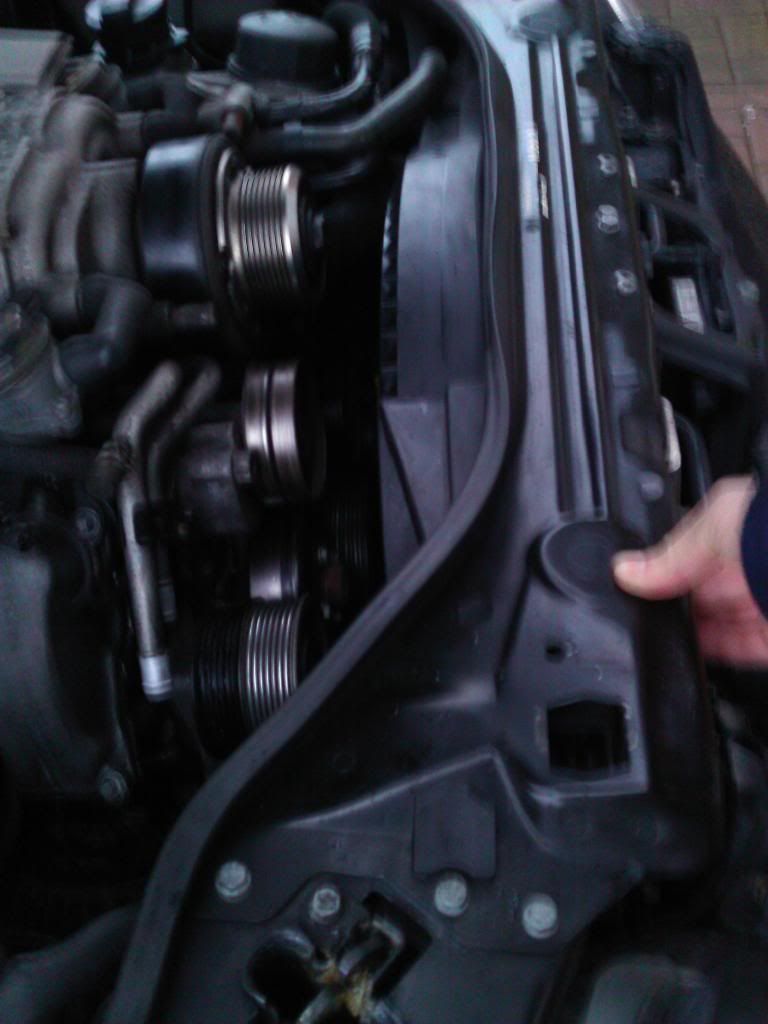
I'm stuck now though...alternator is out and chilling, but I couldn't get the rad out (not even sure if the fan shroud and the rad are mated together?). I can push/wobble it from the top and get it move forward an inch, but it hinges on something from the bottom which is making my life a misery
It's difficult to make out the level of movement from the pic below and then pic below that, but clearly it's not moving enough

And um...current status, lol. I guess I'll be back on the case, bright and early on Saturday now.
Ok so here are my broken torx bits... lol, I had to buy a new one. For anybody wondering, the size needed is T25 for the top torx bolts (which I'm sure I probably didn't need to take off) and the lower thingy...which I'm sure I misinterpreted also...
For anybody wondering, these are the top black plastic plugs which help to hold the rad in place:
Rad connector plug:
I took these lower Torx bolts out...pretty sure I did nothing by doing that
(Notice the Behr rad - mine is a late 2003 model)I figure this is the lower torx bolt that I needed to remove? (faintly you can see it around the bottom of the middle of the pic...if that makes sense)
I couldn't though...it's badly rusted from the inside and it rounded off nicely after one turn
I'm stuck now though...alternator is out and chilling, but I couldn't get the rad out (not even sure if the fan shroud and the rad are mated together?). I can push/wobble it from the top and get it move forward an inch, but it hinges on something from the bottom which is making my life a misery
It's difficult to make out the level of movement from the pic below and then pic below that, but clearly it's not moving enough
And um...current status, lol. I guess I'll be back on the case, bright and early on Saturday now.
Trending Topics
Member
Joined: Oct 2010
Posts: 96
Likes: 0
From: Kingwood, TX
2003 E55 AMG Silver with Merlot Interior
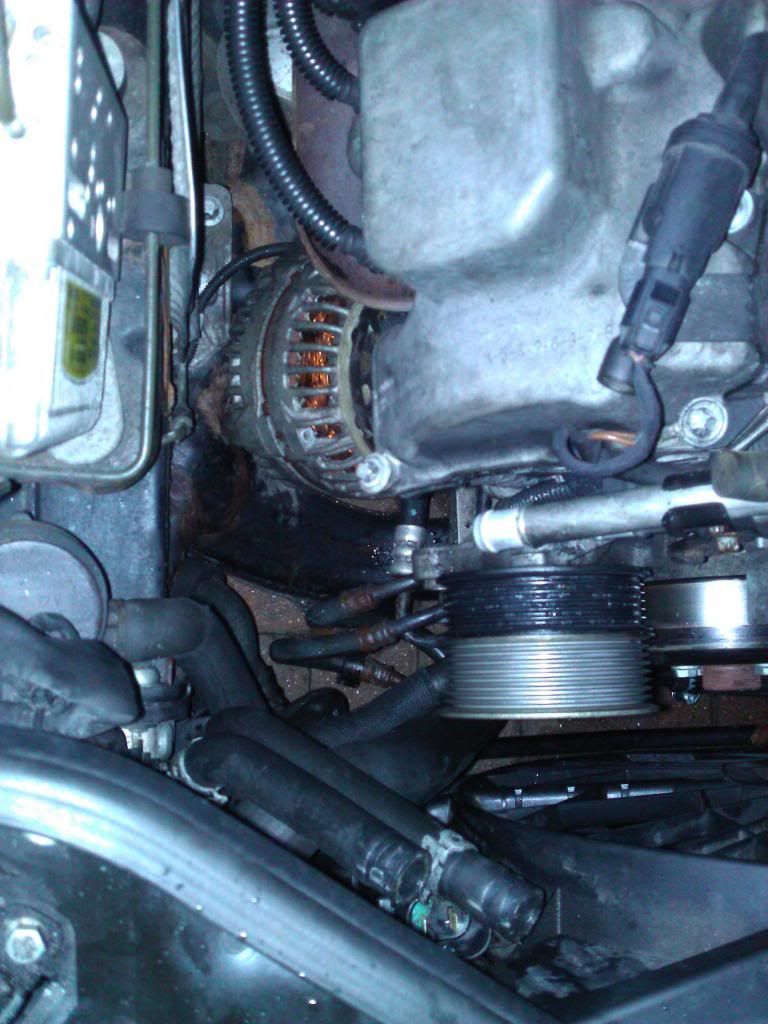
you are close - remove the top core support bolts 7-10mm's, the 2 torx and the 2 plastic clips and it looks like you have the shroud ready to come out. Slide the alt back forward and remove the two pulleys in your last pic (one torx) and bring it up between the rad and the front of the block- leave the rad in place. And yes you need to that torx out of the shroud bracket on the bottom - the shrouds just locks into clips - once you have the upper core support off just give a tug up on the shroud and it should pop out- just fish around and unclip some of the small coolant lines that are attched at the bottom of the shroud.
Note - the upper core support is the entire metal part that has the mobil one sticker on it. You need to pull that off and your life will become alot easier
Note - the upper core support is the entire metal part that has the mobil one sticker on it. You need to pull that off and your life will become alot easier
Last edited by sokarempire; Jan 23, 2013 at 04:55 PM.
MB World Stories
The Best of Mercedes & AMG

7 Craziest Things AMG Gas Ever Built
Verdad Gallardo
New Electric Mercedes-AMG GT 4-Door Coupe Unveiled: 10 Things You Need to Know
Verdad Gallardo
6 Mercedes Models That Did NOT Age Well (But Are Somehow Still Cool)
Verdad Gallardo
Manual Mercedes? 6 Times Sindelfingen Let Drivers Have All The Fun
Verdad Gallardo
Mercedes SLR McLaren 722 S Is Extremely Rare Example Modified by McLaren
Verdad Gallardo
8 Classic Boxy Mercedes Designs That Have Aged Like Fine Wine
Verdad Gallardo
Flawlessly Restored Mercedes 190E Evo II Heads to Auction
Verdad Gallardo
Electric Mercedes C-Class Unveiled: 11 Things You Need to Know
Verdad Gallardo
Mercedes EQS Gets A Major Update: Everything You Need to Know
Verdad Gallardo
Thread Starter
MBWorld Fanatic!
Joined: Feb 2011
Posts: 1,752
Likes: 175
From: London, UK
W212 - E63 AMG
Thanks man, I'll maybe even try again tomorrow evening after work. That makes more sense, I just thought it was meant to come out a different way. I'll try this and report back

MBWorld Fanatic!
Joined: Jan 2009
Posts: 3,182
Likes: 15
From: Northern VA
W211
here was a DIY that i found for the w211
I changed the alternator on Sunday and it took 2 hrs. Originally, i thought it would take only 1 hr, which is the typical time on other cars. But I have to agree that the job is far more difficult than on other cars, such as BMW, Toyota or GMs. I should have posted some tips/tricks soon after I did this job. But there's on oil dipstick in the front of the car I worked on. Next time, it'll take me no more than one hour.
There's very little room in the back of the alternator to work with, i got some cuts on my hands as a result of taking out the alternator.
Here's the procedure I would recommend (I didn't take pictures eithe, but can take some later and post them):
1. Remove battery negative terminals (2 batteries) on the E class or one in the CLK class.
2. Remove engine cover and vent duct on passenger side.
3. Remove drive belt: only one. Nut on tensioner is 17mm. Rotate counter-clockwise & remove belt. Draw a picture of the belt position before removing it; you'll need to refer to it when putting it back.
4.. Remove the two long mounting bolts (12mm I believe) holding the alternator. (There maybe 4 mounting bolts on some models, I don't know). Use a pry bar & pry the alternator loose.
5.. Flip the alternator facing down (pulley facing down). There's a plastic cap covering the 13mm nut. Remove that w/ a flat head screw driver. Remove the large positive wire by removing the 13mm nut. Unplug the wire harness.
6. Take the old alternator out: Some pipes and hoses are on the way, you'll need to remove some plastic clips holding down the hoses, and move (not disconnecting) the hoses out of the way.
7. The hardest part. Drop in the new alternator. Connect the wirehareness. Don't connect the positive wire yet. Now wiggle the top of the alternator onto the fitting slot; need some muscle to wiggle it in; insert the long bolt, it maynot smoothly slide into place -- just wiggle and push at the same time, you maynot be able to align the hole on the alterntor and the hole in the mounting plate, the trick is to wiggle the bolt and slightly wiggle the alternator at the same time and push the bolt in. Tighten the bolt 1/2 way. Now wiggle the bottom of the alternator into the bottom fitting position. Insert the 2nd bolt and wiggle both the bolt & the alternator at the same time until the bolt can slide into position. Now tighten both bolts.
8. Connect the positive wire on alternator & tighten the nut.
9. Put the drive belt back on.
10. Reconnect the battery terminals.
It took me 2 hrs to do the whole job. Next time, it won't take more than an hour.
Thread Starter
MBWorld Fanatic!
Joined: Feb 2011
Posts: 1,752
Likes: 175
From: London, UK
W212 - E63 AMG
^^^ thanks bro, i'll keep those points in mind also.
Hopefully we'll have a guide at the end of this, which will make it easier for the newer guys to perform this task
Hopefully we'll have a guide at the end of this, which will make it easier for the newer guys to perform this task
Thread Starter
MBWorld Fanatic!
Joined: Feb 2011
Posts: 1,752
Likes: 175
From: London, UK
W212 - E63 AMG
Ok good news is that the charging system is fixed! Thanks for the tips, guys. I wasn't able to take many pics though because my hands were filthy and would have killed my cell phone. The beeping/red light is gone and the battery is showing a healthy charge with the engine running.
BUT...
...I got a bit stuck with the alternator when removing and it got wedged against the rad core...needless to say, once I'd dragged/wedged/pulled it out (I know...) it had damaged the core. I thought I might be able to get away with it once I was filling the coolant reservoir and had the motor running, but sure enough a light amount of coolant now leaks from the core. Urgh...so annoying. I just bought a new alternator only yesterday!
Anyway, does anybody have any pearls of wisdom to drop on me for radiator removal? I guess I could work it out once there's daylight, but it's dark now and I wasn't paying much attention to how the rad sits in place. Fairly easy to remove?
I guess it's kinda a good thing to replace as mine is a Valeo rad. Just a bit disappointing, after all the work to mend the charging issue. Ahem...


