


 Jun 17, 2015, 07:22 PM
Last edit by: IB Advertising
See related guides and technical advice from our community experts:
- Mercedes Benz E Class AMG: How to Install Coilovers
Step by step instructions for do-it-yourself repairs

My E55 DIY Coilover install With Step by step
Thread Starter
Member
Joined: Apr 2008
Posts: 113
Likes: 5
From: Nashville TN
2013 GLK 350 2013 GL450
My E55 DIY Coilover install With Step by step
First to introduce myself my name is Amir. I have had many different cars over the years and I have always done crazy and different stuff to my cars. So this begins my saga with the W211 E55. I have read some of the threads on the E55 coilover swap and one thing that was missing was a simple DIY. Well i decided to go ahead and do one for all you shade tree mechanics and home brew do it yourselfers. You can do this install in your drive way, garage, or even parking lot of your apartment.
So here we go:
I have been in talks with BC Racing in regards to the coilovers they currently make to fit the the W211 chassis. They currently have four different kits for the W211.
1. Mercedes Benz E-Class E55 AMG W211 03-06 SKU J05
2. Mercedes Benz E-Class Airmatic W211 03-09 SKU J10
3. Mercedes Benz E Class W211 02-09 SKU J06
4. Mercedes Benz E-Class Estate W211K 02-09 SKU J07
So I ordered the E55 kit (SKU J05) as the first step to get started on this kit. After I spoke with Chelsea at BC Racing a few times I settled on the J05 kit. The first one sold in the US ever. Well after about 3.5 weeks it arrived.
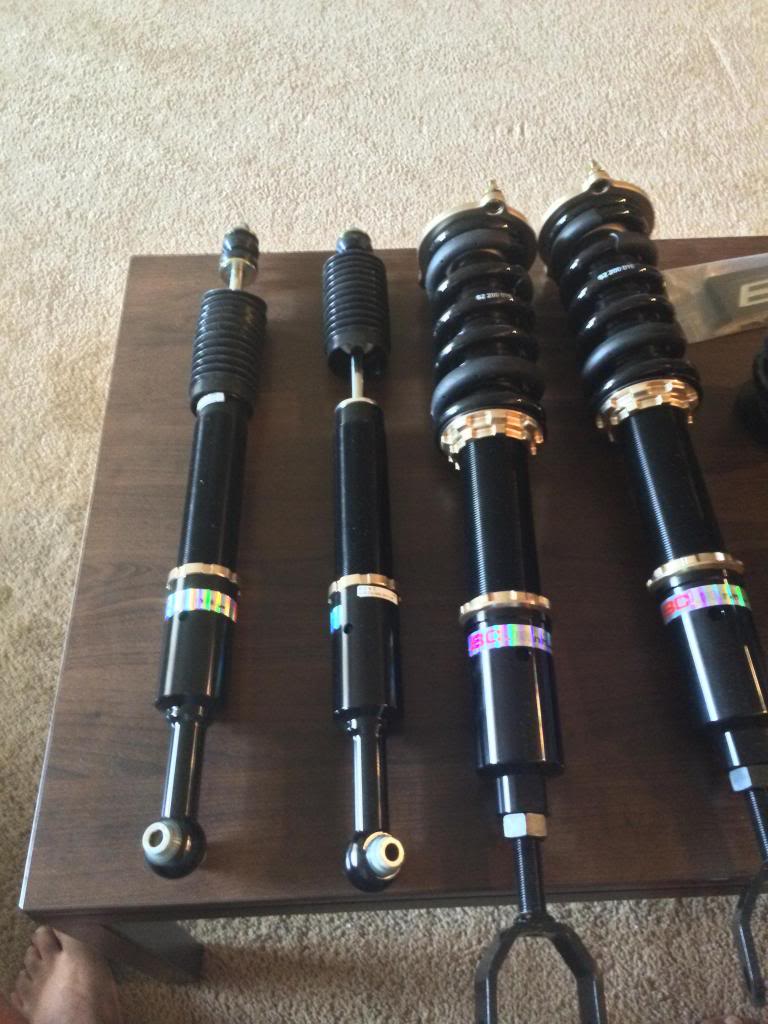
Here it is in its glory.
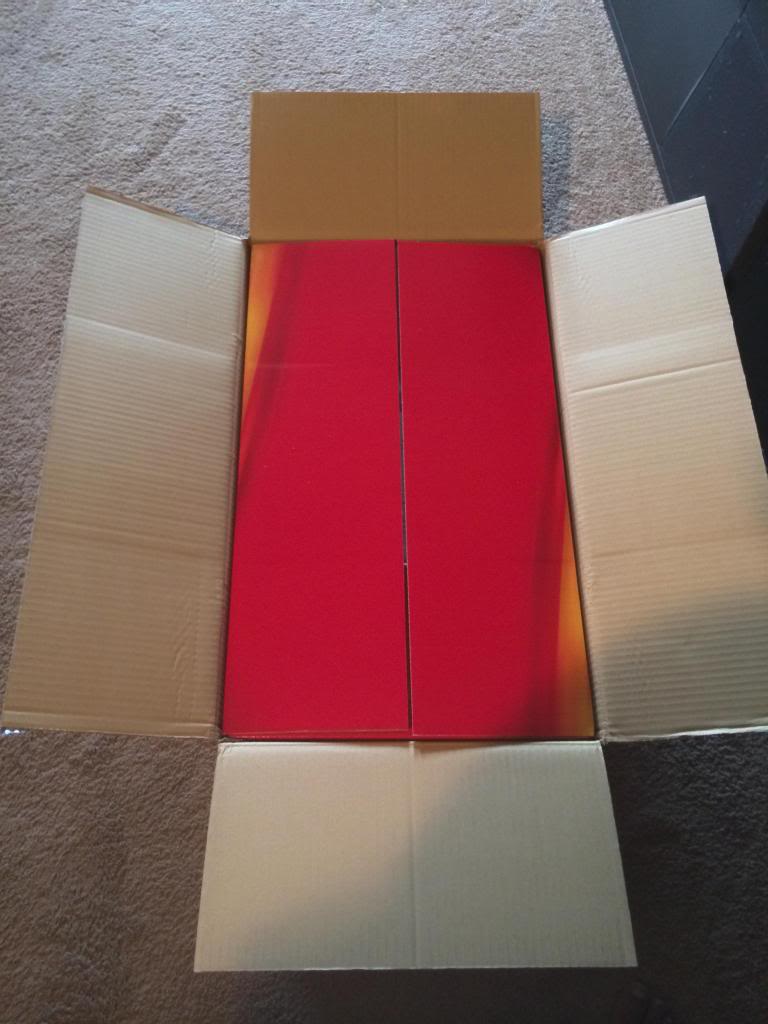
Look what is inside the first box:

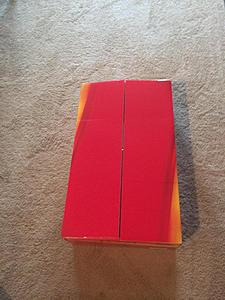
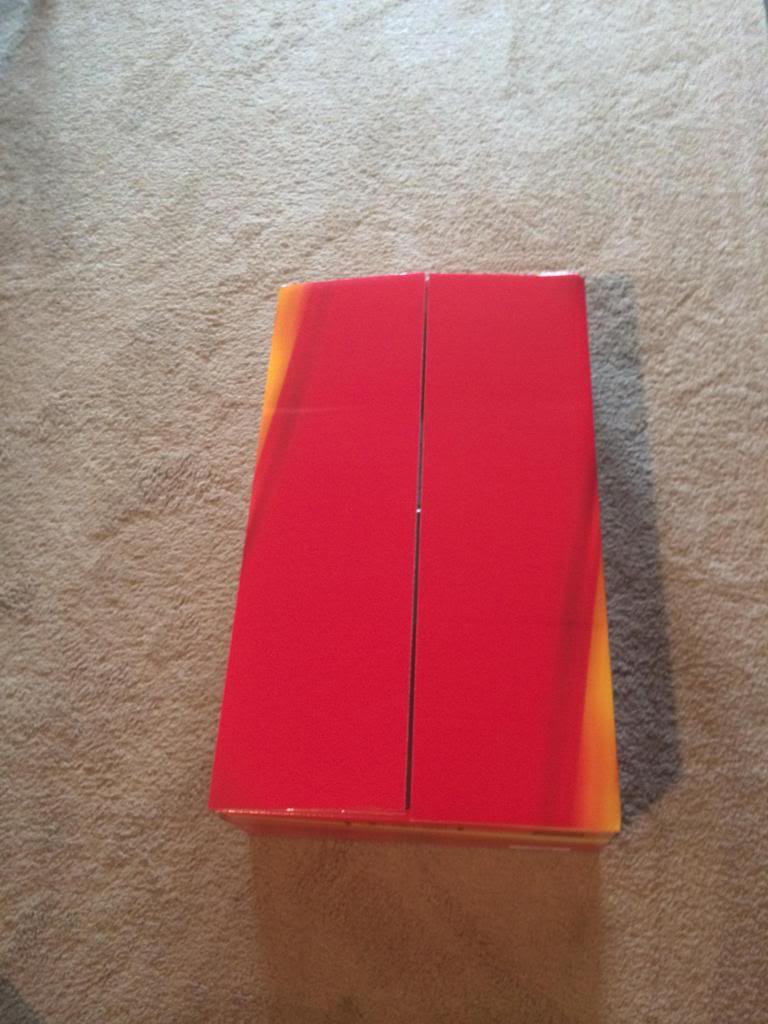
Then I took the red box out of the brown box:
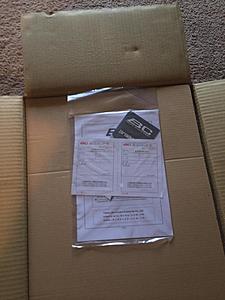
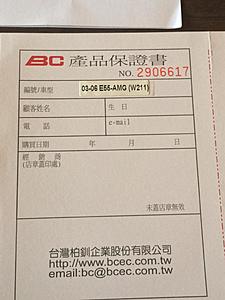
Here is the paper work that came with it:
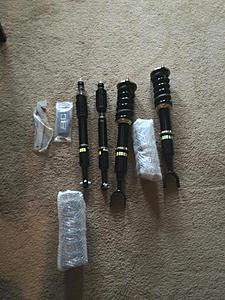
The goodies in the box:
After its all been unboxed:
More paperwork:
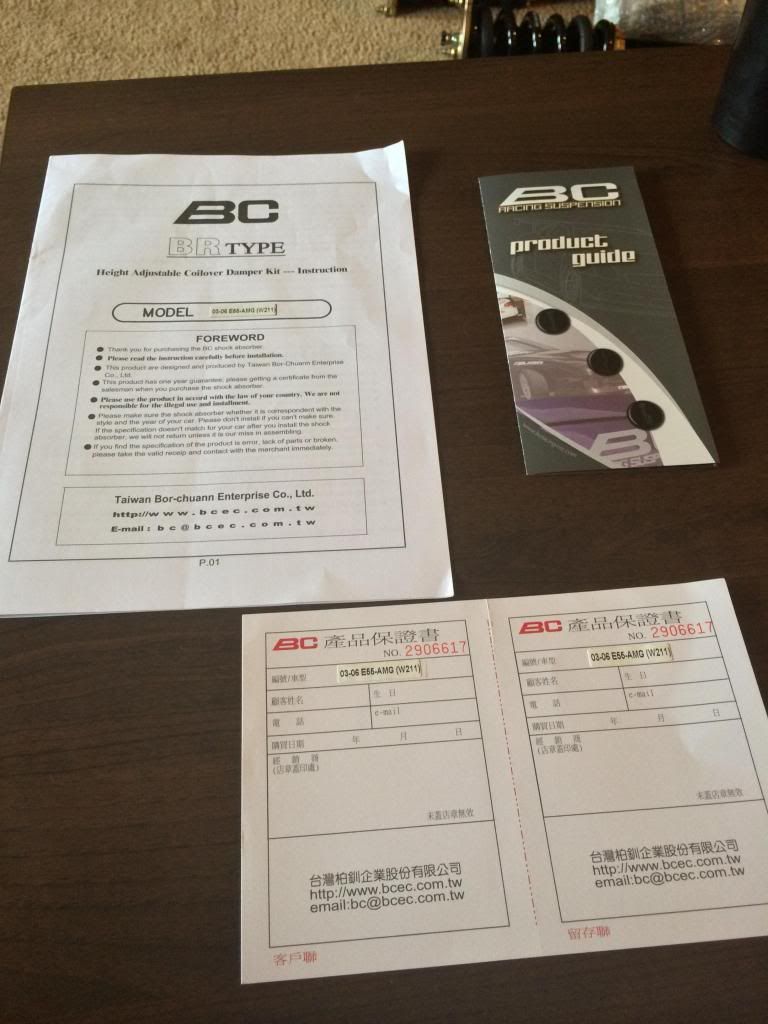
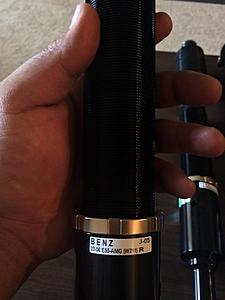
I can't read Chinese but I can read the English part that says W211 03-07 E55 AMG!
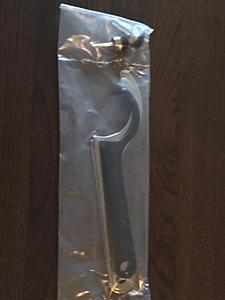
The little bit of accessories that come with the coils, spanners, adjustment knobs, and lock collar spanners:
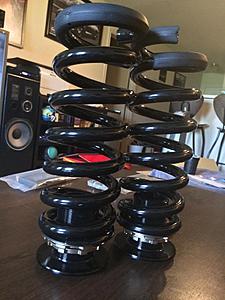
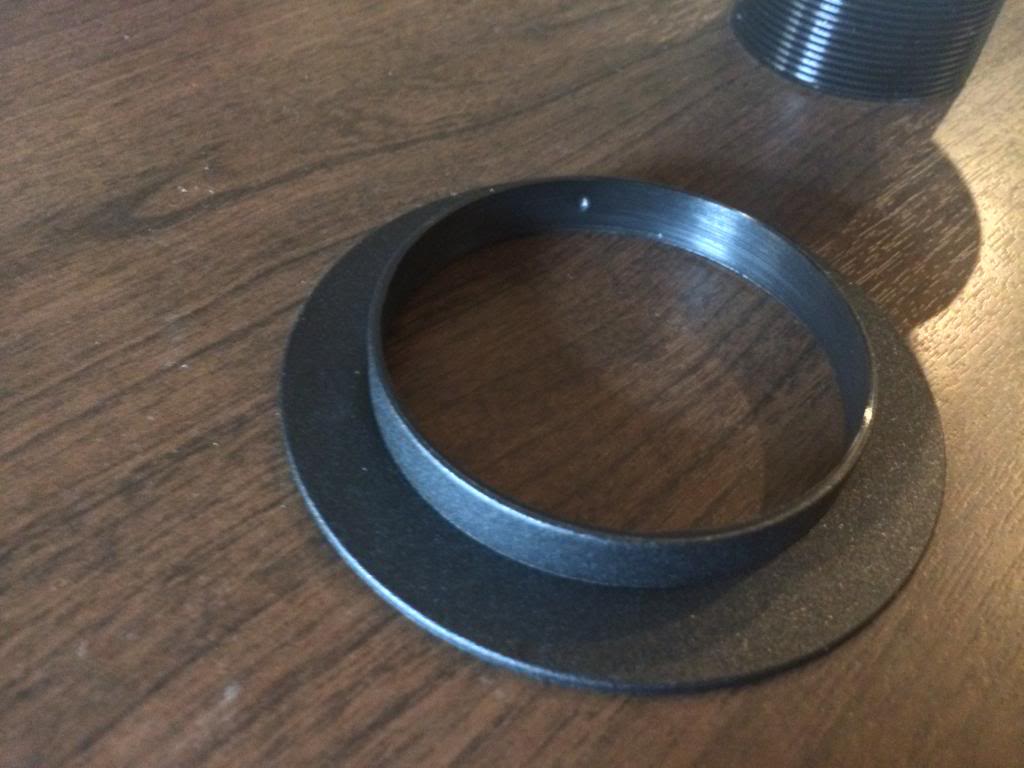
Spring sleeve for adjustment for the rear:
Spring bushing

More of the spring collar!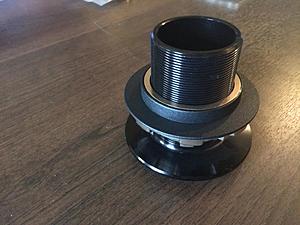
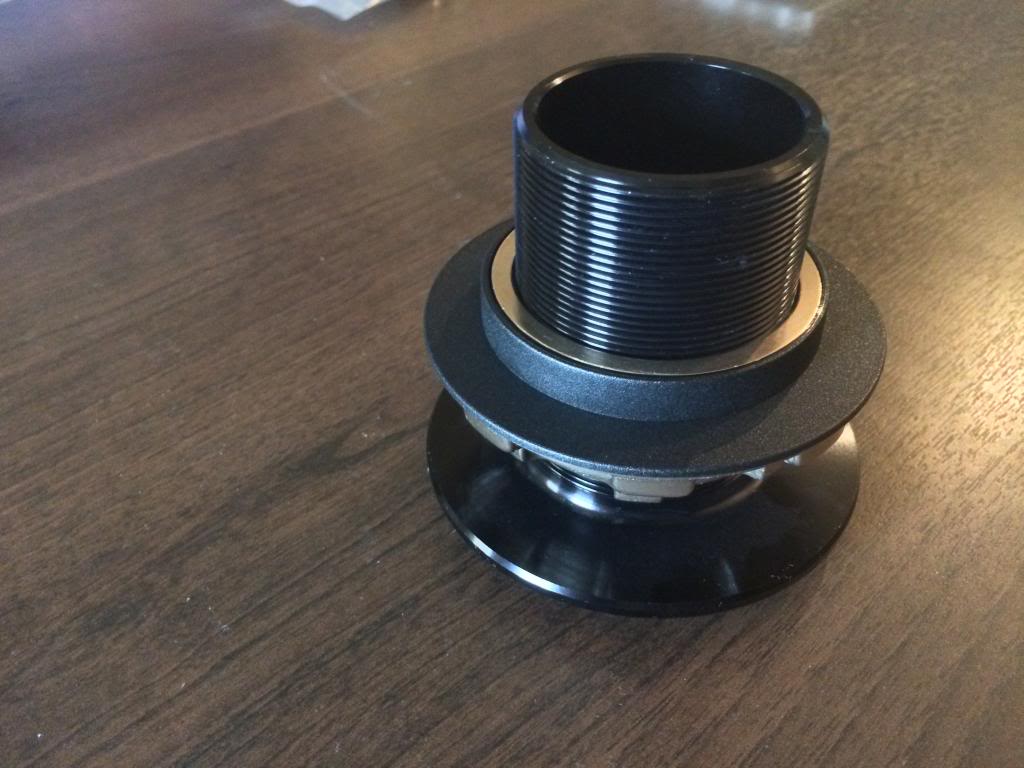
The springs and the sleeves installed:
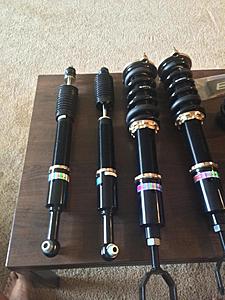
The whole team ready for the game:
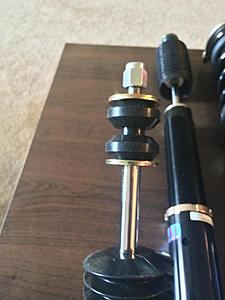
Rear upper shock bushing:
W211 E55 Labeling:
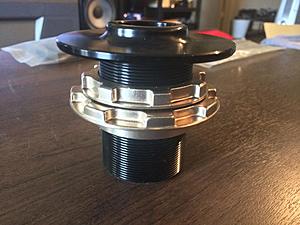
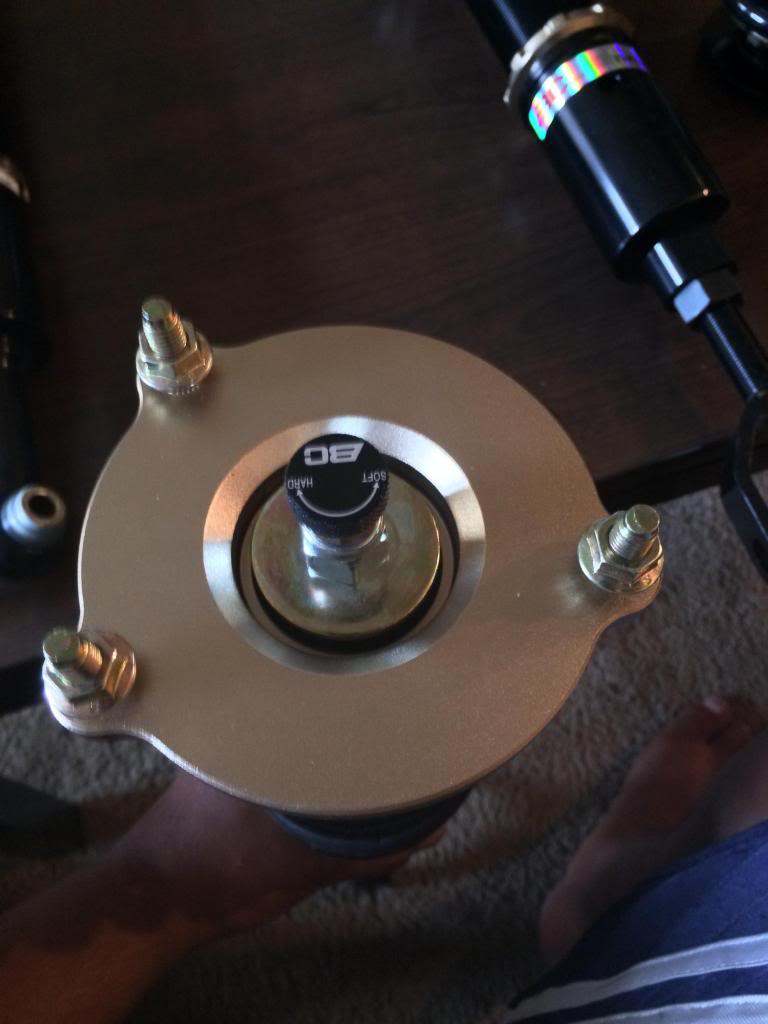
With BC Racing you get pillowball upper mounts and you don't need to purchase the factory rubber upper mounts:

Tomorrow is the full install you will need some lower rear control arms with this J05 kit. I am going to get more information from them in regards to how the different kits mount with the spring cups. Soon BC Racing will have a full install kit ready to bolt in. I'm also working on easy disable for the Airmatic system and basically shut the system off.
So here we go:
I have been in talks with BC Racing in regards to the coilovers they currently make to fit the the W211 chassis. They currently have four different kits for the W211.
1. Mercedes Benz E-Class E55 AMG W211 03-06 SKU J05
2. Mercedes Benz E-Class Airmatic W211 03-09 SKU J10
3. Mercedes Benz E Class W211 02-09 SKU J06
4. Mercedes Benz E-Class Estate W211K 02-09 SKU J07
So I ordered the E55 kit (SKU J05) as the first step to get started on this kit. After I spoke with Chelsea at BC Racing a few times I settled on the J05 kit. The first one sold in the US ever. Well after about 3.5 weeks it arrived.
Here it is in its glory.
Look what is inside the first box:
Then I took the red box out of the brown box:
Here is the paper work that came with it:

The goodies in the box:
After its all been unboxed:

More paperwork:

I can't read Chinese but I can read the English part that says W211 03-07 E55 AMG!

The little bit of accessories that come with the coils, spanners, adjustment knobs, and lock collar spanners:

Spring sleeve for adjustment for the rear:

Spring bushing
More of the spring collar!
The springs and the sleeves installed:

The whole team ready for the game:
Rear upper shock bushing:

W211 E55 Labeling:

With BC Racing you get pillowball upper mounts and you don't need to purchase the factory rubber upper mounts:
Tomorrow is the full install you will need some lower rear control arms with this J05 kit. I am going to get more information from them in regards to how the different kits mount with the spring cups. Soon BC Racing will have a full install kit ready to bolt in. I'm also working on easy disable for the Airmatic system and basically shut the system off.
Last edited by AutoLuxury; Oct 3, 2013 at 08:50 PM.
Super Moderator


Joined: Jul 2003
Posts: 22,097
Likes: 984
From: MBworld
bone stock E55 AMG
what's the spring rate? there's no info at all on BC site...
if this is specifically designed for E55, then i'm assuming there isn't much OE parts that need to be purchased...
guess u r bz with install right now...
i demand full report before u go to bed tonite...
if this is specifically designed for E55, then i'm assuming there isn't much OE parts that need to be purchased...
guess u r bz with install right now...
i demand full report before u go to bed tonite...
Thread Starter
Member
Joined: Apr 2008
Posts: 113
Likes: 5
From: Nashville TN
2013 GLK 350 2013 GL450
So the install today went great. I only had time to knock out the front. I will disassemble the rear tomorrow and if I have time install as much as I can.
So here goes:
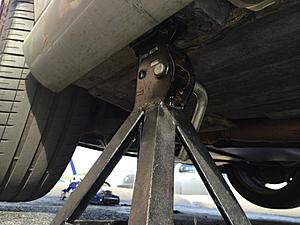
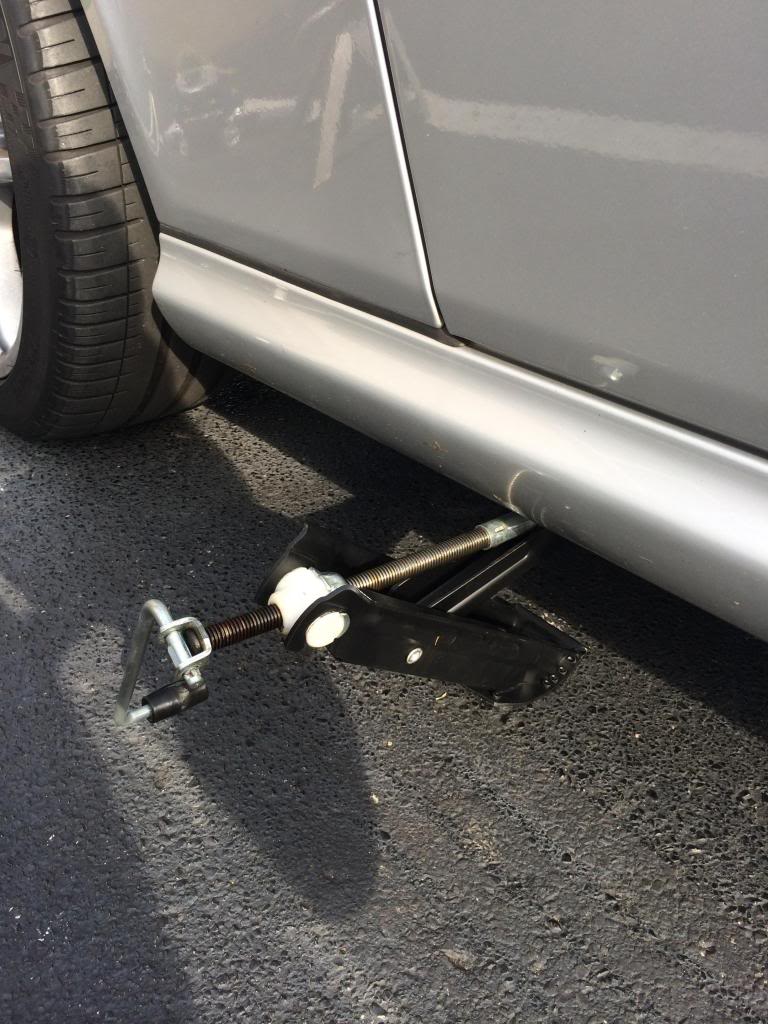
First things first break your wheels loose in the front while the car is on the ground. Apply the emergency brake and chock the rear wheels. Then use the factory jack on the factory lift points to get her up in the air.
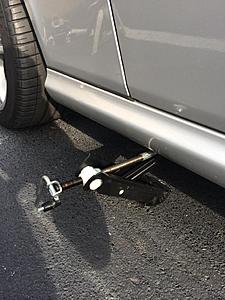
Then use a good jack to lift the front of the car using the center lift pad under the nose of the car.
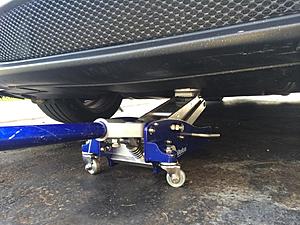
Place Jack Stands under the factory jack points.
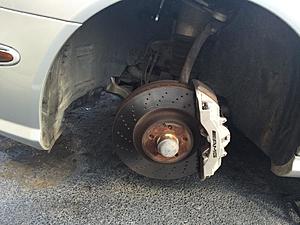
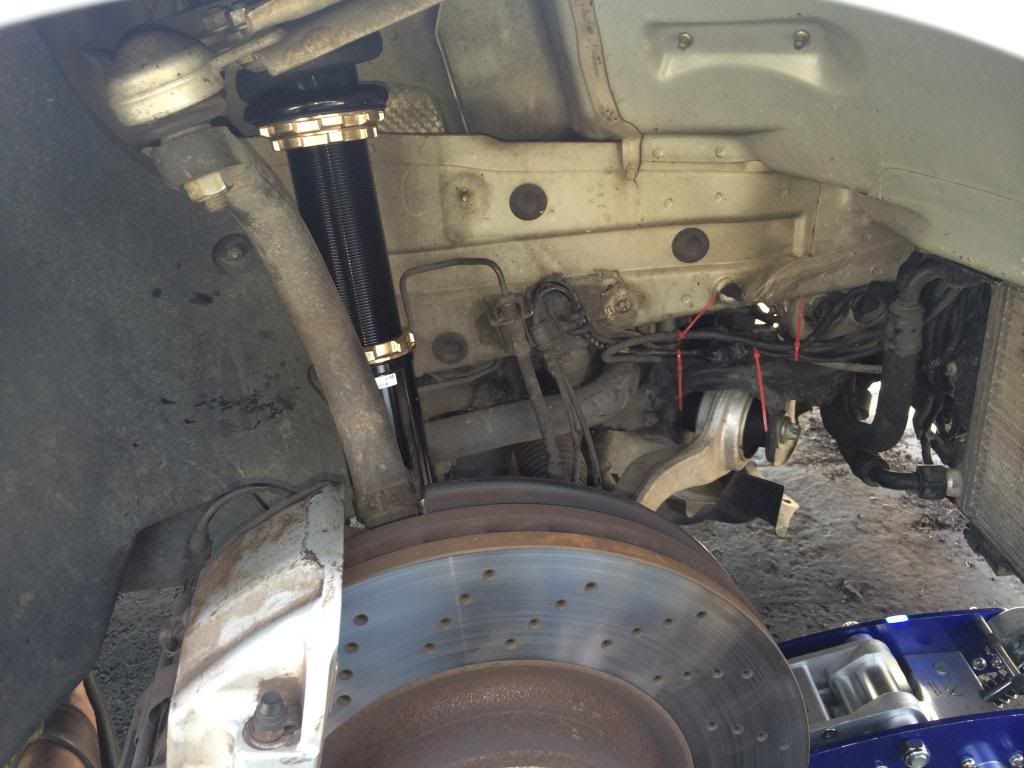
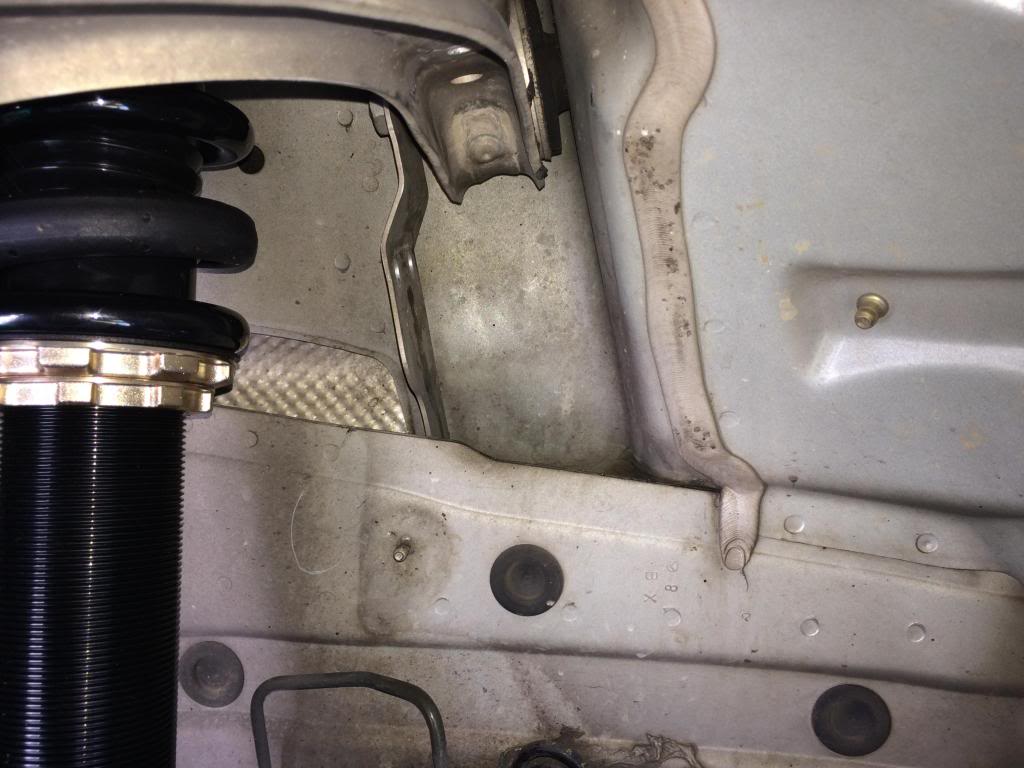
Remove your wheels and this is what you should be staring at:
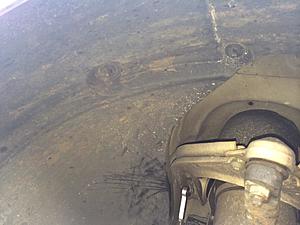
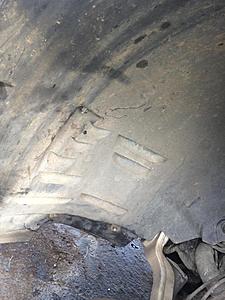
Remove all nuts holding the lower undertray and the fender liners:
Now we begin by removing lowering links. Place a screwdriver between the link and the sensor and pry off:
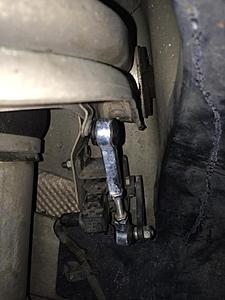
Then unclip sensor:
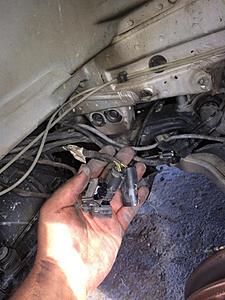
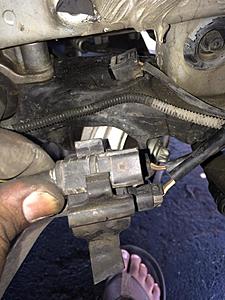
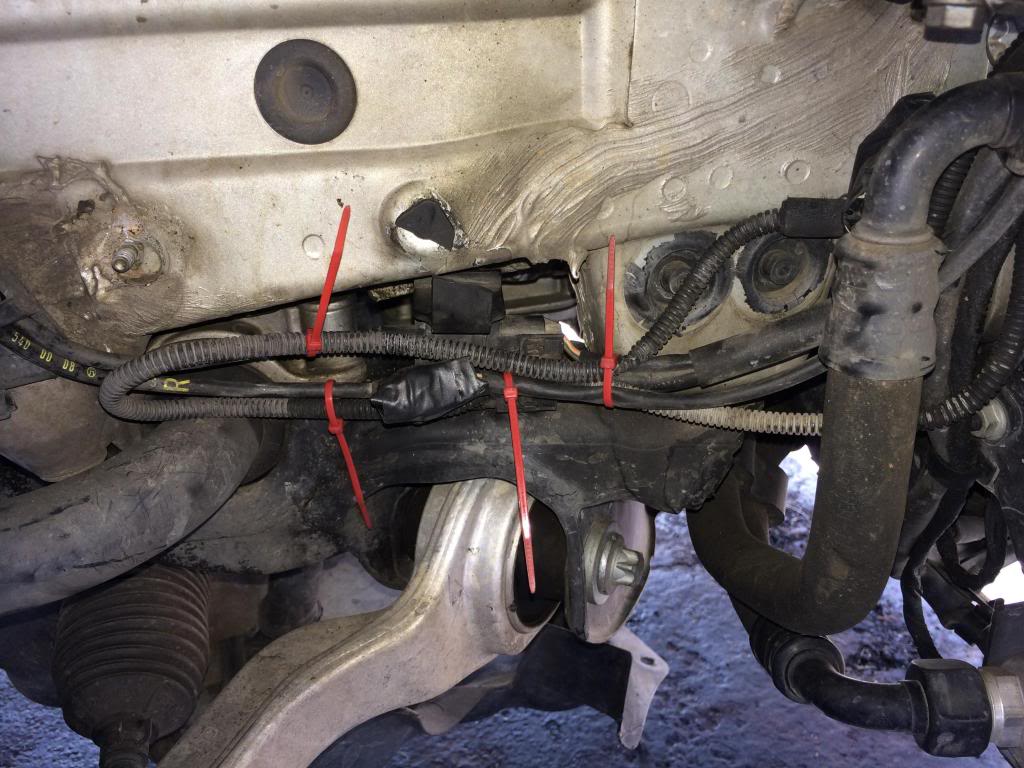
Now this clip is to be removed from the inner frame rail. I couldn't do it I have fit fingers. So i broke it off...:
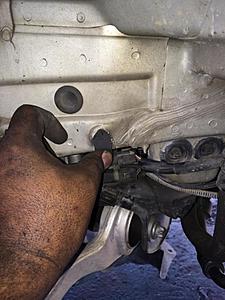
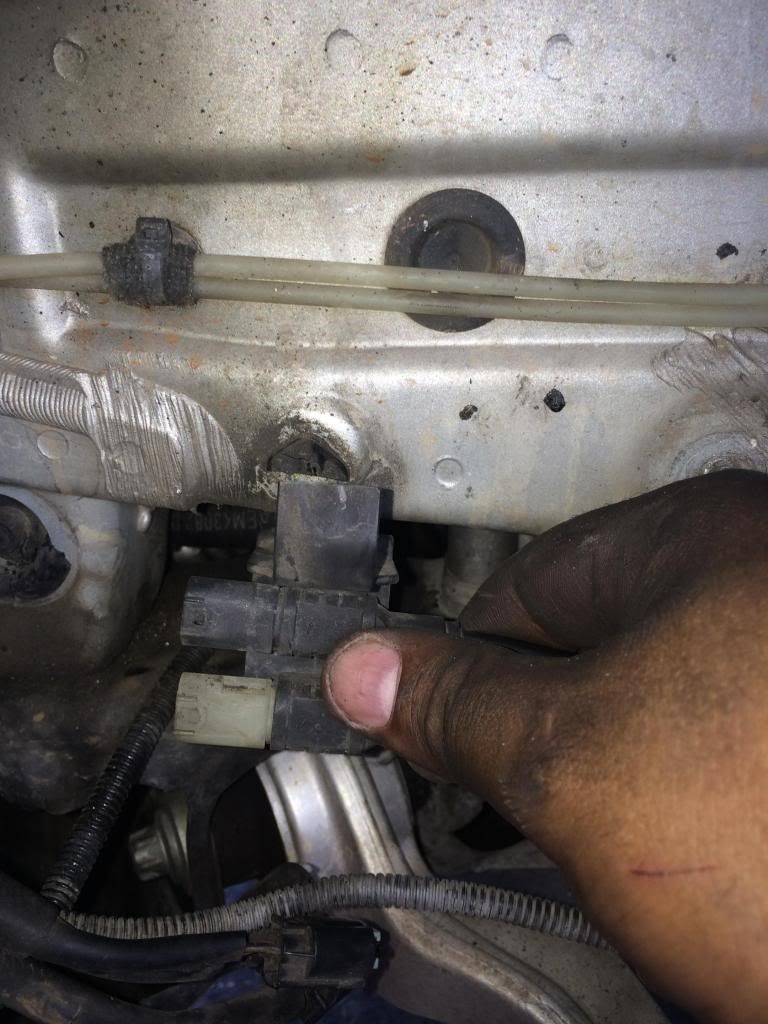
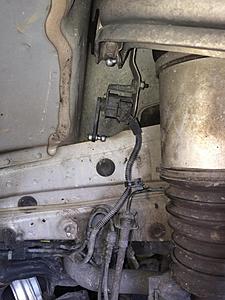
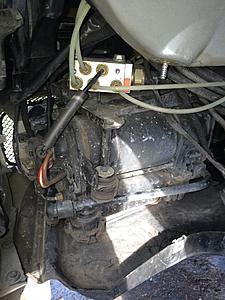
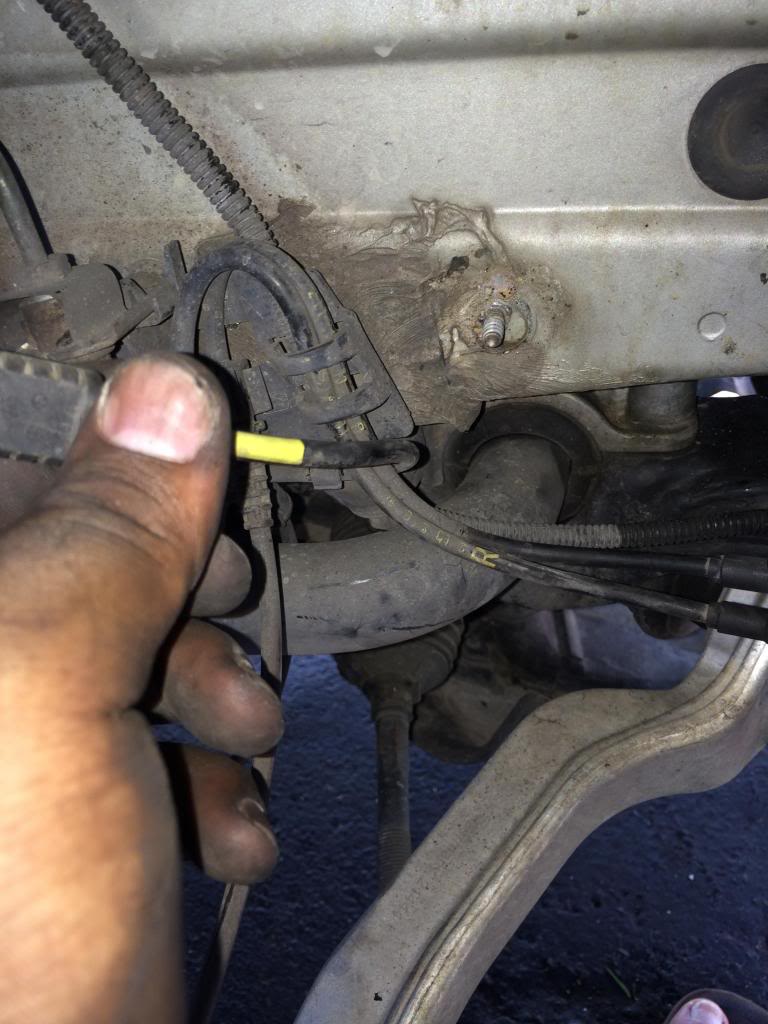
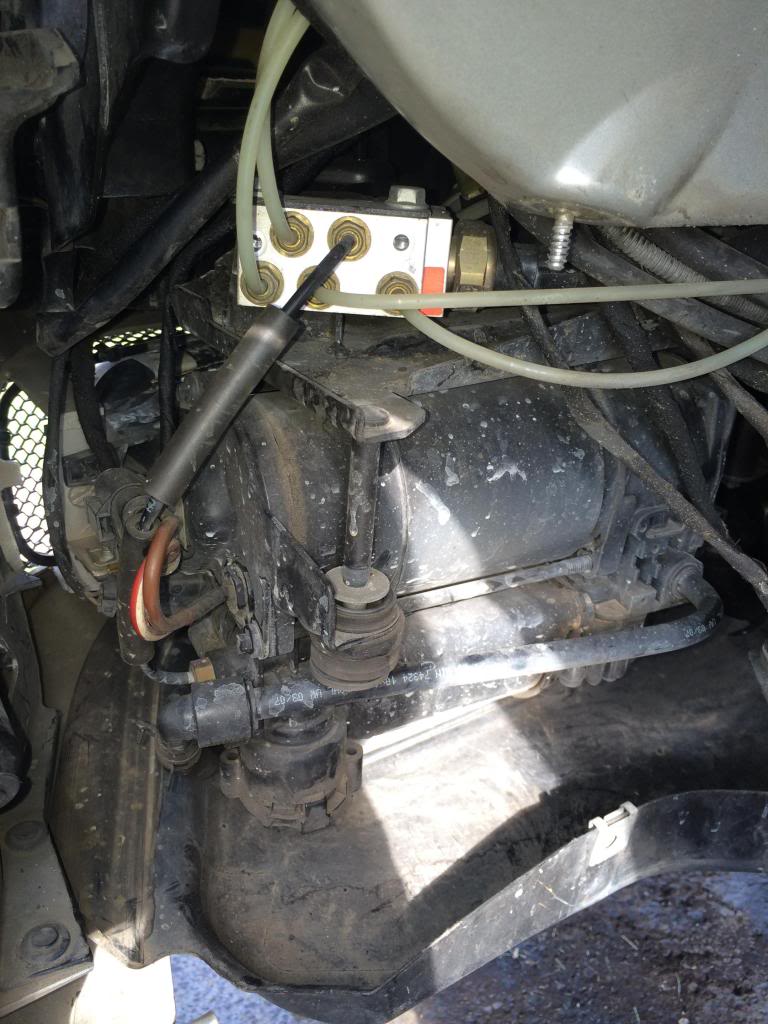
Trace the wire leaving the shock and follow it to this cluster fudge of wires and unplug it alone.

*****OPTIONS HERE*******
1. You can either remove the compressor, by removing all the bolts below it.
2. Leave it all intact to return back to stock in the future.
---------------------------------------------------------------------------
I removed this gawdy thing. I undid the 3 bolts below and out it came. and I unhooked the harness for it. and capped it off with electrical tape. I then snipped the lines going to the distribution block and capped them with vacuum plugs and left them as is:
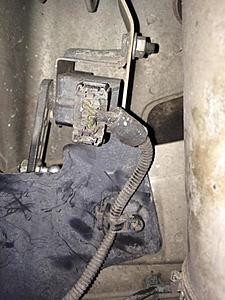
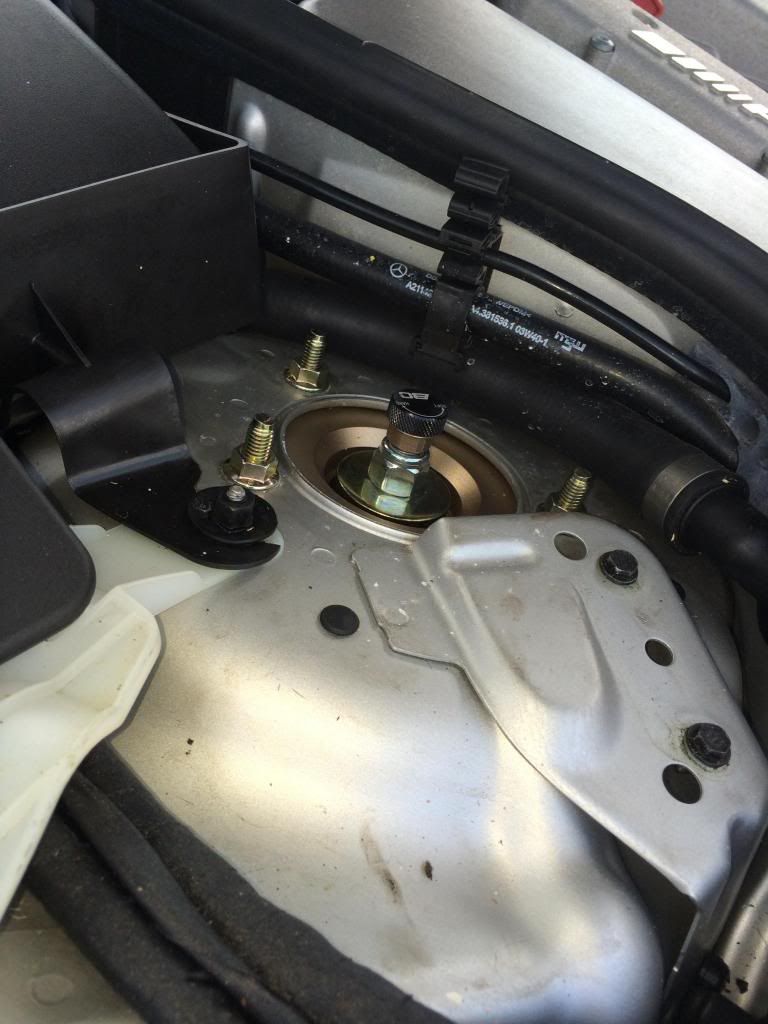
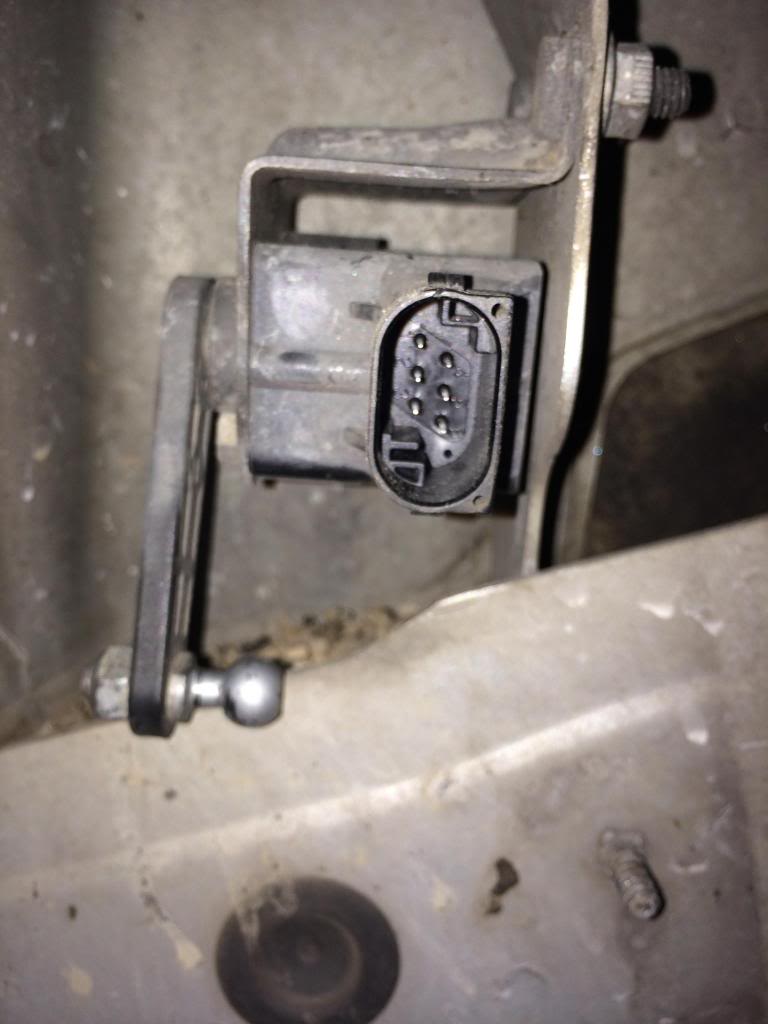
Removed the upper mount to the height level senosor and left sensor on the chassis till i removed the shock:
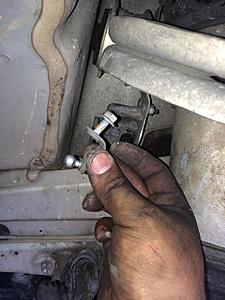
I then proceeded to removed the lower shock bolt:
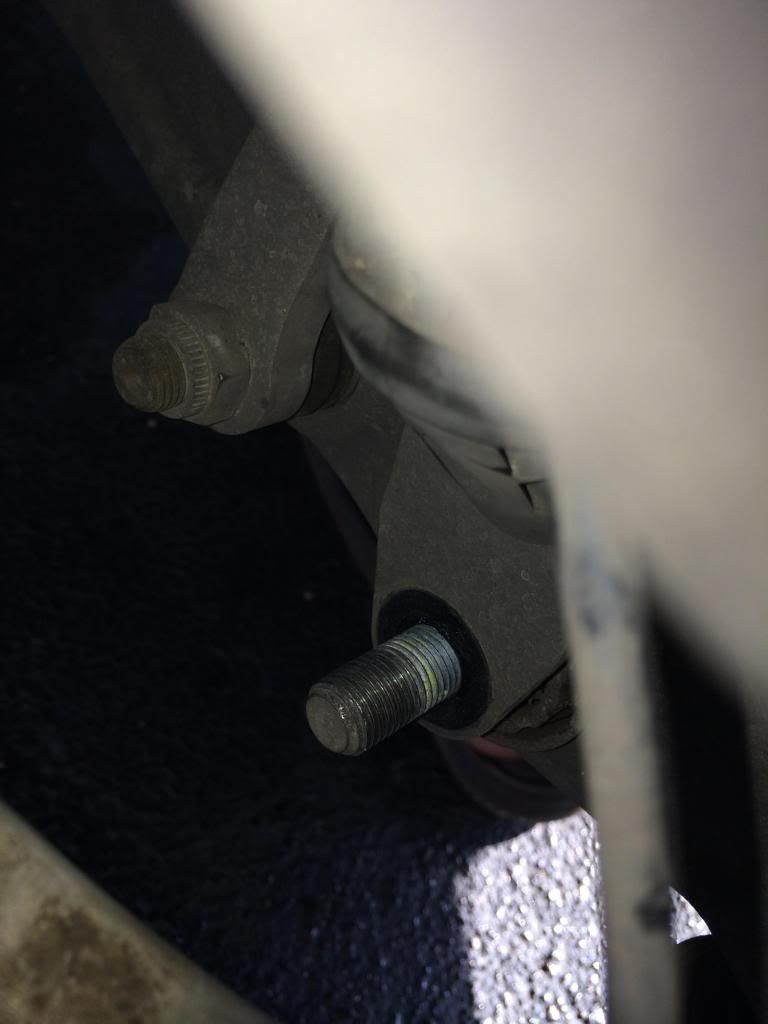
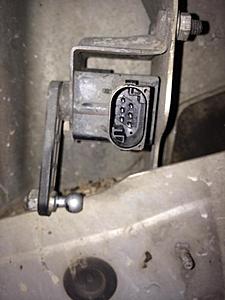
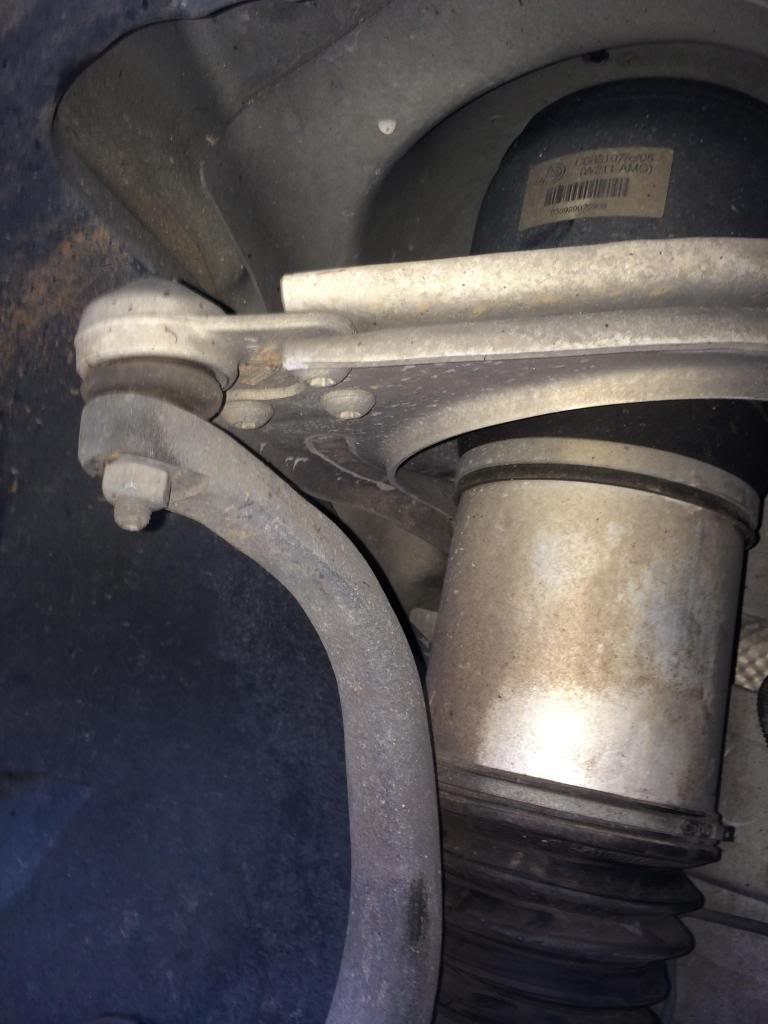
Removed the upper ball joint mount by removing these three bolts and nuts:
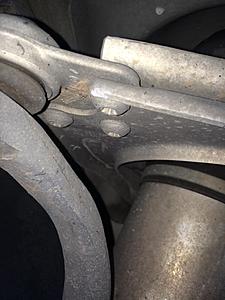

Undo the clip in the engine bay leading from the AIRMATIC sensor to the top of the airshock. Undo the air line. (I cut mine and pulled the line all the way out of the engine bay by the left front wheel well). I removed the lower shock bolt and lifted the shock from the lower control arm. I then removed the upper three bolts from the top of the shock tower and the whole shock slid down and out. I also forgot to take pictures of this part, apologies on my behalf.
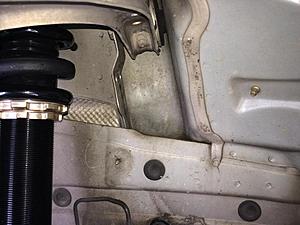
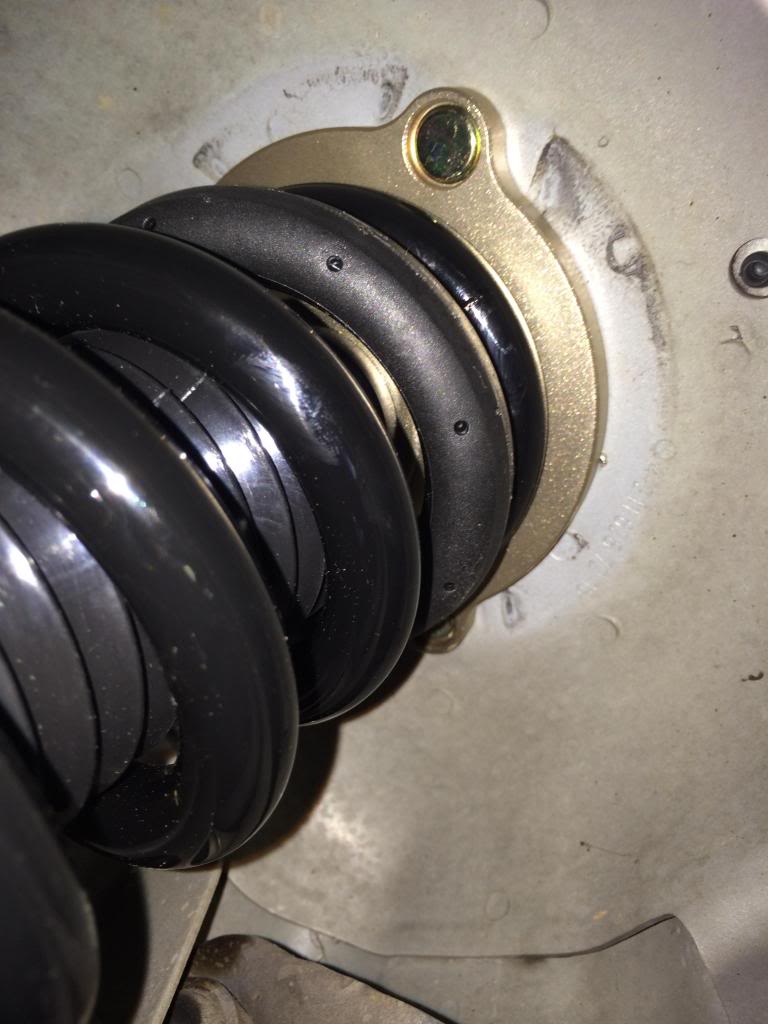
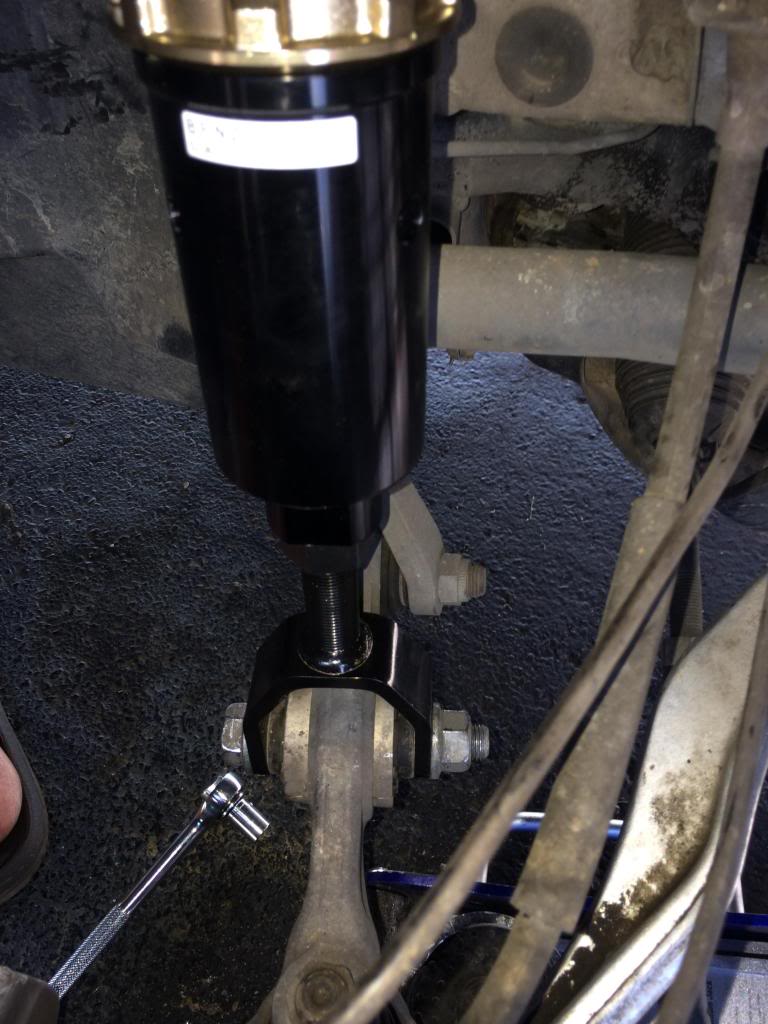
Reinstall the new coilover shock tighten the top hat bolts. It should sit flush up against the body:

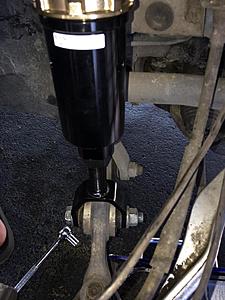
Install the lower shock bolt and tighten:
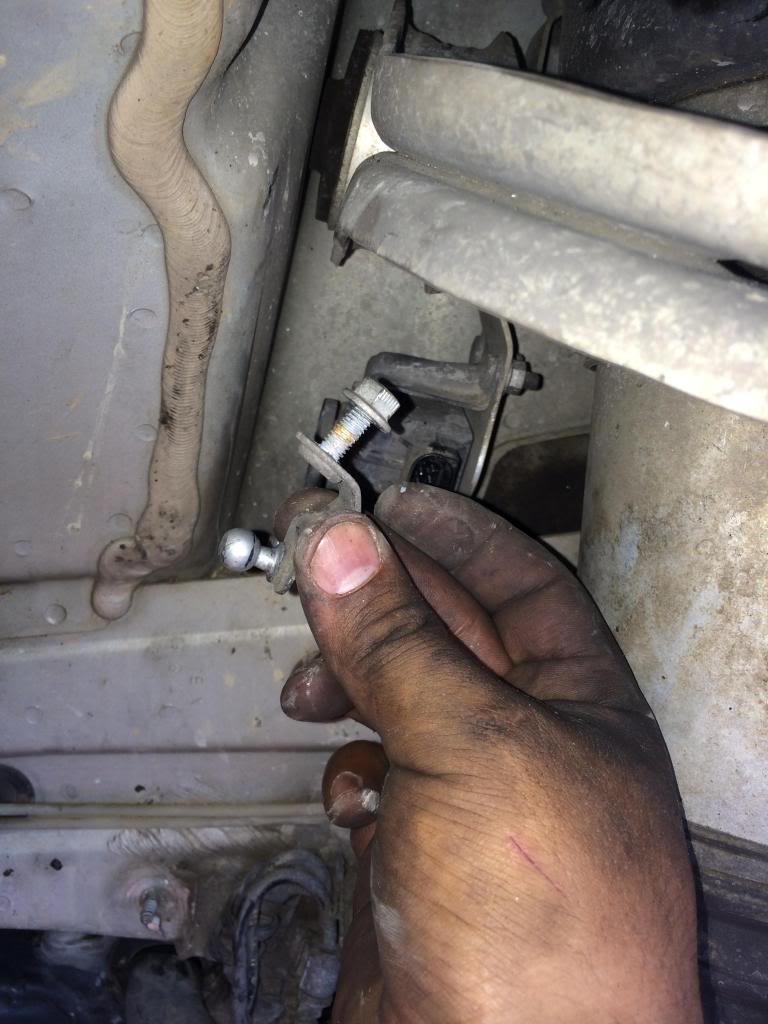
Remove the level sender from the chassis:
Ziptie your wires away and tuck them nicely:
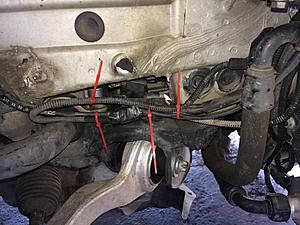
Tada this is how it should look:

Adjust your coilovers to your choice of height according to the manufacturers installation instructions. Now install the fender liners and repeat on the other side.
After you are done install your wheels and set the car on the ground and enjoy your new steel suspension on the front of the car.
Stay tuned for the rear install! Which I guarantee you is going to be a lot more involved.
So here goes:
First things first break your wheels loose in the front while the car is on the ground. Apply the emergency brake and chock the rear wheels. Then use the factory jack on the factory lift points to get her up in the air.
Then use a good jack to lift the front of the car using the center lift pad under the nose of the car.

Place Jack Stands under the factory jack points.

Remove your wheels and this is what you should be staring at:

Remove all nuts holding the lower undertray and the fender liners:


Now we begin by removing lowering links. Place a screwdriver between the link and the sensor and pry off:

Then unclip sensor:


Now this clip is to be removed from the inner frame rail. I couldn't do it I have fit fingers. So i broke it off...:


Trace the wire leaving the shock and follow it to this cluster fudge of wires and unplug it alone.


*****OPTIONS HERE*******
1. You can either remove the compressor, by removing all the bolts below it.
2. Leave it all intact to return back to stock in the future.
---------------------------------------------------------------------------
I removed this gawdy thing. I undid the 3 bolts below and out it came. and I unhooked the harness for it. and capped it off with electrical tape. I then snipped the lines going to the distribution block and capped them with vacuum plugs and left them as is:
Removed the upper mount to the height level senosor and left sensor on the chassis till i removed the shock:
I then proceeded to removed the lower shock bolt:

Removed the upper ball joint mount by removing these three bolts and nuts:

Undo the clip in the engine bay leading from the AIRMATIC sensor to the top of the airshock. Undo the air line. (I cut mine and pulled the line all the way out of the engine bay by the left front wheel well). I removed the lower shock bolt and lifted the shock from the lower control arm. I then removed the upper three bolts from the top of the shock tower and the whole shock slid down and out. I also forgot to take pictures of this part, apologies on my behalf.
Reinstall the new coilover shock tighten the top hat bolts. It should sit flush up against the body:

Install the lower shock bolt and tighten:
Remove the level sender from the chassis:
Ziptie your wires away and tuck them nicely:
Tada this is how it should look:


Adjust your coilovers to your choice of height according to the manufacturers installation instructions. Now install the fender liners and repeat on the other side.
After you are done install your wheels and set the car on the ground and enjoy your new steel suspension on the front of the car.
Stay tuned for the rear install! Which I guarantee you is going to be a lot more involved.
Trending Topics
Thread Starter
Member
Joined: Apr 2008
Posts: 113
Likes: 5
From: Nashville TN
2013 GLK 350 2013 GL450
If anyone wants to question the quality of these coilovers you are welcome to do so. However, i suggest you watch these videos showcasing build quality and see how much of a beat down these can take!
Manufacturing process:
Chelsea Denofa Testing the BC Racing Coils:
Camaro Fest Track Day with BC Racing Coils:
This car sits on BC Racing Coils:
I figured if these coils can take that kind of beating they are more than capable of handling the job of my E55 street brawler!
Here is a spec sheet of the BC Racing coils
Front spring rate: 16Kg/mm
Rear spring rate: 15Kg/mm
Pillowball upper mount
Camber adjustable top mounts
Aluminium top plates
30 way adjustable damping
Adjustable spring platform
Height adjustment via bottom mount to retain full damper travel
Bearing mounted upper front spring platform
Dust boot to protect damper seals
The BR series coilovers use a large 46mm diameter piston in a 53mm diameter damper body to maximize oil capacity.
Thank you, I really appreciate it!
Last edited by AutoLuxury; Oct 3, 2013 at 09:25 PM.
MB World Stories
The Best of Mercedes & AMG

8 Oddball Mercedes Ideas That Actually Made it to Production
Verdad Gallardo
Dubai Tuner Gives the Mercedes G-Class An Entirely New Look
Verdad Gallardo
Six Gift Ideas Your AMG Loving Dad or Grad Will Cherish

7 Craziest Things AMG Gas Ever Built
Verdad Gallardo
New Electric Mercedes-AMG GT 4-Door Coupe Unveiled: 10 Things You Need to Know
Verdad Gallardo
6 Mercedes Models That Did NOT Age Well (But Are Somehow Still Cool)
Verdad Gallardo
Manual Mercedes? 6 Times Sindelfingen Let Drivers Have All The Fun
Verdad Gallardo
Mercedes SLR McLaren 722 S Is Extremely Rare Example Modified by McLaren
Verdad Gallardo
8 Classic Boxy Mercedes Designs That Have Aged Like Fine Wine
Verdad Gallardo
Thread Starter
Member
Joined: Apr 2008
Posts: 113
Likes: 5
From: Nashville TN
2013 GLK 350 2013 GL450
I love my flippy floppyies!
Arnotts only has the fronts when I spoke to them and they did not have them in stock I would have to send mine in and have them rebuilt. I didn't wanna deal with a compressor going out, or a pump failing, or a rear bag failing in the future. So i just decided to get coils. Besides I like to drive the twisty roads of tennessee and the air ride is a little mushy lol. I paid less then $1000 for them. They retail for $1250. I paid another $150 from Car-part.com for the rear control arms. I bought them used from a salvage yard and cleaned them up and painted them to look good!
Last edited by AutoLuxury; Oct 3, 2013 at 09:16 PM.
Thread Starter
Member
Joined: Apr 2008
Posts: 113
Likes: 5
From: Nashville TN
2013 GLK 350 2013 GL450
Front spring rate: 16Kg/mm
Rear spring rate: 15Kg/mm
You only need to purchase rear control arms at the moment. However soon a spring cup design in the works to be a direct bolt in to the E55 rear aluminum forked control arm (track arm).
Super Moderator
Joined: Jul 2003
Posts: 22,097
Likes: 984
From: MBworld
bone stock E55 AMG
Thread Starter
Member
Joined: Apr 2008
Posts: 113
Likes: 5
From: Nashville TN
2013 GLK 350 2013 GL450
ETA is pending on how much I get done and how fast. We should have something concrete with in the next month. Price should be about the same if not maybe about 200 bucks more. I don't see them getting that much more expensive.
 RESPECT
Thread Starter
Member
Joined: Apr 2008
Posts: 113
Likes: 5
From: Nashville TN
2013 GLK 350 2013 GL450
 reminds me of welding in the summer with sandles
 I also broke that little clip
 Keep us posted on how this puppies hold up...
 Thank you sir! I am not scared to turn wrenches! I do the parking lot wrenching in the after noons. Got a giant car cover to throw over it after I am done till the next day. This house must be finished soon! I can't wait on this much longer.
Yeah! I agree. I just had to buy lower control arms. Thanks man I will keep you posted. BC coils are damn good. Had them on almost on all my cars!

MBWorld Fanatic!


Joined: Dec 2011
Posts: 1,645
Likes: 13
From: tampa florida
19 f-150 limited (w/raptor engine) 06 e55,81SC Targa,08 CLK63 BLK,91 E34 M5

MBWorld Fanatic!
Joined: Oct 2012
Posts: 1,242
Likes: 7
From: Canada
2004 E55 AMG
TBH , this is by far the BEST write up for DIY i've ever seen. It's so detailed and organized and full with pics.
I still won't do work like this on my own lol but man amazing job !
Please do other DIY's too, for example Brake and Rotor change in the same form since I think I'd be needing those soon lol
I still won't do work like this on my own lol but man amazing job !
Please do other DIY's too, for example Brake and Rotor change in the same form since I think I'd be needing those soon lol


Thread Starter
Member
Joined: Apr 2008
Posts: 113
Likes: 5
From: Nashville TN
2013 GLK 350 2013 GL450
Order them directly from BC Racing. Call Chelsea Denofa and order directly! 321.445.1812 ext 205
Last edited by AutoLuxury; Oct 5, 2013 at 03:54 AM.


