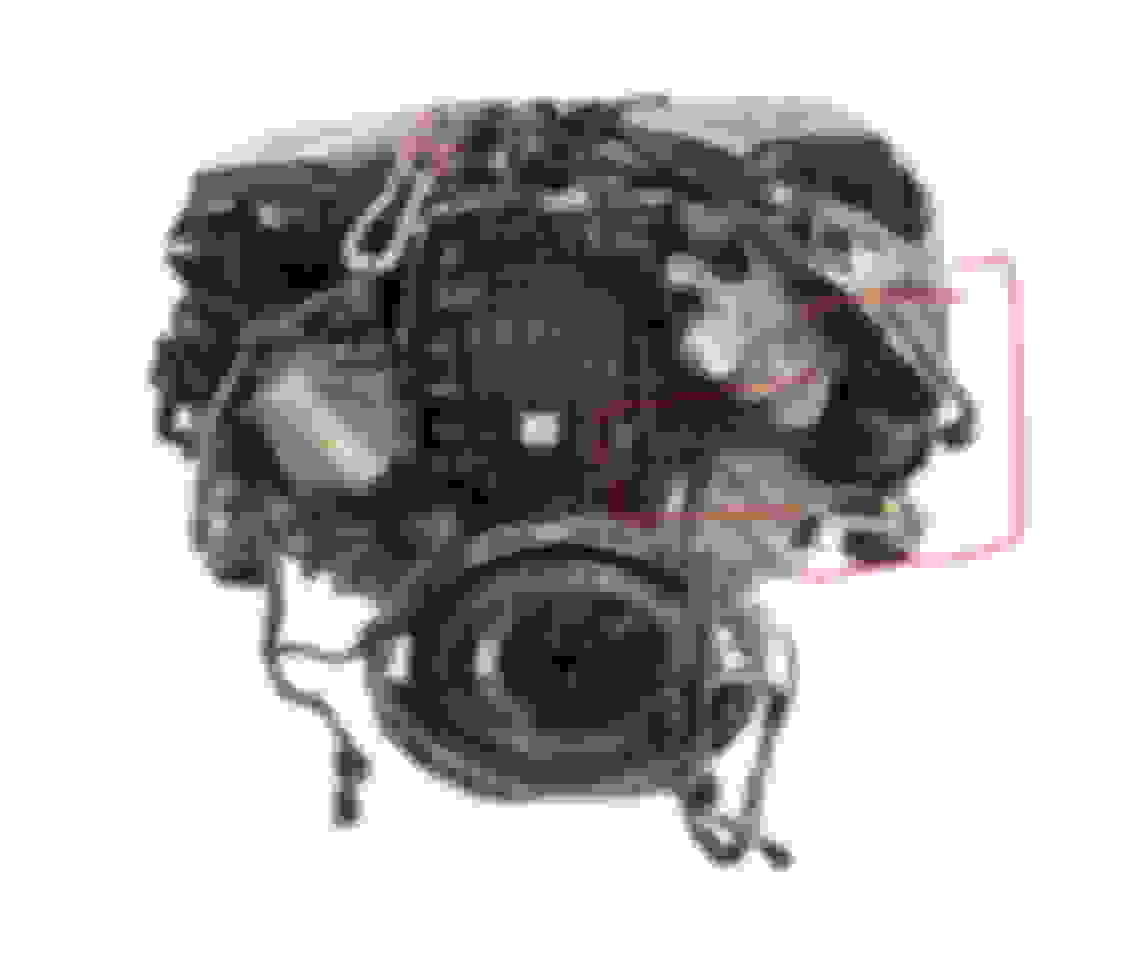
I have sourced a hissing noise at idle to a faulty PCV or Crankcase Vent Valve. I purchased the replacement part from MB and am having a hard time finding a tutorial for a 2014 m278 ( the 2012 and earlier engines dont have the HFPF crash shield blocking the way) . It is tucked behind the passenger side head right against the firewall. Has anyone done this or have any tips?
I have sourced a hissing noise at idle to a faulty PCV or Crankcase Vent Valve. I purchased the replacement part from MB and am having a hard time finding a tutorial for a 2014 m278 ( the 2012 and earlier engines dont have the HFPF crash shield blocking the way) . It is tucked behind the passenger side head right against the firewall. Has anyone done this or have any tips?
This is identical to the m157 setup . It's a absolute pain in the *** to do. But here's something I've done for years. That fire wall is a dummy fire wall that can be removed upwards . Just remove the felt heat material . Remove the 10mm bolts that are holding the center shield to the side shields. At that point you can slide it right up . The lower hardware on that center dummy wall are just guides. So when you go to reinstall just make sure it slips back in the 2 plastic 10mm guides .
I just did this repair (13 e63) to see if it will help with a little blow by I�ve had. I also wonder if it will help with the oil/sensor/harness issue. (Mine has not leaked since replacement about two years ago)
Boy was this a pain. I�ve done lots of repairs, and this one had even less room than turbo hoses�. I was able to remove the firewall as suggested above and that made it much easier than any other way I could see. I�m an avid diy guy and this took about three long hours.
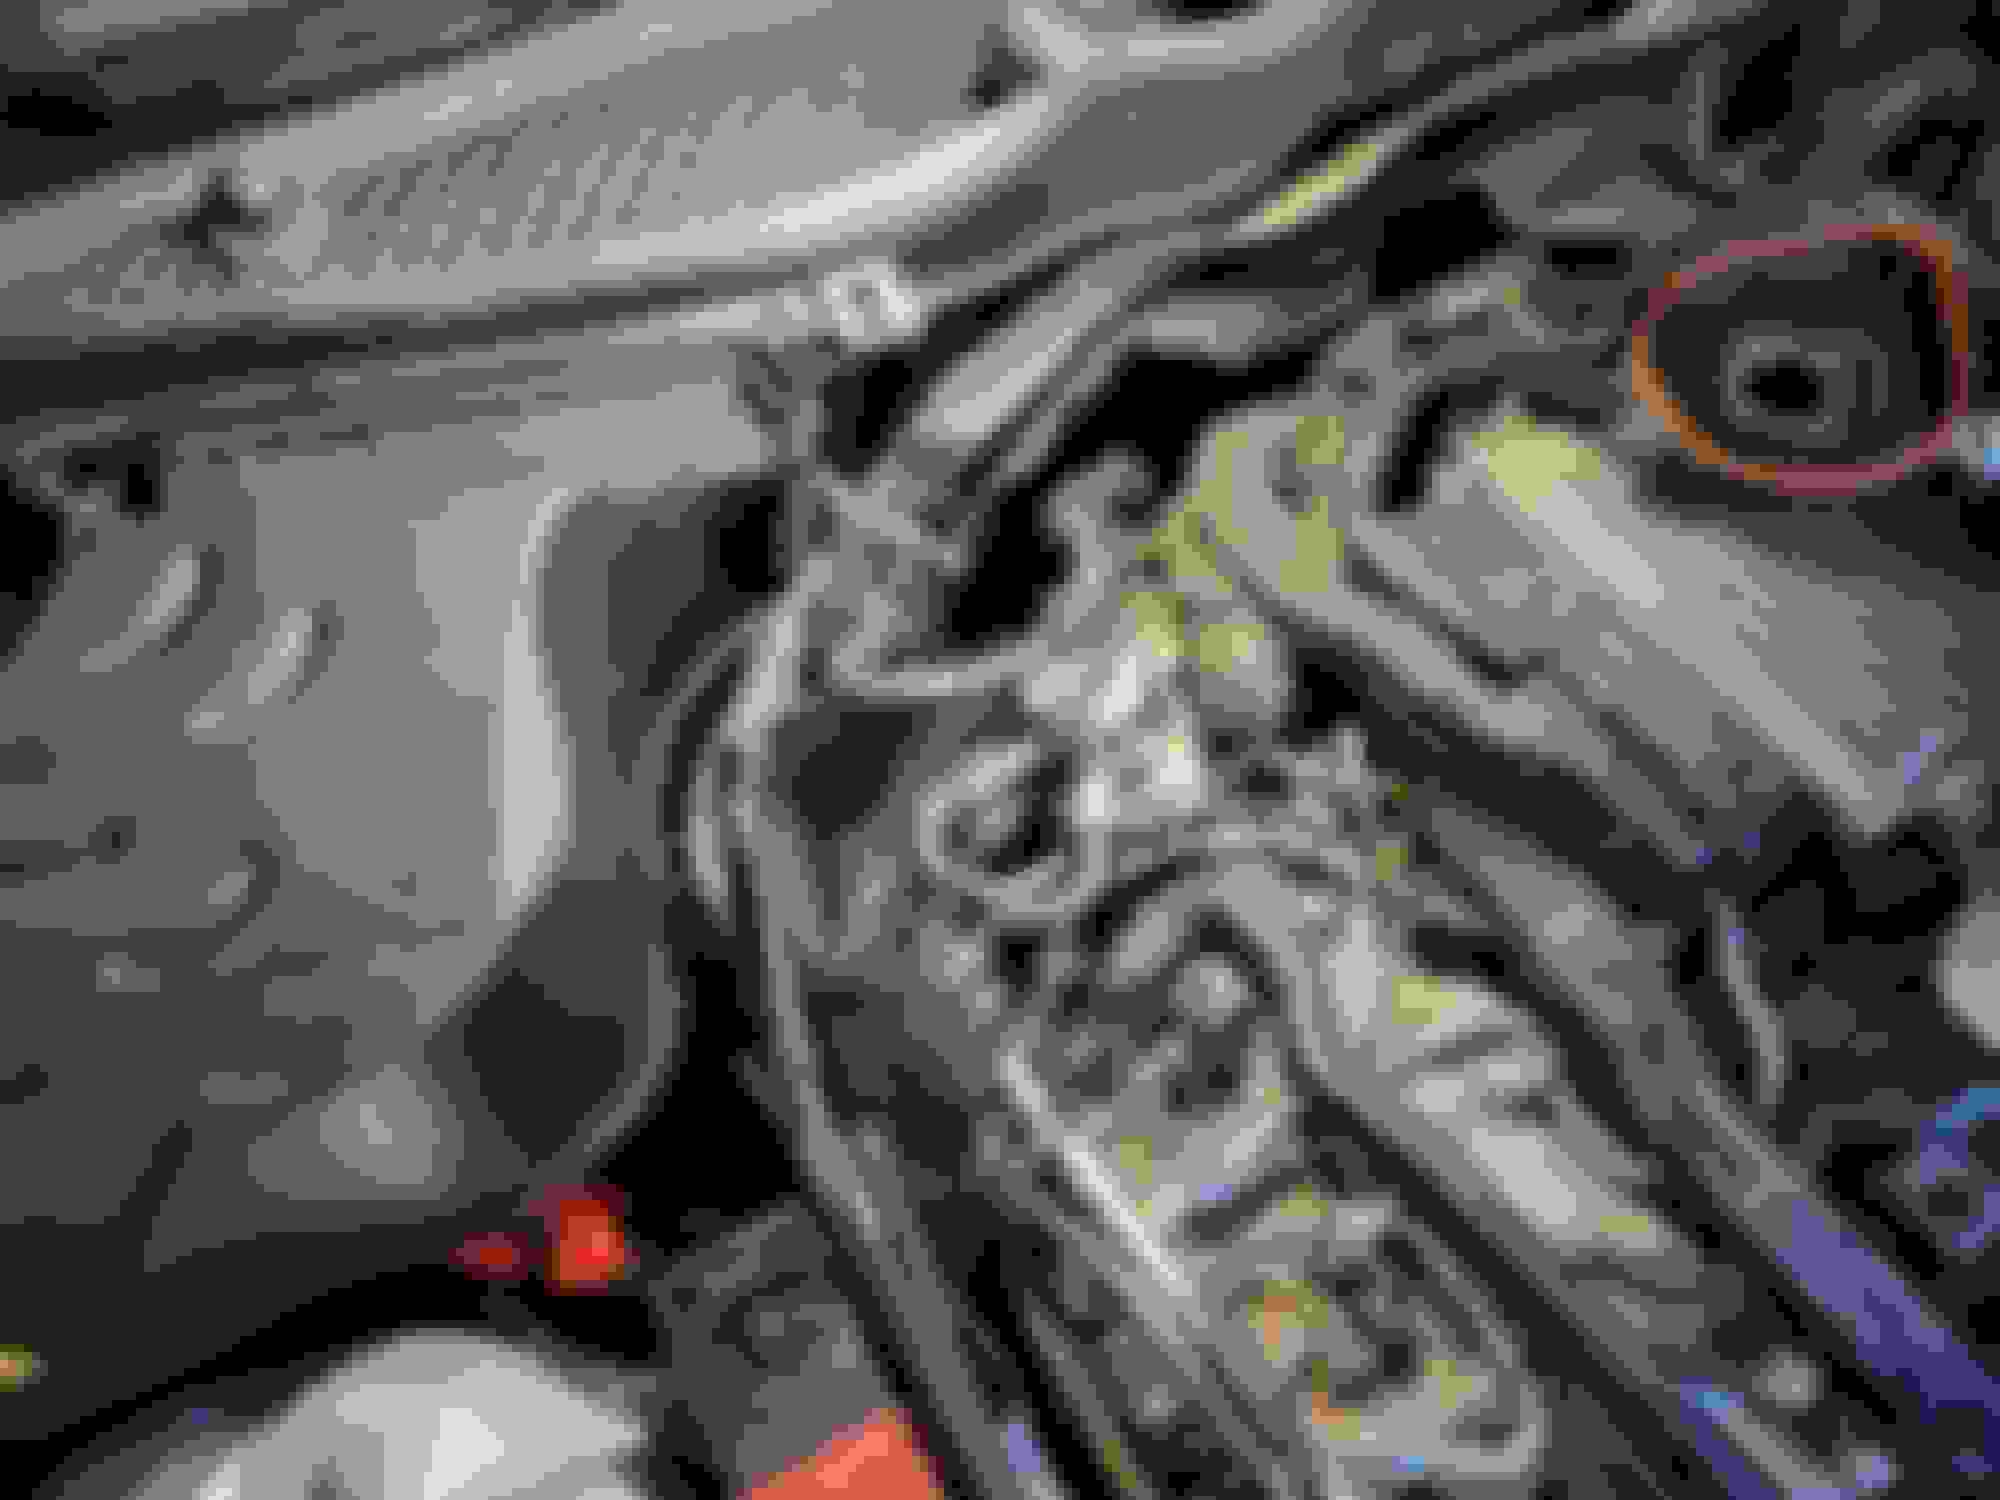
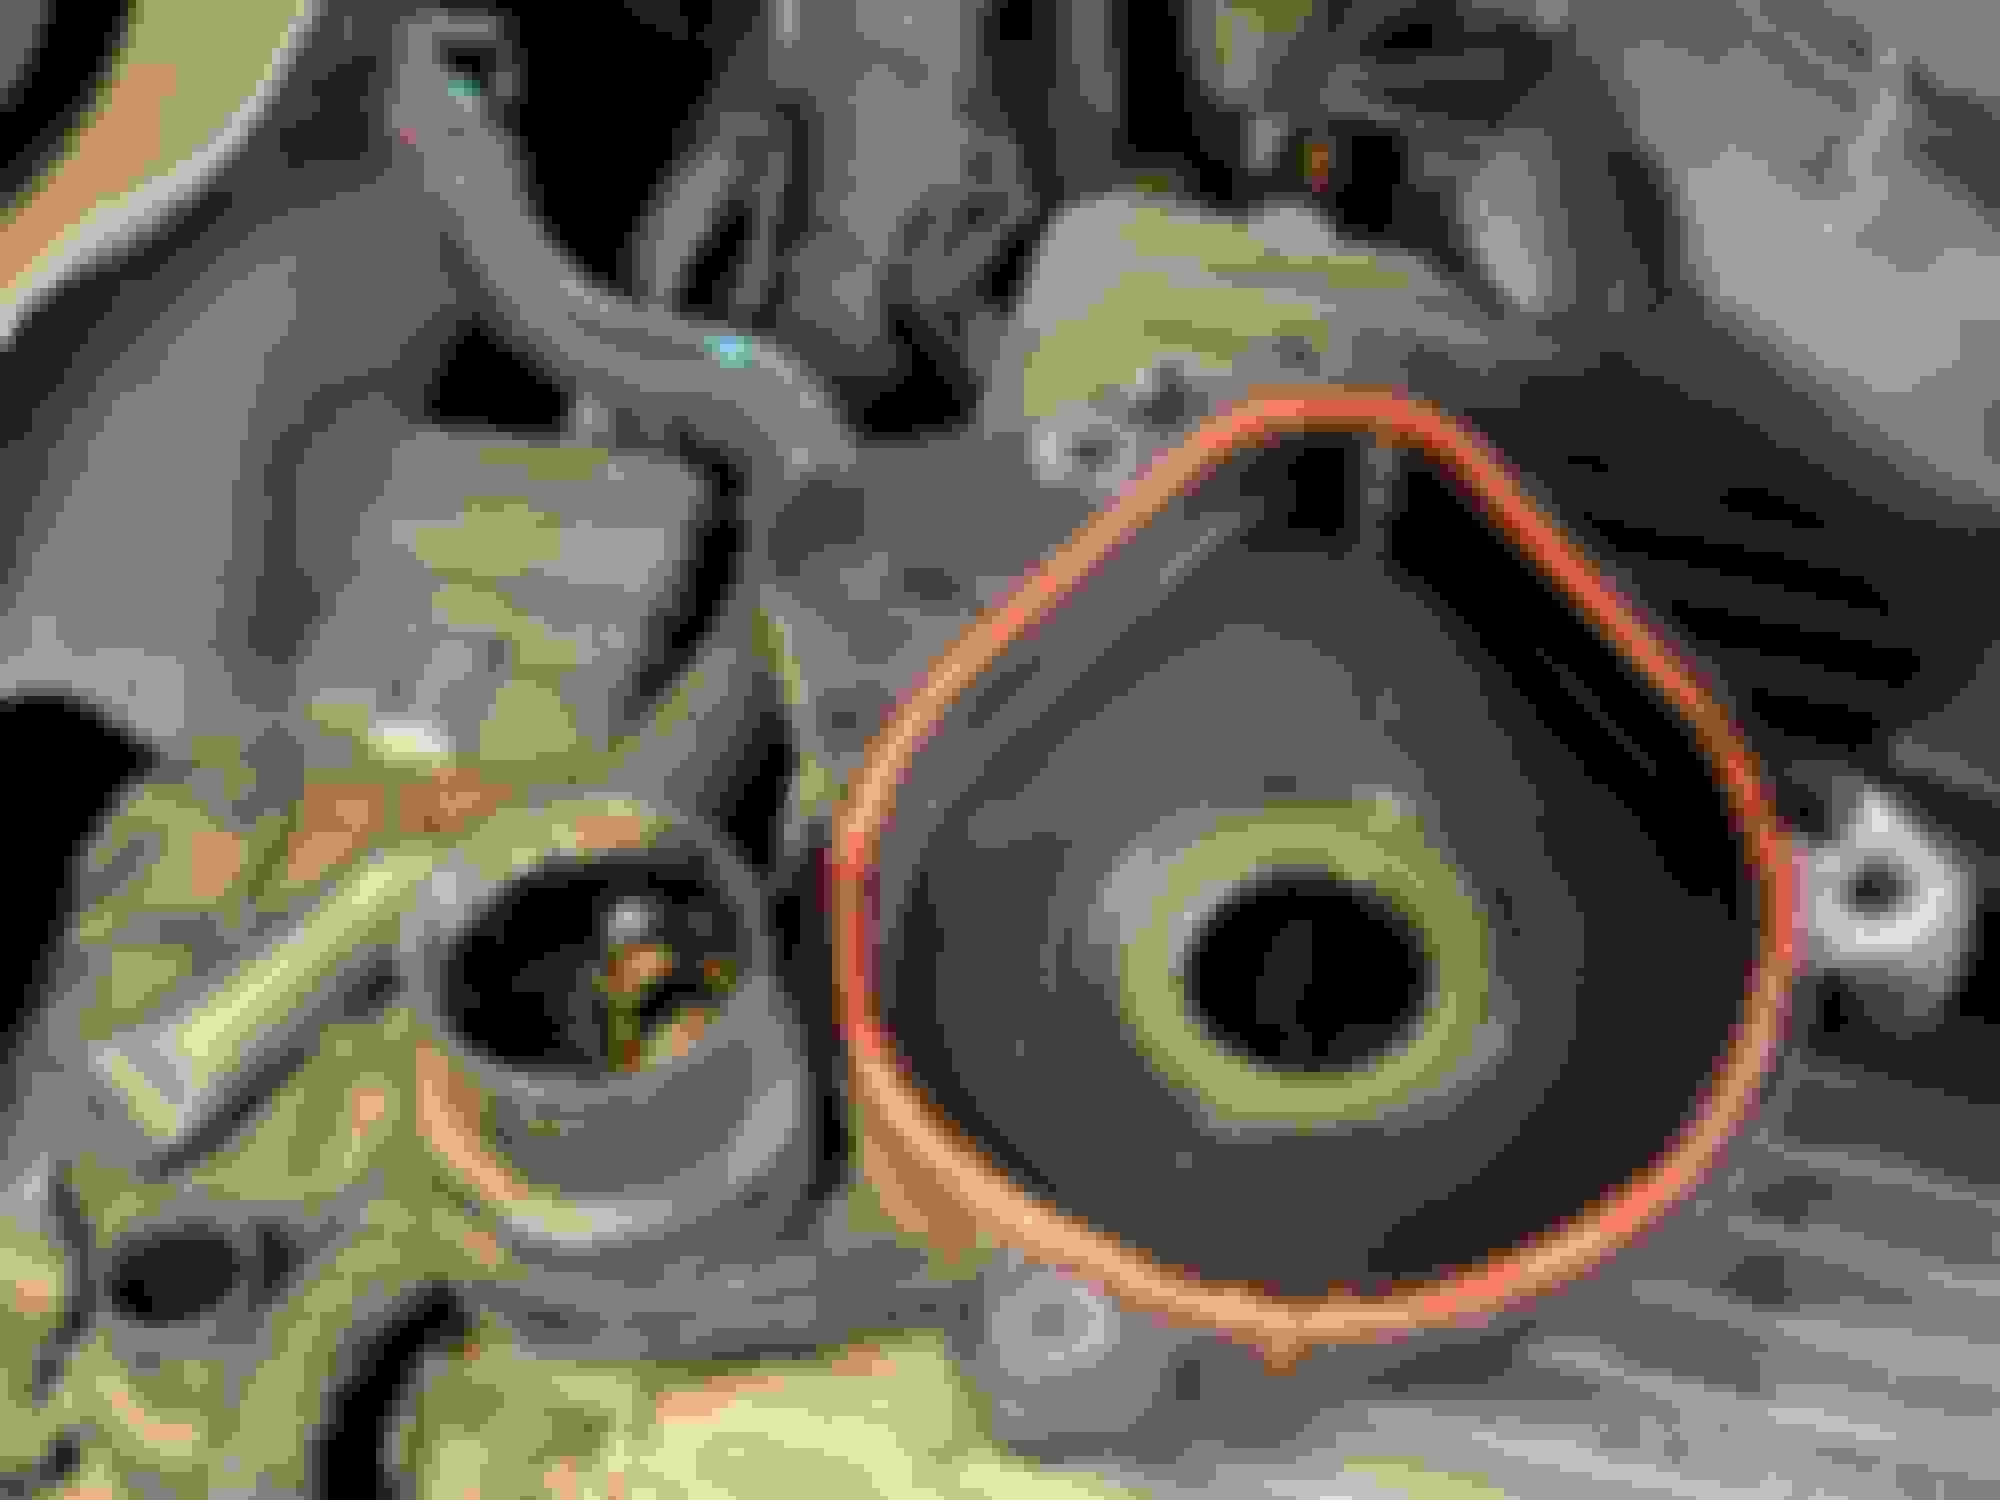
Below is the old pcv. Oil was visible as in the pics and also at the end of the skinny hose that connects to the intake manifold. Im guessing oil should not be visible at each inlet, outlet? I�m guessing this was starting to fail? Car has 60k+ miles, very frequent oil changes.
I just did this repair (13 e63) to see if it will help with a little blow by I’ve had. I also wonder if it will help with the oil/sensor/harness issue. (Mine has not leaked since replacement about two years ago)
Boy was this a pain. I’ve done lots of repairs, and this one had even less room than turbo hoses…. I was able to remove the firewall as suggested above and that made it much easier than any other way I could see. I’m an avid diy guy and this took about three long hours.
Below is the old pcv. Oil was visible as in the pics and also at the end of the skinny hose that connects to the intake manifold. Im guessing oil should not be visible at each inlet, outlet? I’m guessing this was starting to fail? Car has 60k+ miles, very frequent oil changes.
Any thoughts on how this looks?
Thanks.
Going to do mine 15 E63 , anything improve on yours post this repair ? I already ran into an issue trying to remove the pass. downpipe - captive nut is spinning in the manifiold flange for one of the 13mm bolts - extra headache
If blow-by is not reduced to acceptable level, you can try to seal piston rings with consistent cylinder oiling (See pump solenoid).
Your rings may be substantially stuck with burned oil carbon already... not a fan of seafoam - Perhaps SF can help loosen rings up to create a dynamic seal with oil the way it worked until someone decided that dry pistons can take it...
+++ vacuum pump check-valve!!
High crankcase pressure normally blows up the tiny check-valve in the vacuum pump.
If blow-by is not reduced to acceptable level, you can try to seal piston rings with consistent cylinder oiling (pump solenoid).
Your rings may be substantially stuck with burned oil carbon already... not a fan of seafoam - Perhaps SF can help loosen rings up to create a dynamic seal with oil the way it worked until someone decided that dry pistons can take it...
+++ vacuum pump check-valve!!
High crankcase pressure normally blows up the tiny check-valve in the vacuum pump.
I luckily dont have consumption or noticeable blow by . But with almost 100k - i'm guessing these crankcase breathers are not as efficient at this point . Not alot of info and or people changing them out from what i've seen.
Interesting on the firewall . Maybe this will eliminate removing the pass cat. converter pipe ?
it allows a lot of access. But you have to remove the heater core hose. Which is a perfect time to replace it because they get brittle and crack anyway.
it allows a lot of access. But you have to remove the heater core hose. Which is a perfect time to replace it because they get brittle and crack anyway.
this is a genius shortcut to combine these items together.
Do it once, do it right:
The HPFP need to come out so it's a good time to renew that as well or at least the rollers before they start laying flat on the camshaft lobes.
Going to do mine 15 E63 , anything improve on yours post this repair ? I already ran into an issue trying to remove the pass. downpipe - captive nut is spinning in the manifiold flange for one of the 13mm bolts - extra headache
Hi there,
I�ve only gone through about half an oil change so far (1500mi) but I feel like it has actually improved a bit. I don�t think I used as much oil, as I�m usually adding a bunch, within spec. I will be looking into that vacuum check valve repair as well but I had not seen a direct link to the part�pcv seemed like a worthwhile repair for the pia it was. The firewall was my only option as I could not go from below. The cat doesn�t have to move but yes the heater core hose have to Unclip. It isn�t easy but I would not want to pay for it now that I�ve done it once.
The centrifuge looks like the M273 design but with an added thing, probably some kind of check valve due to boost. It was super easy to change on my S550....doesn't sound so easy on these cars.
I had some free time & figured I would give it a go this past weekend .Pcv is doable from the top without fully removing the sheetmetal firewall. I didn't have the heater hose on hand unfortunately . In case anyone was wondering - I ended up loosening the firewall sheetmetal on pass side , removed hpfp crash bracket & related stuff to free up space in that corner .
Didn't have to remove hpfp's , although these are easy to access & will replace I think in the near future.
Old pcv had 99k on it , some oil residue inside nothing to make note of . Does seem to run a little smoother , could be placebo. I never comsumed oil to any extent - so I won't have any feedback there .
I appreciate the info and pix because I will likely have to do this sooner or later. I'm posting another pix that I scavenged from somewhere, that seems to show that part better. I know good pix of these engines are hard to find, so may be of use to someone.
As for the firewall removal, it's a plus for another reason: Rats chewed off most of the fabric and insulation and it looks like crap, so this is hope for an easy fix.
7 months later I did mine. As reported by some, you can do it without removing the firewall, but it sucks, and took me about 3.5 hours including a run to Home Depot for more tools. My hands and arms now have various cuts, plus I was bent over the engine for a lot of that time which isn't a good time.
The short version is, REMOVE THE FIREWALL which means you need to be prepared to break into the cooling system and also replace the brittle heater core elbow thing that likes to fail. I didn't put this together before I started the job so I just suffered through it.
WIS has you come in from the bottom, removing the right cat. On a real lift, this might actually be pretty efficient but for a DIY person (I do have a quick jack but that still means I am working on my back, on a creeper), maybe not so much.
I followed the WIS instructions that occur at the top though. Remove engine cover, right intake tube, right air filter housing, cam cover insulation, unplug right HPFP and remove insulation, remove upper vacuum pipe (the one that goes from the vacuum pump to the intake manifold to the vacuum booster), remove crash plate behind breather cover. I did sort of start the firewall removal process before I realized it was all one piece. Originally I thought the passenger side firewall was smaller and didn't involve disturbing the heater core line/elbow. I did unbolt the firewall on the right side to give me SLIGHTLY more flex room which did help I guess. You'll have to remove the weatherstrip and just remove that one 10mm bolt.
Things are easy until you get to the crash plate. This is when you will begin to run into hidden bolts, and bolts that are very hard to get a wrench on. So basically just struggle with that. I think the plate is held up by 3 bolts. The starter harness was also annoying. I didn't understand to remove TWO starter harness bolts which would have allowed the starter harness to decouple from the crash plate. Instead, I removed one, and then broke it because I didn't realize there was a second one. The harness runs through a rigid plastic stiffener where it comes up from behind the crash plate so perhaps I will replace this stiffener some day assuming I can find the P/N.
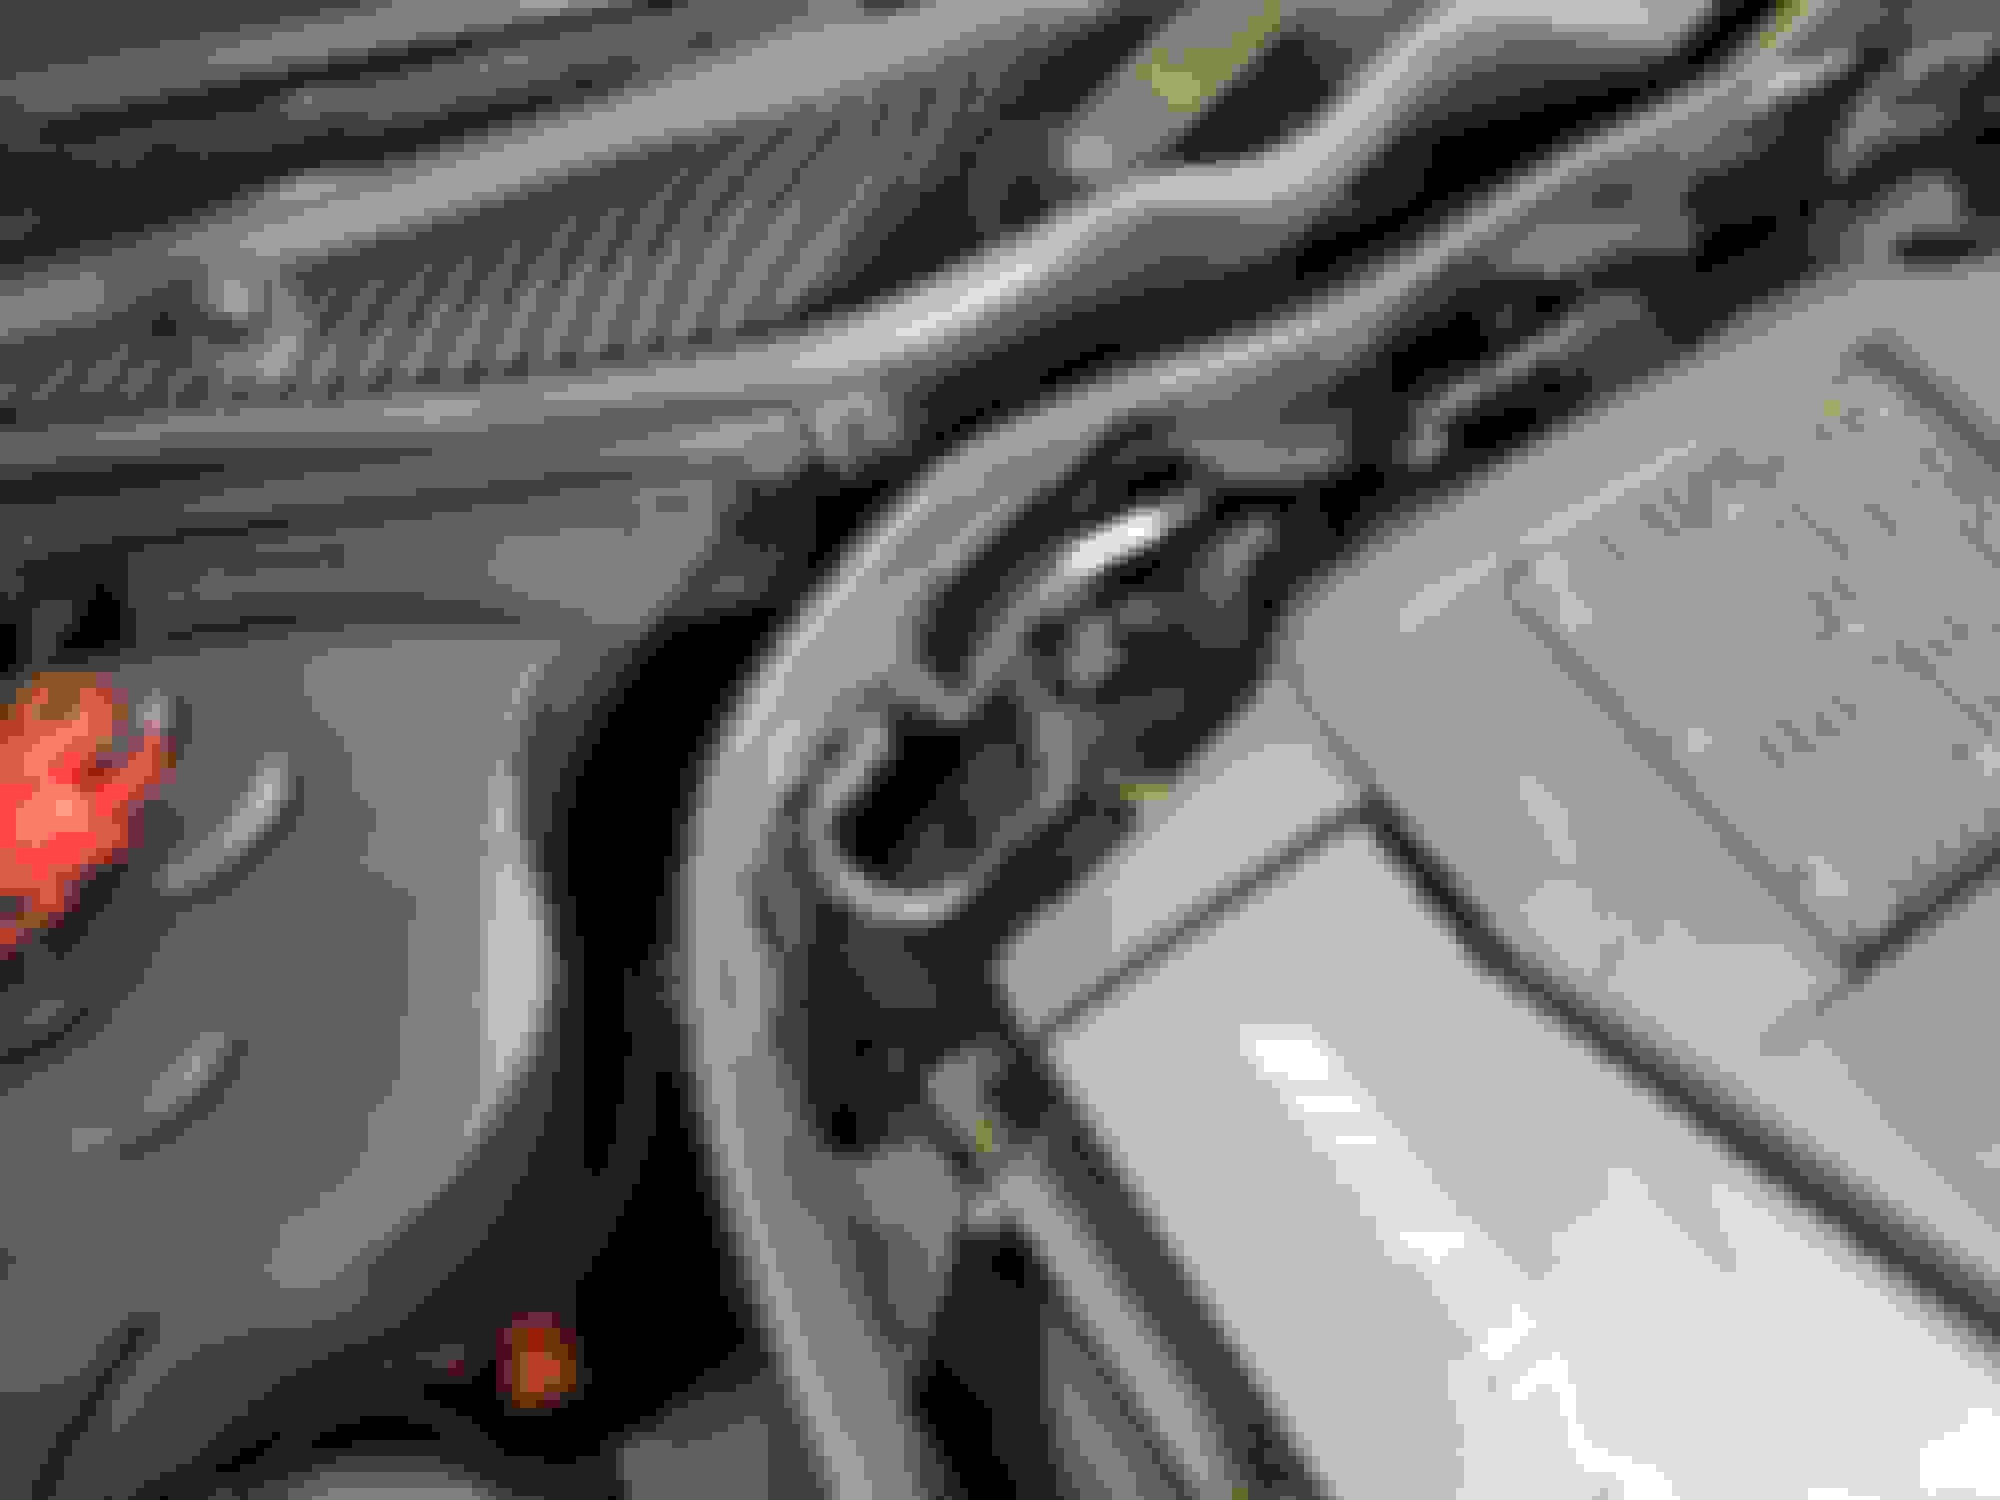
Once the crash plate is removed, you get to the most fun part. Three centrifuge cover bolts. Also, it's fun to get your left hand in behind the intake manifold to unclip the line from the nipple. Totally possible but it's tight, and it may require a few tries to squeeze and pull straight before it finally comes off.
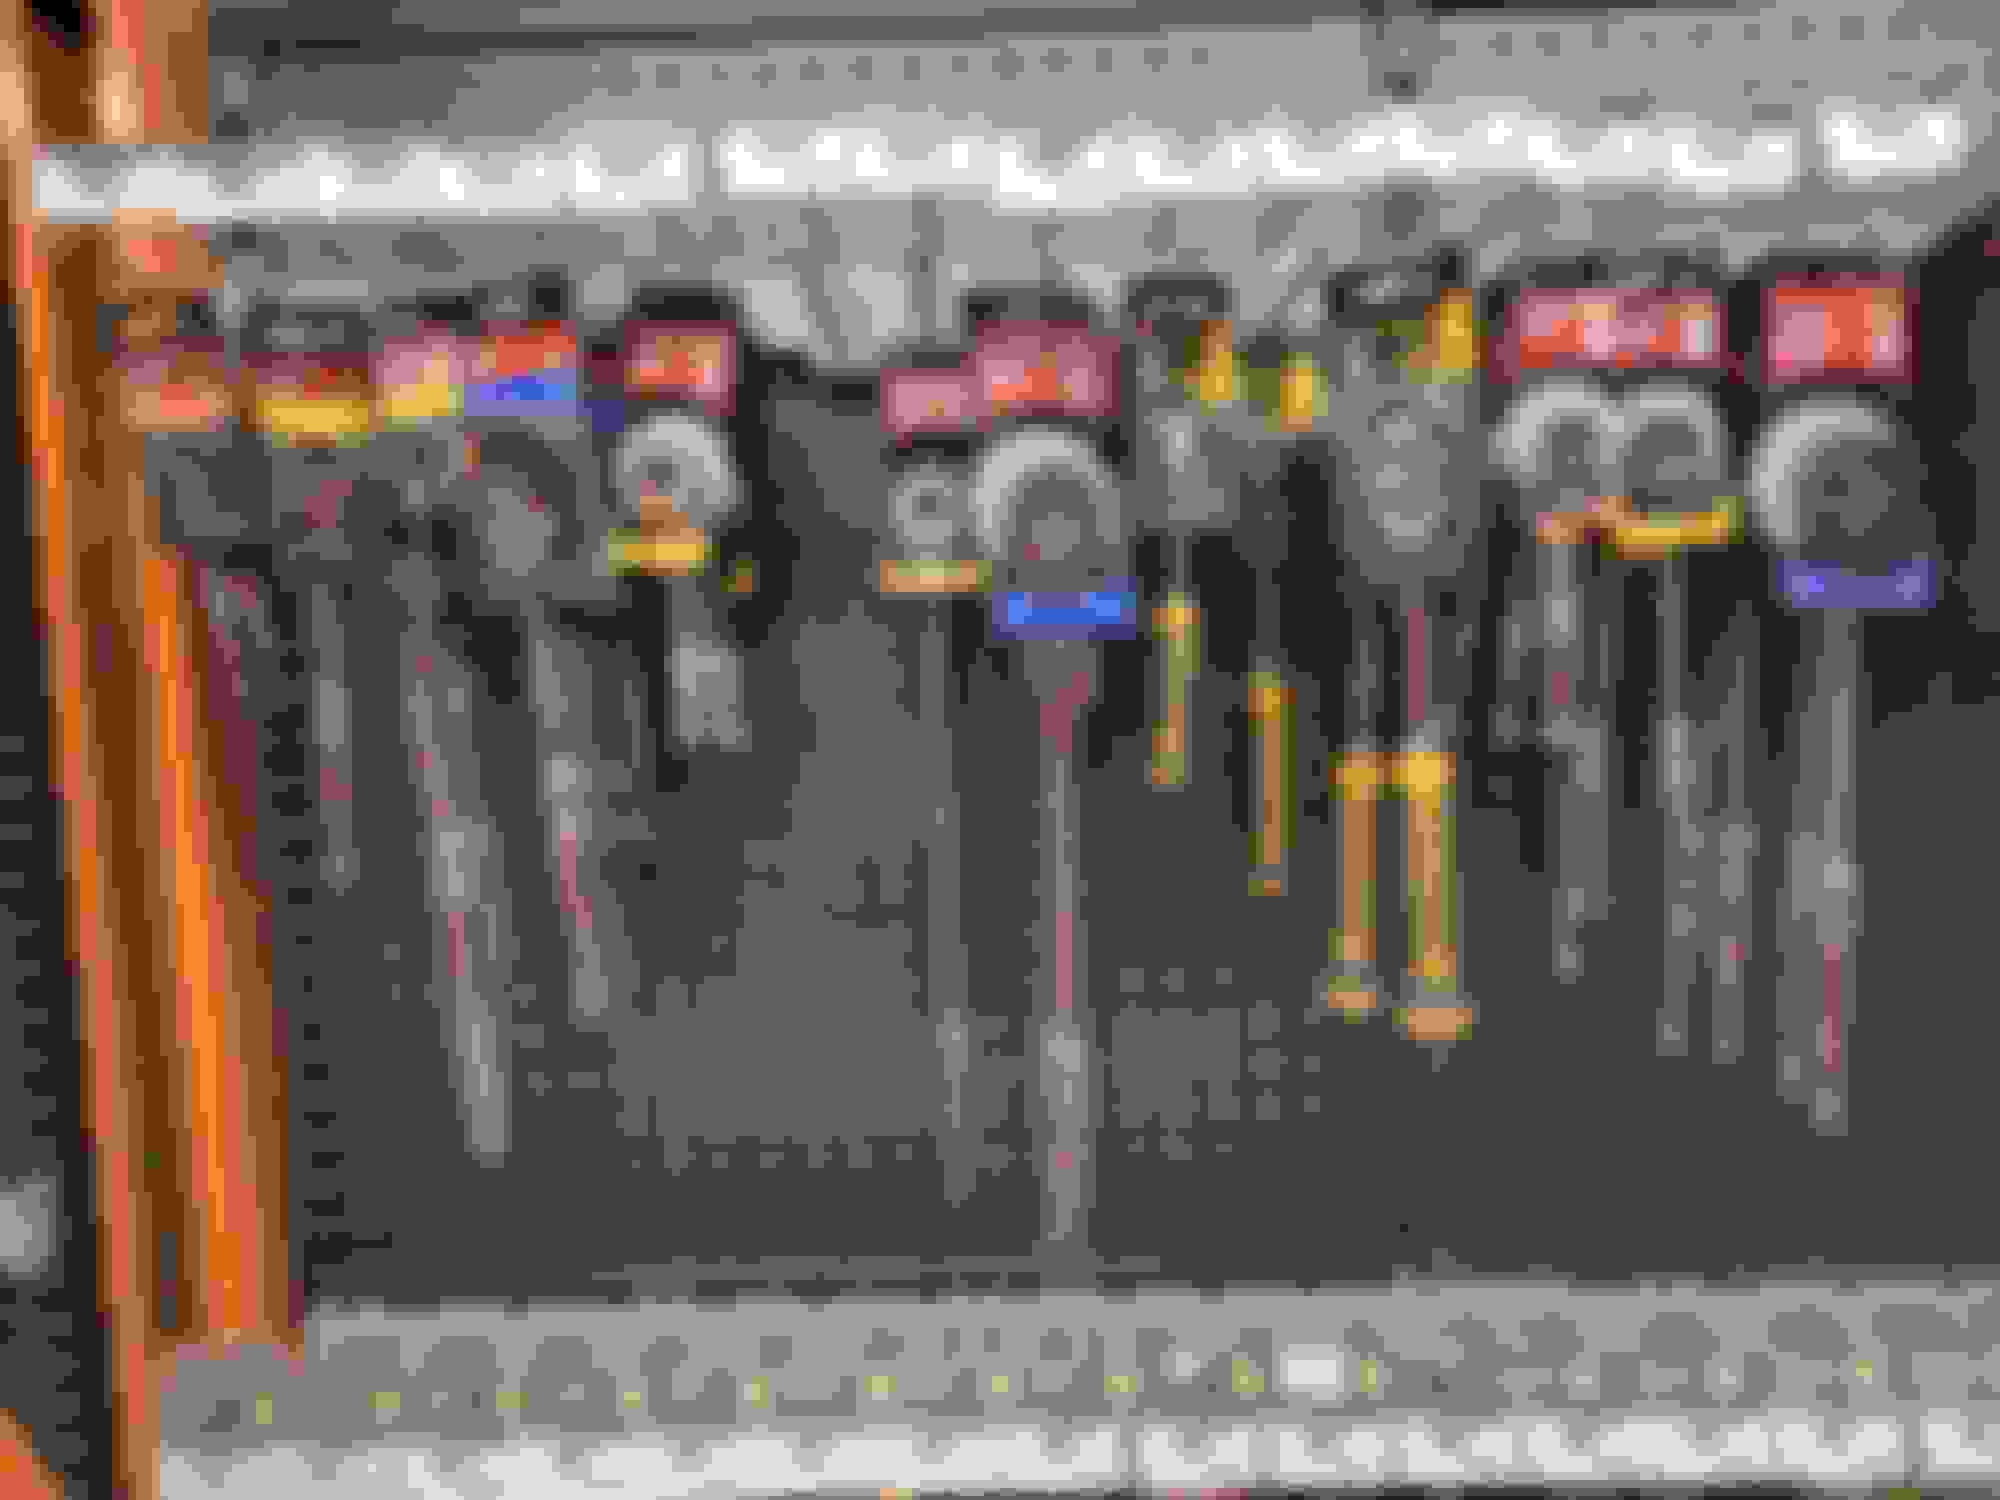
For the bolts, this is where I had to buy new tools and I essentially used one tool per bolt, which shows you how tight it is.
Tool #1: extremely long 3/8" drive ratchet. I used this, plus a 3/8" to 1/4" reducer plus a 5/16" socket (I have a 1/4" drive E10 on a universal but I would have needed a really long 1/4" drive ratchet which Home Depot did not have). This worked on the driver's side bolt for the cover, but was very slow and frustrating. I had to consult the new centrifuge cover a number of times just to even visualize where the bolt was relative to the cover molding. Also use a mirror to get your bearings.
Tool #2: longer 1/4" drive ratchet. The one I bought was only an inch or so longer than mine but that seemed to make the difference (right ladies?). I think I used the 5/16" socket again directly on the wrench, and this worked for the bottom bolt. Again, very slow and even getting the socket on the bolt required a mirror to guide it because you cannot see it from the top. REMOVE THE FIREWALL. I wish I planned to but I was too stubborn.
Tool #3: 5/16" ratcheting wrench. I used this for the passenger side bolt, and was the easiest, because you can see it...
Reinstallation will require a pretty high level of finger dexterity to guide the bolts in, and you'll drop them a few times before doing so. Actually removal also requires this. You can also try grasping various sockets and using them to rotate but the clearance is so tight that this often was a liability and I dropped tools more times than I can count.
Oh, you can just forget about torquing anything. Just get it tight and make sure the cover is flat on the head. To help guide the clip end onto the intake manifold nipple, a spritz of WD-40 on those O-rings does help get that nice click that you want to hear. Having that pop off under boost would probably raise havoc.
The rest is also the reverse of removal. In my haste I forgot to clean off the gasket sealing surface on the head, so I hope mine was clean enough from the old cover protecting it. Whoops. If I end up with an oil leak, then FML, and I'll plan to remove the firewall and do the heater core elbow part at that time, since mine is original anyway.
Oh, so my car has 105k. Did I need to do this job? Uh, probably not. I don't think I had an oil leak and I think my breather cover was sealing and letting the centrifuge do its work. This was a preventative repair only, at least on my car. Can't say there are any drivability differences, either. I think I used 1 qt or liter in 4300 miles or whatever I reported in another thread, so I guess we'll see if that changes with this. Problem is I recently completed a lot of other work which involved some oil loss, so I don't actually have positive control of the oil level at this time, so the data on oil consumption may be well into the NEXT oil change.
I think a symptom of this crankcase vent valve being a problem is excessive vacuum in the crankcase. This can be seen by strong suction on the oil filler cap.
I picked up this info on benzworld.org. Has anyone seen this suction on the oil filler cap?
Maybe, just maybe this weekend I will have my firewall out again (last parts - the blue hose for turbo coolant) will be here Thursday supposedly. I will get some good video if I do in fact get going on this. I am NOT looking forward to replacing the freaking cloth that covers it.
I have about 10% LTFT at idle on both banks. I wonder if this can cause this. seems like it could have a small vacuum leak or possible failing pcv? anyone ever notice their LTFT a bit high? should be close to 0
it allows a lot of access. But you have to remove the heater core hose. Which is a perfect time to replace it because they get brittle and crack anyway.
I noticed oil in my underneath engine cover when doing an oil change .. coming from passenger side up my the PVC as well .. getting a camera today to see if it�s the issue.. I�m already at the HPFP crash plate and waiting.. I see that you changed the heater core hose and I might as well do the same .. I�m assuming you had to drain coolant ? Anything else I should replace while doing the oil separator unit ? Thanks guys .. this is my first post on MBworld though I have been looking for some time .. lol love this community..
yea that fire wall trick has blown so many minds away lol . Guru TRICKS lol. I had to share it with everyone.
i removed the two bolts and the felt plugs , feels tight still ? Am I missing something? Does the heat shields below have to be unbolted as well and removed ?
Slideshow: A one-of-one U.S.-spec Mercedes-Benz SLR McLaren Roadster became even rarer after a factory-backed transformation at McLaren's headquarters.