When you click on links to various merchants on this site and make a purchase, this can result in this site earning a commission. Affiliate programs and affiliations include, but are not limited to, the eBay Partner Network.
I haven't seen much about this so I thought I'd post my experience. Maybe it will help someone.
*****ORIENTATION NOTE: "Left" and "right" ALWAYS, ALWAYS, ALWAYS refers to the position relative to you sitting in the car. Never use "left" or "right" to refer to your perspective when looking at the engine from the front unless you clarify what you mean in each instance. This has been a PSA.****
Car is a 2014 E63S and ALL of the parts I touch in this post were original, to my knowledge with around 105k on it. Car is a north east car so this mileage checks out. Hot climates get less. I don't think an original thermostat/WP will last beyond about 115k-120k. Nor will the turbo coolant lines. That said, NONE of the components I touched were leaking (oil or coolant). The work I did beyond the thermostat was preventative.
The rubber failed causing excessive coolant flow.
Summary:
- Thermostat failed @ 104k. Engine temp too cold, slow warmup, Eventually got a CEL for it, but I noticed it before the CEL. P0128 "coolant temp is below the specified temp."
- WP pulley has walked away from the pump quite a bit, but I have NO coolant leaks. While I could have slapped a thermostat in it, that would have been stupid. So I added a WP to the job.
- When you touch the WP, you have to touch the turbo coolant lines. They will not survive. The passenger side is metal and metal with crimped rubber so they can be reused (new O-rings though). The driver's side (left) is a combo of metal and plastic. The typical approach would be to just replace both lines plus the block that goes under the WP pulley, as well as the block that covers the vestigial WP port covers and bridges the aforementioned lines with the left turbo. I didn't want to do that for two reasons: 1) I wanted to switch to rubber instead of the plastic components, 2) I wanted to avoid fighting with the left turbo coolant lines and very tight spaces.
- While I was in there, I also did accessory pullies, belt, oil filter housing with gasket (yes, the whole housing), and the oil cooler gasket. Plus oil cooler line O-rings.
The focus of this thread is on the unique content which is the bypassing of much plastic turbo coolant lines with good quality rubber heater hose, and I got the idea from member @Cifdig . However, other than his quick mention of doing this and a few pictures (out of the car) I have found no supporting info about this so I was on my own.
My parts list for this job (all OEM from dealer unless otherwise mentioned):
Thermostat 2782000615
WP (reman, only option from dealer) 157-200-02-01-80 (the -80 means reman)
WP gasket 278-201-00-00
Central turbo coolant line which mounts under WP pulley and bridges left and right turbo coolant lines. 157-200-00-00
Left turbo coolant FEED line. My dealer website says discontinued which seems insane, but I found a genuine MB one on eBay so I used that. I had to buy the whole line just to get the plastic elbow that actually bolts to the WP. I cut off the rest of it and left the original on the turbo. 278-200-09-00. The plastic elbow is made by COHLINE and 1,000,000 bonus points will be awarded to someone if they can figure out how to source this elbow instead of having to buy the whole line.
DO NOT NEED the left return line because I simply cut off the plastic and slid on a rubber heater hose. More on that later.
I replaced the 4 fixed belt pullies but left the tensioner as it seemed to be in good condition (and was $183, discounted price). 2782020519, 2782020619, 6112340193, 2782020219
Oil cooler line O-rings (green) x 2. 012-997-56-48. Mine looked good and could probably be reused but I opted to replace.
Turbo coolant line O-rings. Buy as many as you need but each end takes 2. 0239974445
Oil cooler gasket. 2781840080
Oil filter housing gasket. 2781840280. NOTE: I ended up replacing the entire housing which comes with a gasket. Why? Because I wanted to do the oil thermostat cover/O-ring because it is a known issue (mine was only a little wet). And my dealer did not stock the cover. Had I planned ahead I could have bought just the cover. Instead, I had to buy the entire oil filter housing but that gave me a new filter, gasket and all oil thermostat parts pre-assembled. JUST the cover is 2781800438. I bought the housing retail so I don't have the P/N handy.
IMPORTANT: I was annoyed but the new/reman WP did not come with those plastic covers for the center two ports. Very early applications used an individually bolted line setup but they revised this to just cover those ports and use this plastic block to bridge the coolant. The plastic part just holds the covers into the WP casting. WP cover x 2: 2782010103. Cover O-rings x 2: 0239974445. They go here.
I used Gates high quality rubber heater hose, 3/8" inner diameter. My local Napa stocked it. 3 feet is MORE than enough. 2 would be fine (I have like 18" left). Gates DOES make some (VERY EXPENSIVE) silicone heater hose but it was unobtanium locally and even Rockauto was pricey due to their min buy of 25 feet. I think the rubber will be fine and is rated to 257F I believe. The silicone does 350F but the coolant inside the hose shouldn't get to 257 and neither should the air in front of the engine where the rubber line sits. If I have a problem later, I'll upgrade if it was a material issue.
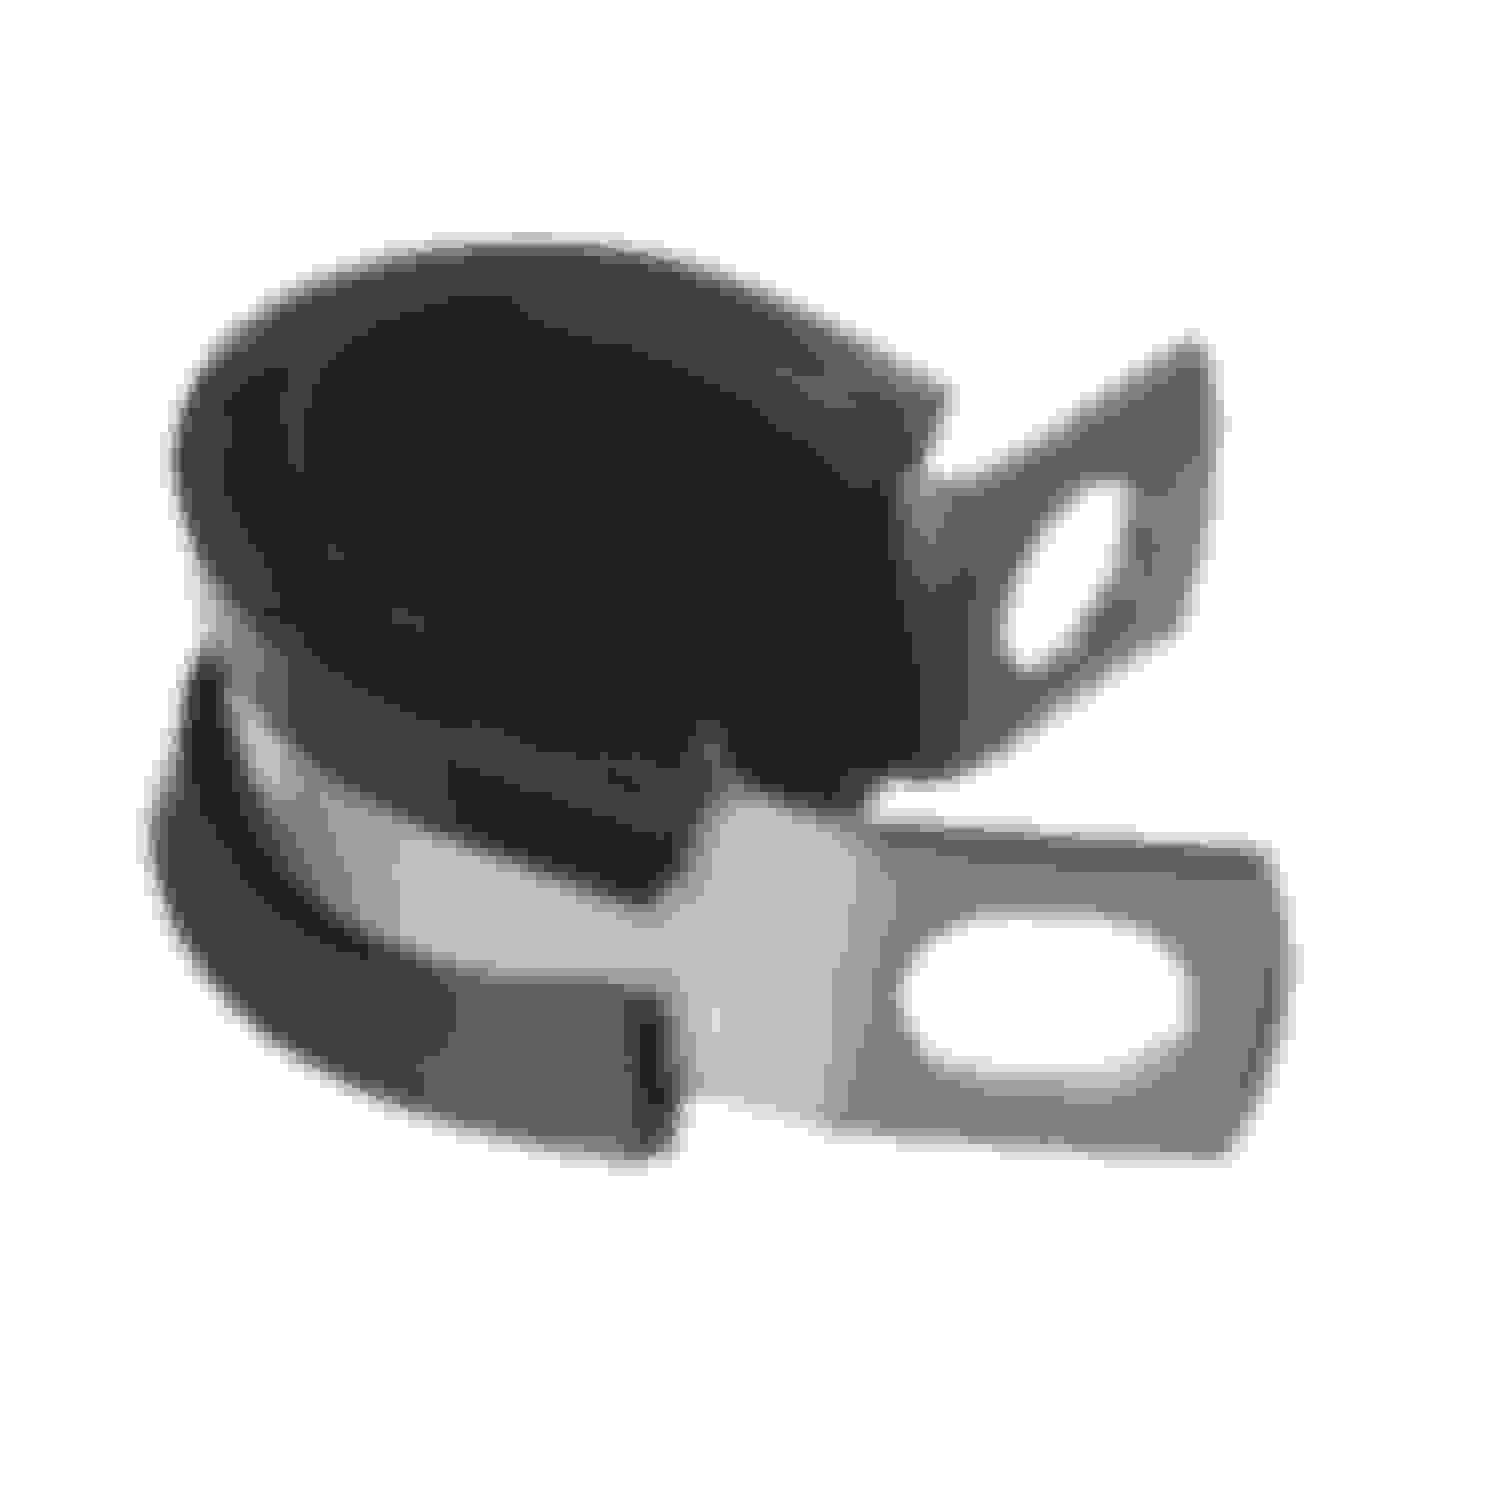
Stainless rubber cushioned hose clamps, like this but I forgot what size I bought. Just bring your 3/8" heater hose to ACE (or equivalent hardware store) and get the right size. I bought two but only used one. https://www.acehardware.com/departme...clamps/3470176
That was the materials list and a little background. Next post will discuss the R&D process for fitting the rubber heater hose.
For tools, here are some highlights from memory:
- You will want an inch-pound torque wrench because some of the first stage bolt torque is like 2 Nm which is not very much. I had to use a dial wrench and many click style don't go that low.
- 3/8" torque wrench. I didn't touch my 1/2" torque wrench on this job.
- Torx bit drivers of this length: https://www.harborfreight.com/14-in-...ece-68015.html
- You may need a T50 for something but I didn't have it in this set and obviously got by (perhaps some of the belt pullies)
- Full assortment of E-sockets but mainly E8, E10 and E12 I think.
- 4mm allen driver to swap over oil pressure test port plug from old oil filter housing to new one (if you bought new)
- 7mm ratcheting wrench may be helpful depending on which turbo charge pipes you are dealing with. I still don't have this and it would have helped. I have a 10 and an 8....
- Power ratchet certainly helps for bolt removal because there are a LOT of them. I have the Ryobi 3/8".
- Recommend magnet trays. HF. Also a good technique is to remove bolts from old part and stick onto new part as you remove. Then, swap them all back over to the old part once you remove it so when you grab a bolt to install, you know exactly where it goes.
- Wobble extension set is highly recommended. I bought one during the job and life was easier after I did that. https://www.harborfreight.com/wobble...ece-67971.html
- Hose clamp removal pliers are handy. I actually had to use the cable one for one. I have a set just like this:
Back to the plastic turbo coolant line replacement with rubber heater hose. The main point of this thread.
First job was to look at the left feed line as this is one of the lines with plastic hose that I wanted to ditch.
Looking at clearances with the plastic line still attached.
Cutting off from the metal part that goes to the turbo. Just slice a few times with a good utility knife. It was not glued on.
Then do the same at the elbow end.
3/8" hose fits great.
I do recommend a good hose cutting tool like this for clean, square cuts. Use the plastic line to choose the length for the rubber hose.
Everything seems to clear and here it is attached to the new line. I will NOT be using the new line, only the elbow as I mentioned. I just wanted to see what it looked like. You simply slide the hose onto the old metal line while it is installed on the car.
This is the shorter, easier piece. Really no further commentary on this one. It bolts to the WP same as before, and I just used two of those good hose clamps on both ends, the biggest ones from the assortment I linked. In the car I may have changed the clocking on the hose clamps but that's easy. You can remove them even with the hose installed.
By the way, it looks to me that you COULD bolt one of the metal elbows into this position. I did not check to see which part would have the line clocked correctly when the bolt is installed but this would be an upgrade path. Although I am concerned about the aluminum elbow sticking out so far. Belt clearance is pretty tight. Anyway you would want the coolant line to come off clocked around 3 o'clock which this one obviously does not.
Dealing with the return line plastic replacement turned into a saga but this is where my post can really help someone.
You need to reuse the plastic block that covers these two coolant ports.
The job here is to run rubber heater hose in the blue areas of this shot:
Generally, it's something like this but not EXACTLY like this, as I found out much later in the job. Let me save you some hassle.
Your routing job involves running the hose from the existing left turbo coolant line up to that plastic block that covers the holes I mentioned, UNDER the belt, and then around the WP pulley. It's all about hose length and where to place that clamp. I'll save you a few hours of trial and error. The combo that worked is to put the hose clamp on the bolt in the orange circle:
You can put a twist into the hose clamp to make the hose route around the WP pulley but this is essentially the game. I lost a couple hours trying to use the other bolt hole, including longer bolts, standoffs and other nonsense. Just use the one in the orange circle. You can see how the clamp is twisted/clocked. I did this in a vice but you can probably use pliers. It needs to be twisted to get the hose to route around the WP pulley.
I think this is the most vital information so I am out of time at the computer right now. I may come back and fill in my experience with the rest of the job but I think it is pretty well documented.
Reminder: I did NOT have to touch the lines at the left OR right turbo. I was able to slide the rubber hose onto them while they were mounted. The right side (passenger side) also never need to be touched for this job as you can remove them from the WP and that central plastic line as they sit. I also did NOT have to remove the right/passenger side turbo charge pipes. I did remove both left/driver's side charge pipes.
I had a huge issue reinstalling the inlet pipe. I could not get it to slip onto the turbo snout. Ended up plastic the rubber gasket on the turbo FIRST, and then slid the metal over that. Somehow that worked but it would NOT go on as one piece with the rubber seal in the charge pipe.
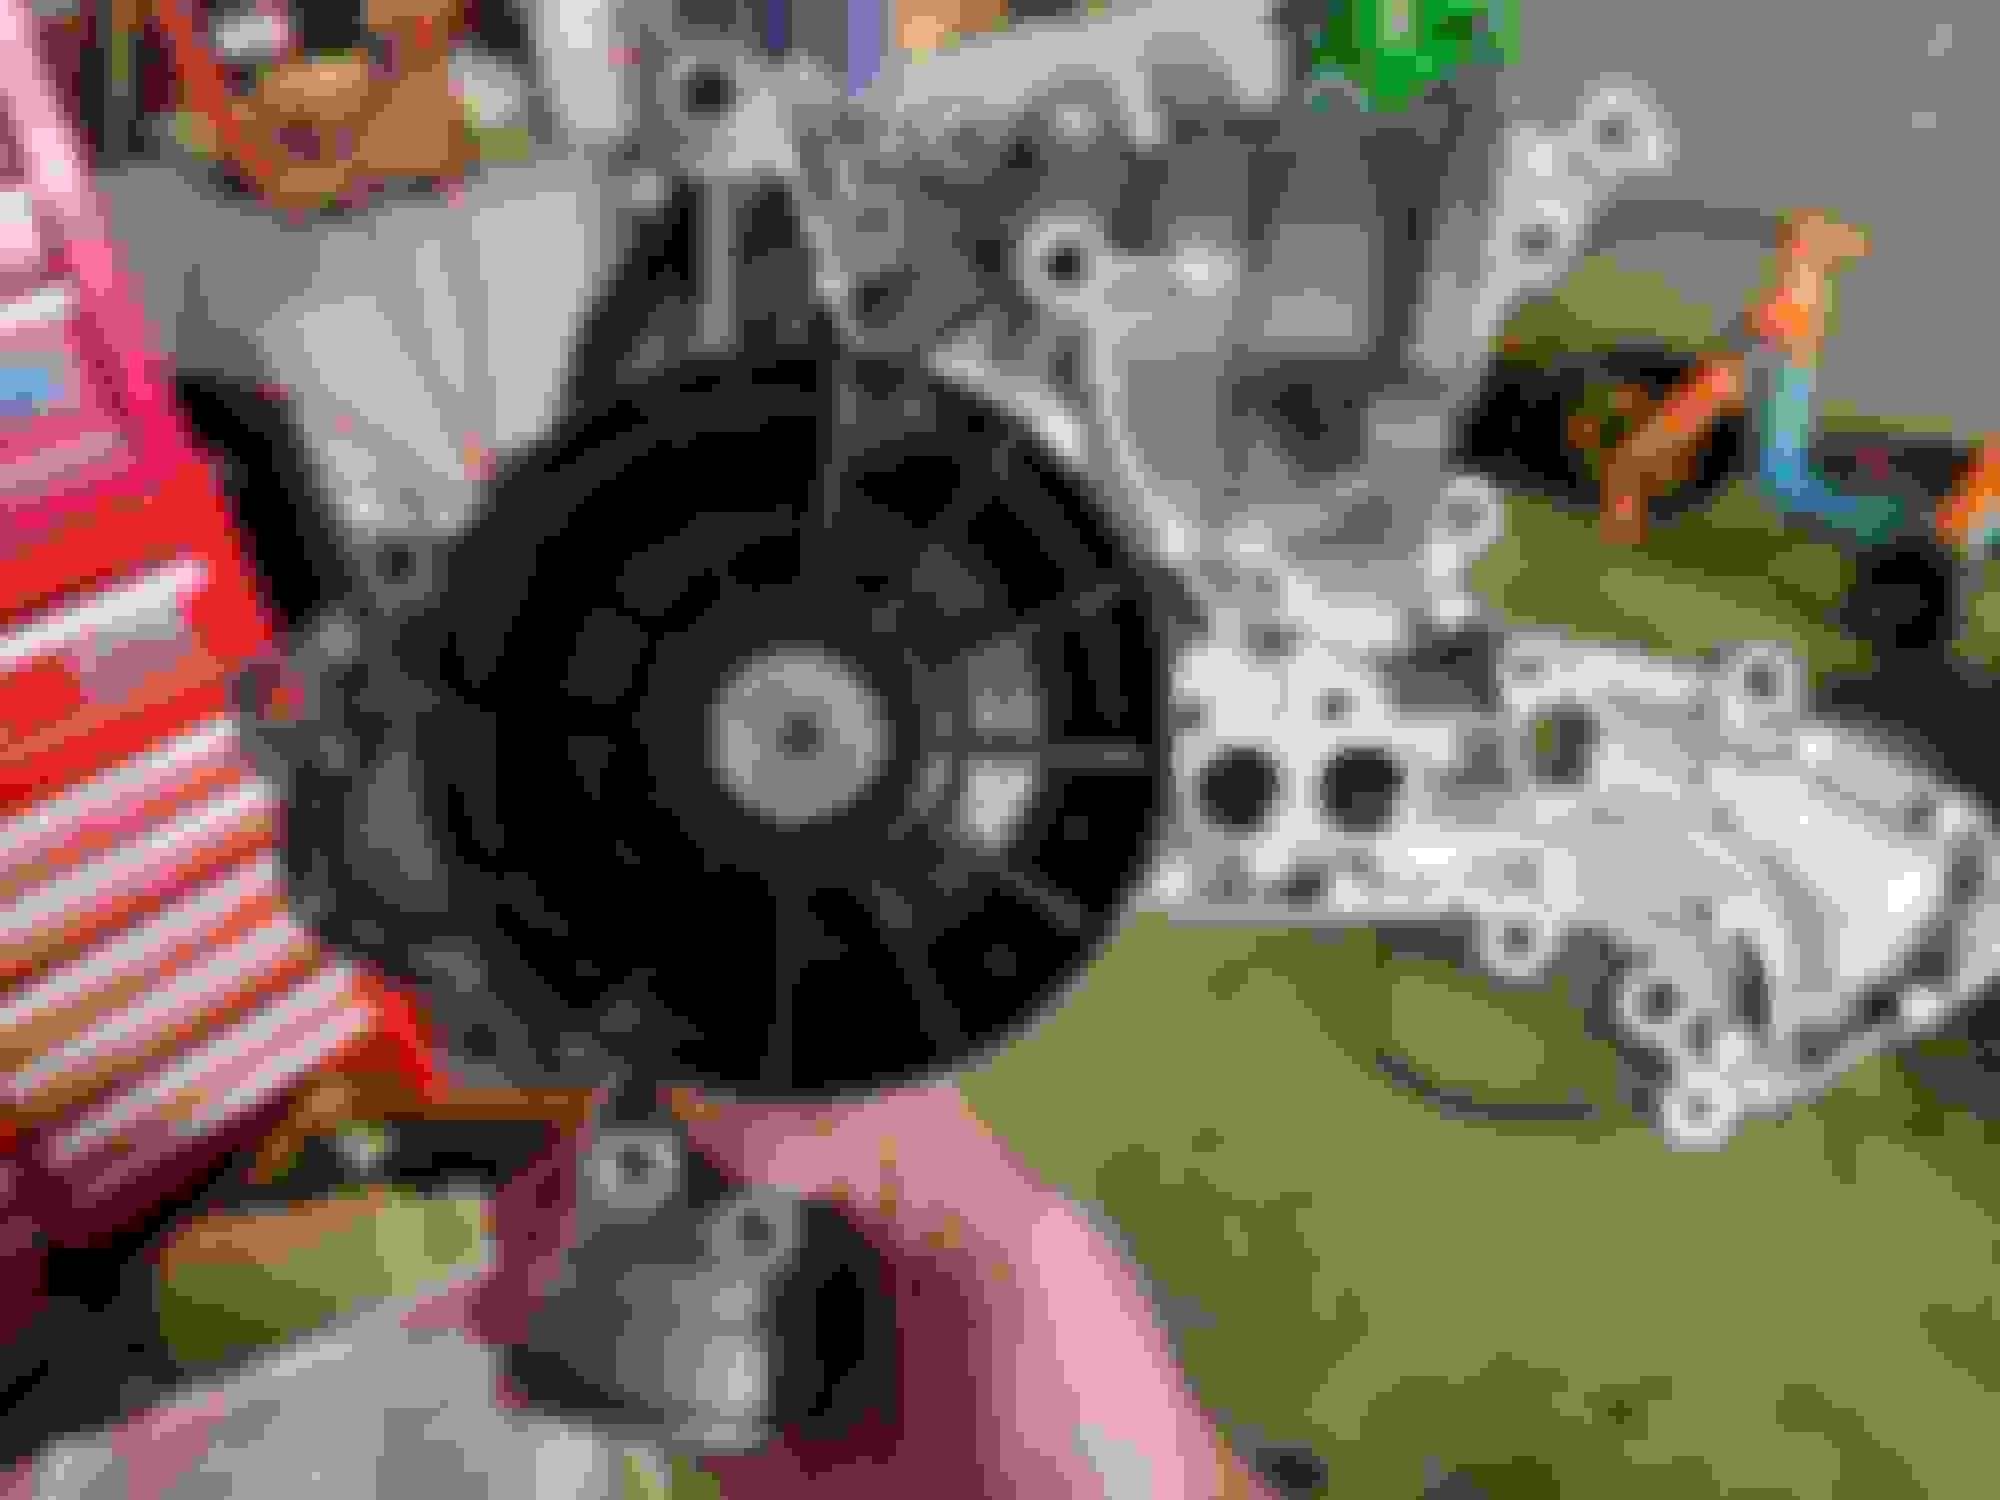
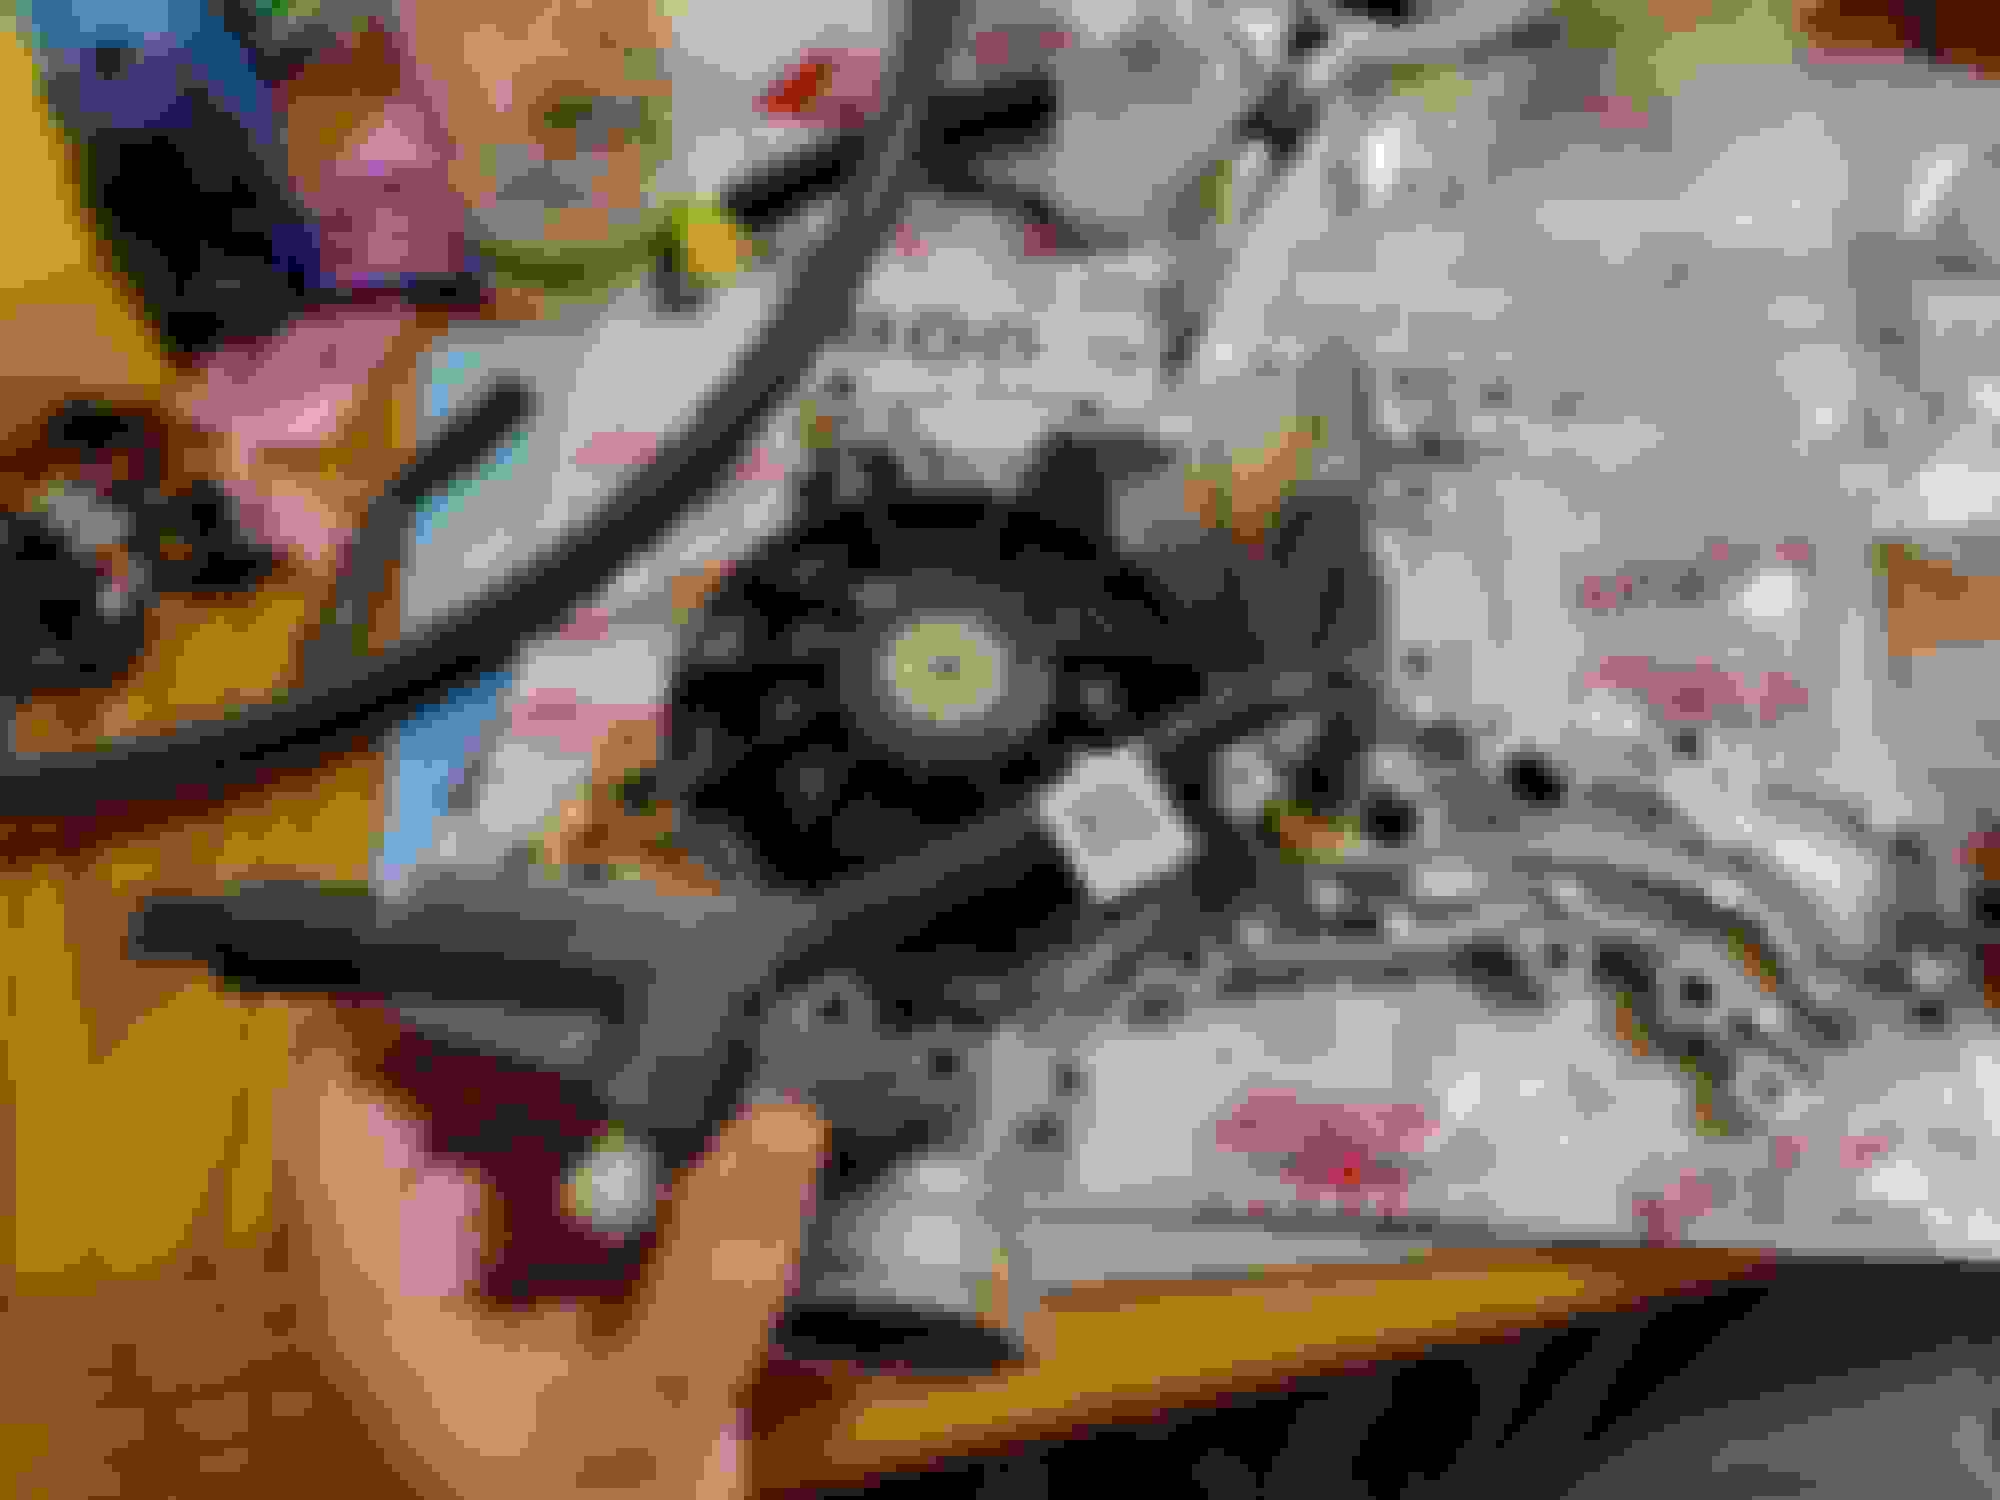
The cooling fan was also fun. I'll have to get into this other stuff at another time, or ask me specific questions.
Thanks. One detail I omitted was that I had to ziptie the lower hose to the upper hose to keep the lower hose from dragging on the crank pulley. As I said, clearances are pretty tight and I see why they used the very compact, molded plastic.
I love this post and the progress in replacing parts that should NEVER have been made of those materials in the first place - thank you!
Having just completed replacing these lines in the past week -- I considered this approach, but it doesn't seem to address the primary failure mode: the barbed nipple on the plastic endpoints snap off. You've replaced the plastic lines with rubber lines, but the barbed nipple will still break.
Did you consider cutting off the barbed nipple, drilling it out a bit, and inserting an aluminum nipple with epoxy? That seems like a more-permanent solution... one I am considering for any re-do on this work if I need to do it. I never -- n e v e r - want to deal with the turbo-end of this again. (https://mbworld.org/forums/w212-amg/...ml#post9032924)
My thinking is, I should be able to simply remove the broken elbow and replace it leaving everything else in place. It's unclear if I would be able to do this without removing the thermostat though. Also mine lasted 100k+ and still wasn't leaking. Mainly I didn't want to deal with the turbo coolant connections and I succeeded in that goal.
My thinking is, I should be able to simply remove the broken elbow and replace it leaving everything else in place. It's unclear if I would be able to do this without removing the thermostat though. Also mine lasted 100k+ and still wasn't leaking. Mainly I didn't want to deal with the turbo coolant connections and I succeeded in that goal.
I have the same goal, so I am glad that's been your experience.
The only nice thing about having these lines fail "on time" at 70k miles is that the water pump bearings are shot by then. In fact, I got more than 5% MPG back when I changed the water pump during my replacement of these lines. So, I would not be surprised at all that the water pump is only good for 50k miles or so. 5% is a lot, and it implies an extra load on the belt and system in general... so should be avoided.
A few years ago, I had an old "farm truck" F150 with almost 200k miles on it. The water pump looked original... I can't prove that, but this is one place where German engineering is total garbage. BMWs and Mercs, in my experience, seem to target the coolant loops as their place to make money on repairs. I've never had an Audi, Porsche, or VW... but I suspect the same. At any rate, changing the water pump/thermostat on a 50k interval with the ends of these pipes is a maybe 3 hour job if you don't have to do the turbo side, so you're still way ahead with your upgrade. Great work!
My old �89 535i was a beautiful car with a fantastic inline 6 engine�but it killed water pumps every 35k miles, like clockwork. It also seemed to time these failures with �destinations� like outside of Gary, IN or rush hour ATL. I don�t miss those experiences.
having reflected on this now�I think I�ll order a water pump for my 57k mi E63S! I got over 110k mi out of the original pump on my m278, but when removed it was clearly on its very last few days
this is awesome and going to give it a shot , any chance you have a picture of the finish , also i am going to try some stainless step clamps ,any thought on those ,sorry about the enormous picture lol
Those are more compact but is that designed to be crimped? Even if not it seems like it would be harder to install.
Yeah, I would have to definitely slide them on and then the tool small like flush cutters crimps even pressure around their high pressure step clamps. i�ve used them in the past to fix leaky lines that are hard and hose . Did your project work out ? Thx
- I had to chase SEVERAL bolt holes with a tap (M6 and M8), for accessory pullies and misc support bracketry. One or two in the oil filter housing and one in the WP.
I have notes from the whole job if you are interested.
Did you tap the WP for the pulley ?, it dosent look threaded , mine isn't
I recall kinda freaking out when I saw that on my new WP�thought I somehow had ordered the wrong part. Nope�the new pulley bolt will cut threads there, just make sure to do it squarely
Great job. I’m glad you were able to get this going . Unfortunately I’ve been so busy it’s hard for me to make new threads so the best I can do is share what I’ve done and hope someone can finish the thread to share .
So am I understanding the WIS correctly. To get the fan out the center support comes out and that means most of the front end comes off?
No, just a few parts have to be loosened up top, then 3 screws holding the oil lines at the bottom and you should be able to sneak the whole fan shroud out.
Right now the fan is loose but won't clear the center support. I have the support loose as well but the top of fan won't tip back far enough to clear it.
Mercedes SLR McLaren 722 S Is Extremely Rare Example Modified by McLaren
Slideshow: A one-of-one U.S.-spec Mercedes-Benz SLR McLaren Roadster became even rarer after a factory-backed transformation at McLaren's headquarters.