When you click on links to various merchants on this site and make a purchase, this can result in this site earning a commission. Affiliate programs and affiliations include, but are not limited to, the eBay Partner Network.
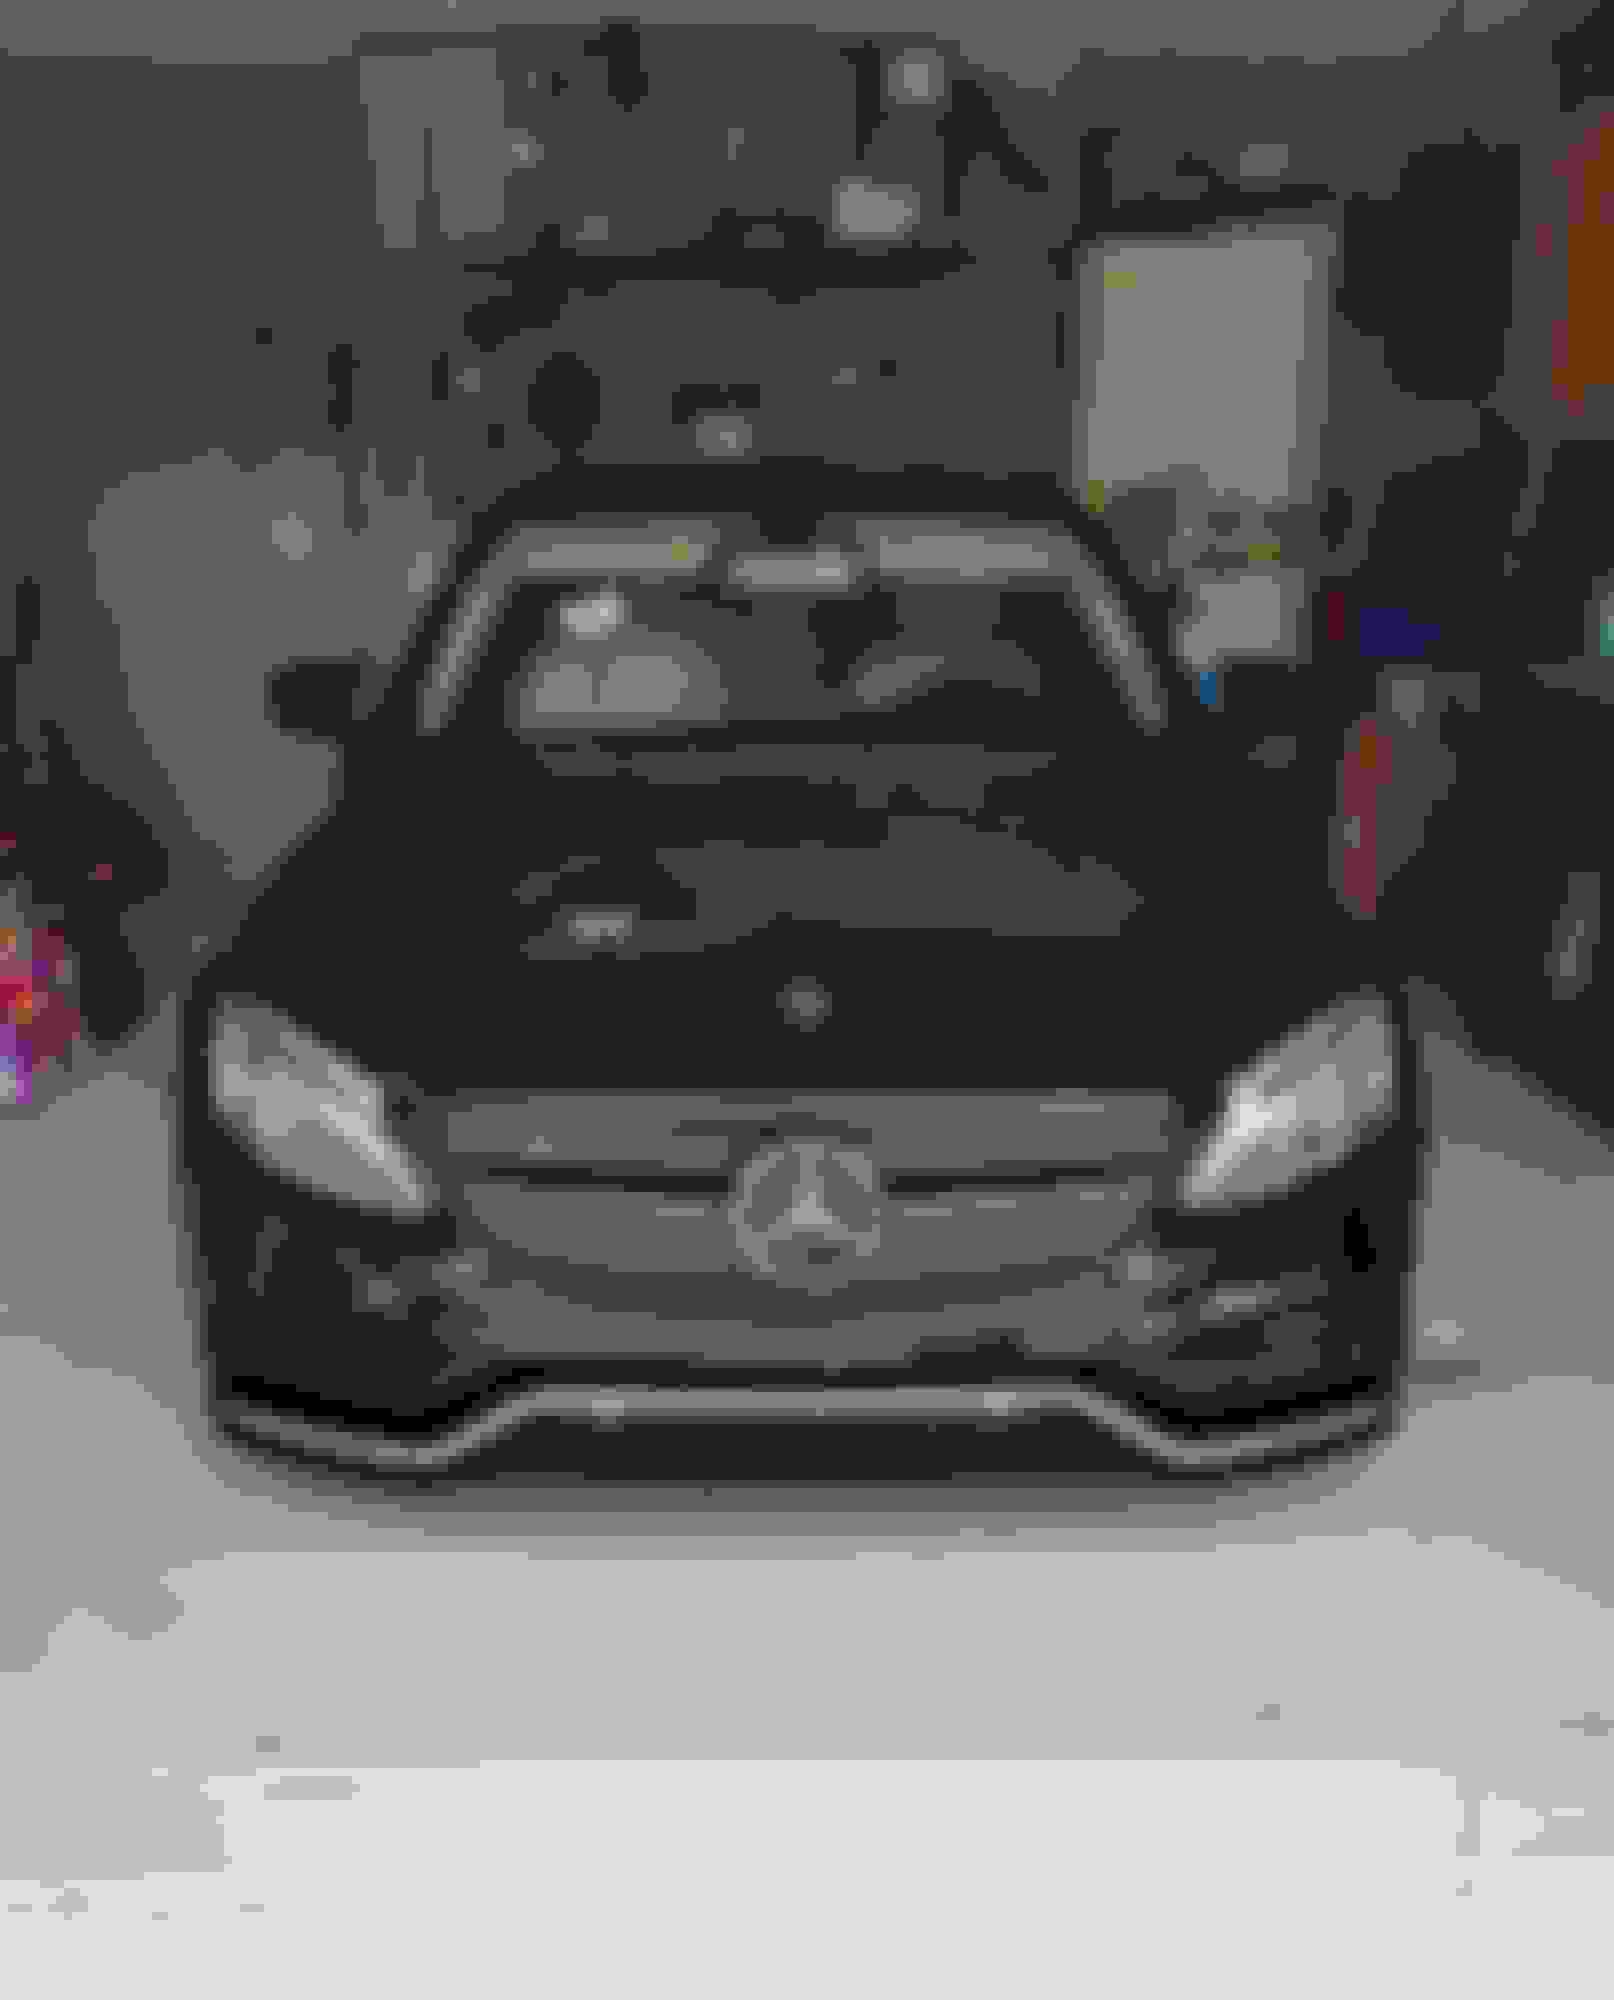
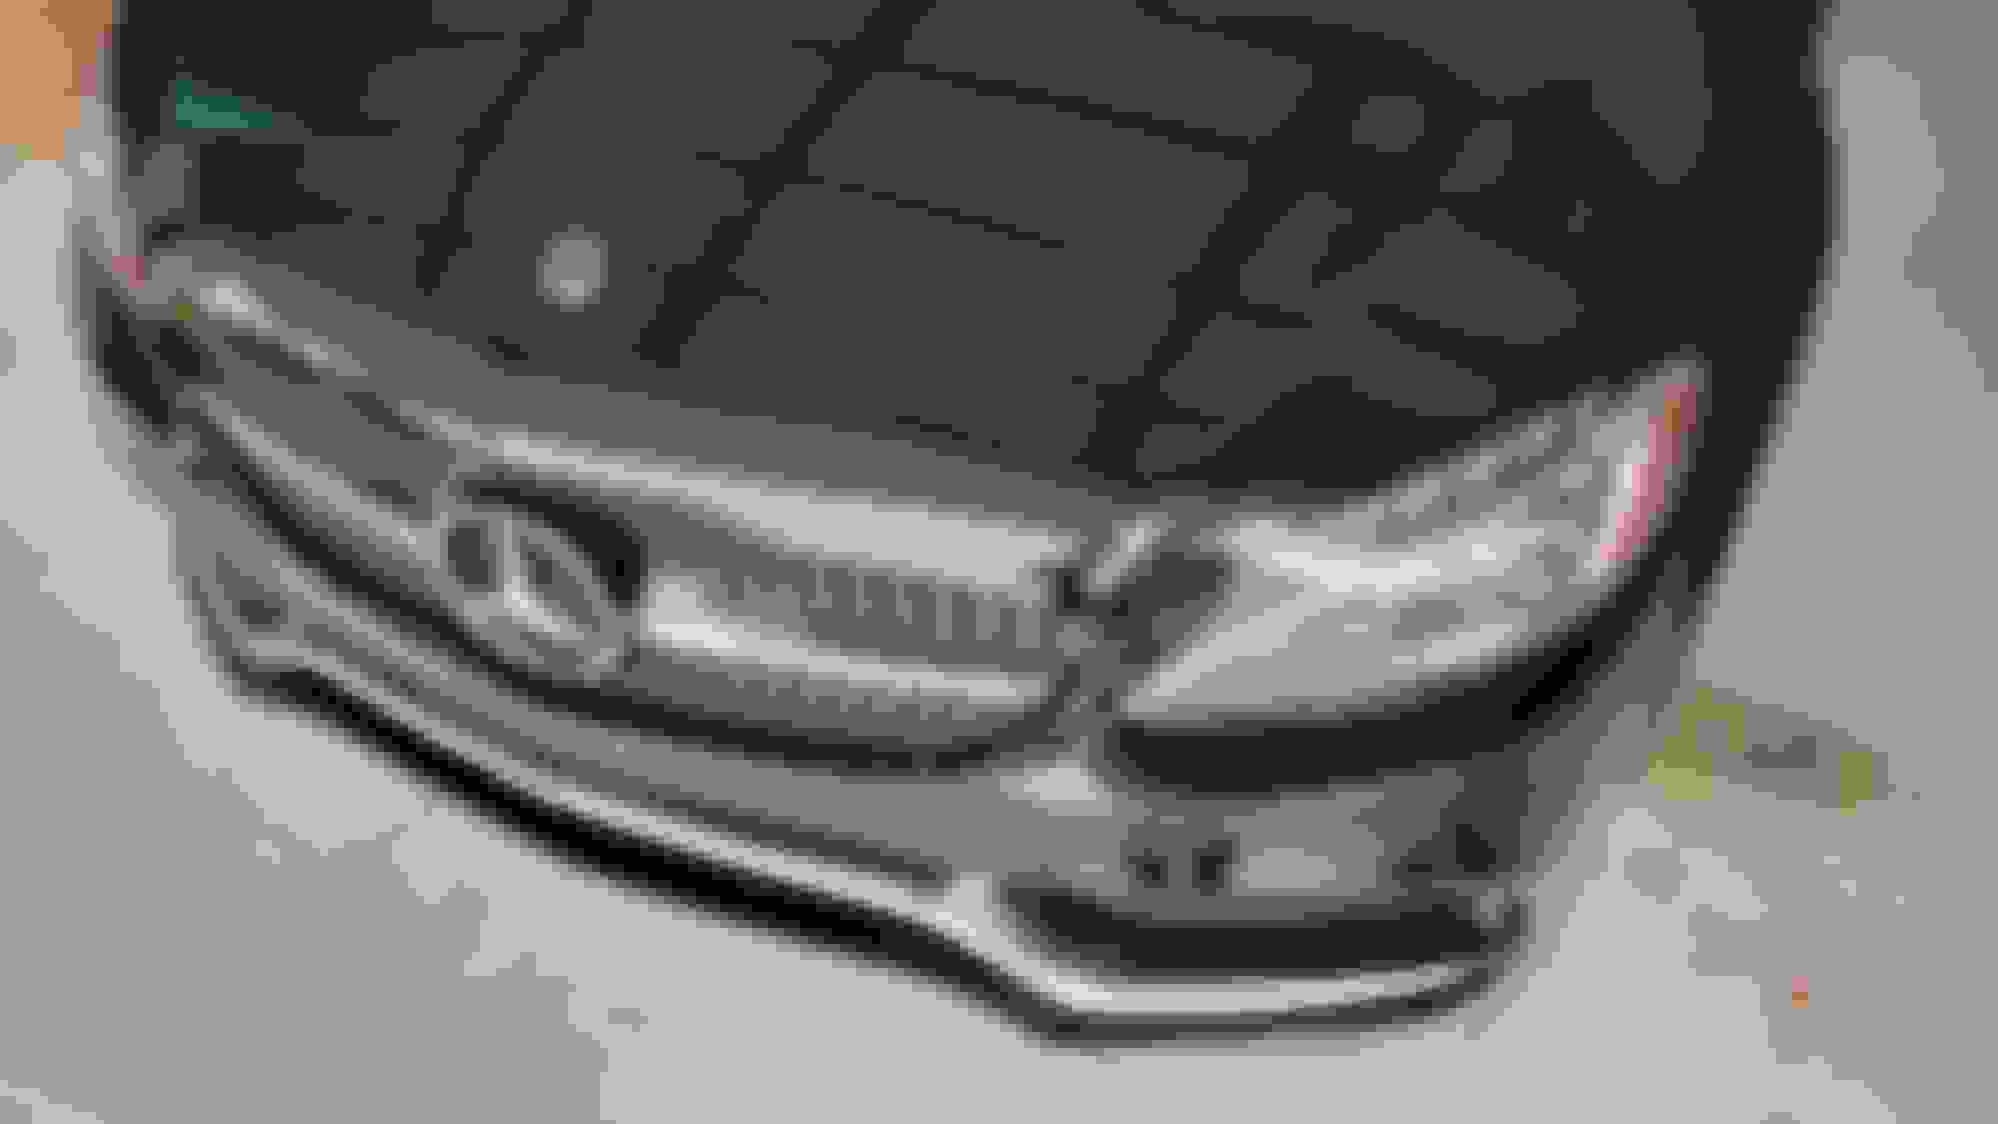
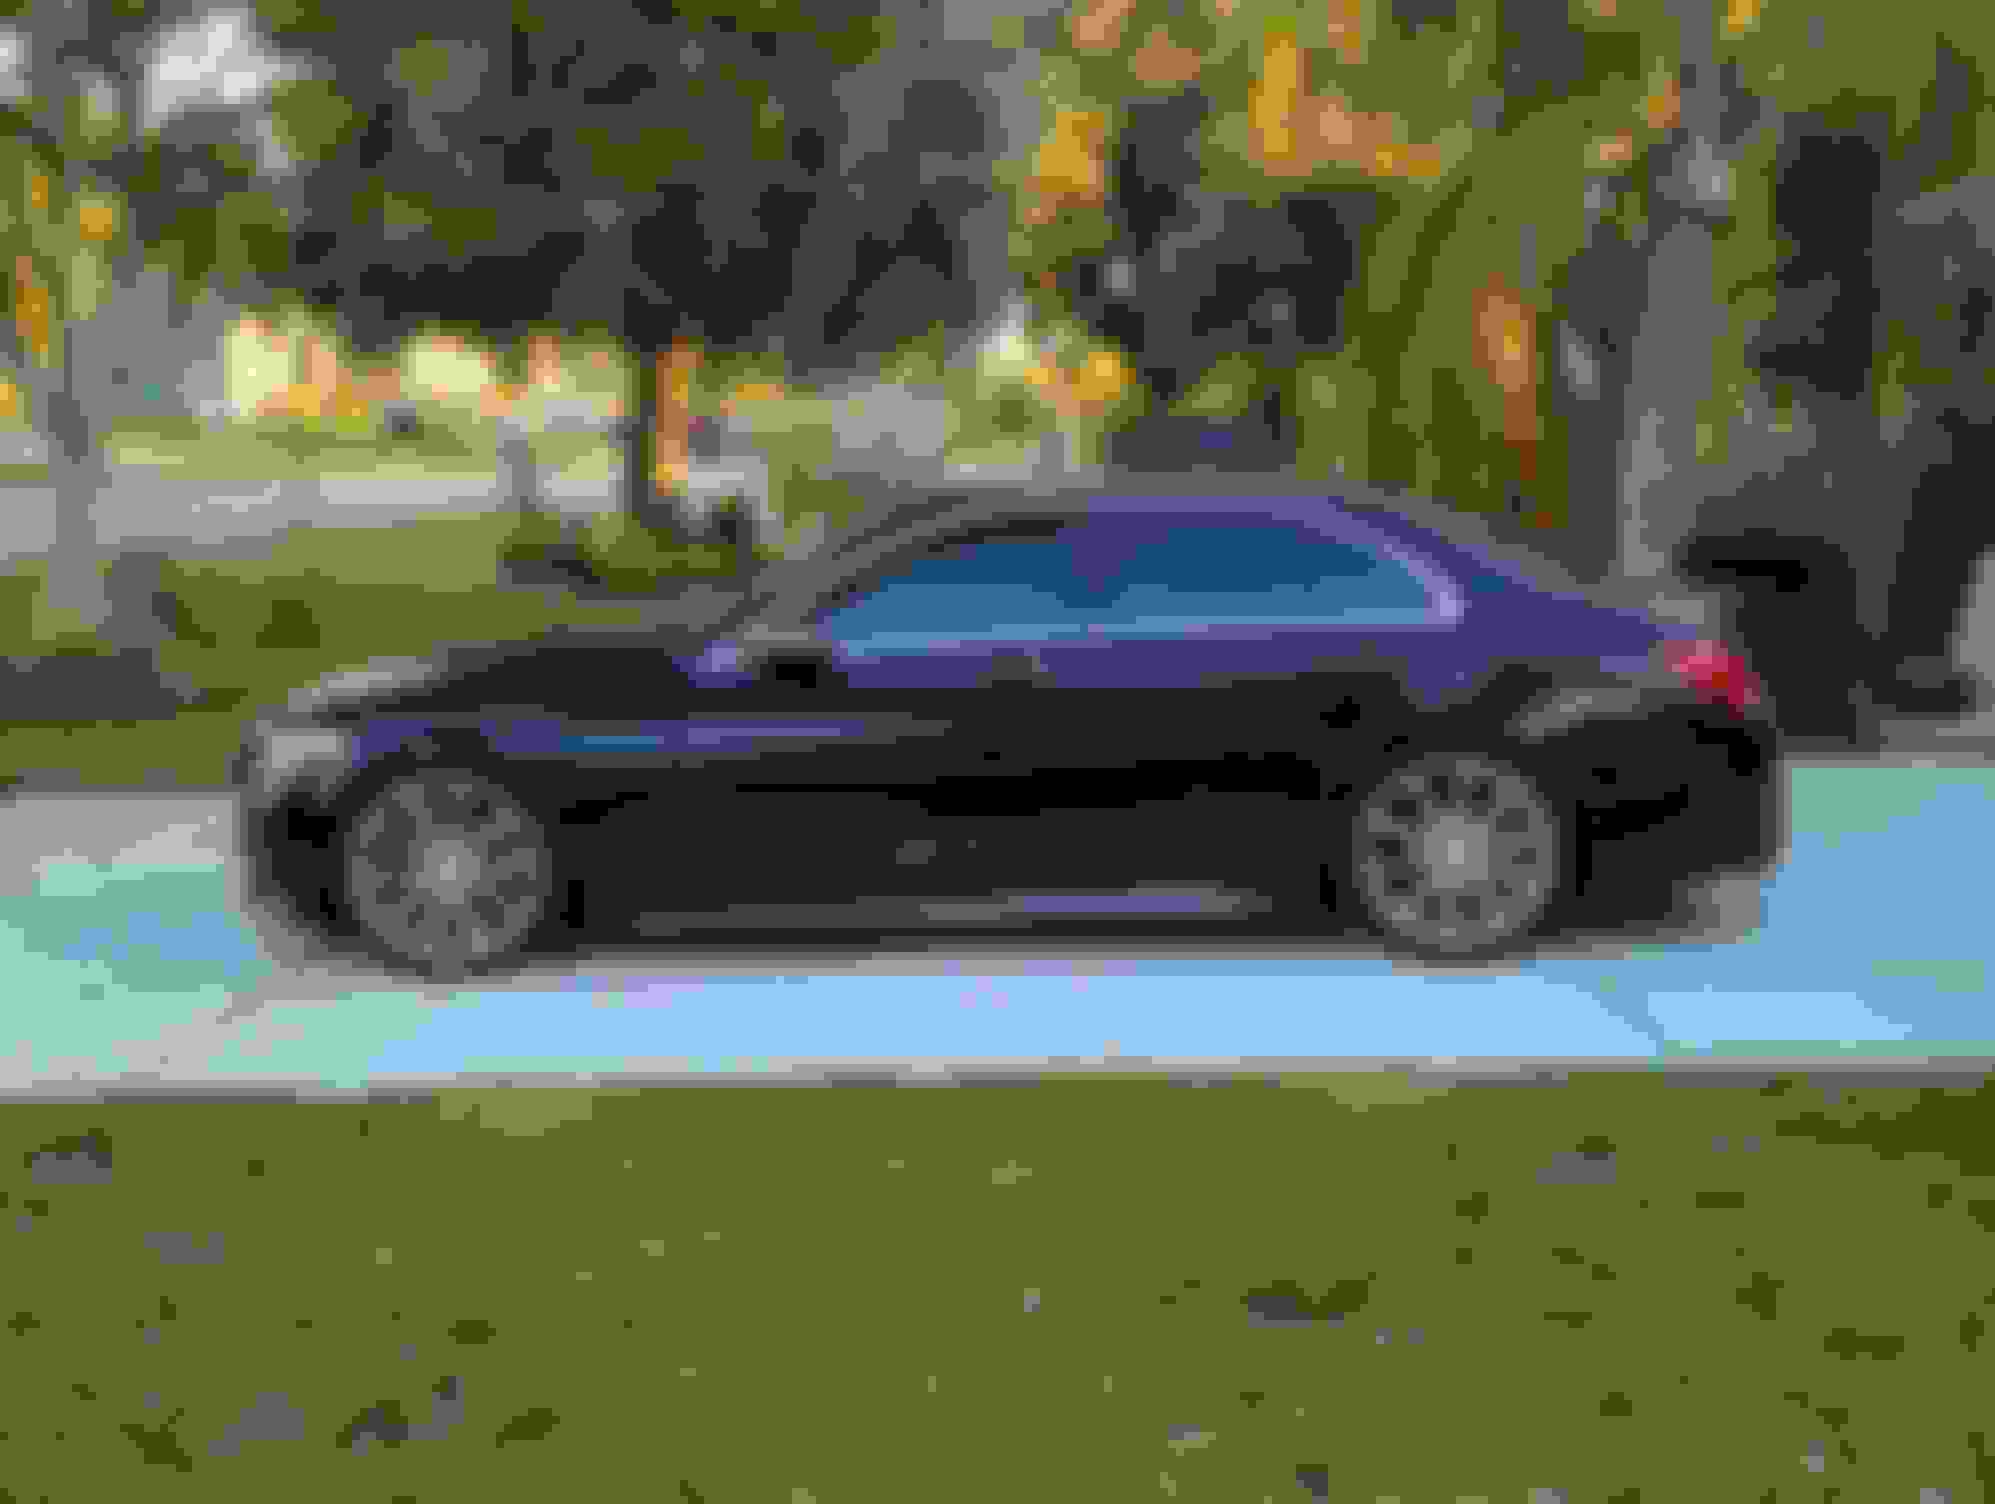
A reminder of what I’m starting with, a base/avantgarde front bumper:
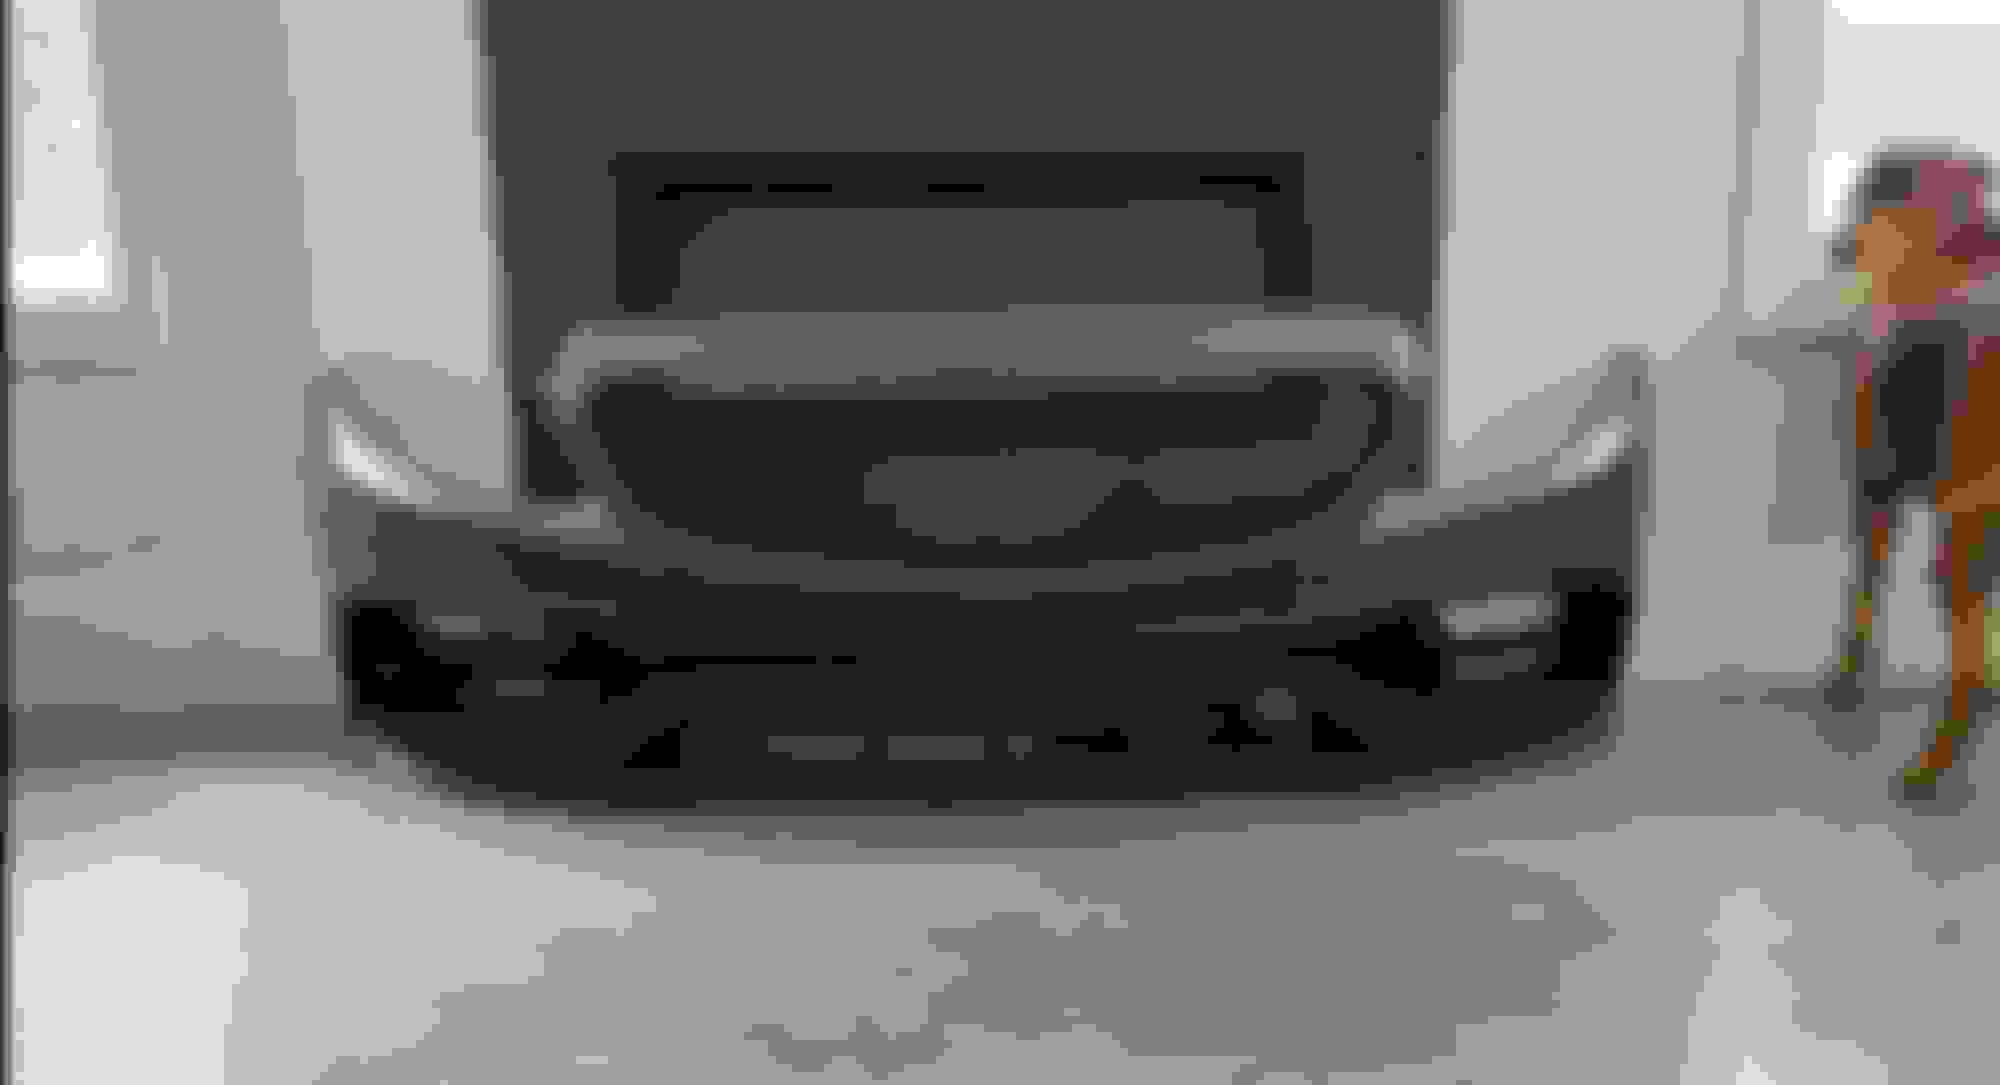
Bumper is off! Again, that was quick. :p
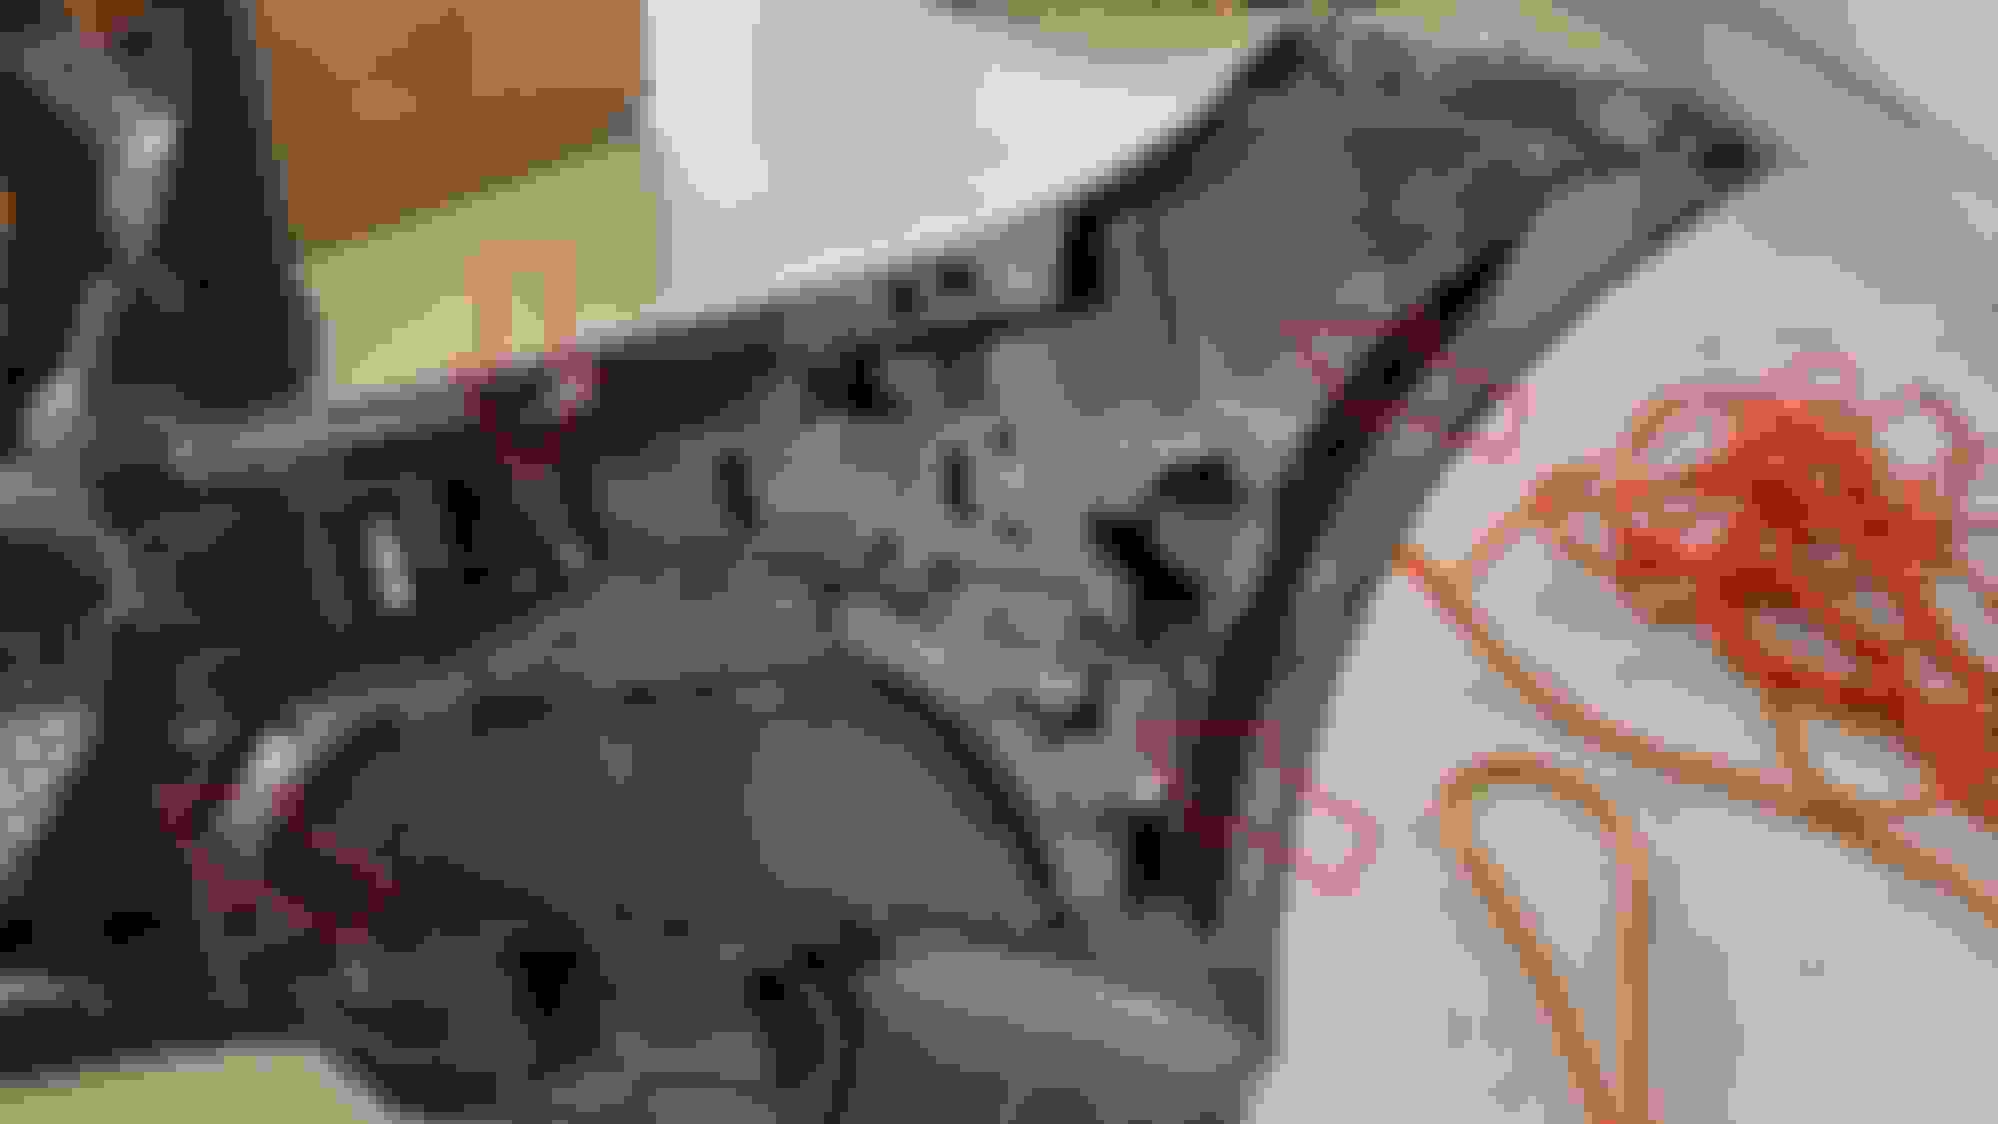
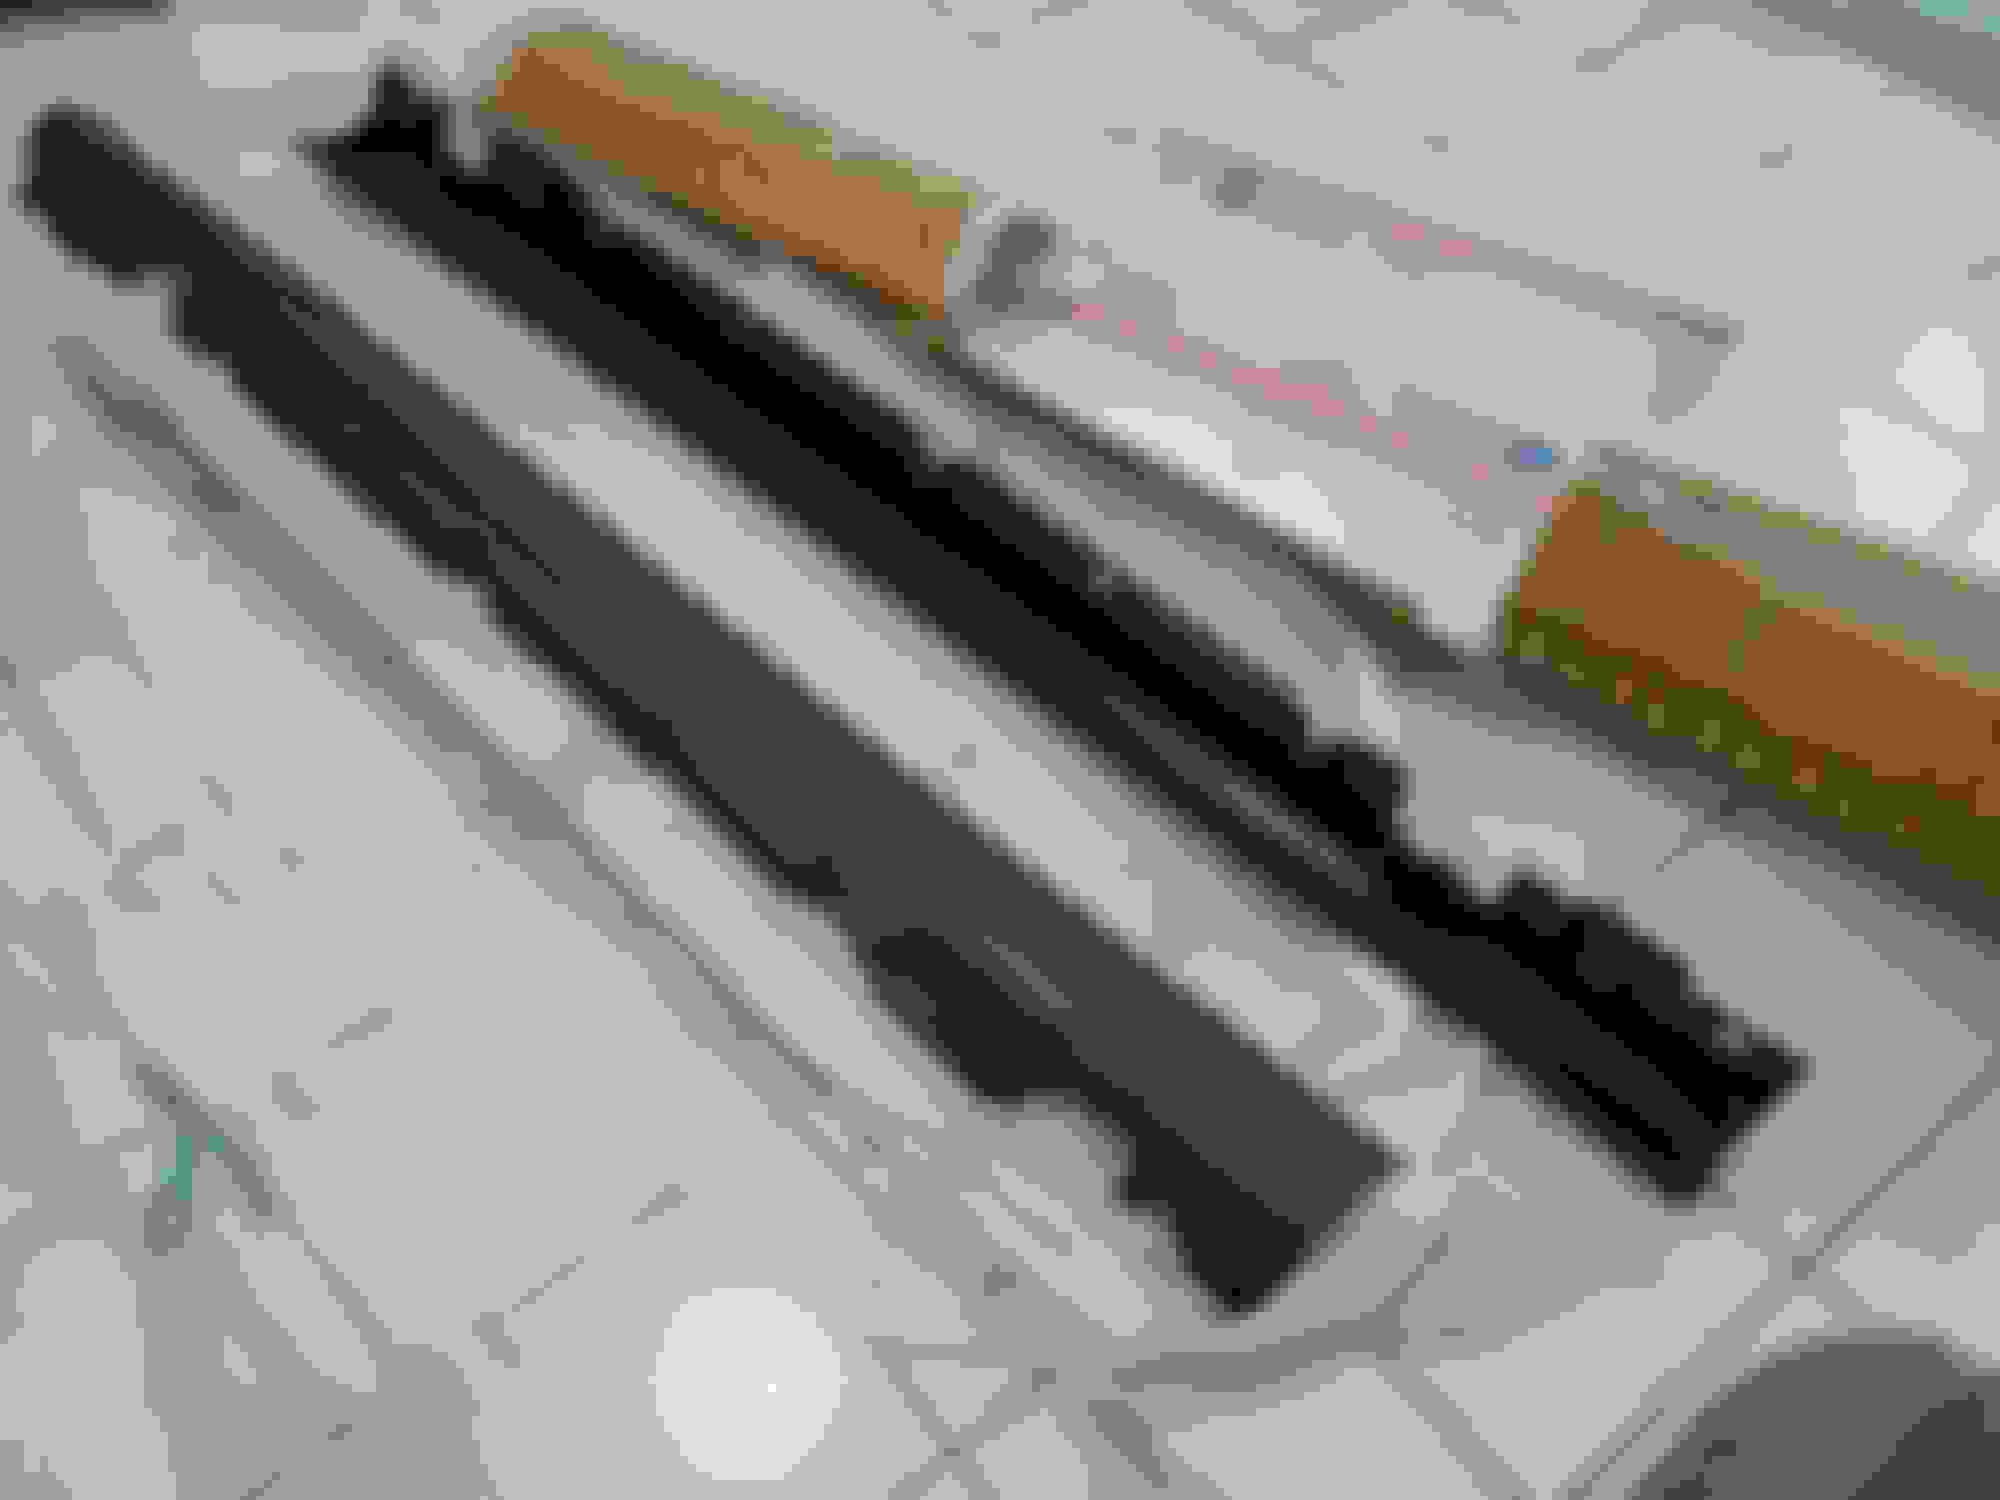
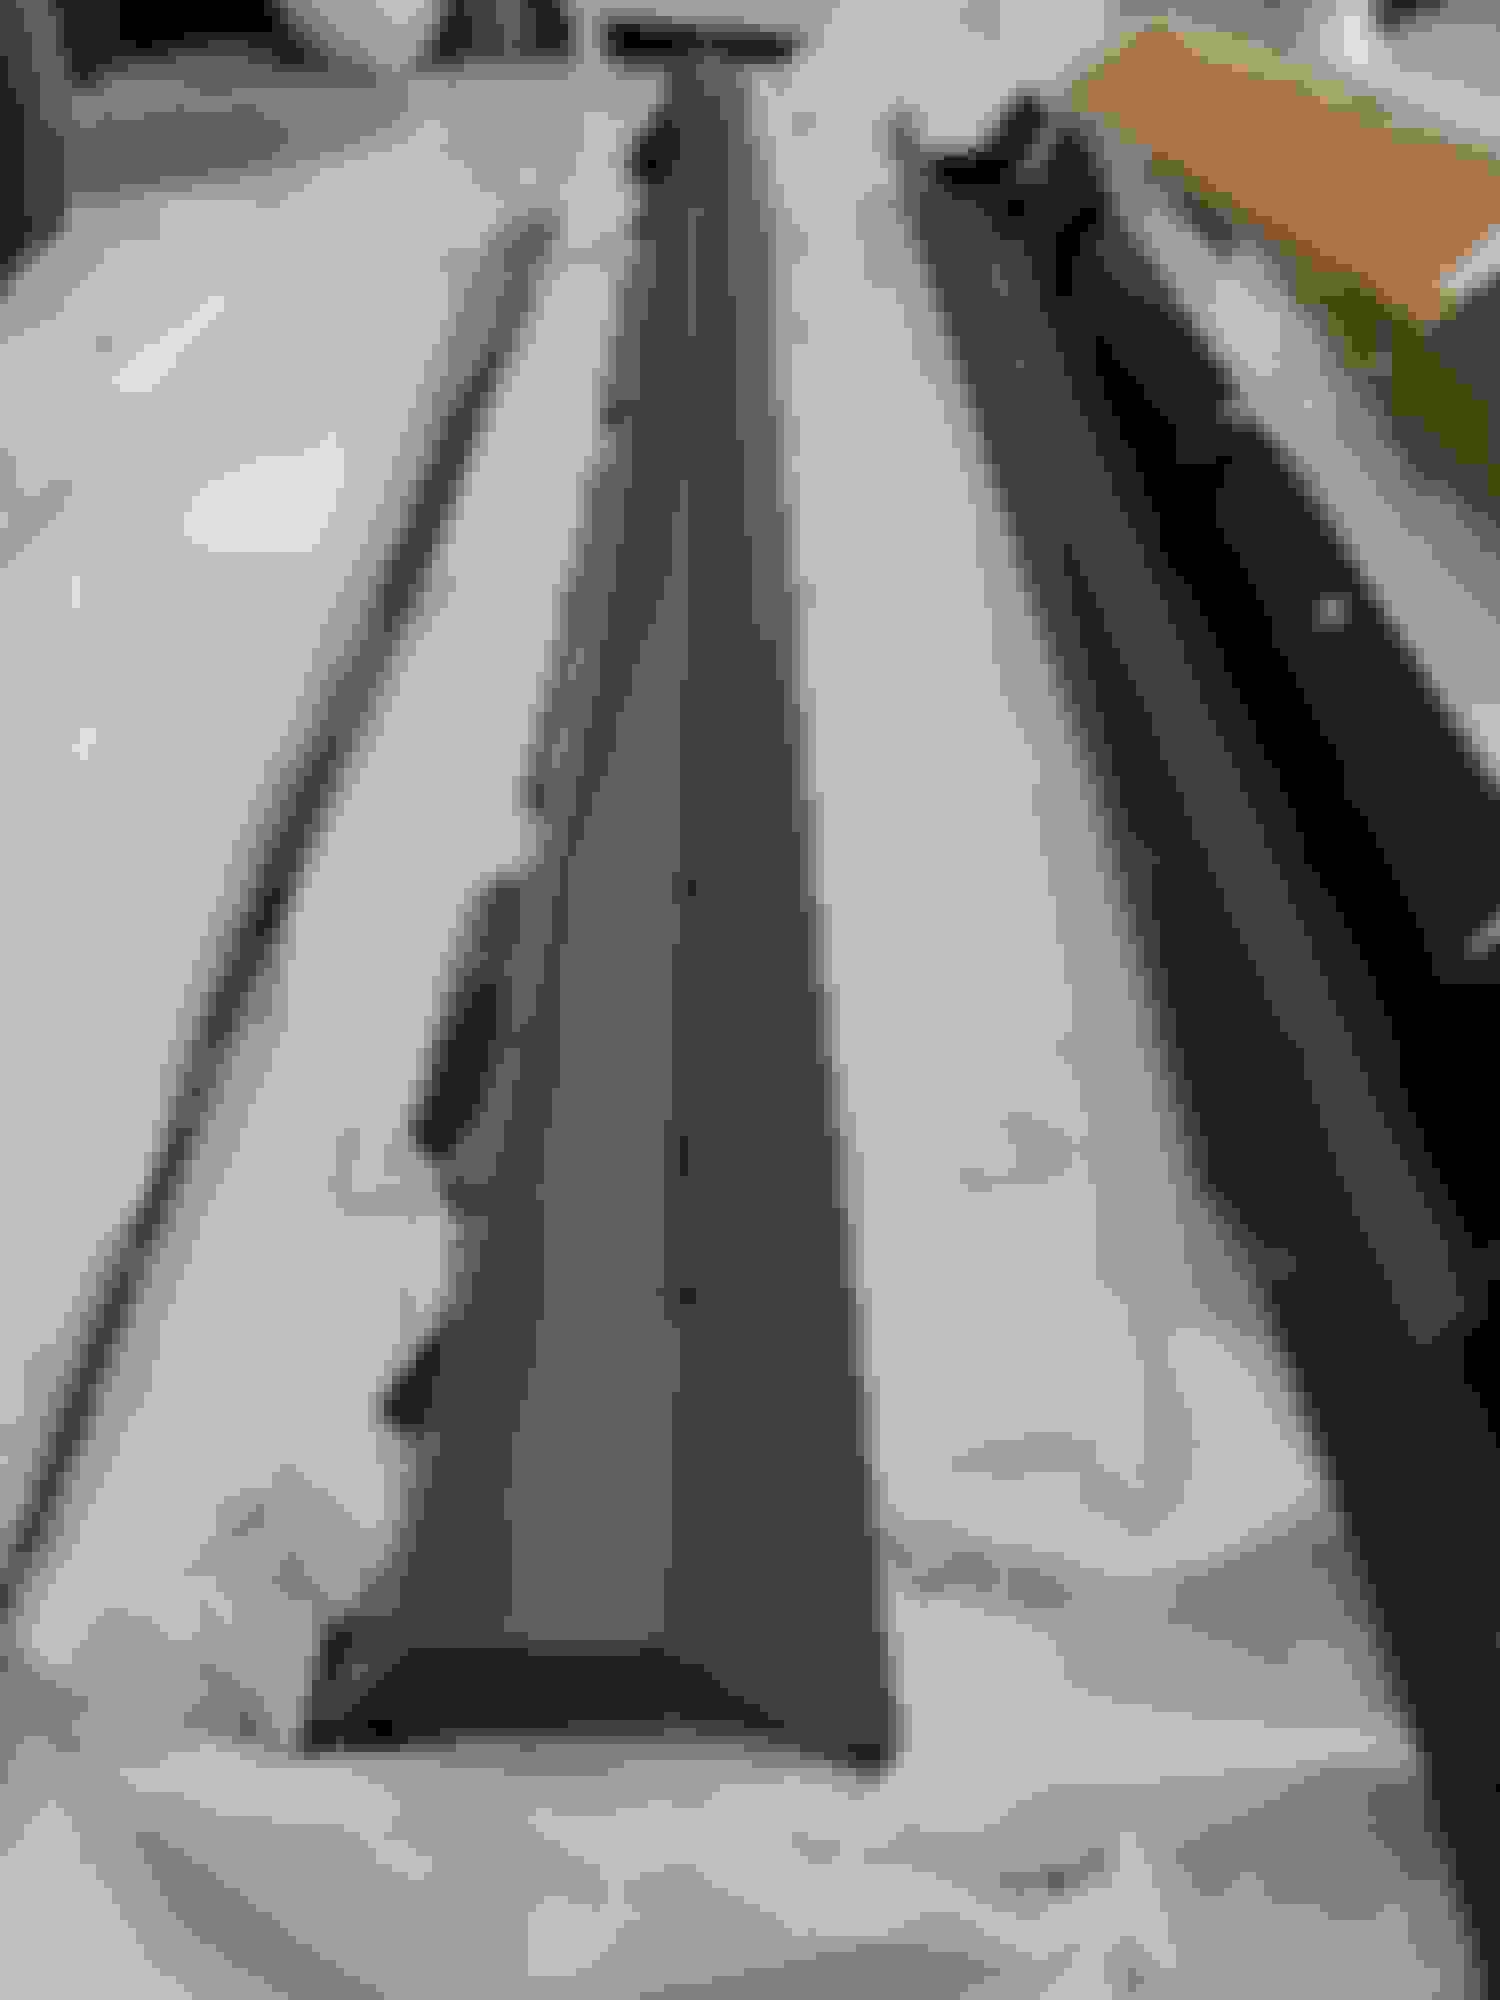
The following is the inside of the original bumper cover. As with the rear bumper, most of the plastic reinforcements and attachment points need to be transferred from the original bumper cover to the new bumper cover (pretty much everything circled in red):
Because of the different contours and shapes between both bumper covers, the original left and right “corner braces” need to be modified to fit the new bumper cover. The original right corner brace is highlighted below:
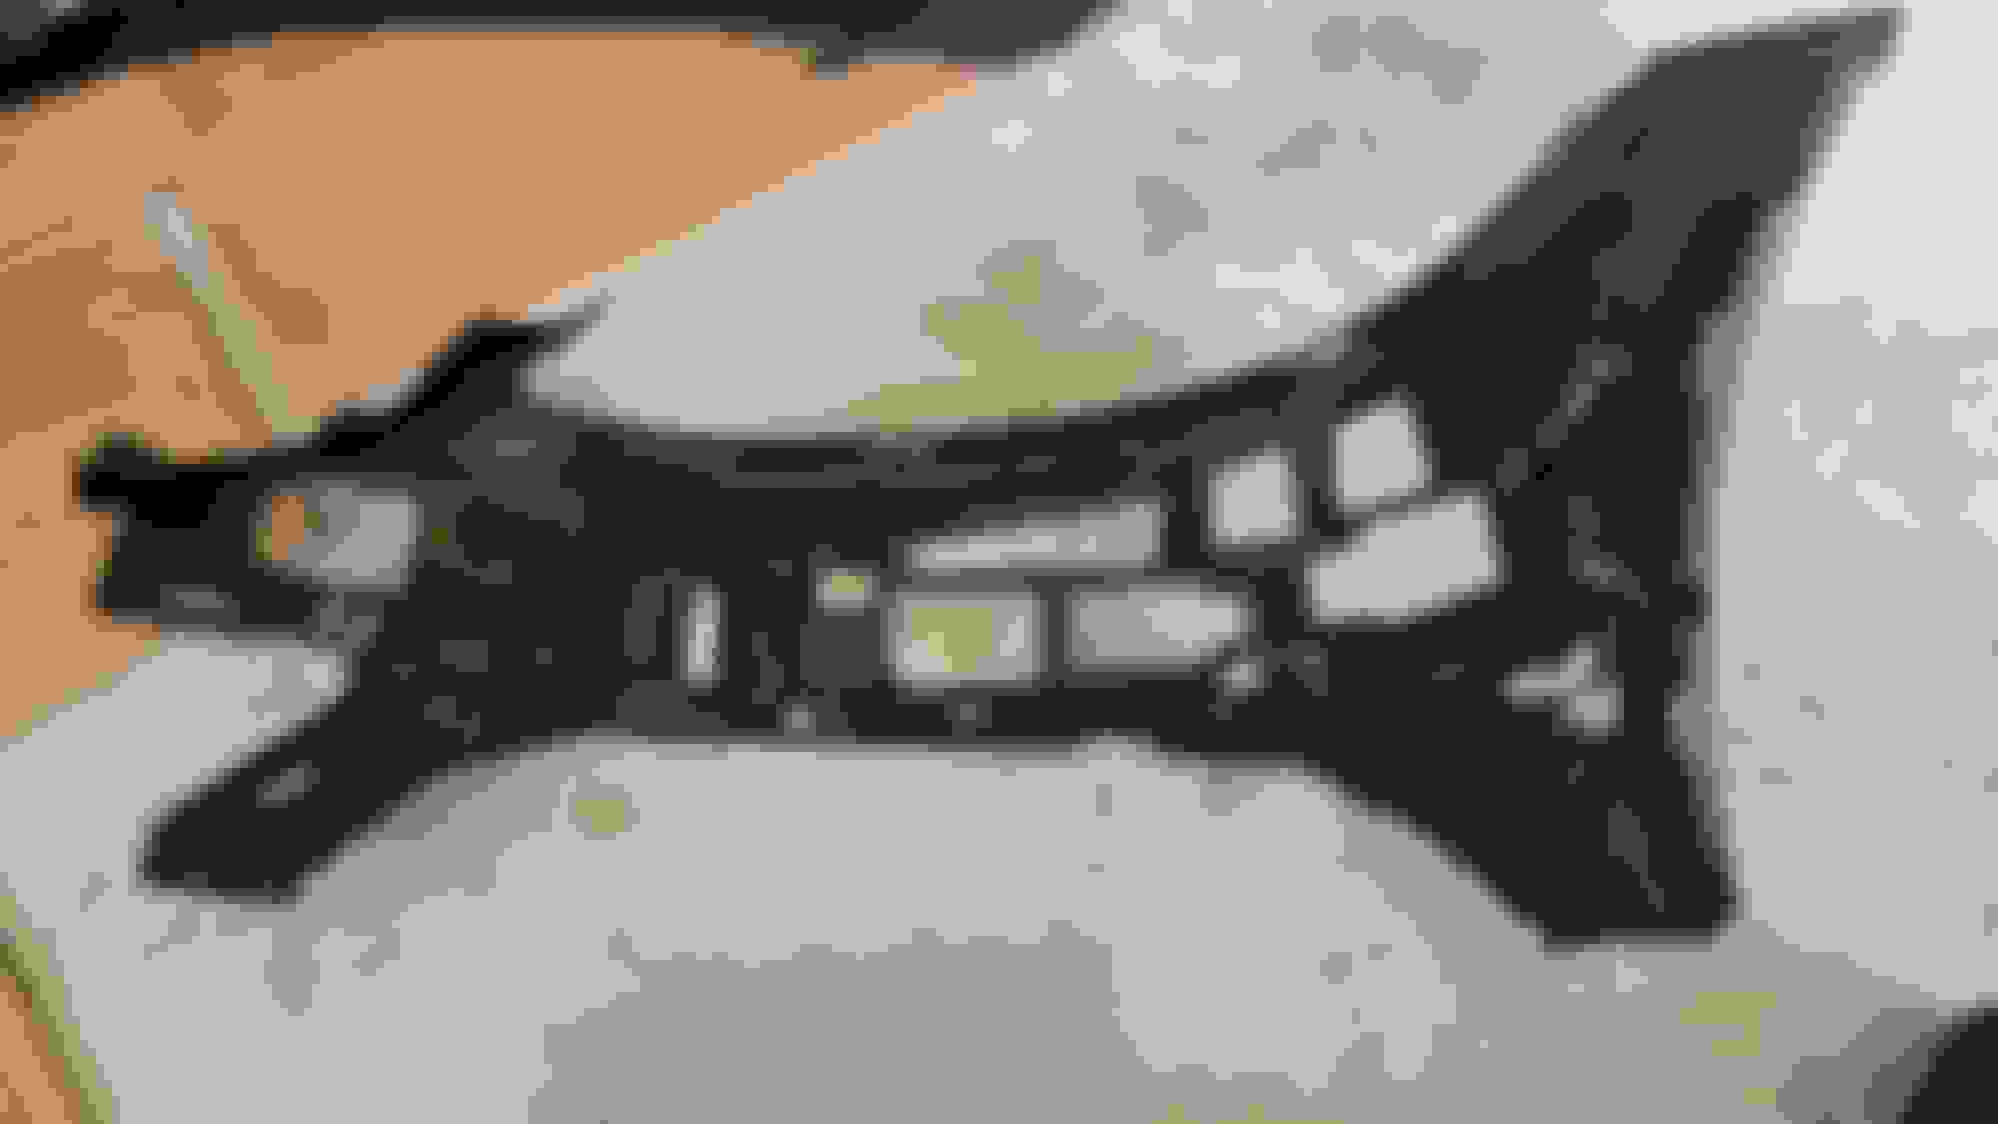
Here it is off the bumper:
Here is the modification needed for it to fit the new bumper (both sides)… cutting off the lower ear:
And here are both sides installed into the new bumper cover:
The C63-style kit came with a new foam absorber that unfortunately did not fit correctly when I went to put the bumper cover on the car, it caused the bumper cover to stick out, was too thick and not notched-out in the proper places, so I ended up installing the bumper cover without the foam in there:
I also had to modify (notch-out) both end braces to fit correctly. These were new parts that came with the bumper kit, so not sure why they didn’t fit out of the box, but hey, that’s what Dremel tools are made for.
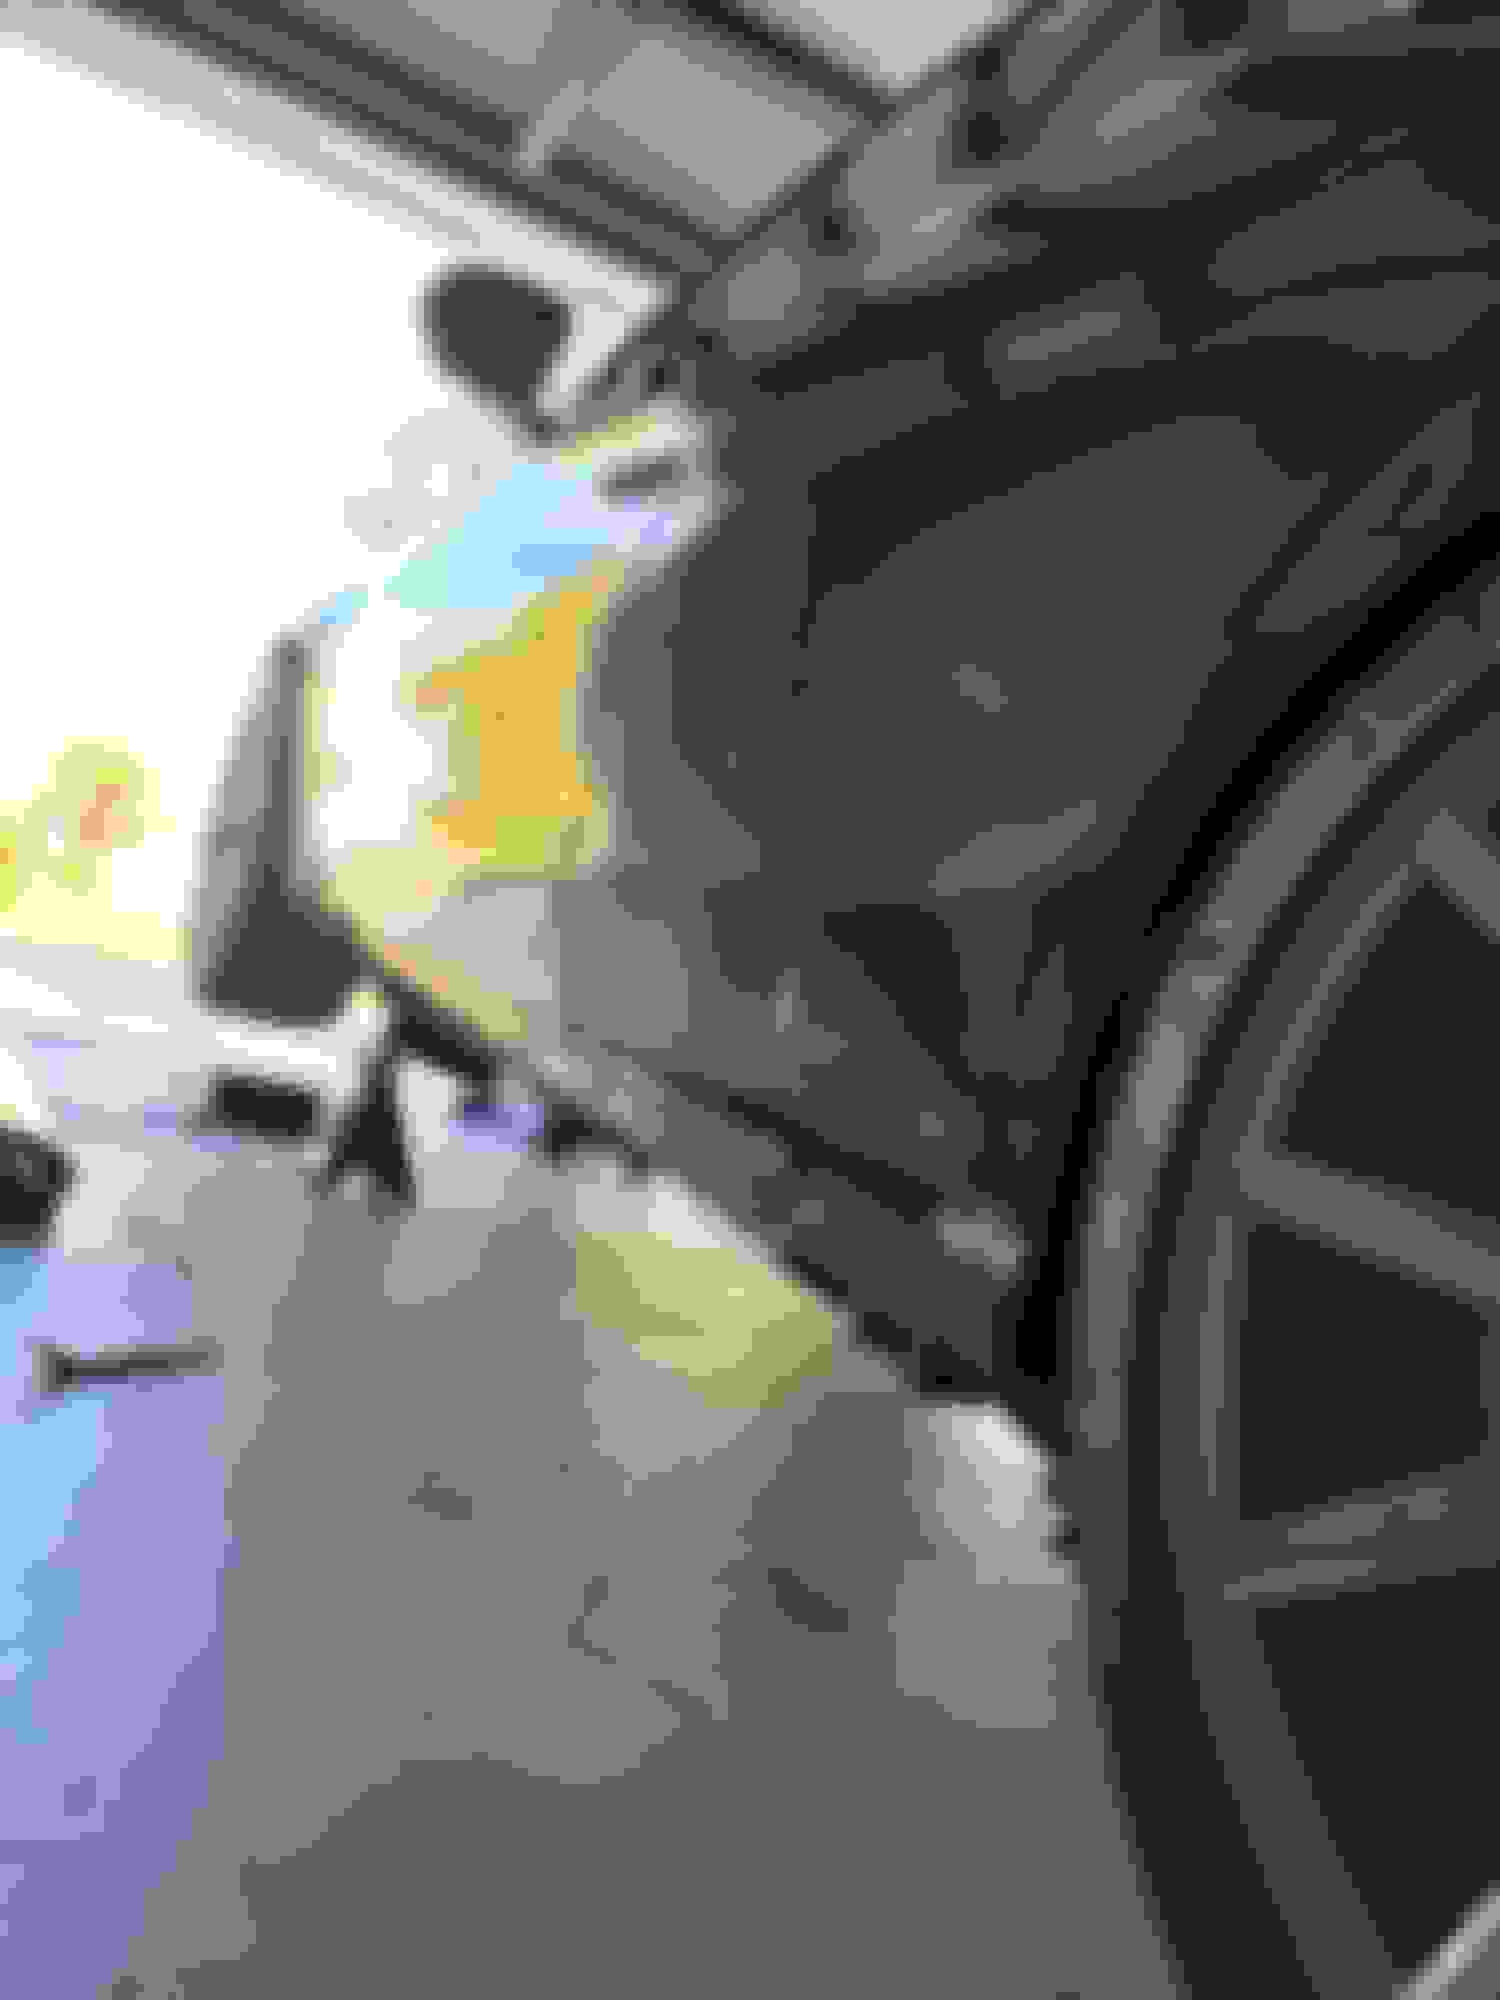
The biggest bummer for me was that the C63 facelift bumpers have a great looking set of deep air inlets (lower left and right) and this kit comes with a pair of aluminum fake radiators that go on the backside of the inlets, which I thought would look really cool… and I’m sure they would have… but unfortunately that whole setup would not fit. There is not enough depth on my car between the bumper cover and the car itself. So, unfortunately I had to remove the deep air inlets to allow the bumper cover to fit.
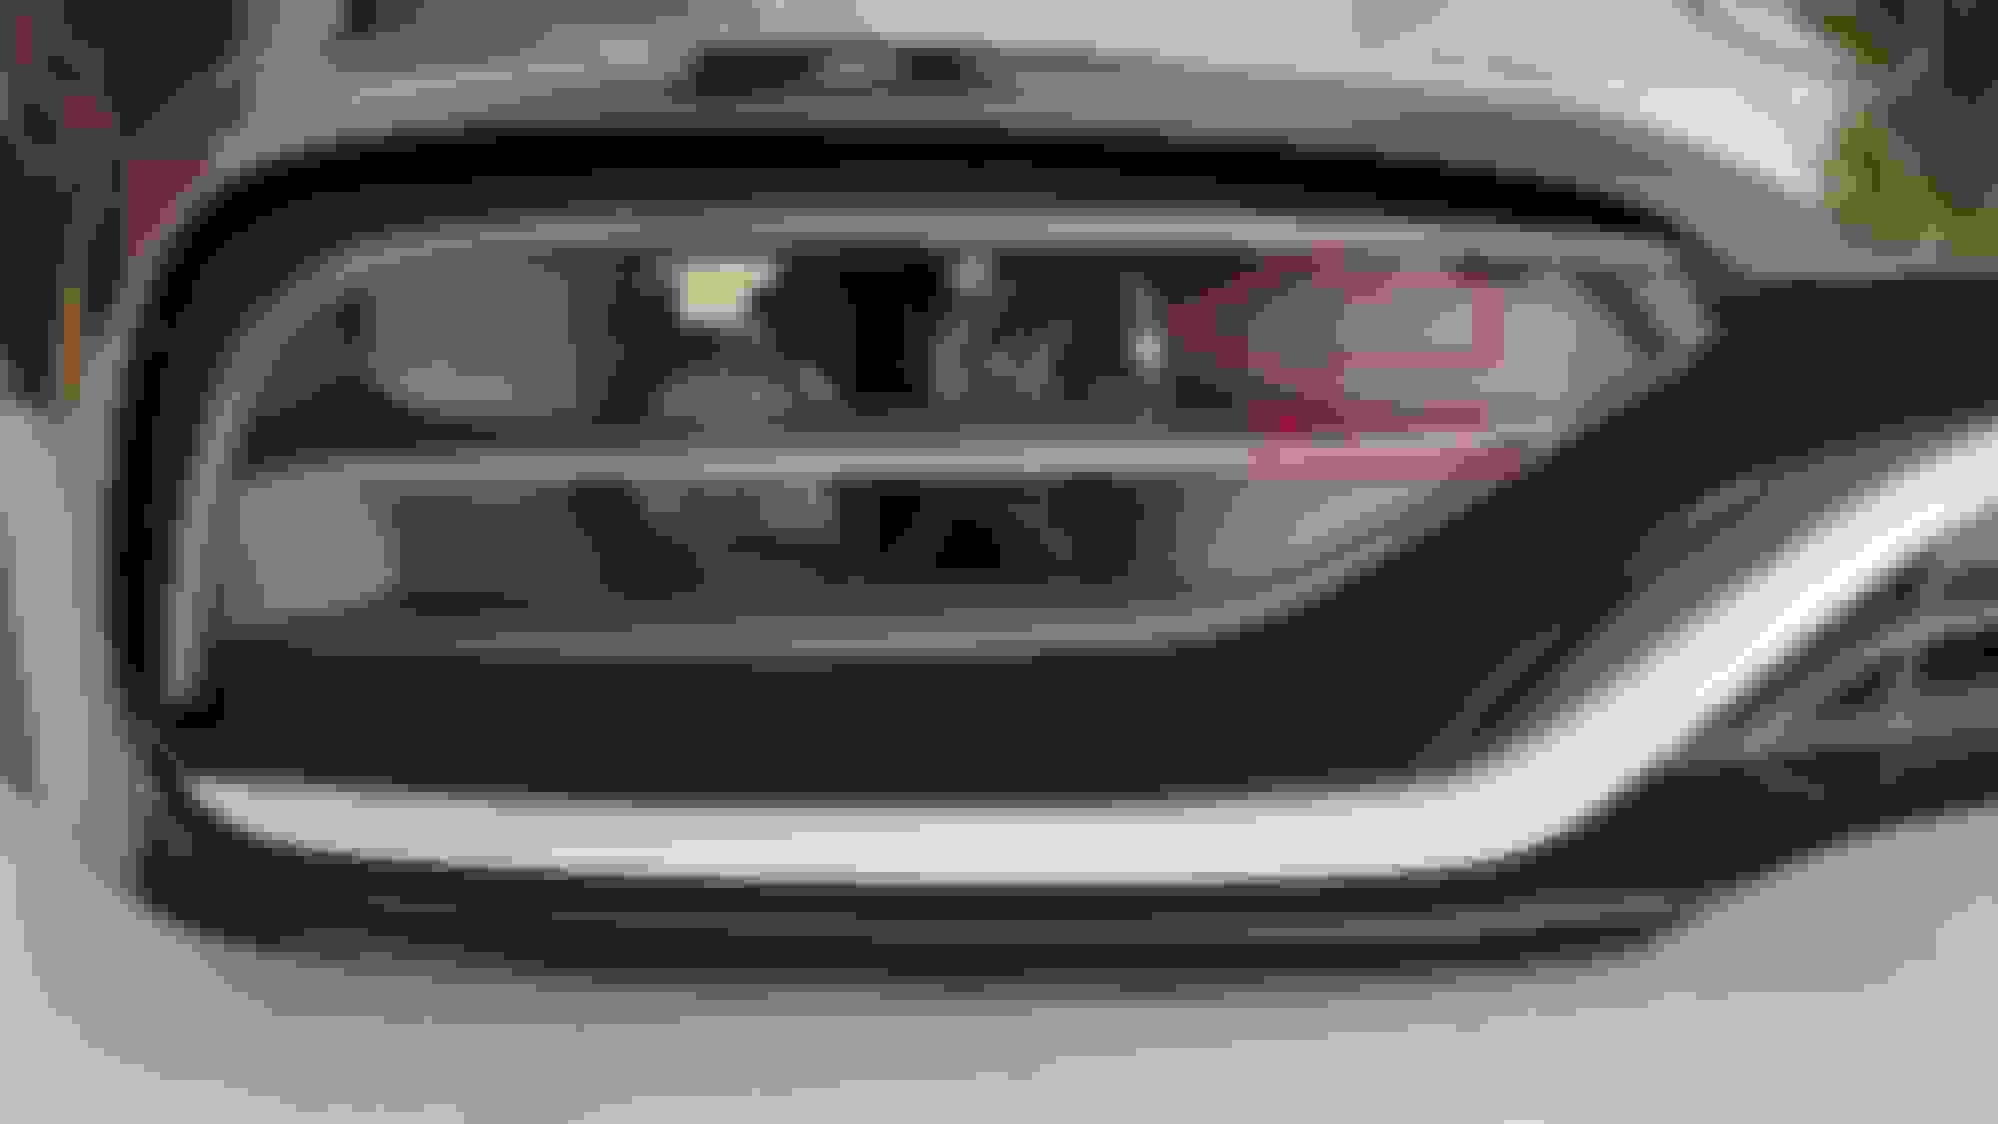
In fact, there is so little space between the bumper cover and parts of the car/chassis, even the face of the inlets that have the longitudinal fins hit components on the car and I had to cut and notch them also, so the bumper cover laid-in flat and properly aligned:
Body work to fill sensor holes, prep, primer and paint: $750
Total Cost: $1571.99
Basic Summary of Work:
Removal and reinstallation of the front bumper cover is straight-forward. Just a series of fasteners, plastic expansion rivets and dropping the underside cladding. IMO, not hard at all and it goes fairly quickly.
Even though I had some issues getting everything sorted out and modified, I would still recommend this kit. It really is a great kit and all the parts are great quality. Still a bummer I could not get the deep air inlets and grilles/radiators in there, but no regrets at all!
Notes:
As with my rocker panel covers, I paid a premium for paint work to make sure it was right. I’m sure you could save some money getting it painted at a less expensive shop.
If you plan to do this to your car, be prepared to think on-the-fly and modify things as needed.
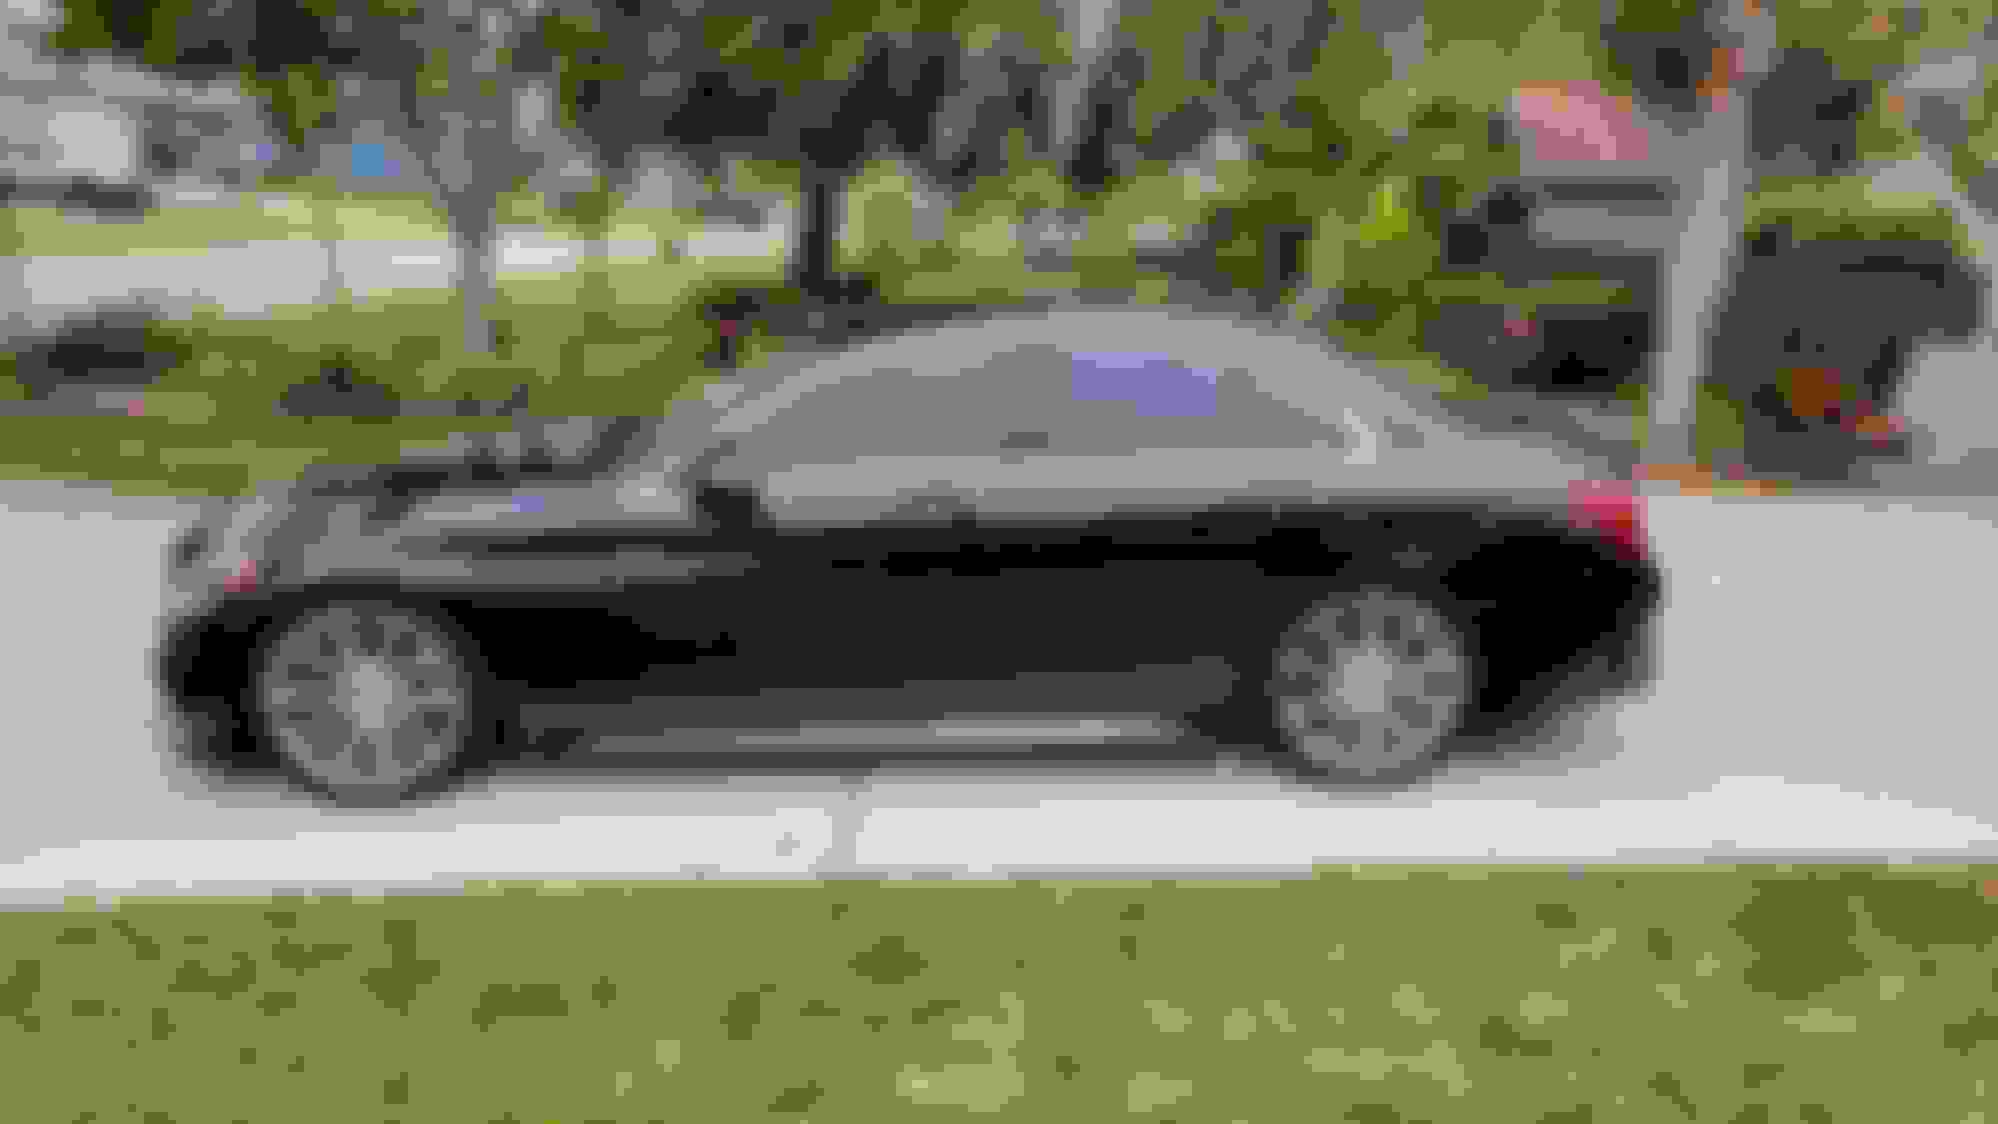
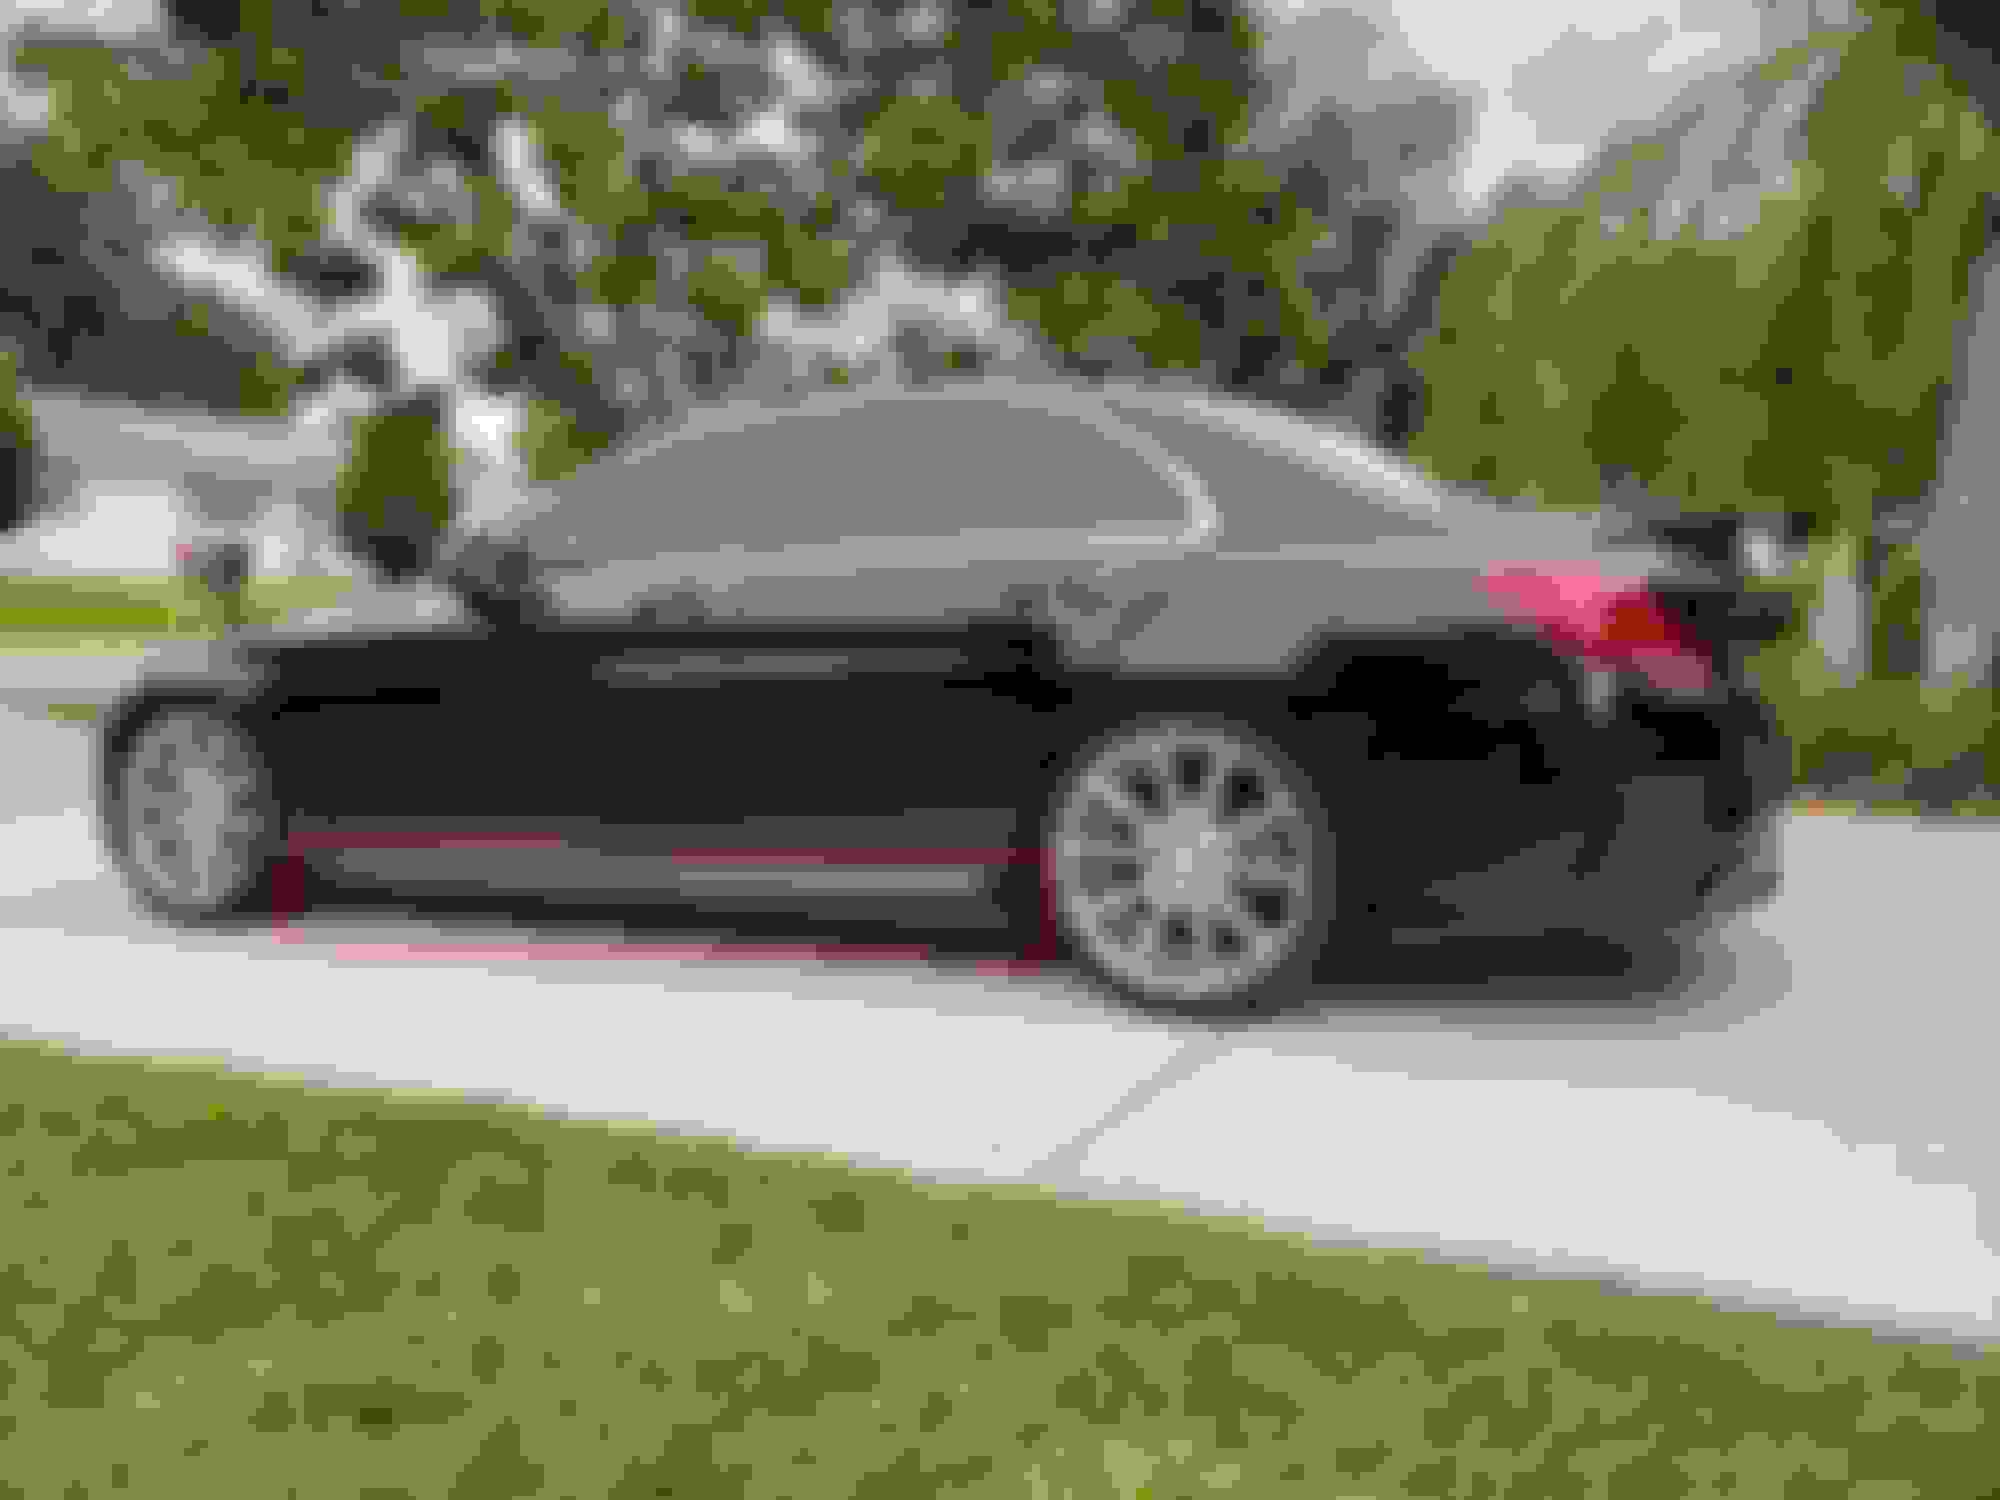
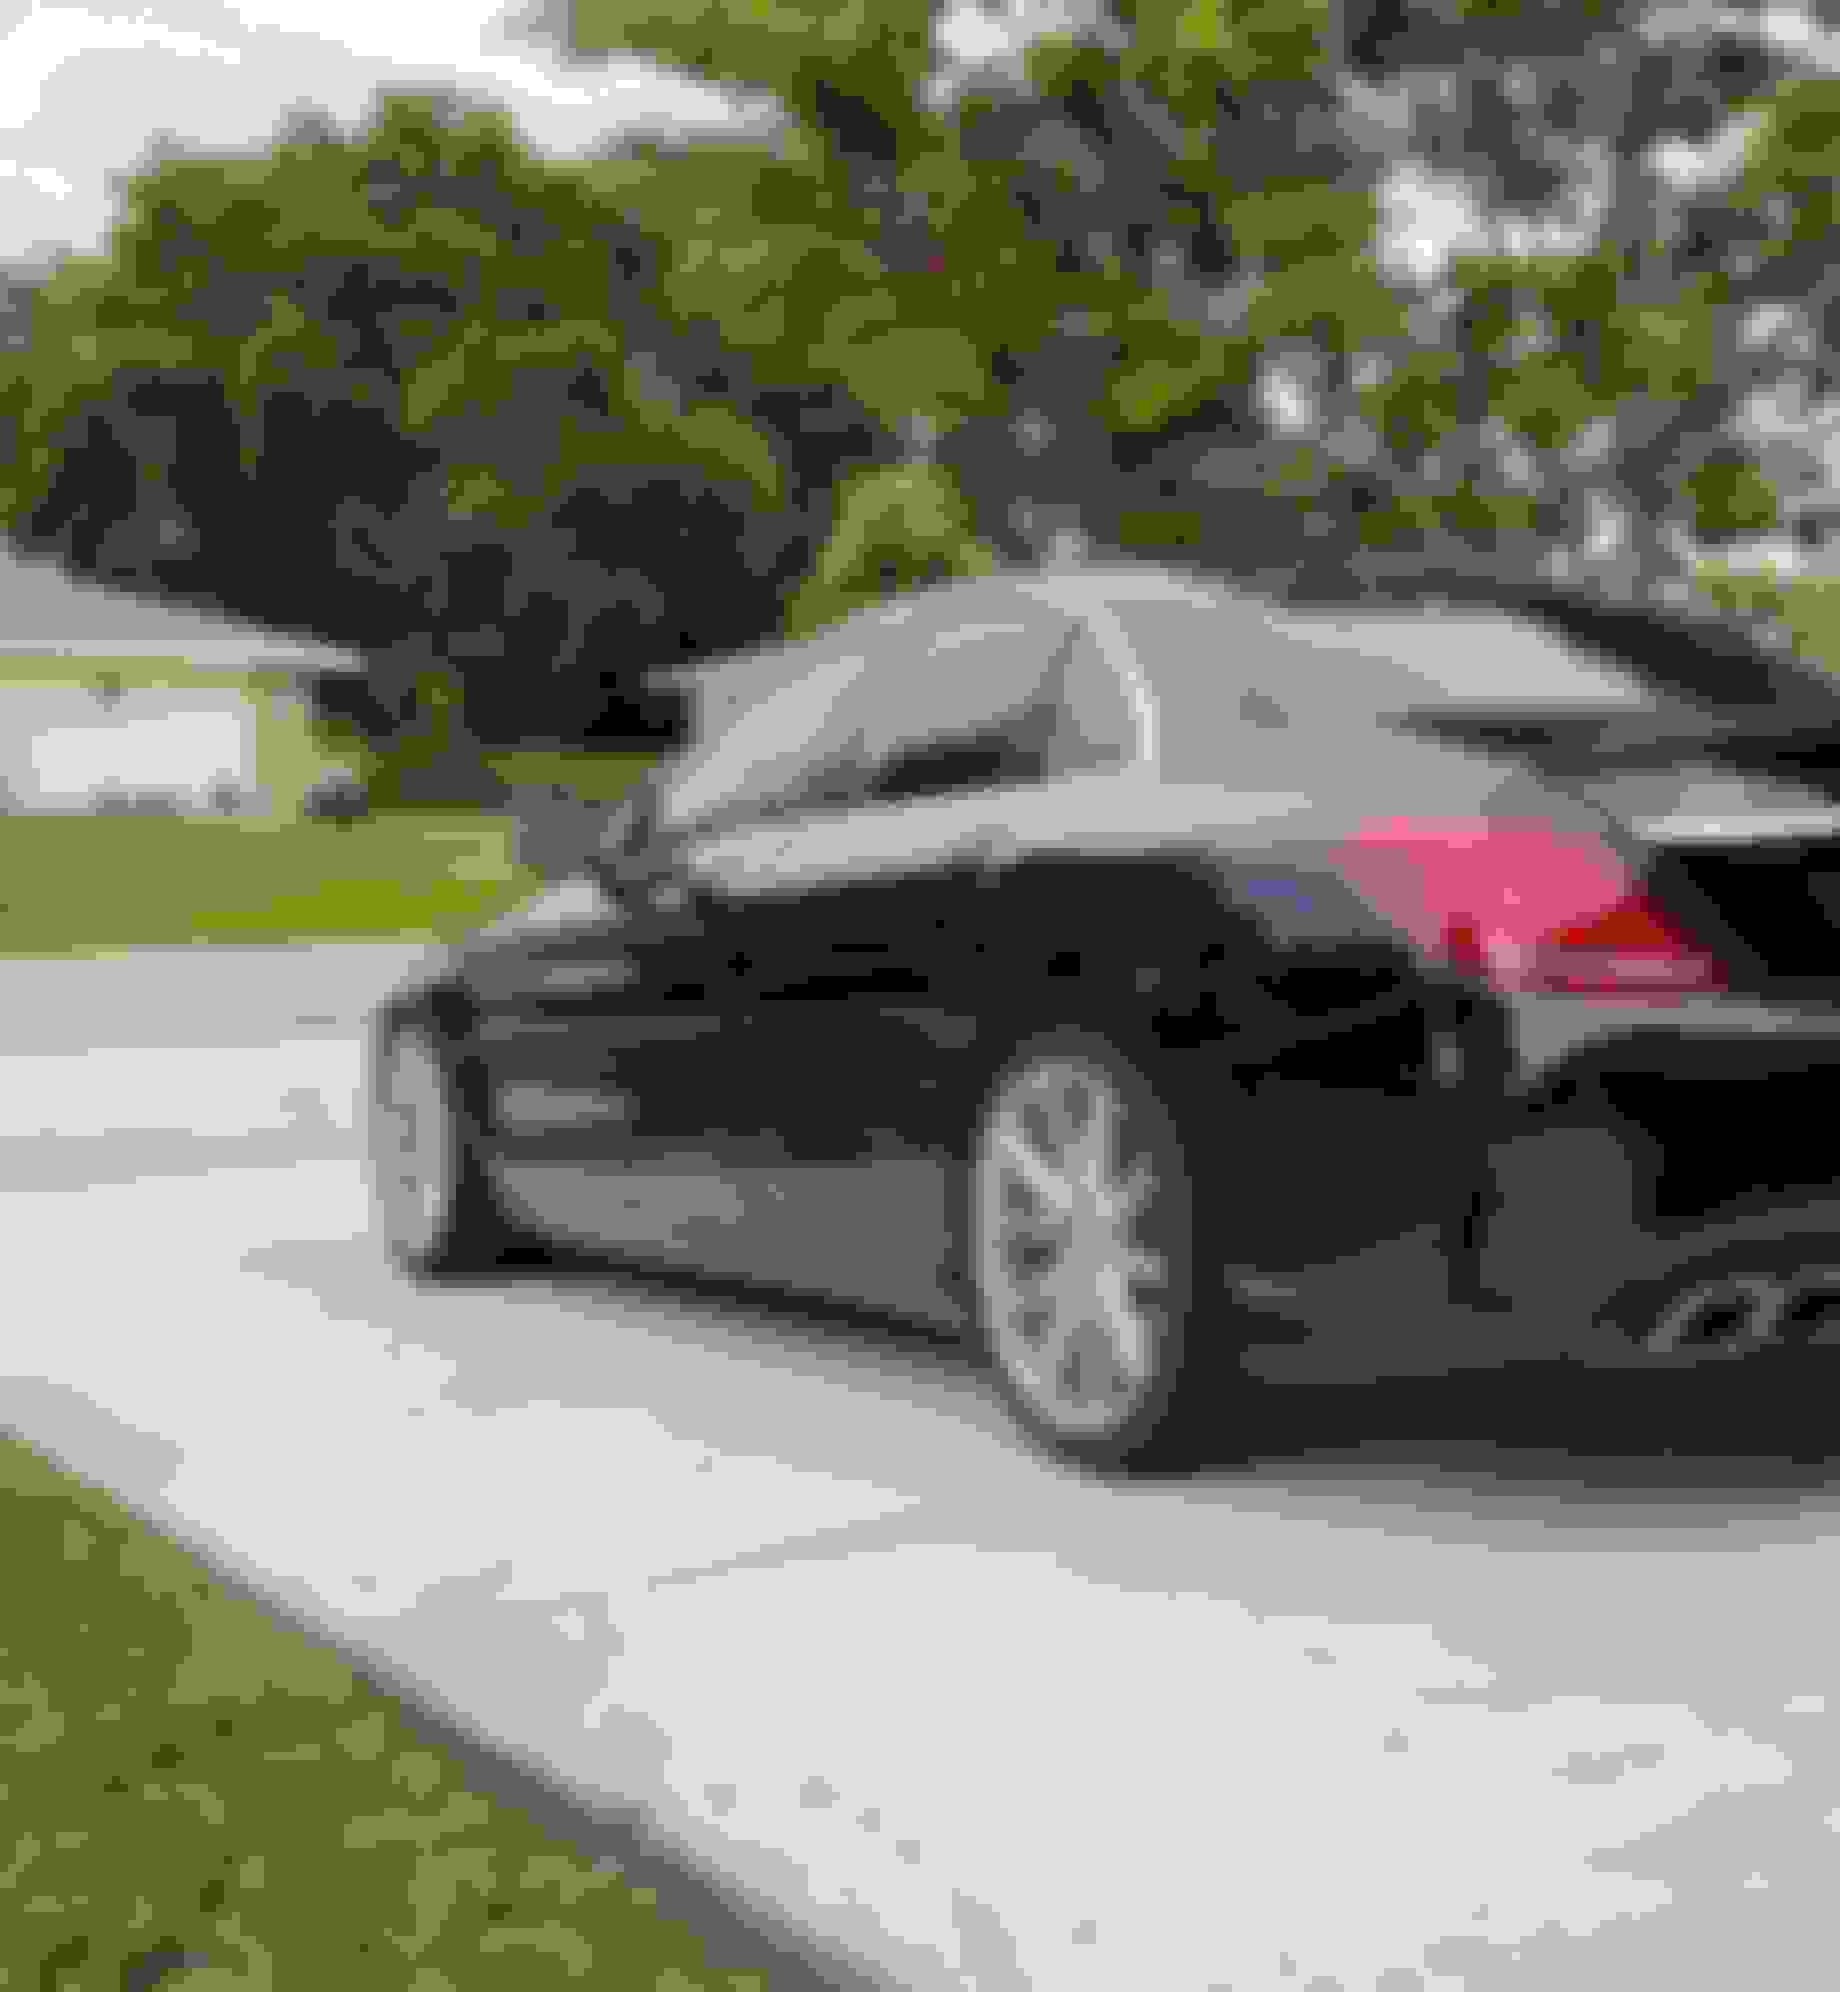
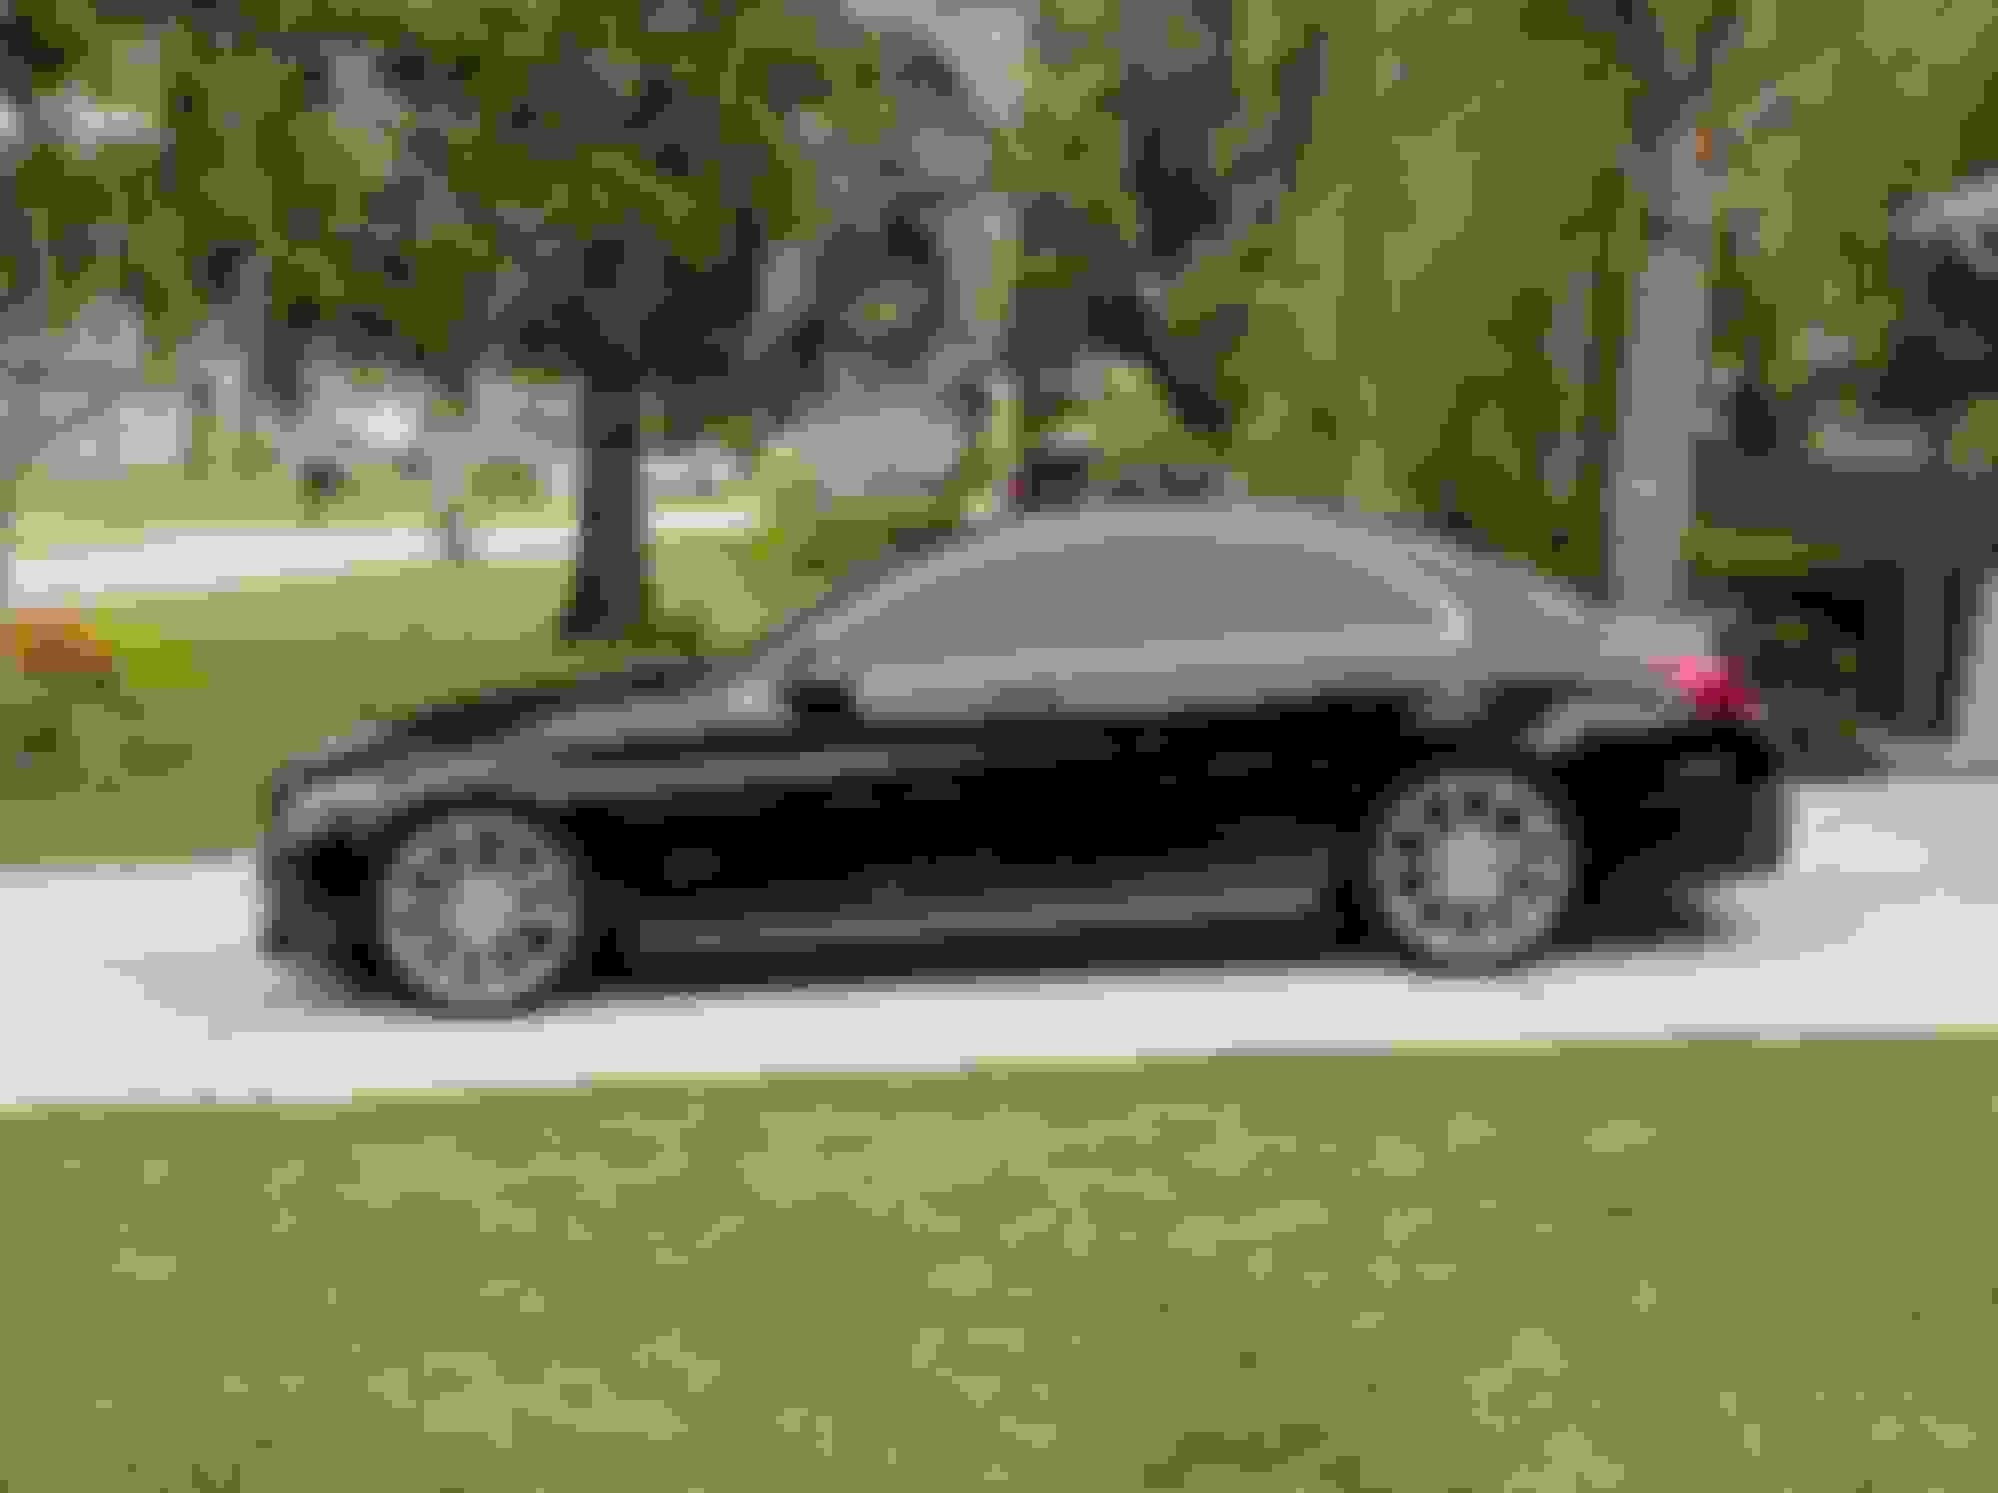
This completes the major body panel replacements and completes the C63-style look I was going for. I’m very happy with the results!
This is not the end for this car though, lol. Next up is bigger brakes (will be a slow going project) and that thread is here:
Oh, one more thing... the total I paid to convert my C300 base body styling to the facelift C63-style body styling (doing all the work myself except for paint work):
Total Project Cost: $3541.25
I think that's pretty dang good myself! I can only imagine how much this would have cost at a MB dealer!
Hi Keith66,
I wanted to share my very bad experience with RexSuper. I ordered the same diffuser as you C63 facelift. I ordered it the 13th april and received it one month later broken and with fabrication defect. I paid for the part 301 $ US and for shipping, it was supposed a fast shipping, I paid 339 $ US. And also 46 $ CAD for customs. The communication with him was very bad, he asked to return the part, so paying again 339 $ US !. You were may be lucky, but for me it's not. Paypal refund me the amount for the part, but for shipping it's a lost 447 $ CAD. I need to order a new one from another seller for sure.
It's not a complaint at all, but it's just that after a second broadcast, I'm really discouraged
Great work, wish I saw this sooner. A good chunk of similarities between my CLS and the 205. I have a build thread on here along with yt vids that maybe can assist you a bit, but it seems like you've got most of the work done. Very clean!
Hi Keith66,
I wanted to share my very bad experience with RexSuper. I ordered the same diffuser as you C63 facelift. I ordered it the 13th april and received it one month later broken and with fabrication defect. I paid for the part 301 $ US and for shipping, it was supposed a fast shipping, I paid 339 $ US. And also 46 $ CAD for customs. The communication with him was very bad, he asked to return the part, so paying again 339 $ US !. You were may be lucky, but for me it's not. Paypal refund me the amount for the part, but for shipping it's a lost 447 $ CAD. I need to order a new one from another seller for sure.
It's not a complaint at all, but it's just that after a second broadcast, I'm really discouraged
Sorry to hear of your issue azzed! My shipping took some time also, but I expected that going into it. I can't remember exactly, but it was weeks before I had mine (no fault of the vendor).
I realize it's way too late now... but given the cost to send it back and the fact that the split is on the underside that nobody will ever see or hardly notice, and it's all plastic - if it were my choice I would have superglued it back together. I would not be happy about it (same as you), but I would have repaired it myself and I probably would've been the only one who ever noticed it, just 'cause I knew it was there to begin with.
Best of luck to you in whichever direction you choose to go now. I'll look forward to seeing what you end up doing.
Great work, wish I saw this sooner. A good chunk of similarities between my CLS and the 205. I have a build thread on here along with yt vids that maybe can assist you a bit, but it seems like you've got most of the work done. Very clean!
Thanks man! I really appreciate it.
Checking out your stuff now. Wow! You've gone WAY deeper and I'm totally digging your work. Very, very nice!!!
I was thinking of changing my front bumper but didn't want to go through the process at this time but instead just purchase a lip that gives it some kind of a different look than any of the MB owners in my area.
I was thinking of changing my front bumper but didn't want to go through the process at this time but instead just purchase a lip that gives it some kind of a different look than any of the MB owners in my area.
Your car looks amazing.
Thanks dude!
Yeah, I hear ya. It can be a commitment and get pricey to go all-in. A lip/splitter I think makes a big difference and they look good on all the bumper styles. I'm like you, I always want my cars to be different than others of the same model.
Professional prep, primer, color coat and clear coat: $600
Total Cost: $876.89
Basic Summary of Work:
This was a bit more difficult than I thought, as the retaining clips hold very well and force needs to be applied in the proper direction for the cover to separate from the clips. The first one I removed took me about an hour to remove. After I understood more clearly how it is fastened and where the clips are, the second one came off in just a few minutes.
The most crucial tool for this job is a solid, thin J-hook that can be wedged into the top between the body and the cover, then pull the cover up to release it from the retaining clips one at a time. After the cover is removed, the white retaining clips need to be removed from the body of the car using pliers and pulling them straight out. The white retaining clips then need to be attached to the new cover, then everything snaps back into the empty clip slots in the body.
No additional parts were needed, I reused all the original fasteners and clips. Luckily, I only broke one clip in a non-crucial location, so I left it that way.
Notes:
I know the pictures aren�t great, but they�re all I have right now.
This can be done cheaper. I chose to get them painted at an independent shop known for top-notch work, so I paid for that. I�m sure you could get these painted for less to save some money on paint work.
Amazing transformation brother. I'm currently in the process of replacing the side rocker panels on my C300. I've been eyeing the rockers you linked; however, the seller stated that those specific rockers are only fit models with parking sensors. My model does not have said sensors � was this an issue for your installation? By the looks of it, I'm assuming you don't have sensors either, since you patched up the front bumper.
Amazing transformation brother. I'm currently in the process of replacing the side rocker panels on my C300. I've been eyeing the rockers you linked; however, the seller stated that those specific rockers are only fit models with parking sensors. My model does not have said sensors � was this an issue for your installation? By the looks of it, I'm assuming you don't have sensors either, since you patched up the front bumper.
Appreciate your help.
Thanks dude! It's been a lot of fun doing it.
Yeah, that threw me off too. I'm not sure why they state that, as I'm not aware of any difference in the Sport/AMG Rocker Panel Covers across any of the C-class sedan models. Strange. Either way, don't worry about that, they fit PERFECTLY. Uses all the original fasteners you already have, nothing else needed.
that's a great write up. I've been wanting to to the front end swap/conversion too, got all excited reading, there's even a link to the bumper !!
clicks link ....... Doesn't ship to Canada ...NOOOOOOO!!!!
lol
that's a great write up. I've been wanting to to the front end swap/conversion too, got all excited reading, there's even a link to the bumper !!
clicks link ....... Doesn't ship to Canada ...NOOOOOOO!!!!
lol
Your looks awesome good job.
Thanks man!!!
Well that sucks. I guess if you really, really, REALLY want that bumper, you could move. lol
I think you can just order the C63 front hubs so that you can just bolt on the C63 calipers.
Originally Posted by Keith66
Awesome, thank you very much for this info! This is very helpful to me. I've made the decision I'm doing this. Keeping my eyes out now for some good C43 calipers at a decent price. I'll go new for the rotors.
Beautiful car, BTW. Nice stance and looks great with the bigger brakes.
I must say, the yellow curb is triggering my OCD... watch out! LOL
that's a great write up. I've been wanting to to the front end swap/conversion too, got all excited reading, there's even a link to the bumper !!
clicks link ....... Doesn't ship to Canada ...NOOOOOOO!!!!
lol
Your looks awesome good job.
Ouch, hopefully a forwarding service might help but I am not sure about them accepting a bumper : (
How's your build coming along? i see most (if not all) of the kit is up..... time for the brakes now?
Hey dude
Yeah, all the body stuff is done and I'm super happy with the turnout.
Everything else has been on hold lately, as the last 6 months I've been spending a lot of time in Europe, going through a divorce after a 20-year marriage, and I've had to buy myself a new house. So, life has been happening, lol.
As soon as I can stop bleeding money and get some free time back, I'll be getting back at it.
I already have the front C43 and rear C63 calipers sitting in a box in my garage just waiting on me.
As posted earlier about the front bumper lower-left "air inlet/grille" opening modifications, where I had to cut-out portions of the new grille fins to make clearance for a galvanized crossmember type support... which to me, seeing that silver galvanized piece through the fins has been driving me nuts and it looks like a**:
THIS:
And it's almost like it looks worse the further you get from the car, lol. Exhibit B:
So I made a crude template using a piece of paper on the cross member and got some matte black vinyl to cover it up. This is my first time playing with vinyl but I think it came out great! I have one nasty crease on the right 1/4 but it's not like this is on the exterior of the car. It definitely works for what I intended it to do... makes it "disappear". I think I paid $6 for a 5' roll of this vinyl and it took me about 20 mins to complete. Much better IMO!
well after a whole song and dance to get it up here in Canada...... look what turned up
just wanted to say thank you for the link you posted for bumper
I put the grills in as a test fit but man they put a fight, don't think im gonna take them back out now... how did you get yours in after bumper was painted?!!
Awesome! Congrats and you're very welcome, yours looks just as good quality as I received... I had no issues with any of it.
Yeah man, they definitely go in tight (a good thing). Good luck getting them back out (lol). Mine also took a good amount of force to lock-in. I was super careful with the fresh paint and they went in without damage.
I'm looking forward to seeing it on your already beautiful car!
Mercedes SLR McLaren 722 S Is Extremely Rare Example Modified by McLaren
Slideshow: A one-of-one U.S.-spec Mercedes-Benz SLR McLaren Roadster became even rarer after a factory-backed transformation at McLaren's headquarters.