When you click on links to various merchants on this site and make a purchase, this can result in this site earning a commission. Affiliate programs and affiliations include, but are not limited to, the eBay Partner Network.
Coming together now. I have to get a picture of the hubs and half shafts in. Basically ready to install on the car, but have to plumb the tank (and make a tank). Then I can move to the front of the car (Pull the engine, replace chains, chain tensioners, etc).
Damn, great work. A four year hiatus and I wouldn’t remember I had the car, let alone how to put stuff back. I’ll never do this job but love seeing and reading about it.
Just been doing this for a long time. We all make mistakes, but at least you can fix them if you were in there making them. The diagrams on this car are not as good as my mainstay porsche, or even Chevy, who needs to make sure monkeys can work on them. It is very difficult relatively to find torques for the bolts, as well as clear instructions for certain items. And part numbers are not always clear.
Take the **** apart, replace stuff, put it back together. Add money and time.
It would have taken ages without those bushing tools. Ages. The proper tool can make any job enjoyable. Except for if you work in the sewers. I suppose that always sucks.
Needed some discussion on best course on the rear tank lines and bigger fuel line.
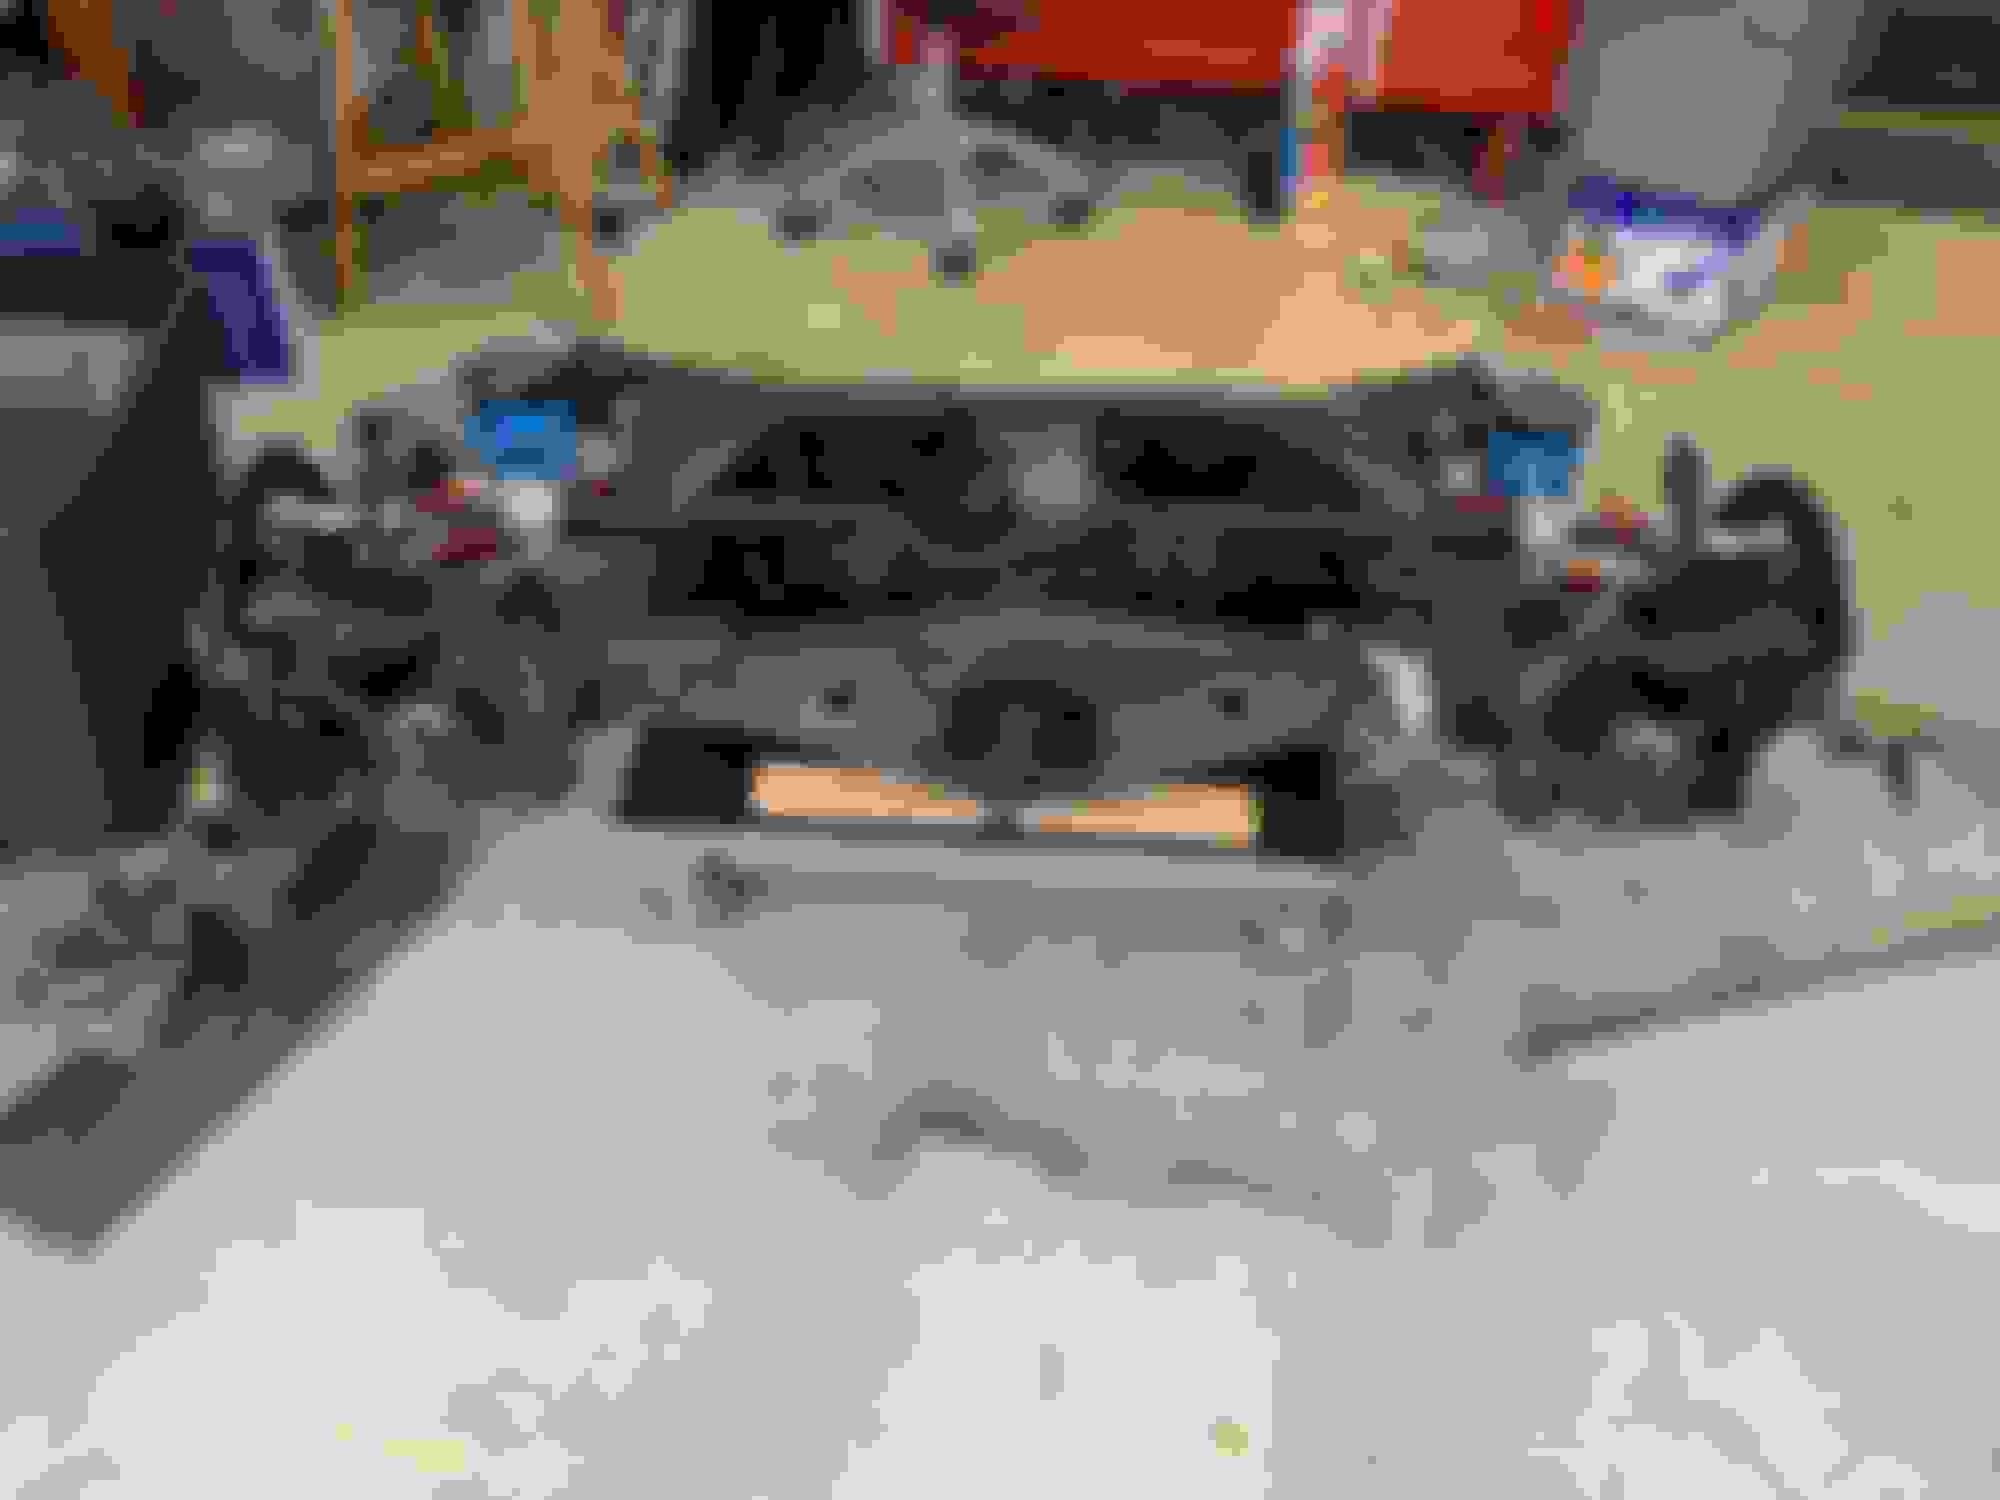
Im going to post some pics and I�d like to hear best practices for where to route the rear tank lines as well as who has done what for a larger fuel line routed safely.
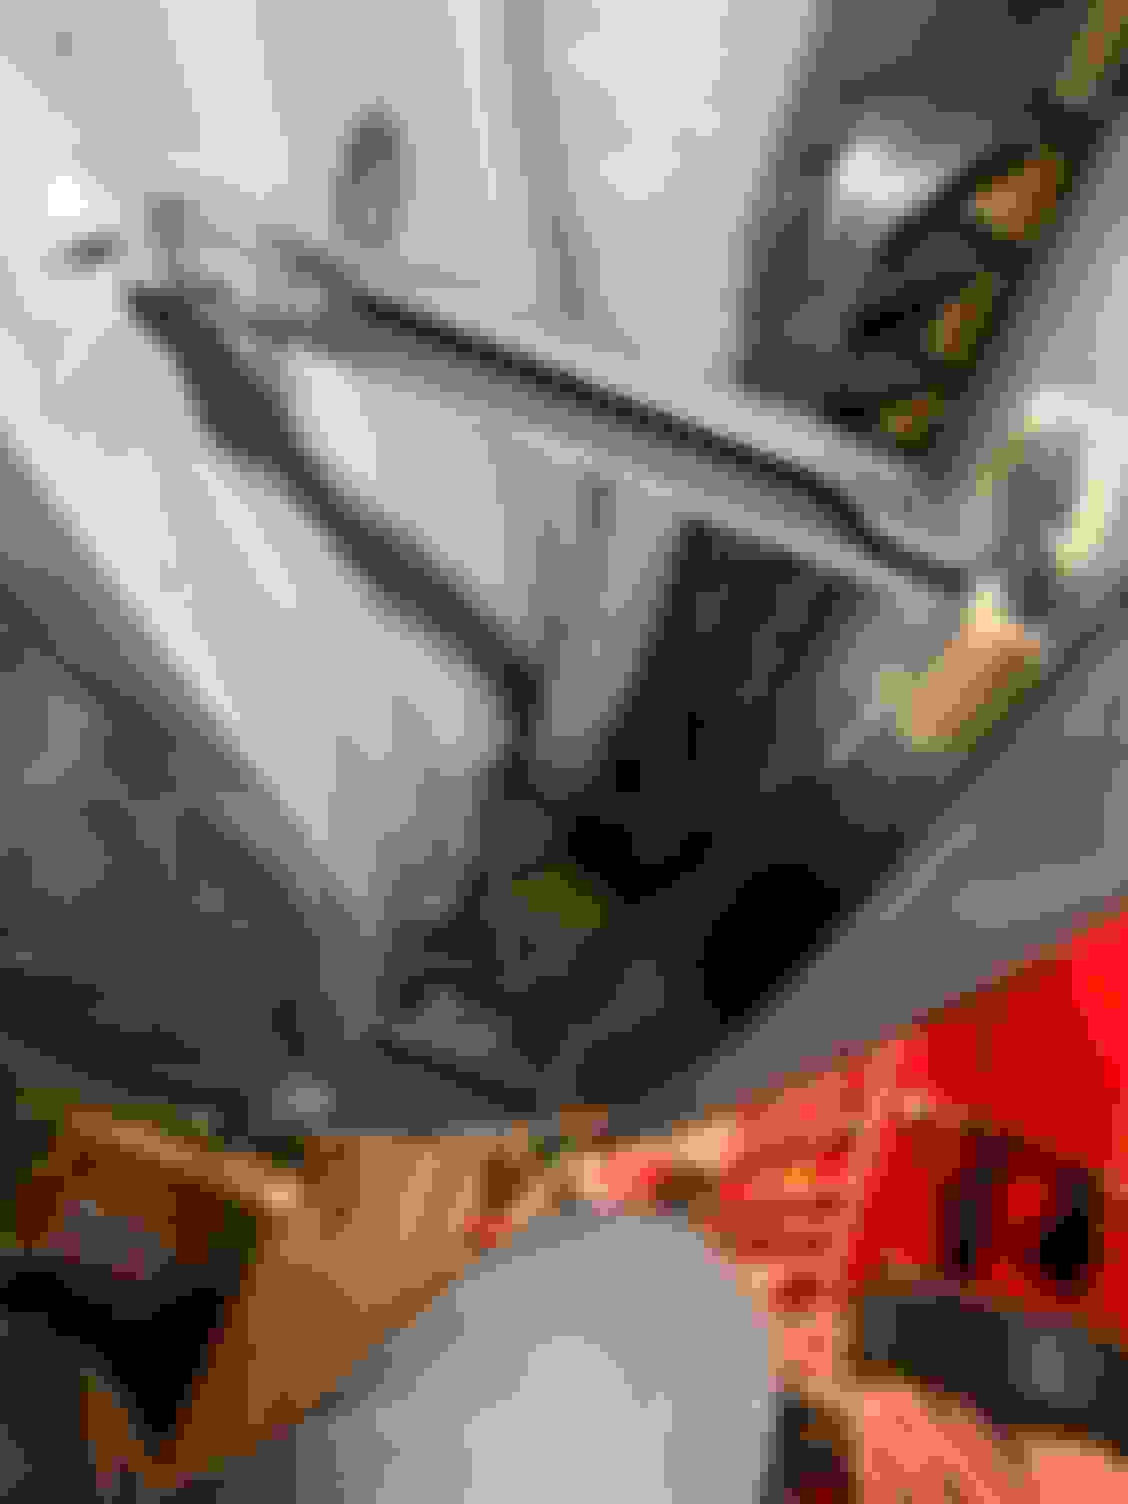
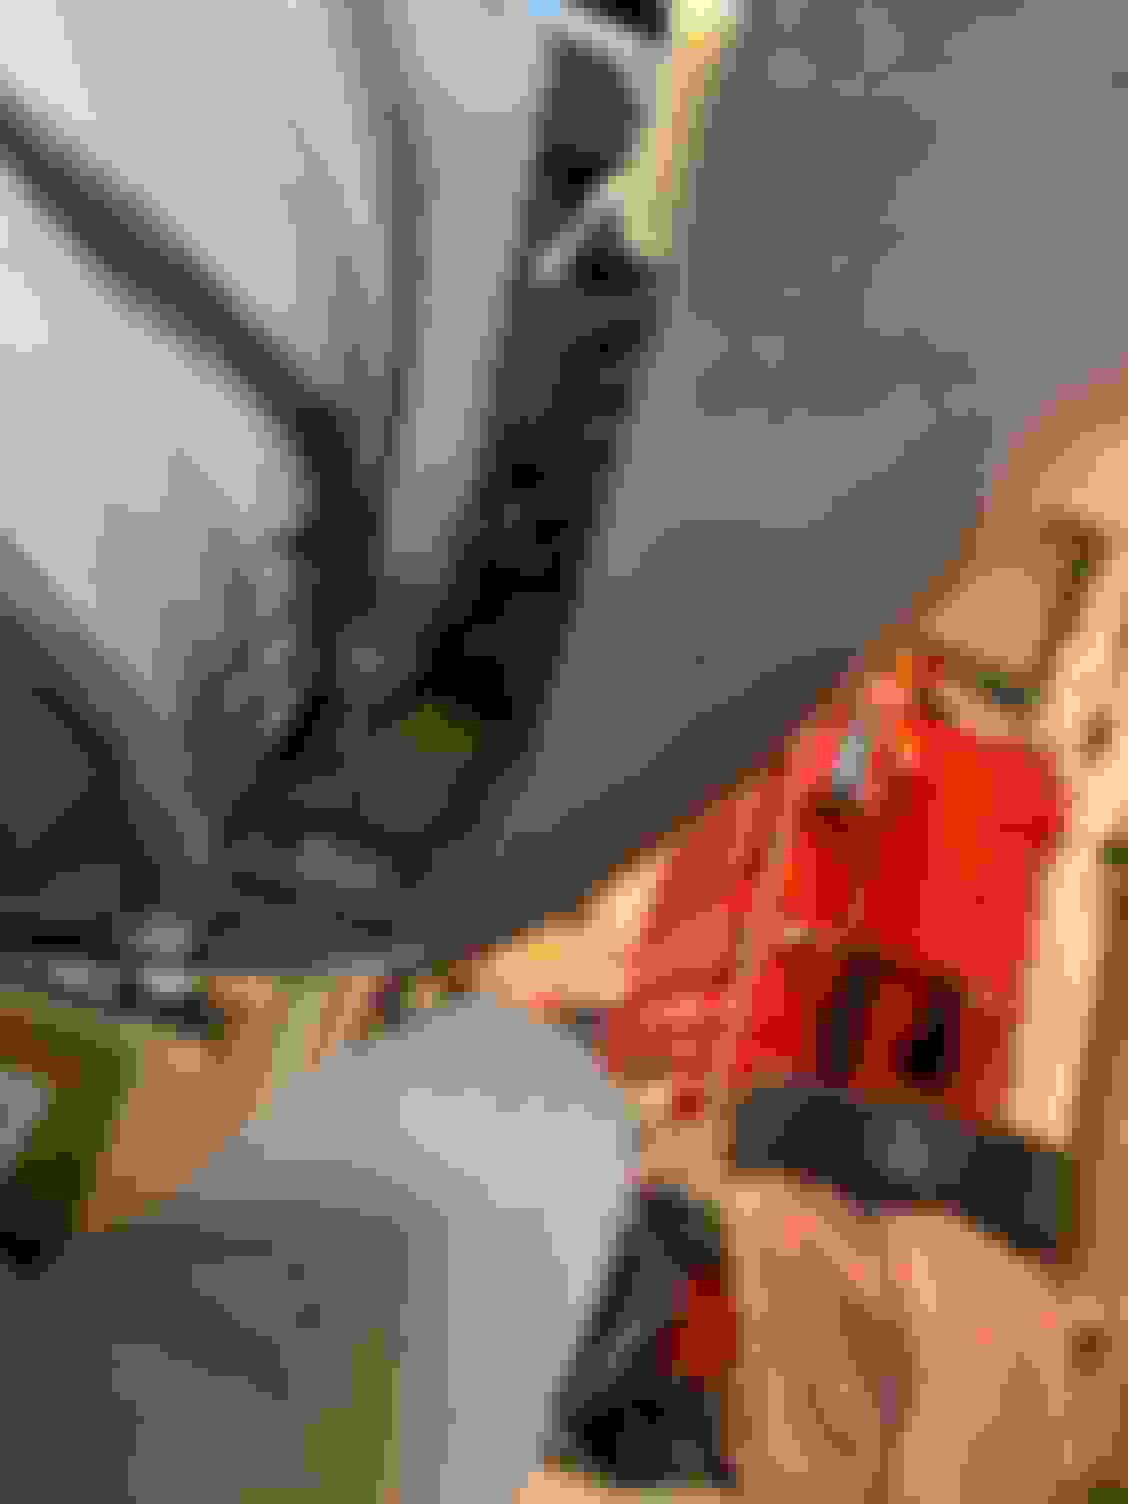
Lots of room behind the rear bumper and easy access to drill holes or use bulkhead fittings. At the front of the trunk floor area, it would take some fitting to get the hoses routed. I will put the rear subframe in I think to see what I have for room. Ah. Nice and mostly clean to work with. As you can see the evap line winds it�s way to the back corner. The smaller line is the fuel supply. Larger line is the vac line for the evap. Someone used this as supplu but I don�t know what they did with the need for evap.
I take that back. NO thanks shardul. Looks like the comments that you sell **** you have not developed properly or don�t car to develop have merit. The bracket above was clearly changed later:
Seems that just the place that needs to be taken back was redesigned to do just that - no contact with customers and when I email you confused you just act like you have no idea.
This backwoods monkey bull**** vendor crap gets so old.
Classic Tuner Douche move Shardul. As I said in my email after you suggested I trim the bracket (no ****).
Yes. It does seem that way doesn’t it?
You changed the ****ing bracket in 2016.
So what you are saying is that you sell **** but don’t support it, and don’t really make sure it fits until later and then change **** silently.
And of course you attack the installer instead of even hint that you have changed and modified your product. I knew this thing didn't fit when I mocked it up. I wanted to see what you would do. And you turned "Classic Tuner Douche".
Let me help you with your customer service "Yes, Mr. Customer - we changed this bracket sometime in 2016 after we found the originals DID NOT FIT. My recommendation since you bought this 5 years ago, is to trim "THIS AREA HERE" in a picture I will happily supply to you".
Awesome. Was that so ****ing hard? I sure as **** hope you didn't change the rod ends because you ****ed that up on MK1 as well.
Okay. Done. Play through. This is not rocket science, but it doesn't have to be "Classic Tuner Douche" science either.
Well, back on track from that waste of space and time.
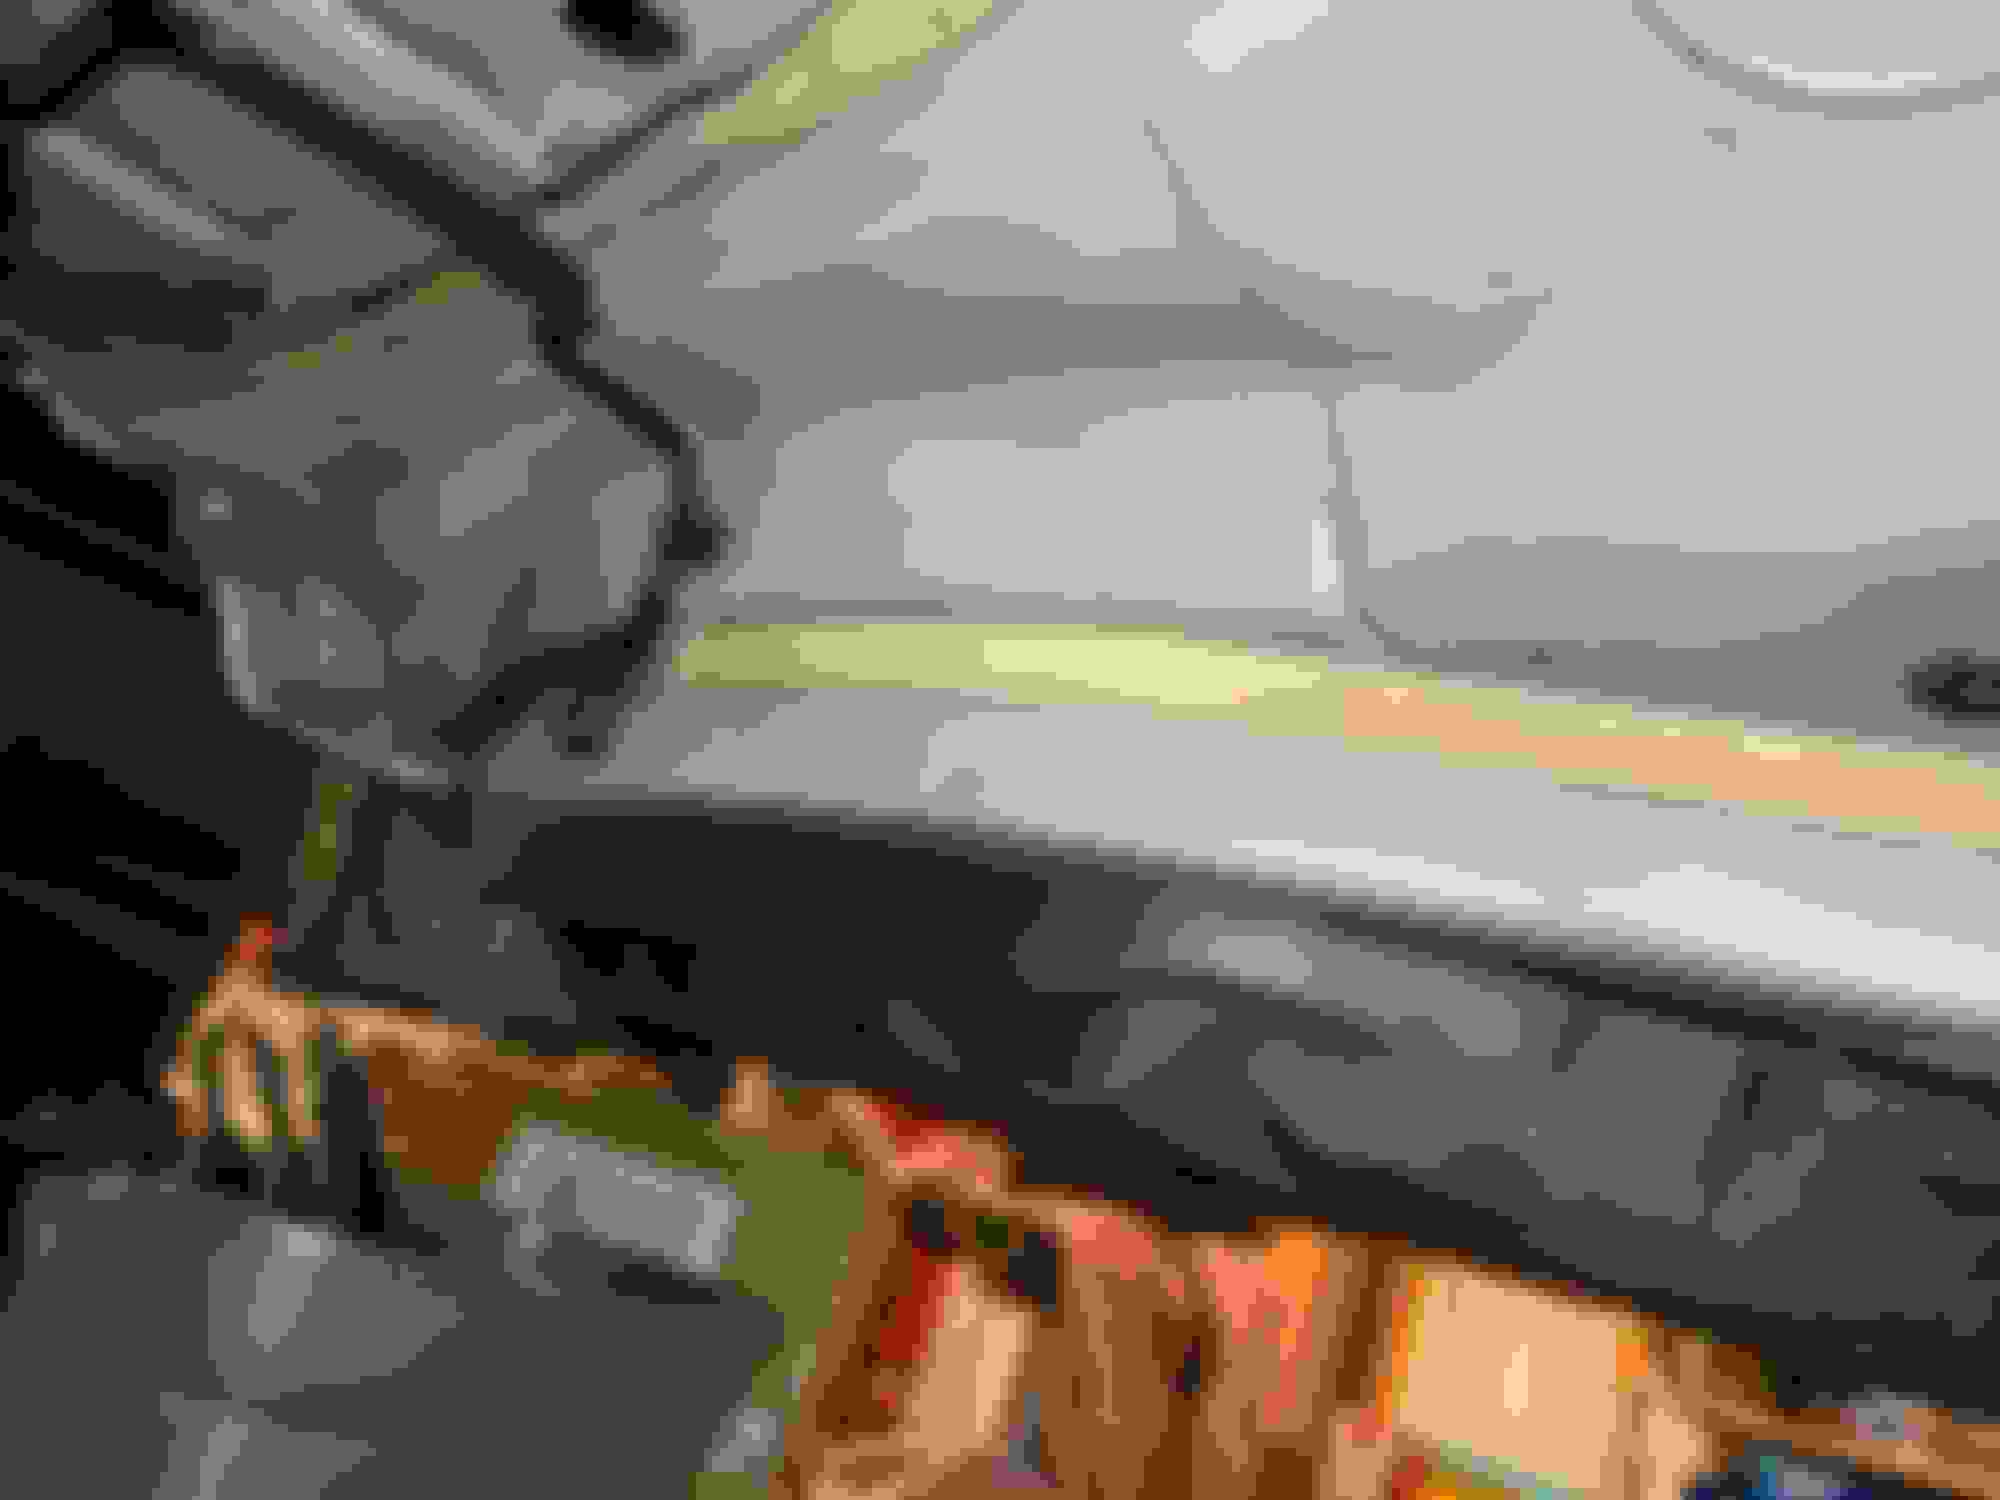
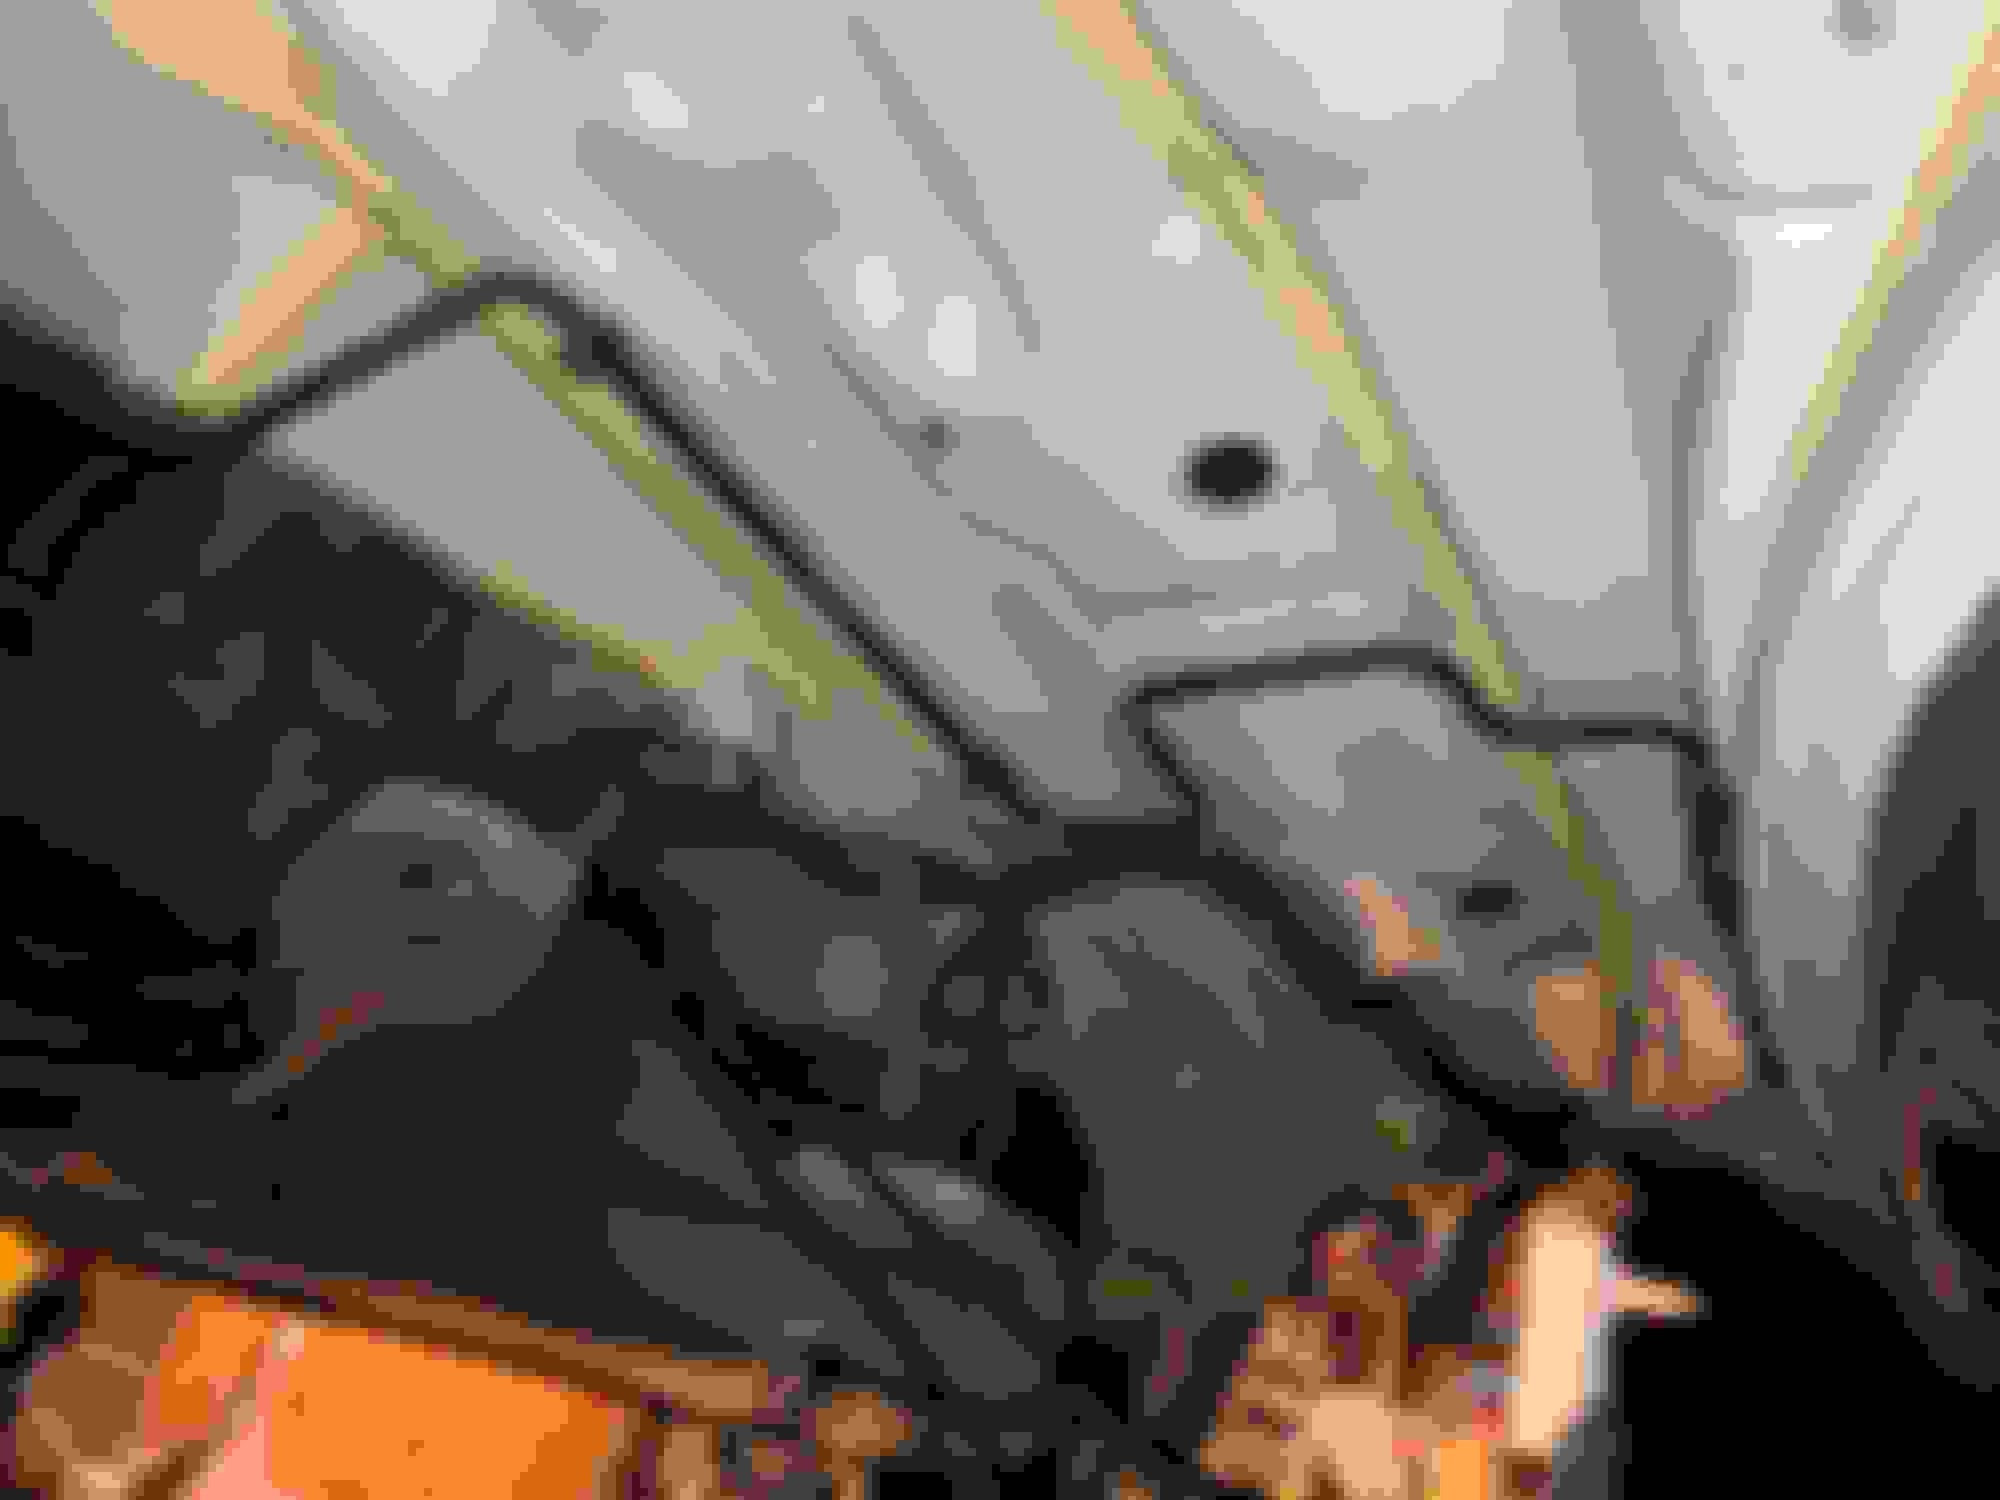
Except for that inner bracket, the rear subframe is bolted up with modified rear bolts. Next will be the parking brake, rotors attached, and rebuild the calipers and install. I may move to the front or I may work on the trunk tank. Yes, the axle nut must be tightened and dented. All torqued bolts are marked. If its not torqued, it is not marked.
In January 2015 I began an install of the UPD camber arms and pulled them off before completing the installation. With the rear suspension still short of full extension, the inboard end of the camber arm fouled the subframe; this caused the entire weight of the suspension assembly to torque the inboard heim joint threads. I decided it was just a failure waiting to happen so returned the camber arms. So...my point is to ensure there is no binding of the camber arms.
I will say, however, I believe the UPD toe arms to be absolutely awesome and highly recommend them. They have saved me literally hours of time when performing alignments.
Mercedes SLR McLaren 722 S Is Extremely Rare Example Modified by McLaren
Slideshow: A one-of-one U.S.-spec Mercedes-Benz SLR McLaren Roadster became even rarer after a factory-backed transformation at McLaren's headquarters.