When you click on links to various merchants on this site and make a purchase, this can result in this site earning a commission. Affiliate programs and affiliations include, but are not limited to, the eBay Partner Network.
So after having my car sit for almost 2 years finally got the tags on it so I can drive it and start resurrecting here's a list of the following items already done.
Presently Completed within the last month
1. Vacuum Pump
2. Cam Shaft Adjuster Magnets
3. Front Strut Mounts
4. Rear Shocks
5. DIY IR on driver side door
6. Removal of Alarm Siren - Reason for fuse 8 blowing out
Since the Vacuum pump was replaced vehicle ran a lot better but not where it should so I decided to order the $12 hose and see if this was the culprit for the rough idle. For the past 2 days I've been working on this for several reasons. Once the air box was removed I noticed that the end of the hose furthest from the engine did not have the clap placed all the way on So I figured this maybe the culprit here came the dilemmas.
The replacement hose was smaller in diameter and I spent a few hours trying to slip it over the brass fitting. I finally gave up and decided to remove the intake manifold while do so I noticed the check valve was broken! I stopped and decided to call the dealership this morning to see if the recall was performed and the acknowledge that it was done in 2008, I don't remember this and I am the only owner of the vehicle. This also lead to me believe that whoever performed the recall only replaced the top hose and at that they didn't clamp it properly. I went to the dealership and picked up the the check valve, the smaller 2 hoses, intake gaskets and fuel injector o-rings.
Went back home and began looking DIY of intake manifold removal and super charger removal. The Intake Manifold was fairly easy, I did not have to remove the injector rail to remove it, I tried but it was stuck in there pretty good and didn't want to risk breaking it. I am still uncertain if I want to remove it to replace the o-rings well see how I feel about tomorrow morning.
The Supercharger was fairly easy and difficult at the same time.
1. Remove the serpentine belt - Torx 60 - there should be DIY for this I can come back and link it.
2. There's a box in front of the supercharger I cant recall the name it has 4 screws on it and 2 on a bracket remove that.
The supercharger only has 4 bolts 2 on the side that you can remove through the engine bay. The 2 of the4 bolts that where removed that hold the supercharged to motor. Front box removed from supercharger
The bracket holding the front box of the supercharger.
One right underneath the supercharger towards the middle which I was able to remove through the engine bay I attached an image with a mirror that I used to get a feel on how to remove it and 1 towards the back thats attached the oil filter bracket ( this one you need to remove from underneath the car) Supercharger Middle bolt - Most difficult for me to remove
Here's the crankcase ventilation hoses and check valve replaced. New check valve and hoses.
I can take photos tomorrow of the bolt underneath the car and I think we should be done with this.
Here she is from a few weeks ago after a wash..
Next we have to find the coolant leak and do some body repairs!
Thanks to the forum a lot of the items done where because you guys!
Ended up putting everything back on no extra bolts or screws so kinda happy about that... I did have to take off the injector rail to put the manifold back on and it was a stuck in there really good had to use a little force and a screw driver to assist in taking them out.
013-997-91-45 - Seal Rings for Injectors
271-141-08-80 - Flange Gaskets on Manifold ( 4 of these)
271-141-10-80 - Manifold Gasket
The car is a lot quieter after reading more I should have changed the motor mounts since I had everything that sits on top of it off...
With this and the vacuum pump being replaced the vehicle does drive smoother I still feel like it's missing something... Cold start idles high and than normalizes after there still a little bit of a rough idle at stops but not as bad as it was before... i'm thinking maybe it's the MAF it has the original and vehicle has 177k miles on it...
Next is probably going to be idler pulley and maybe tensioner might as well do both.. The idler pulley needs to be replaced so thinking might as well just do both of them!
On a side note I was able to do some non-mechanical items to the car..
I was able to do some headlight restoration.. Passenger side before restoration Driver side after restoration
It came out nice but I am going to give it another go this weekend going to buy more sandpaper and progressive work it up with different grits.
Also if you noticed the grille for the fog lights are missing I also replaced those since than and added newer clips to hold them in place, one thing I noticed was that the fog lights were missing the screws that kept them mounted not sure how they fell off and disappeared total mystery could of been because of the vibration but glad I checked could of lost a fog light on the road!
Interesting that you took off only half the supercharger. Most people (myself included) removed the entire supercharger in one shot. I never had to touch that inner rectangular gasket.
And yes I would've recommended changing out the engine mounts. DIY instructions for all 3 (2 in the front and the transmission one in the rear) are in the link above. The collapsed engine mounts actually resulted in my exhaust manifold cracking, so be sure to patch/weld that part up if required as well. You may want to read the entire thread.
The driver's side engine mount is very easy to change out with the supercharger removed. Since you've already put everything back together, you'll need a 16mm offset wrench (search MB 16mm engine mount wrench) to get that top bolt off. The passenger side mount can be done on the spot.
As for the coolant pipes, there are 3 pipes and 1 nipple that can break. Not sure about the nipple, but the 3 pipes have updated PNs where MB actually changed to a different grade of plastic. I recommend going the dealer route for these, even though they are rather expensive. People have had plenty of problems with (cheap) aftermarket parts here. Do it right or do it twice.
I would also recommend spending a few bucks and keeping a spare nipple handy inside the car. When the plastic goes bad, it snaps with no warning. I once broke mine by resting my hand on it. Other people have had it explode suddenly while driving. Without having one around you will be stranded.
Last edited by slammer111; Feb 13, 2021 at 04:38 AM.
Thanks for the feedback. I ended up ordering the tool from amazon $18 to remove the engine mount seems like a deal versus having to remove everything all over again. The front box that I removed was to gain access to the secondary lower bolt that holds the supercharger onto the motor, it's the same bolt you had to hammer the ratchet into far more easier to just to take off 4 screws that hold it on and also gave me room to remove the supercharger when that time came.
I just ordered 2 of those nipples for the coolant pipe mine didn't look to bad but last thing I want to do is touch and it break. Also the coolant leak is coming from the rear pipe that is located next to the vacuum pump ordered that as well thank you! When you replaced yours was there an o ring inside that you replaced? I ordered mine through Pelican Parts and it doesn't say if an O-ring is included or not i'd assume there is.
All OEM pipes came with the respective o-rings. I can't speak for aftermarket obviously.
Looking at your photos, you might also want to look into replacing that nice yellowed coolant expansion tank, though it isn't critical. I replaced mine when I started noticing that the top half (black part) was turning into powder. I could chip pieces off the edge with my fingernail.
Last edited by slammer111; Feb 16, 2021 at 04:44 PM.
I'll look in to the coolant tank replacement here soon on my to do list.
So finally replaced the same plastic piece right below the vacuum pump where the coolant leak was coming from the one I purchased from Pelican had the O-Ring attached to it. I did change out that nipple going right next to the valve cover that's infamous from breaking mine was actually in great condition when I swapped it out so I kept it as a spare so I have 2 now just incase.
I also changed out the transmission mount and man what a difference. The old mount was practically hollowed out compared to the new one. Once I get the engine mounts in I have high hopes of a lot better ride...
Car ran great yesterday this morning it bogged down on me my throttle response was horrible car shook violently and now the check engine light turned on. What was strange about this whole thing is a pumped the brake at a stop really hard and once I did that it went all down hill from there. Throttle response was crap I tried to accelerate didn't go anywhere moved so slow... ***EDIT*** My dumb *** washed the engine and didn't blow any access water off, water got into the spark plug hole and was causing misfire p0301, decided to just change out all the plugs, some oil was found on Plug #2 so i'll have to replace valve cover gaskets here soon. No more check engine light***
The car sat for 2 years because of this same exact issue back then it was to rich/lean code which lead me to believe it was the MAF I cleaned the MAF and parked the car... I never changed the MAF out so I am going to do so some more digging on the MAF. I am waiting for my sister to bring me the scanner so I can see what the codes maybe! i'll also dig into the forum see what indicates a bad MAF!
Going to have to hold off on a new Double DIN multimedia player and other aftermarket lights and side markers until I can get this resolved!
Last edited by jggarcia.vc; Feb 23, 2021 at 06:16 PM.
So I ended up finding water in the first Cylinder when I removed the ignition coil there was a puddle of wire so figured that's why I was receiving the misfire and p0301. I took out as much water as possible before removing the spark plug. I replaced all the plugs car ran fine at first check engine light did come back on after I ran the car in High RPM for a while and it sputtered again, thinking it was probably just left over water some where. Went home erased the code care drove fine this morning no CEL so far. Still have that awful idle whiled stoped in drive i've searched the forum and there's a list of potential issues ignition coil, spark plug, vacuum, mass air flow and fuel pump/filter. I'll receive the engine mounts tomorrow hopefully and get them swapped this weekend hoping to get this other issue resolved as well.
It does have the top cover installed and after looking at 100 different threads on cylinder and misfire I noticed my vacuum lines were not tucked into that whole so I am assuming the cover wasn't create a nice seal. I moved the lines now but also need to replace them anyway have the part numbers or is it should just go to autozone and ask for 2 feet of X diameter vacuum hose and cut it to length?
Cleaned out throttle body and stopped the rough idle that I had what an amazing feeling! Second I replaced the engine mounts without removing the supercharger there is def. a trick for the driver side might do a write up for it would have saved tons of time if i would've known I struggled trying to remove it from the bottom trick was to just loosen it from up top and take a stubby 16mm ratchet and remove from underneath.
There is some vibration on the steering wheel while driving might have to replace the bearings on the rear control arm, recently changed out the front ones and maybe some other suspension parts when I save up some more money.
Going to change the ignition coils as preventive maintenance and perhaps take a stab at doing the transmission service seems fairly easy to do.
The vacuum lines for the M271 are 3.5mm ID 8mm OD. Most (North American) domestic distributors only sell 3mm and 4mm hoses. The 4mm hoses work but are a wee bit loose. Been running 4mm throughout the car. I just check them periodically to make sure they didn't pop off, though the only one I've ever had problems with (and it was just once) was the one end that that plugs into the intake. I found the original hoses were completely full of cracks after some 15 years. I couldn't use 3mm hoses as they didn't fit.
The lengths of vacuum line you need are 310mm, 470mm 740mm, 40mm, for a total of 1.560m. Yes, those are the official lengths. Personally I would buy 2m and give myself a bit of leeway, as there are different ways to route the hoses, especially the ones going to the EGR. While you're at it, check the big hose going from the intake baffle to the EGR. I found cracks there too.
As for the engine mounts, any places such as Amazon sell a 16mm offset wrench specifically for that 1 driver's side top mount bolt. A stubby open wrench would work too but most people wouldn't have one of the correct length.
I've read that thread before helped a little. I did use the offset wrench and attempted to remove the bolt from under the the car I couldn't get the offset wrench to sit on the bolt and with the ratchet extension there wasn't much clearance after moving the hoses out of the way. What I ended up doing was placing a swivel onto the offset and a extension sticking the extension up through engine bay. There it was much easier to attach ratchet apply some force and loosen the bolt. The offset I purchased from amazon seemed it would strip at any point so with a 16mm ratcheting stubby from under neath made quick work of getting the bolt up and out other wise the offset would've took me longer and kept slipping off. Also what I didn't see on that thread was that the pin on top of the mount doesn't line up until you lower the engine. I had to scratch my head a few times on that one too...
Anyway job was done fairly quick after that. Have you done the tranny service with new oil and filter etc... ? I also have that same leak between the transmission and engine where you had yours did you end up repairing that?
The leak you are talking about refers to the pilot bushing. When the o-rings fail, the transmission fluid wicks up the wires and fills up the TCU and passenger footwell. There are 3 versions of the pilot bushing that I know of. Obviously only buy the latest one as the older versions leak. It's not an expensive part and can be easily DIYed. The only gotcha is to make sure you don't overtorque and strip the centre bolt. The torque required is very low.
The transmission fluid can be DIYed if you can get under your car. It is quite a PITA with very limited space. I've been paying an indie to do mine because of this.
There are a few versions of the fluid change. The 722.6 transmission and torque converter hold some 9L (can't remember the exact number) of fluid. On the W203 (any MB with this transmission after I think MY1999) they removed the drain plugs in the TC so the only way to change out the fluid inside the TC is to do a full change as opposed to a partial one.
Most DIY people do the partial change which replaces some 2.5L. Drain the pan then remove and change the filter, then top up the fluid. Some people do this change 2-3x in a row (with short drives in between) which gets a decent amount of the old stuff out.
The full change requires 14L of fluid, some 5L of which is used to flush the old fluid out through the lines and basically gets thrown out afterwards. It involves disconnecting the feed line going into the transmission bell housing (from the cooler inside the radiator) and draining and replacing 3L of fluid at a time, through the connection where the banjo bolt screws into the transmission. This is a 2 person job as someone has to start and stop the car while the other person watches the volume of fluid drained. The new fluid pushes the old fluid through the TC and into the lines where it gets drained.
Just noticed your question about the vacuum lines too. See post #11.
Last edited by slammer111; Mar 3, 2021 at 11:33 PM.
Autohaus AZ sells the 3.5mm by the meter i'll pick some up from there along with a Transmission Service kit which comes with 9 Quarts of oil, gasket, red lock, washer and filter would just need to add a dip stick to measure and buy the pilot bushing... it's strange that it wicks up and just drips right on that location.
I have Mityvac which i'll use to pull oil transmission oil out from engine bay than go underneath to change out all the items that need to replaced. I'll see if I can find away to remove all 9 quarts or close to it since who know's how long i've had the leak going on so I might have closer to 7-8 quarts.
I can left the car on on 4 stands so it's level and high enough so I am comfortable underneath.
1. Replaced motor mounts and transmission mount
2. New spark plugs and oil change to 0-40W
3. New valve cover gaskets ( car sat for a long time so just a precaution)
4. Cleaned out throttle body - solved rough idle issue
5. Fixed dangling fog light, side marker still having issues with temp sensor wiring.
I painted the grille matte black found some used grille for fog lights online and inserted those along with missing fog light current look of the car.
Next on the list is
Transmission Flush
Timing Chain maybe IDK still scratching my head on this one.
New Windshield huge crack going along the passenger side.
New Ignition Coils as precaution
New Expansion Coolant Tank
I also need some floor mats my OEM ones are toast the black stuff on the back keeps coming off and getting everywhere but everywhere I look they only sell the all weather ones online..
Well shall see what we do this weekend maybe clean up the garage the wife is yelling at me.
It's been a while since i've updated this thread since than a lot of items have been done to the car...
Ended up doing a transmission flush changed out gaskets and filters along with my daughter helping purge as much of the old oil from the next to radiator. Fixed ambient outside temp and all front mesh grilles.
Replaced:
Windshield
Expansion Coolant Tank w/Flush added MB blue coolant.
New Coils could've probably just refurbished my current ones but decided to just swap them out the plastics that insert over plugs where starting to crack.
OEM - Bi-Xenon cost was with new lens roughly $400.
New Cross Drill front Rotors ( Zimmermans form FCP) with painted Calipers. ( in the hunt for 4 piston calipers)
De-Badged with Carbon Fiber Hood Spoiler and LED Replacement Lic. Light.
Replaced Radio Screen with new one. Link to where I purchased the replacement( https://www.ebay.com/itm/15183241088...cAAOSwvrFf0x2N )
Ambient Interior Light - Thanks to E1000 post ( https://mbworld.org/forums/c-class-w...l#&gid=1&pid=2 )
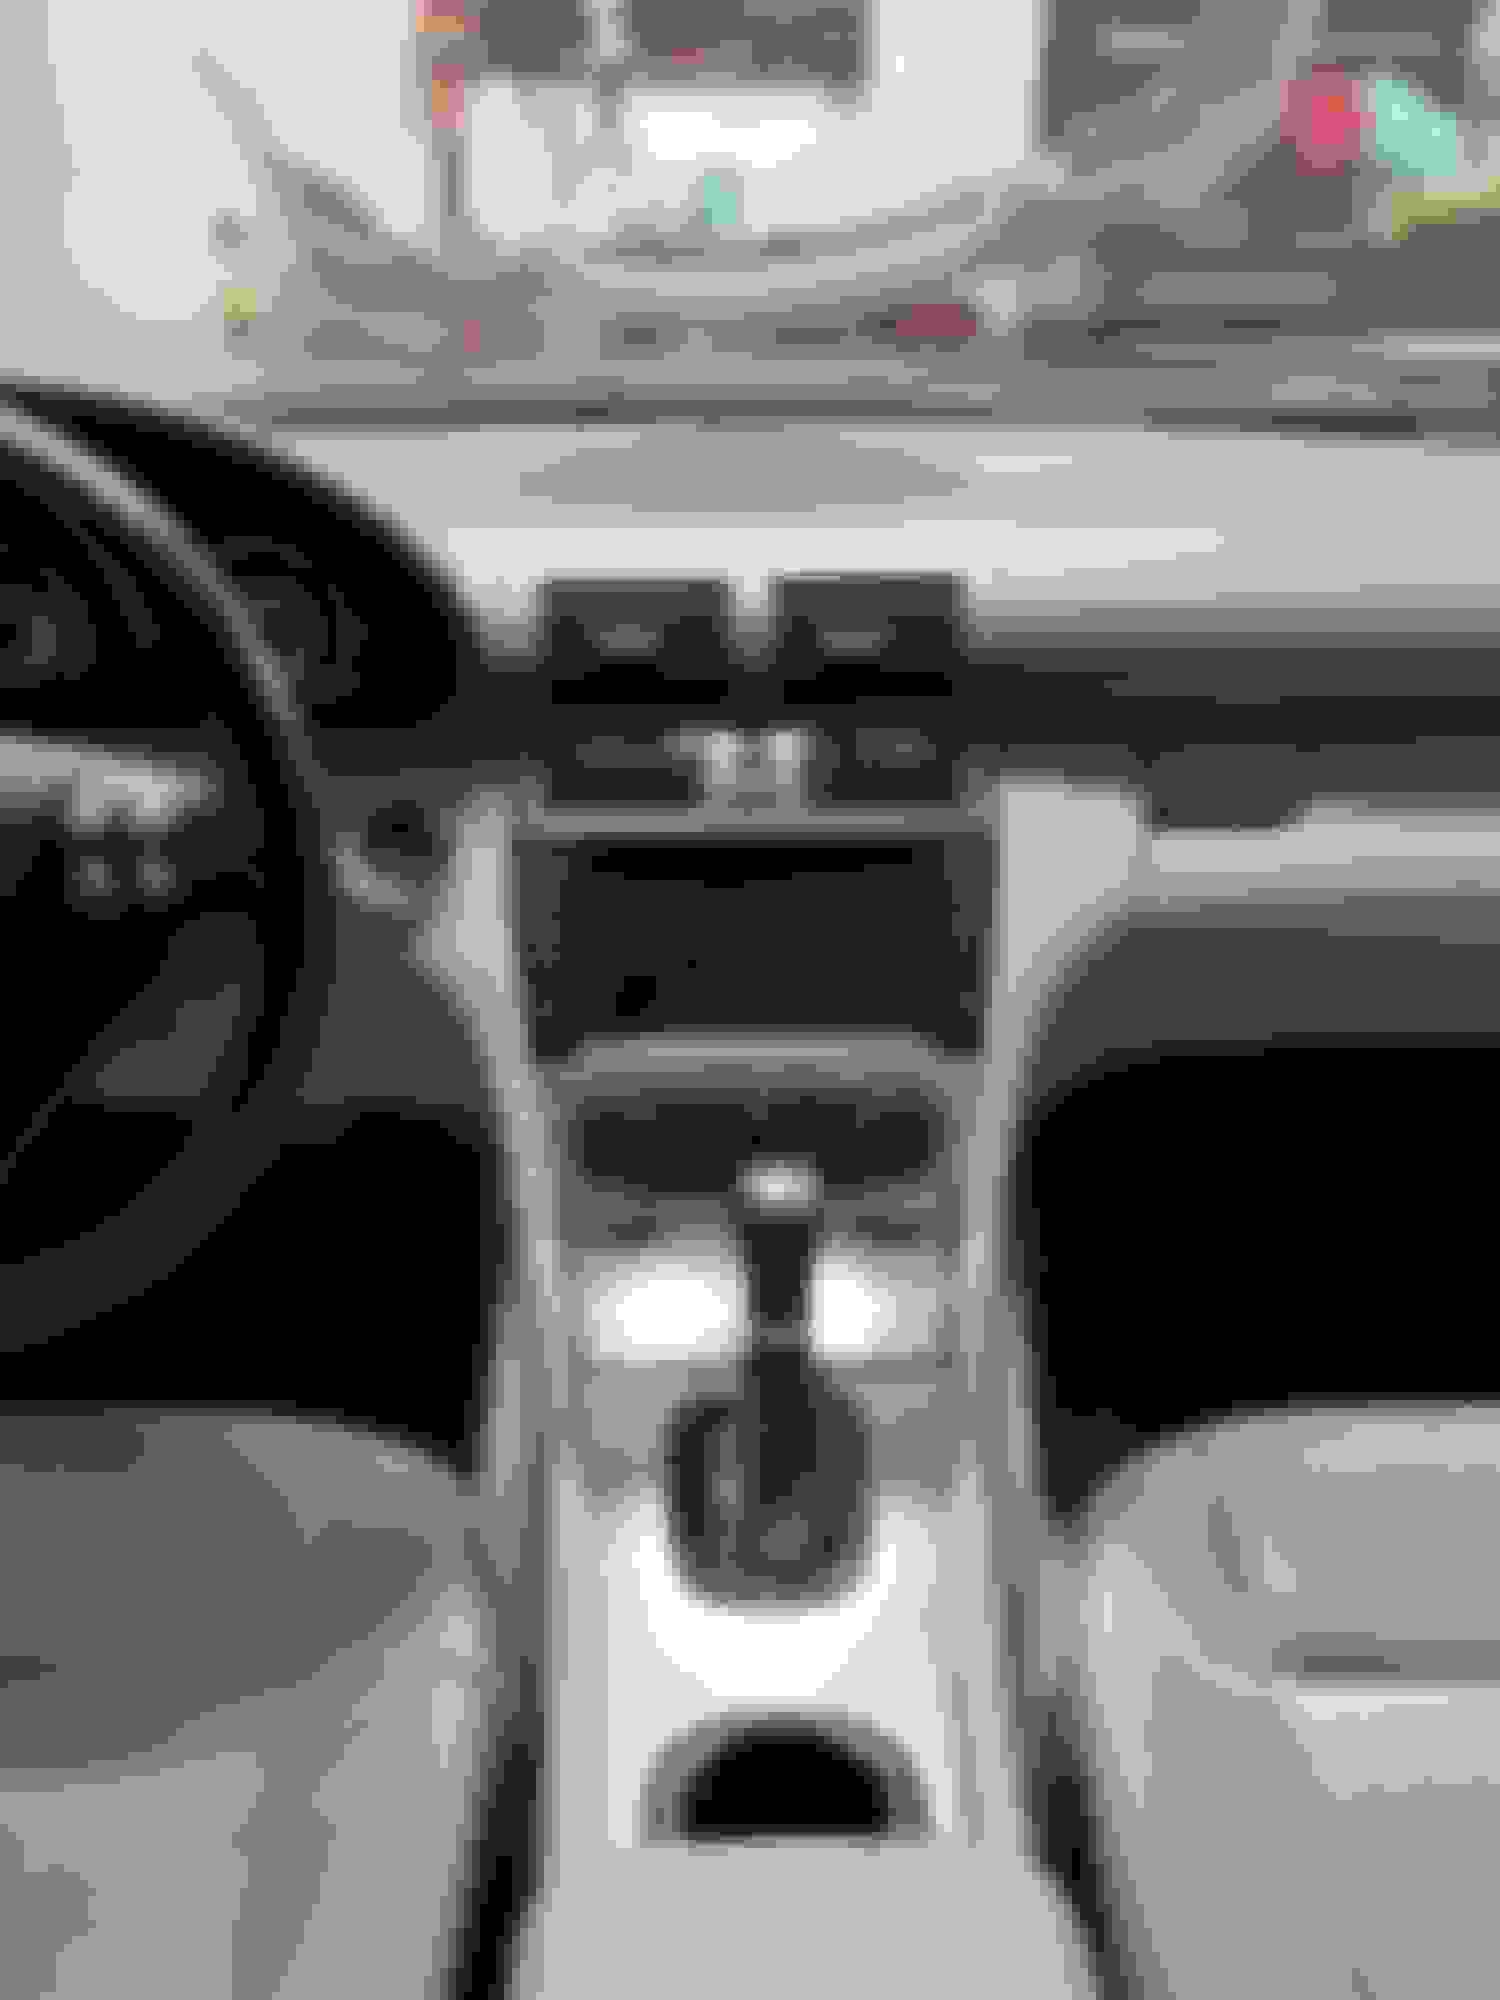
New Cup Holder OEM ~ $90
Still unable to located ribbed floor mats for my car Alpaca Gray Interior.... I have some 2 piece AMG wheels that I am planning on mounting as soon as I am done with the suspension refresh ( rear and front )
On the to-do list
Electronically Folding Mirrors - All door modules have been updated and passenger mirror just need switch and driver side mirror
Finish suspension refresh - if you have changed what they call rear thrust bushing it's a must I had no idea how bad mine was it's also a PITA to remove.
Memory Driver Seat Only - I have the alpaca grey door panel just need the brackets with motors I am thinking maybe a CLK bracket might work with modules and harness
Supercharger Pulley Upgrade to 60mm
Delete Secondary Cat - Mine is bad and its $800 to replace yes I know SMOG etc... I am not to worried about that but not sure what I am going to do yet.
I am certain I am missing a few things to the list but for now this is what's fresh on my mind.
Thanks to everyone still following along.
An update on this thread I ran into a timing chain and sprocket issue you can read more about this here.
In the midst of all the mechanical issues I did finally receive my custom scale and did the swap this weekend as I am still waiting for parts to come in for the chain/sprocket repair.
Here's a photo of the new look. Same instrument cluster just swapped out the scales haven't had a chance to see what they look like on but it should be nice.
Those appear similar to the gauges on a C55. Where did you find them?
I ordered the scales through someone in Russia via Whatsapp and i took my instrument cluster apart and replaced them so it's not a new cluster its the same one with scales replaced. Had to remove the dials up remove the scales replace with new ones and snap dials back in.
So now that the car has been running looks like we may have that infamous exhaust manifold crack! I hear a rattle sound at low RPMs so could also be the exhaust manifold gasket. There was white residue on the top side which i cleaned with a wire brush to see if I can see crack but I am not the best at telling these types of things...
Here's an updated photo of the car came across a deal for a new bumper with R171 vents already molded in.
Also finally pulled the trigger on an Android head unit. So far I like it need to figure out how to add Netflix to Carplay. Only downside is that Mic when talking on Bluetooth is horrible they gave me a mic to install but haven't figured where I want to put it without it looking horrendous.
Also finally pulled the trigger on an Android head unit. So far I like it need to figure out how to add Netflix to Carplay. Only downside is that Mic when talking on Bluetooth is horrible they gave me a mic to install but haven't figured where I want to put it without it looking horrendous.
When I replaced my headliner, I ran a microphone cable to the rear-view mirror area of the windshield. I haven't had time to pull out the head unit and hook it up, so I don't know whether the sound quality will improve. I installed a microphone in the same place in my wife's Highlander and it works well in that location.
As far as appearance is concerned, it blends in pretty well due to the dark background in the windshield. It is more obvious when viewed from the side then when you or a passenger look at it straight on.
Mercedes SLR McLaren 722 S Is Extremely Rare Example Modified by McLaren
Slideshow: A one-of-one U.S.-spec Mercedes-Benz SLR McLaren Roadster became even rarer after a factory-backed transformation at McLaren's headquarters.


 It involves disconnecting the feed line going into the transmission bell housing (from the cooler inside the radiator) and draining and replacing 3L of fluid at a time, through the connection where the banjo bolt screws into the transmission. This is a 2 person job as someone has to start and stop the car while the other person watches the volume of fluid drained. The new fluid pushes the old fluid through the TC and into the lines where it gets drained.