When you click on links to various merchants on this site and make a purchase, this can result in this site earning a commission. Affiliate programs and affiliations include, but are not limited to, the eBay Partner Network.
Was playing with EPC and wondered what changes were made to the newest 65 amg cars. I found something very interesting.
So, I had experience with backward compatibility for parts when I had my Z06. Chevrolet's improvements could, many times, be adapted to improve on the previous cars. For example, shocks that had better valving etc.
Well, I was curious about the changes that were made to the new W222 and W217 65 AMG, officially the m279 M60. Most of everything on EPC looks very very similar however there are two things that I see have been changed and wonder how they could work with our vehicles.
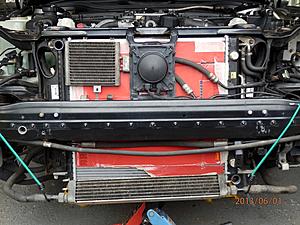
1. New Expansion Tank for Intercooler Circuit: There is the addition of a plastic, larger, overflow tank for the secondary charger cooling circuit (intercooler circuit). Part number is A2792000185.
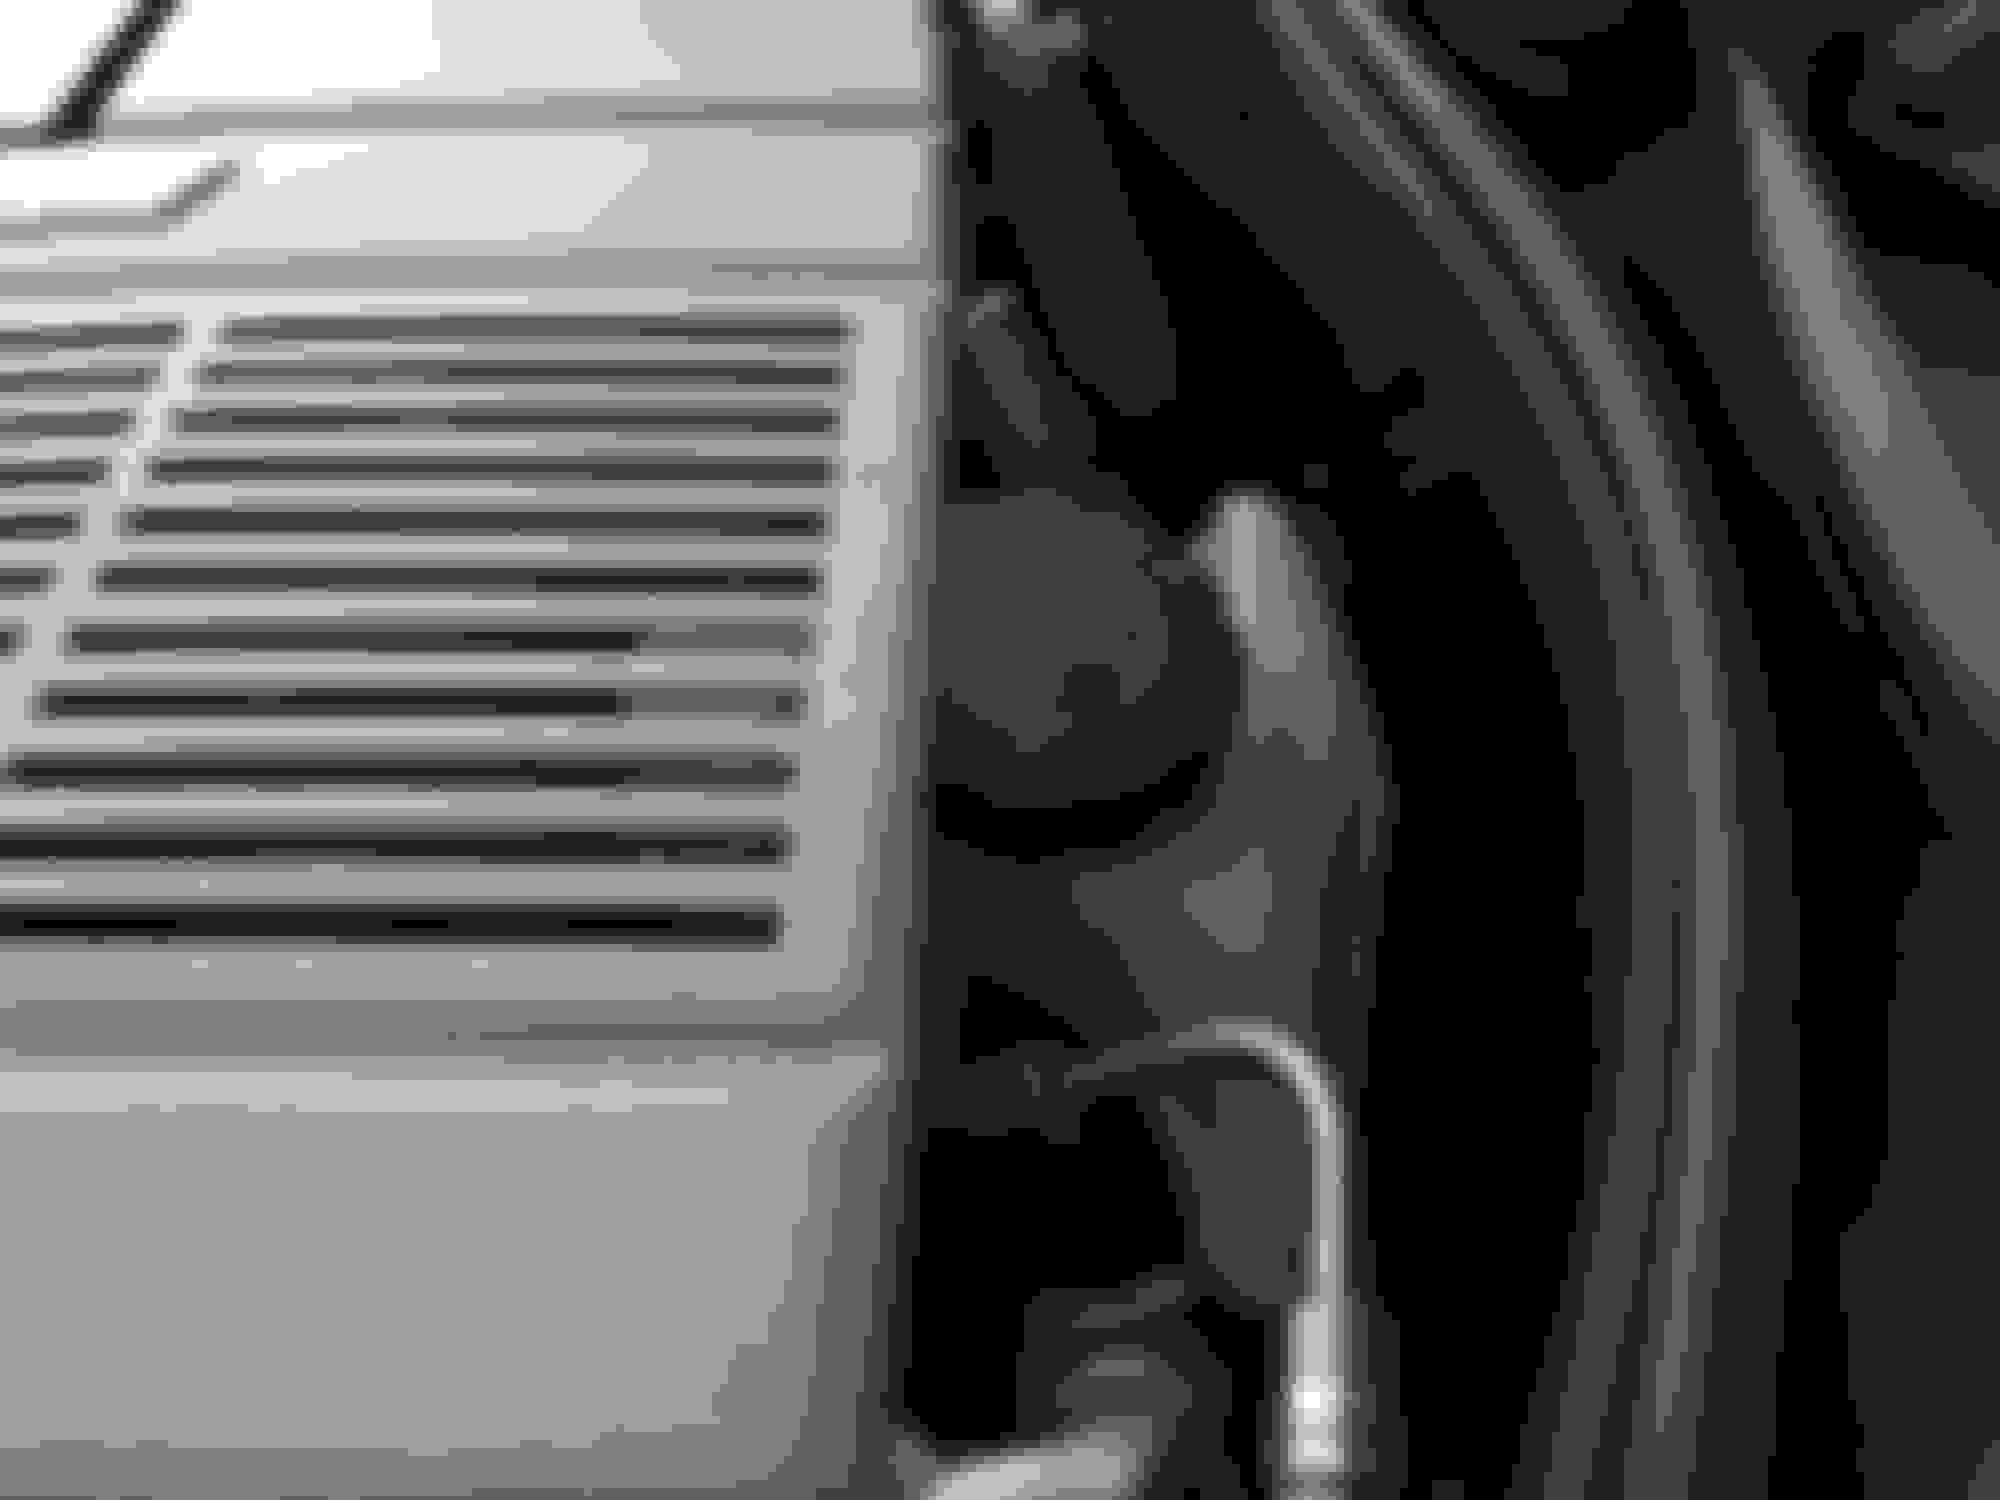
2. New Designed Ignition Coil: Deletion of Voltage Transformer: Here, they have gotten rid of the expensive coil packs and replaced with what looks like individual coils that are daisy chained. You actually buy each coil individually, making future maintenance waayyyyyy less of a hassle (no more changing an entire coil pack) Also, there is no longer any Voltage transformer, they are using the Engine ECU only. Part Number for new designed ignition coil is: Right A2799060700 Left A2799060700. You can also buy the coil connectors that go down into the cylinder individually part number A2791590042. See pic of engine in the car and you will also notice that it is white/clear (allowing for easy fluid level spotting). It looks like they can be bought for around $160 each and there are 6 per side. The major cost would be switching, however, they are cheaper than the originals and later you wont have to change all the coils again.
With this change, the voltage transformer is gone and the space where it went is now filled with a bracket that houses all of the electronic vacuum switch over valves that are right now found on our left and right cylinder heads. See pic below.
With the expansion reservoir, I might buy one (looks like I can get for around $120) and let you guys know how it works out with pictures. It doesn't appear that it is self bleeding so that is a bit of a drag, however, it will allow us to monitor fluid level without opening system and allows for a greater capacity of fluid in the reservoir (a major problem with the original design). The mounting hols look to be in the same location as our small "reservoir" and looks like it should be plug and play. Ill keep you posted.
As to the ignition coils.....with the advent of the new speedriven ecu, I wonder whether this would be a direct fit and could be utilized with their system. Or whether you could somehow get the new ECU to work with our cars.
I am going to delve into more of the changes and see if there is anything else.
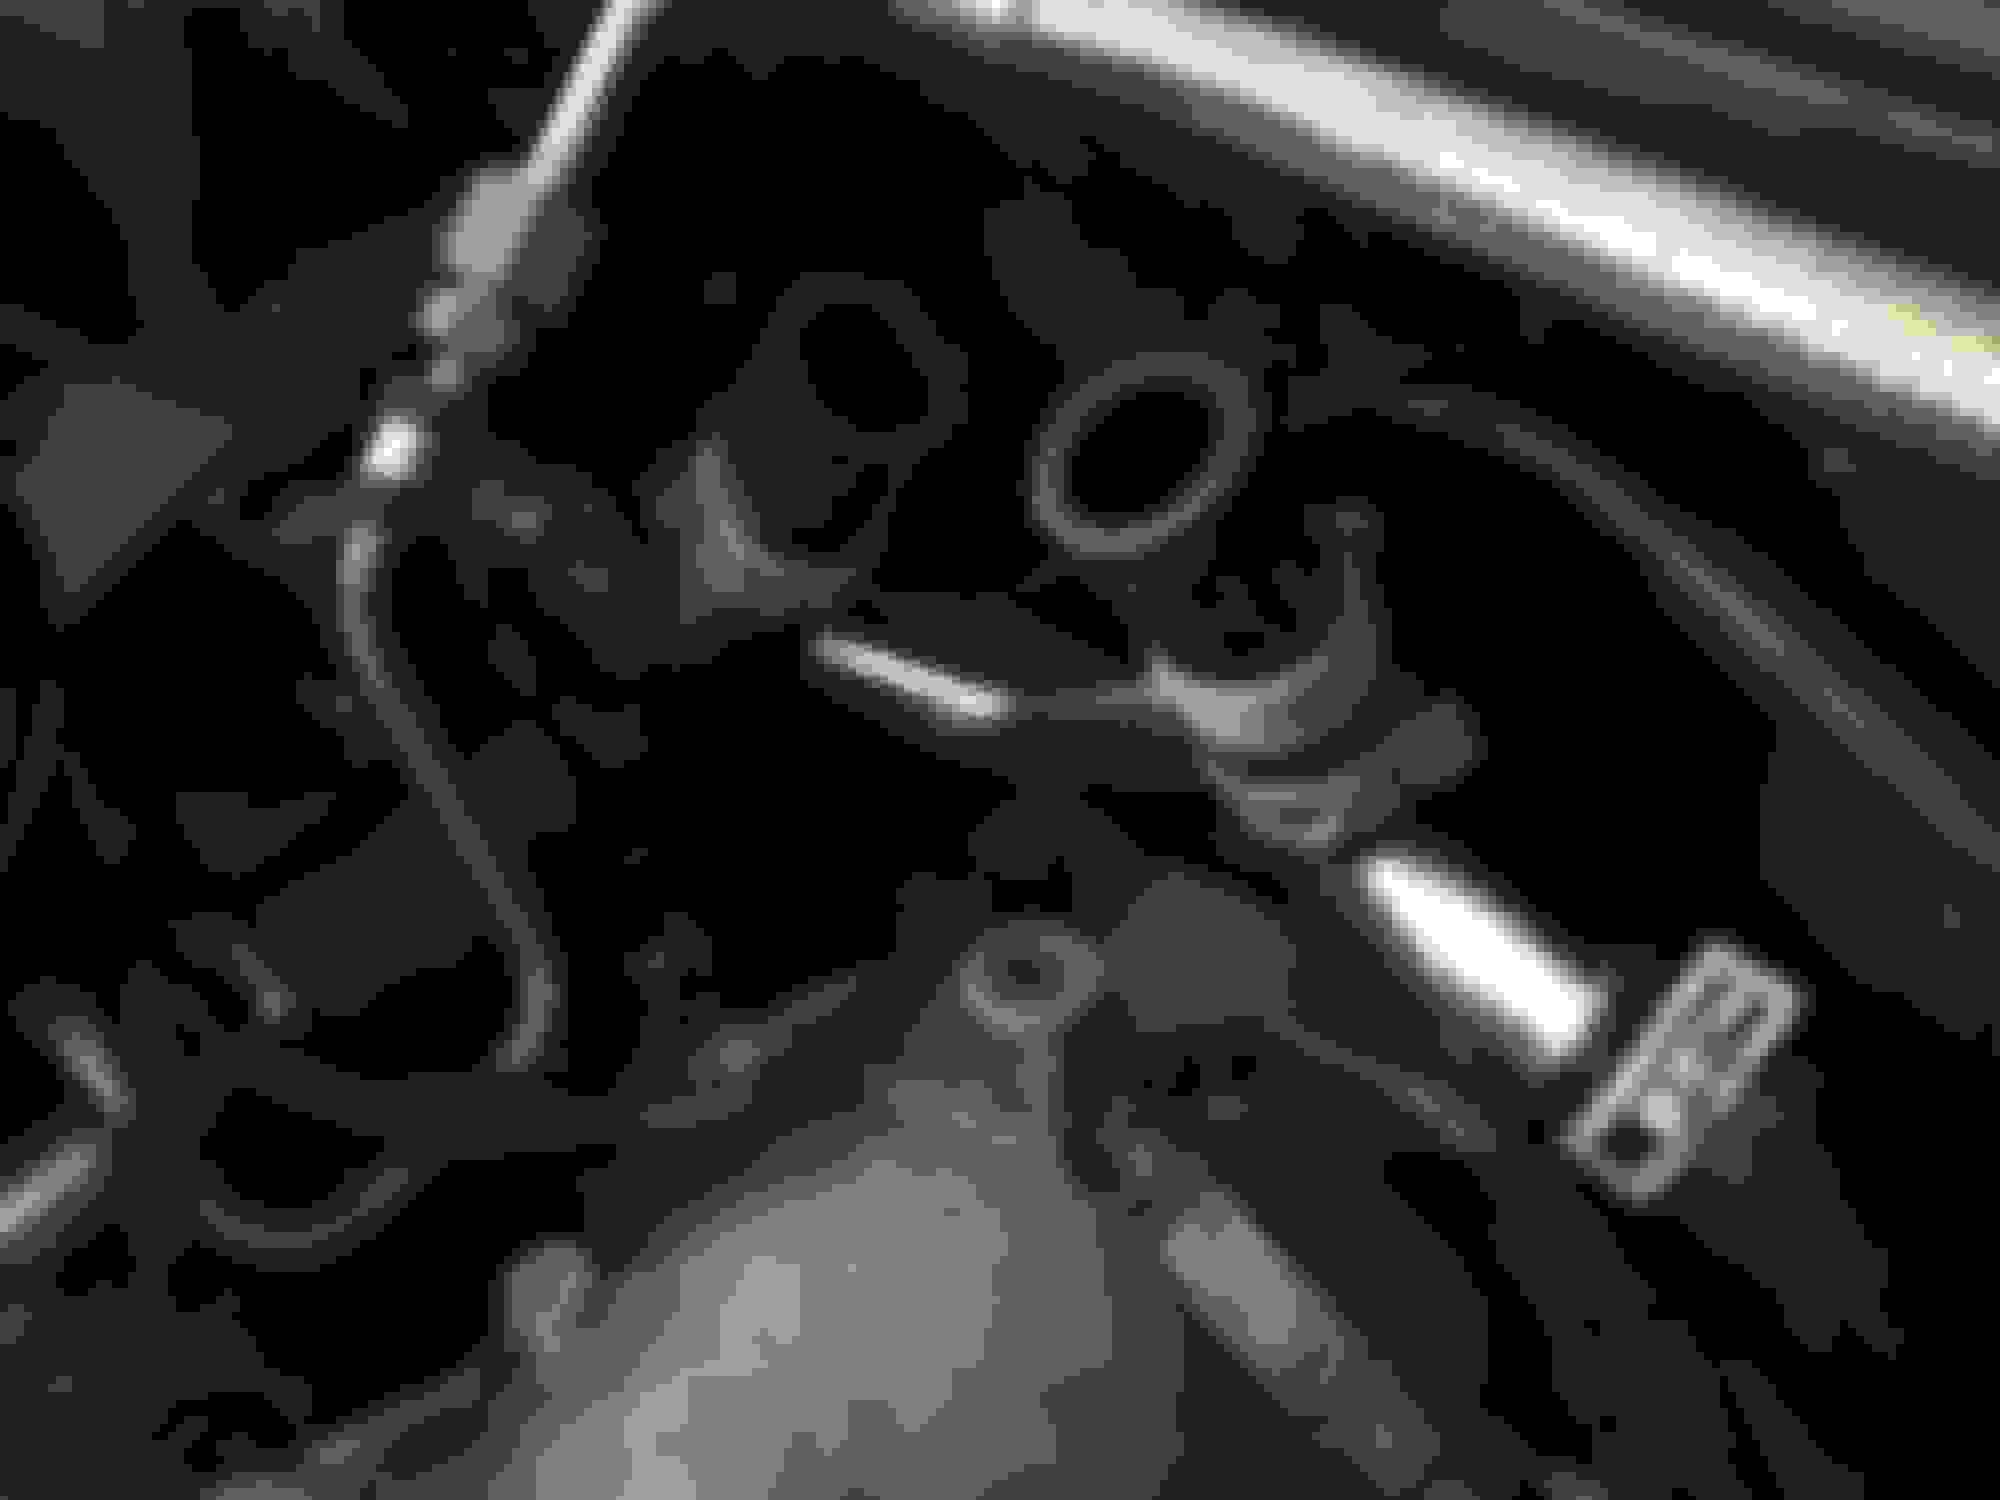
All is installed, Bled and working great. Fitment is fantastic. Easy to see water level, room for expansions when water heats and cools. Fits in standard location with same bolts as original water "tank".
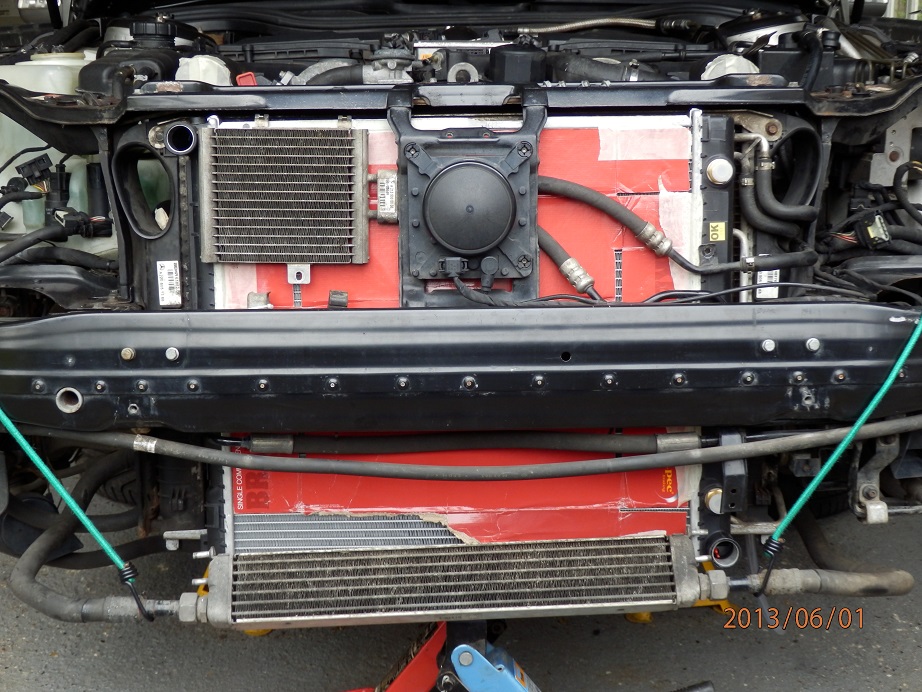
Install was easy but required 1 modification. On our wiring harness cover, there is a single small ear that holds the original water crossover pipe (had a circular clip ring that bolted to it). Unfortunately, that ear is in the way of where the new tank enters the new pipe. So a quick cut and the ear was off and all was good.
Bleeding: bleeding was a breeze. I found that the two fittings on the top of the intercooler are exactly R134a/R12 fittings. Bought a kit at Pep-Boys that included R12 to R134 converting connector, then got R134a quick disconnect flling hoses and hooked this to the vacuum. On the fill side, bought a Lisle 24680 Spill-free Funnel kit and the fitting included fit perfectly inside the new tank and provided a tight seal. Filled the funnel as the vacuum pulled the air and fluid out and all was good. I used a "carboy" water tank to catch all the fluid coming out as to not hurt the vacuum pump. This is exactly what the factory is doing.
The tank has an easy to see line for filling and works perfectly allowing expansion in system. No more guessing how much water I have in there. Also, see the pics and you can see that the original one purged and put coolant everywhere. Now, the new tank has enough room to not allow any fluid out when it heats.
Overall very happy with the results. Fitment is perfect and looks factory
Nice bit of research. I'm sure the reservoir is a decent upgrade, but the newer coils seem to hold up fine so not sure they are worth the swich. I took the idea from another member and added a separate tank for the inter cooler fluid already using a universal wilwood brake fluid tank. It is not much capacity, but a cheap upgrade, allows expansion of the fluid in the system and yes, it does draw it back in as needed without even changing the cap. I think I have a pic of it. If so I'll add it and update this post.
Nice bit of research. I'm sure the reservoir is a decent upgrade, but the newer coils seem to hold up fine so not sure they are worth the swich. I took the idea from another member and added a separate tank for the inter cooler fluid already using a universal wilwood brake fluid tank. It is not much capacity, but a cheap upgrade, allows expansion of the fluid in the system and yes, it does draw it back in as needed without even changing the cap. I think I have a pic of it. If so I'll add it and update this post.
Agreed as to coils. Would be nice but given current reliability when replaced may not work. However, tank is cool. I just ordered it from Mercedes buttttt......it's on back order. Will update when receive it and work on install. Looks like it may be better to buy the new coolant pipe as well that it attaches to. I'll wait to order the pipe till I see how this tank sits.
If they are in fact standalone smart coils triggered by the computer directly, it would not be an easy conversion to say the least (tons of wiring if it's even possible). Possibly requiring other updates including the newer ECU and other sensors/modules that the newer ECU is expecting.
I got the goodies. So I found after ordering the tank that two hoses/pipes were needed. The tank goes directly into the new rear cross pipe. I will be fitting next week and will post pics of the install. Here are the parts.
A2792000185-x1 Tank
A2790980891-x1 rear metal line to tank
A2790980283-x1 rear rubber hose
I put in my Pierburg CWA100 2 weeks ago in my car, and my tuner also ordered the IC reservoir from the M279. The parts were not delivered the day of the install, so I kept the old one, but we bleeded properly with vacuum.
The M279-IC-Reservoir is a good update - I think it should be much more easy to bleed.
Last edited by AMG-Driver; Jul 4, 2016 at 02:11 AM.
I put in my Pierburg CWA100 2 weeks ago in my car, and my tuner also ordered the IC reservoir from the M279. The parts were not delivered the day of the install, so I kept the old one, but we bleeded properly with vacuum.
The M279-IC-Reservoir is a good update - I think it should be much more easy to bleed.
I'm not sure that it's relevant now that I have a trunk tank. But since I already added a small reservoir, I would love to swap to one of these if the install looks cleaner/factory.
The other possible upgrade from the W220 (or other recent turbocharged Mercedes) could be the full-height heat exchanger. I saw a picture of one of these and counted 66 rows.
Part No A0995003603
E / SL / CLS-class: A1975000103
It looked to me that bleeding would still be difficult, as the header still didn't have any bleed lines from the intercoolers.
However, it still enables level checking and topping up, which are very important.
I still think the only way to bleed these systems properly is with a vacuum re-filler and a rotary vane vacuum pump.
They get the vacuum down low enough to get literally ALL of the air out, and they cope with the water vapour. Not expensive either.
Nick
Last edited by Welwynnick; Jul 6, 2016 at 06:16 AM.
All is installed, Bled and working great. Fitment is fantastic. Easy to see water level, room for expansions when water heats and cools. Fits in standard location with same bolts as original water "tank".
Install was easy but required 1 modification. On our wiring harness cover, there is a single small ear that holds the original water crossover pipe (had a circular clip ring that bolted to it). Unfortunately, that ear is in the way of where the new tank enters the new pipe. So a quick cut and the ear was off and all was good.
Bleeding: bleeding was a breeze. I found that the two fittings on the top of the intercooler are exactly R134a/R12 fittings. Bought a kit at Pep-Boys that included R12 to R134 converting connector, then got R134a quick disconnect flling hoses and hooked this to the vacuum. On the fill side, bought a Lisle 24680 Spill-free Funnel kit and the fitting included fit perfectly inside the new tank and provided a tight seal. Filled the funnel as the vacuum pulled the air and fluid out and all was good. I used a "carboy" water tank to catch all the fluid coming out as to not hurt the vacuum pump. This is exactly what the factory is doing.
The tank has an easy to see line for filling and works perfectly allowing expansion in system. No more guessing how much water I have in there. Also, see the pics and you can see that the original one purged and put coolant everywhere. Now, the new tank has enough room to not allow any fluid out when it heats.
Overall very happy with the results. Fitment is perfect and looks factory
You mean to use the "thanks button"? When I say thanks, I mean thanks, regardless if I use a button or not. But I have used the button now, for the forum statistics... And also for your Intercooler-Pump Thread, which is obviously one of the alltime Best here on MB.
Last edited by AMG-Driver; Jul 12, 2016 at 04:25 AM.
Sorry, I wasn't referring to your post at all, although I can see that it looked like that. I was referring to my response to Mooks post, which I think I real step forwards for all of us.
Level has remained exactly the same as when I filled and bled. No filling has been required.
Intercoolers cool/lukewarm to the touch after cruising on freeway.
The other possible upgrade from the W220 (or other recent turbocharged Mercedes) could be the full-height heat exchanger. I saw a picture of one of these and counted 66 rows.
Part No A0995003603
E / SL / CLS-class: A1975000103
It looked to me that bleeding would still be difficult, as the header still didn't have any bleed lines from the intercoolers.
However, it still enables level checking and topping up, which are very important.
I still think the only way to bleed these systems properly is with a vacuum re-filler and a rotary vane vacuum pump.
They get the vacuum down low enough to get literally ALL of the air out, and they cope with the water vapour. Not expensive either.
Thank you for posting this information. I am in process of doing the upgrade for the intercooler circuit. Waiting on the new rubber hose to arrive, then the car will get put back together.
Mercedes SLR McLaren 722 S Is Extremely Rare Example Modified by McLaren
Slideshow: A one-of-one U.S.-spec Mercedes-Benz SLR McLaren Roadster became even rarer after a factory-backed transformation at McLaren's headquarters.


 And also for your Intercooler-Pump Thread, which is obviously one of the alltime Best here on MB.