


*** $1,500 CF Airbox with HP benefits ***
Super Member


Joined: Aug 2005
Posts: 725
Likes: 1
From: SoCal
05 E55
PS note to everyone: I used the adhesive felt between my gen 1 80 TB and the intake, as no matter how much of the rubber I sliced off (to the metal) on the TB, it still rubbed on the intake piece and left a gash. Adhesive felt is really nice for these tight tolerances on an otherwise beautiful kit... and it blends in to the CF pretty well.
Administrator


Joined: Mar 2005
Posts: 4,080
Likes: 558
Drives Slowly
PS note to everyone: I used the adhesive felt between my gen 1 80 TB and the intake, as no matter how much of the rubber I sliced off (to the metal) on the TB, it still rubbed on the intake piece and left a gash. Adhesive felt is really nice for these tight tolerances on an otherwise beautiful kit... and it blends in to the CF pretty well.

MBWorld Fanatic!
Joined: Nov 2005
Posts: 1,463
Likes: 0
E55
PS note to everyone: I used the adhesive felt between my gen 1 80 TB and the intake, as no matter how much of the rubber I sliced off (to the metal) on the TB, it still rubbed on the intake piece and left a gash. Adhesive felt is really nice for these tight tolerances on an otherwise beautiful kit... and it blends in to the CF pretty well.
Super Member
Joined: Aug 2005
Posts: 725
Likes: 1
From: SoCal
05 E55
I have rubbing in 3 places:
1) Between both air tubes and the engine cover (the recent kit Victor just sent out) and
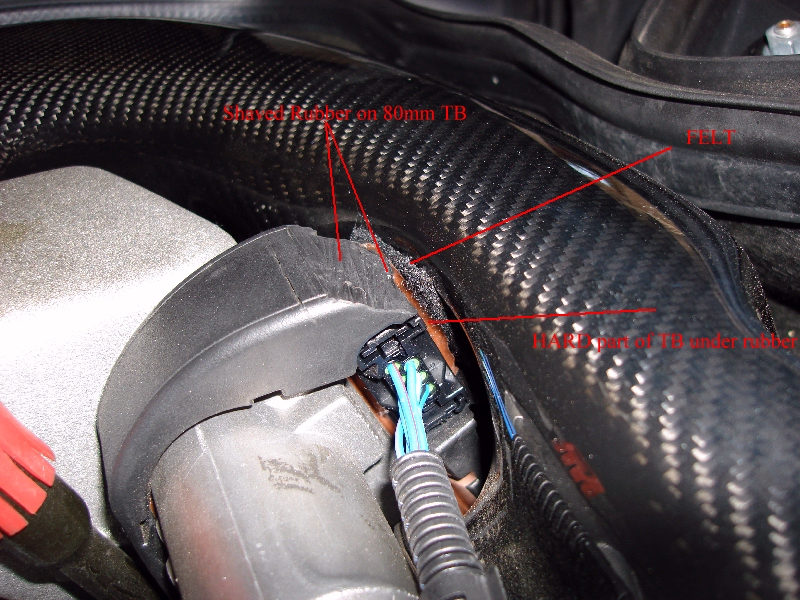
2) Between the actual 80 TB and the CF airbox. In the instructions for those of us with Gen 1 VRUS TBs (don't know if its different for stock or Gen II), Victor had us cut the rubber off the back side of the larger TB so that the airbox would fit. If not, you ran into the rubber and the airbox would be impossible to align. On mine the problem was I cut back the rubber insulation until I reached the metal part of the TB... and I STILL rubbed. I left it for just two days like that and it practically created a hole in the CF airbox. Very deep gash. So, I got some adhesive felt and put it between CF airbox and the shaved area on the TB... bingo, all is well.
Rock, I drew you a picture... hehe

Loren

1) Between both air tubes and the engine cover (the recent kit Victor just sent out) and
2) Between the actual 80 TB and the CF airbox. In the instructions for those of us with Gen 1 VRUS TBs (don't know if its different for stock or Gen II), Victor had us cut the rubber off the back side of the larger TB so that the airbox would fit. If not, you ran into the rubber and the airbox would be impossible to align. On mine the problem was I cut back the rubber insulation until I reached the metal part of the TB... and I STILL rubbed. I left it for just two days like that and it practically created a hole in the CF airbox. Very deep gash. So, I got some adhesive felt and put it between CF airbox and the shaved area on the TB... bingo, all is well.
Rock, I drew you a picture... hehe
Loren
Administrator
Joined: Mar 2005
Posts: 4,080
Likes: 558
Drives Slowly
I likey pictures.
That's the same problem I'm having but we also had a hell of a time getting a airbox/TB seal. Then, when we did get a seal we never got the bottom of the stock boxes to securely clamp on the engine block.
I currently have the airbox off but I need to play with this thing some more.
That's the same problem I'm having but we also had a hell of a time getting a airbox/TB seal. Then, when we did get a seal we never got the bottom of the stock boxes to securely clamp on the engine block.
I currently have the airbox off but I need to play with this thing some more.
Super Member
Joined: Aug 2005
Posts: 725
Likes: 1
From: SoCal
05 E55
I likey pictures.
That's the same problem I'm having but we also had a hell of a time getting a airbox/TB seal. Then, when we did get a seal we never got the bottom of the stock boxes to securely clamp on the engine block.
I currently have the airbox off but I need to play with this thing some more.
That's the same problem I'm having but we also had a hell of a time getting a airbox/TB seal. Then, when we did get a seal we never got the bottom of the stock boxes to securely clamp on the engine block.
I currently have the airbox off but I need to play with this thing some more.
good luck,
Loren

Thread Starter
Banned
Joined: May 2004
Posts: 3,797
Likes: 2
From: Richmond Hill, Ontario
2003 E55 AMG
The spacing from one car to another is sometimes quite different.. Added to that the fact that we made those pieces as big as possible to take advantage of flow... and now we have a pretty tight space to fit it all in.
One thing to remember if putting the airbox on is difficult.. Those rubber feet on the bottom section of the airbox (the stock bottom plastic) that mounts to the surge tanks.. You can REMOVE or trim those rubber feet.. That will make it easier to move the airbox around and fit it to your liking..
The gromets at the BOTTOM of the stock airbox that mounts to the engine is what holds everything in place, so the top ones are not 100% necessary. This is also the solution for people that are running the Evosport phenolic spacers.
Loren: I do like your felt idea.. Blends in nicely and protects the surface!!

Senior Member
Joined: Mar 2006
Posts: 372
Likes: 0
From: San Diego.Ca
K3 05 E55 sold, 09 GL550
*** Update ***
Good news / bad news:
Acetone does remove the super glue... at least the smaller marks. Lots of rubbing and soaking, and only minimally faded the area in question, if at all. I'll have to keep working on the larger marks, but already its cleaned up a lot.
Bad news: Be very careful how you rotate / mount the engine tubes, as even though they may clear the engine cover by a 1/4" or so, they end up rubbing while you're driving / when the engine flexes... which immediately leave marks in the tubes themselves. I'm going to take them off and try pressing them down while tightening the hose clamps / or otherwise rotating them a bit to create more distance. Mine are snapped in and straight, with both coming about 1/4" from the engine cover with these resulting marks on both sides after just one day of driving:
Loren
Attachment 109505
Attachment 109506
MB World Stories
The Best of Mercedes & AMG

Manual Mercedes? 6 Times Sindelfingen Let Drivers Have All The Fun
Verdad Gallardo
Mercedes SLR McLaren 722 S Is Extremely Rare Example Modified by McLaren
Verdad Gallardo
8 Classic Boxy Mercedes Designs That Have Aged Like Fine Wine
Verdad Gallardo
Flawlessly Restored Mercedes 190E Evo II Heads to Auction
Verdad Gallardo
Electric Mercedes C-Class Unveiled: 11 Things You Need to Know
Verdad Gallardo
Mercedes EQS Gets A Major Update: Everything You Need to Know
Verdad Gallardo
5 Underrated Mercedes-Benz Models That Don't Get the Love They Deserve
Verdad Gallardo
Mercedes 300D Has Pushed Well Past 1 Million Miles and It Ain't Stopping
Verdad Gallardo
10 Most Reliable Mercedes-Benz Models You Can Buy Used
Verdad Gallardo
Super Member
Joined: Aug 2005
Posts: 725
Likes: 1
From: SoCal
05 E55
Loren , I just make a mess with super glue on my CF engine cover and I use the Acetone removing nail and goo gone to remove the glue on the surface of the CF engine cover , but it wont go away so can you or anyone tell me please what kind of Acetone or can anything else can remove the glue .I apreciate your help. Vic I maybe purchase a new engine cover
It still didn't get all of it off, mostly because I'm not going to invest another hour of elbow grease on it this month... but it will take the thin areas off. The lemon fresh scent relaxed my rage, so I highly recommend it.
Victor, I'm telling you, pull the plug on the star / glue kit to save future people... and either fabricate some disk to go in it (AMG logo, star, whatever) or fill the hole completely... or at least supply some glue with more viscosity than water. Take the consumer out of the equation, as they are going to mess this up again and again...
And on this day Loren did warnest everyone for a 2nd time...
Loren
Last edited by FlyByNight; Jul 24, 2007 at 06:42 PM.
Thread Starter
Banned
Joined: May 2004
Posts: 3,797
Likes: 2
From: Richmond Hill, Ontario
2003 E55 AMG
Thanks Loren.. I forwarded all of these comments to the composites shop.
I really wanted to keep the stock look and have the star there, but maybe I'll see if there is something else I can put there in its place..
I really wanted to keep the stock look and have the star there, but maybe I'll see if there is something else I can put there in its place..
I literally went to Rite Aid and got the extra strength bottle of nail polish remover / acetone... with fresh lemon scent.
It still didn't get all of it off, mostly because I'm not going to invest another hour of elbow grease on it this month... but it will take the thin areas off. The lemon fresh scent relaxed my rage, so I highly recommend it.
Victor, I'm telling you, pull the plug on the star / glue kit to save future people... and either fabricate some disk to go in it (AMG logo, star, whatever) or fill the hole completely... or at least supply some glue with more viscosity than water. Take the consumer out of the equation, as they are going to mess this up again and again...
And on this day Loren did warnest everyone for a 2nd time...
Loren
Thread Starter
Banned
Joined: May 2004
Posts: 3,797
Likes: 2
From: Richmond Hill, Ontario
2003 E55 AMG
oh man... there has got to be a way to clean off the surface. Just be careful and dont experiment too losely on them.. the carbon is protected with a clearcoat. Use only mild cleaners..
I'll ask and find out what is best to clean the surface with.
I'll ask and find out what is best to clean the surface with.
Loren , I just make a mess with super glue on my CF engine cover and I use the Acetone removing nail and goo gone to remove the glue on the surface of the CF engine cover , but it wont go away so can you or anyone tell me please what kind of Acetone or can anything else can remove the glue .I apreciate your help. Vic I maybe purchase a new engine cover
Senior Member
Joined: Mar 2006
Posts: 306
Likes: 0
From: Miami, FL
CLS 55 AMG, 2002 Chevy Avalanche (w/ NOS) :D
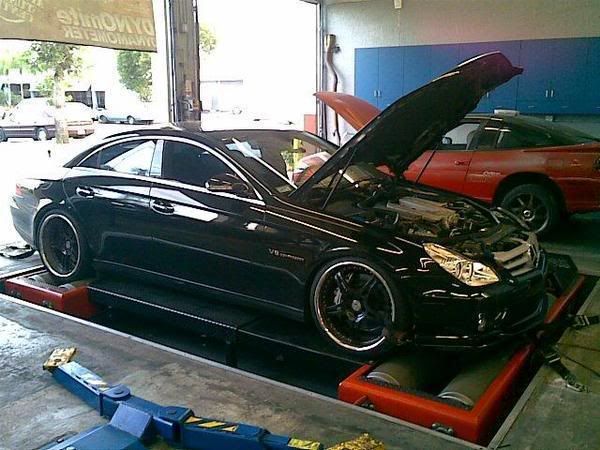
Well I finally dynoed my car with the VRP AIRBOX AND TUBES! I got some pretty Good Numbers
393 HP 450 TQ
Stock
424 HP / 495 TQ
VRP FULL INTAKE / RESONATOR DELETE
http://i32.photobucket.com/albums/d2...Son2006-11.jpg
This was my baseline dyno when I first got the car. Completely stock..
I dynoed it again once more and got 401 TQ & 457 TQ. I cant find the dyno sheet however, ill post when I find it.
&
1st dyno run sheet
http://i32.photobucket.com/albums/d2...Son2007-07.jpg
2nd dyno run sheet
http://i32.photobucket.com/albums/d2...LSon2007-1.jpg
& 3 video's of the dyno!
http://videos.streetfire.net/video/e...7200d76830.htm
http://videos.streetfire.net/video/6...7200e87f6a.htm
http://videos.streetfire.net/video/4...7200f53bf7.htm
Let me know what you guys think..
ENJOY
Thread Starter
Banned
Joined: May 2004
Posts: 3,797
Likes: 2
From: Richmond Hill, Ontario
2003 E55 AMG
Xavier!!! Holy hell that thing sounds wicked!!!
I am speechless... Is this on the same dyno as the stock pulls? Were the conditions pretty consistent from last time?
Thats 31rwhp and 45rwtq higher than your stock numbers.... that's a pretty significant jump for air intake & resonator delete..
Any chance you can do a 1/4mile blast??? If it shows some serious improvement, can I use your car as a poster child for the carbon intake??? Pretty please?
One last thing... No close up video of all the carbon fiber????? Geez...
Well I finally dynoed my car with the VRP AIRBOX AND TUBES! I got some pretty Good Numbers
393 HP 450 TQ
Stock
424 HP / 495 TQ
VRP FULL INTAKE / RESONATOR DELETE
http://i32.photobucket.com/albums/d2...Son2006-11.jpg
This was my baseline dyno when I first got the car. Completely stock..
I dynoed it again once more and got 401 TQ & 457 TQ. I cant find the dyno sheet however, ill post when I find it.
&
1st dyno run sheet
http://i32.photobucket.com/albums/d2...Son2007-07.jpg
2nd dyno run sheet
http://i32.photobucket.com/albums/d2...LSon2007-1.jpg
& 3 video's of the dyno!
http://videos.streetfire.net/video/e...7200d76830.htm
http://videos.streetfire.net/video/6...7200e87f6a.htm
http://videos.streetfire.net/video/4...7200f53bf7.htm
Let me know what you guys think..
ENJOY
393 HP 450 TQ
Stock
424 HP / 495 TQ
VRP FULL INTAKE / RESONATOR DELETE
http://i32.photobucket.com/albums/d2...Son2006-11.jpg
This was my baseline dyno when I first got the car. Completely stock..
I dynoed it again once more and got 401 TQ & 457 TQ. I cant find the dyno sheet however, ill post when I find it.
&
1st dyno run sheet
http://i32.photobucket.com/albums/d2...Son2007-07.jpg
2nd dyno run sheet
http://i32.photobucket.com/albums/d2...LSon2007-1.jpg
& 3 video's of the dyno!
http://videos.streetfire.net/video/e...7200d76830.htm
http://videos.streetfire.net/video/6...7200e87f6a.htm
http://videos.streetfire.net/video/4...7200f53bf7.htm
Let me know what you guys think..
ENJOY
Senior Member
Joined: Mar 2006
Posts: 306
Likes: 0
From: Miami, FL
CLS 55 AMG, 2002 Chevy Avalanche (w/ NOS) :D
Thanks lol.. As far as conditions go, I believe they were Hotter and more humid this dyno pull. I believe it was in the 90's. Yea I was amazed as the Number gains as well!!
I was trying to head up to moroso today for test and tune, However it was raining way to much and no real point to go. I am trying to go this friday with some friends and for sure ill be posting time slips and videos it I make it out there. It being hard to convince my g/f to let me go out there because she gets mad at me when I tell her im going to moroso or driving fast for that matter lol..
Yes you can use my car for the poster child for the carbon intake lol.. I have some more pictures as well i can show you..
Ill see if I take some video & picture close ups of the intake tomorrow..
Let me know if there is anything I can do to help out.
any feedback?
THANK YOU VIC!!! LOL
Xavier!!! Holy hell that thing sounds wicked!!!
I am speechless... Is this on the same dyno as the stock pulls? Were the conditions pretty consistent from last time?
Thats 31rwhp and 45rwtq higher than your stock numbers.... that's a pretty significant jump for air intake & resonator delete..
Any chance you can do a 1/4mile blast??? If it shows some serious improvement, can I use your car as a poster child for the carbon intake??? Pretty please?
One last thing... No close up video of all the carbon fiber????? Geez...
I am speechless... Is this on the same dyno as the stock pulls? Were the conditions pretty consistent from last time?
Thats 31rwhp and 45rwtq higher than your stock numbers.... that's a pretty significant jump for air intake & resonator delete..
Any chance you can do a 1/4mile blast??? If it shows some serious improvement, can I use your car as a poster child for the carbon intake??? Pretty please?
One last thing... No close up video of all the carbon fiber????? Geez...
Thread Starter
Banned
Joined: May 2004
Posts: 3,797
Likes: 2
From: Richmond Hill, Ontario
2003 E55 AMG
That's awesome!! I really hope we can see the proof in the 1/4mile times.. that will tell us everything.
Hmm. More pics huh.. that sounds interesting!! FIRE AWAY PLEASE.. You know how much I like pics..
Thank you Xavier.. I appreciate your patience with all of this and as long as you are happy with the product, then I am happy.
Hmm. More pics huh.. that sounds interesting!! FIRE AWAY PLEASE.. You know how much I like pics..
Thank you Xavier.. I appreciate your patience with all of this and as long as you are happy with the product, then I am happy.
Thanks lol.. As far as conditions go, I believe they were Hotter and more humid this dyno pull. I believe it was in the 90's. Yea I was amazed as the Number gains as well!!
I was trying to head up to moroso today for test and tune, However it was raining way to much and no real point to go. I am trying to go this friday with some friends and for sure ill be posting time slips and videos it I make it out there. It being hard to convince my g/f to let me go out there because she gets mad at me when I tell her im going to moroso or driving fast for that matter lol..
Yes you can use my car for the poster child for the carbon intake lol.. I have some more pictures as well i can show you..
Ill see if I take some video & picture close ups of the intake tomorrow..
Let me know if there is anything I can do to help out.
any feedback?
THANK YOU VIC!!! LOL
I was trying to head up to moroso today for test and tune, However it was raining way to much and no real point to go. I am trying to go this friday with some friends and for sure ill be posting time slips and videos it I make it out there. It being hard to convince my g/f to let me go out there because she gets mad at me when I tell her im going to moroso or driving fast for that matter lol..
Yes you can use my car for the poster child for the carbon intake lol.. I have some more pictures as well i can show you..
Ill see if I take some video & picture close ups of the intake tomorrow..
Let me know if there is anything I can do to help out.
any feedback?
THANK YOU VIC!!! LOL
MBWorld Fanatic!
Joined: Sep 2006
Posts: 2,175
Likes: 0
06 EuroElites E55

Banned
Joined: Jun 2006
Posts: 729
Likes: 0
From: United Snakes of America
German
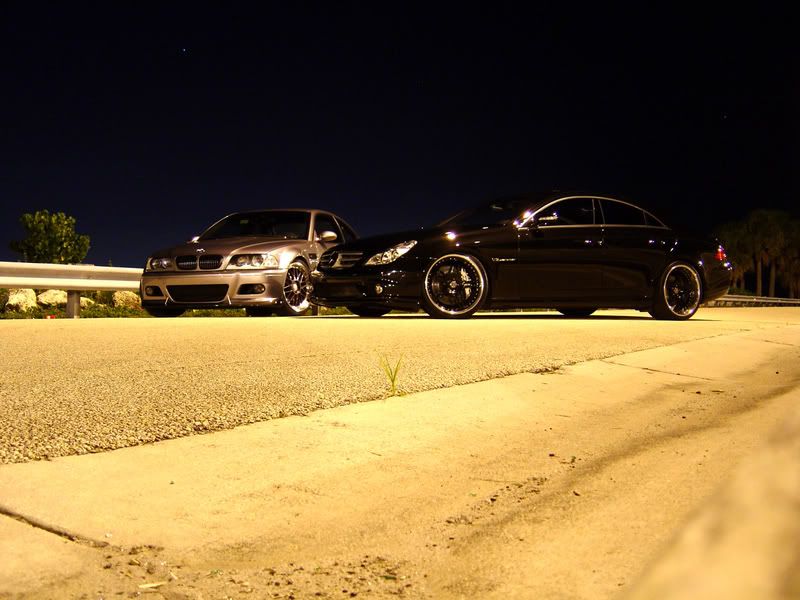
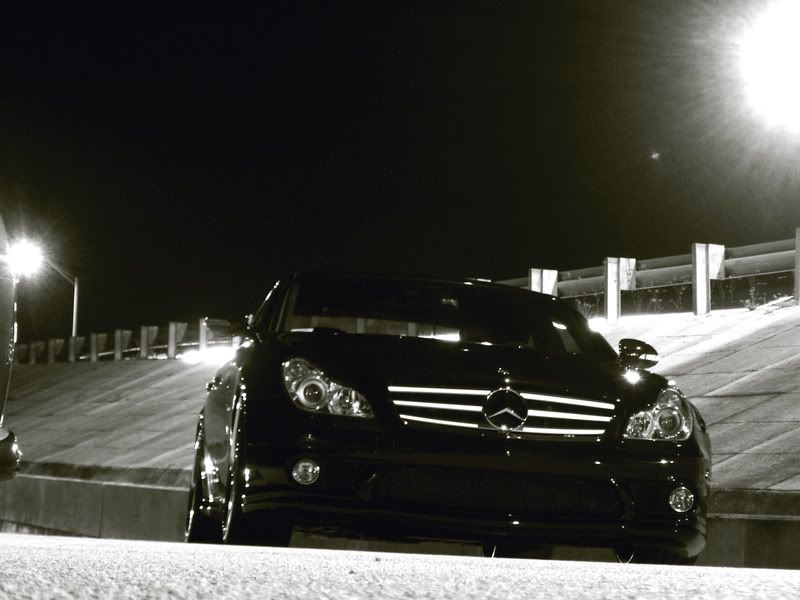
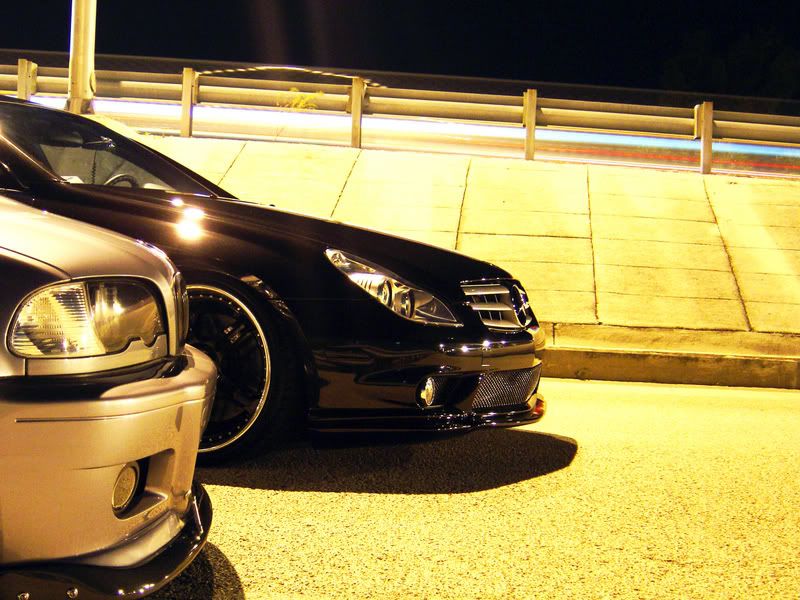
for some reason im not a big fan of the CLS body...but your car looks amazing!!! 
 ....im sure its roomier then the e55 from the inside .
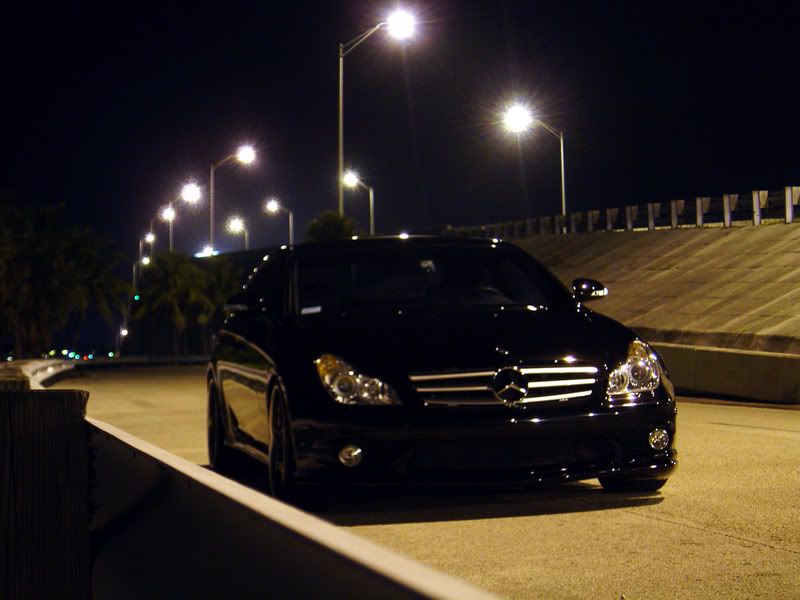
some things I would change:
- black-out the front grill, but leave the MB star chrome...
-get rid of the orange part on your front headlights...
....im sure its roomier then the e55 from the inside .some things I would change:
- black-out the front grill, but leave the MB star chrome...
-get rid of the orange part on your front headlights...
Senior Member
Joined: Mar 2006
Posts: 306
Likes: 0
From: Miami, FL
CLS 55 AMG, 2002 Chevy Avalanche (w/ NOS) :D
Thanks!! much appreciated I already painted the front grill how you said you would have it, however the orange lights are still the same. Ill take some more photos when the car is clean and post them.
I already painted the front grill how you said you would have it, however the orange lights are still the same. Ill take some more photos when the car is clean and post them. for some reason im not a big fan of the CLS body...but your car looks amazing!!! ....im sure its roomier then the e55 from the inside .
some things I would change:
- black-out the front grill, but leave the MB star chrome...
-get rid of the orange part on your front headlights...
....im sure its roomier then the e55 from the inside .some things I would change:
- black-out the front grill, but leave the MB star chrome...
-get rid of the orange part on your front headlights...

Super Member
Joined: Oct 2006
Posts: 579
Likes: 0
From: Toronto, ON
Bentley Flying Spur, CL550
Damn Those are some serious gains. Looks like I might have to invest in one of these now.
Those are some serious gains. Looks like I might have to invest in one of these now. Well I finally dynoed my car with the VRP AIRBOX AND TUBES! I got some pretty Good Numbers
393 HP 450 TQ
Stock
424 HP / 495 TQ
VRP FULL INTAKE / RESONATOR DELETE
http://i32.photobucket.com/albums/d2...Son2006-11.jpg
This was my baseline dyno when I first got the car. Completely stock..
I dynoed it again once more and got 401 TQ & 457 TQ. I cant find the dyno sheet however, ill post when I find it.
&
1st dyno run sheet
http://i32.photobucket.com/albums/d2...Son2007-07.jpg
2nd dyno run sheet
http://i32.photobucket.com/albums/d2...LSon2007-1.jpg
& 3 video's of the dyno!
http://videos.streetfire.net/video/e...7200d76830.htm
http://videos.streetfire.net/video/6...7200e87f6a.htm
http://videos.streetfire.net/video/4...7200f53bf7.htm
Let me know what you guys think..
ENJOY
Thread Starter
Banned
Joined: May 2004
Posts: 3,797
Likes: 2
From: Richmond Hill, Ontario
2003 E55 AMG
LOL.. I know.. I know... I'm right there with you because I'm waiting for my 80mm Gen2 airbox for my car also.. LOL..
You can beat me senseless with a carbon fiber airtube when I come down to Cali to visit you guys.. I'm going to plan a trip.
You guys have the patience of saints... and for that, I Thank You!
You can beat me senseless with a carbon fiber airtube when I come down to Cali to visit you guys.. I'm going to plan a trip.
You guys have the patience of saints... and for that, I Thank You!
Originally Posted by ENDSMTG
+100

MBWorld Fanatic!
Joined: May 2004
Posts: 1,197
Likes: 1
W221 S65 AMG


