When you click on links to various merchants on this site and make a purchase, this can result in this site earning a commission. Affiliate programs and affiliations include, but are not limited to, the eBay Partner Network.
Motor Mounts Done - Steering Rack Method and BoostedBenz Mount Review
Yes, motor mounts are possible to do in-car, without touching the subframe. I won't lie, you will have a solid hour of frustration pulling the passenger side mount out, but the rest is actually pretty easy. You will have to pop out just the passenger side axle but don't need a slide hammer or special tools for that. It's a messy job so I didn't swap gloves to take a bunch of pictures, but below is the play-by-play. I did this on a lift, but I suppose it is possible on the ground with a stable jack of some sort. No, this is not a by the book job, but it's one I'm comfortable with and have been working on and taking cars to the track for years now.
-Unhook battery negative on passenger side engine compartment (you're working near the starter, don't neglect this!)
-Remove air boxes, engine upper and lower trim, rubber things under the air boxes etc. Get that engine nice and naked.
-Unplug Vacuum line that goes through first firewall on the passenger side rear, by the battery, it's bigger and the only one that passes through the metal (this will pinch lifting the motor if left plugged in)
-Remove front wheels
-Remove fasteners from front struts (lower mount bolts, electrical connectors to shock, brake sensor, and sway bar link nuts)
-Undo steering shaft coupler bolt and slide off coupler (marking it's alignment before)
-Remove steering rack bolts (2 main, 2 forward for the metal plate, and drivers side bushing bolt)
-Lower rack and secure with tie down strap or similar
-Loosen passenger side downpipe (2 bolts at front, brackets further back, crossmember in center of car, exhaust connection to resonator)
-Remove O2 sensors on this downpipe (don't bother with finding and unplugging connectors, just unscrew and be sure to wind them the other direction first before re-installing. Be VERY careful to not touch the end of the o2 sensor, or find something without any oils on it to cover and keep out of the way while you work)
-Now you can fully remove the downpipe and reach the rear lower bolt and upper bolt for that mount.
-Remove lower engine mount bolts and upper bolts, you can reach all of them now. Drivers side upper bolt needs a bunch of extensions and a swivel to get to, passenger side front bolt needs a stubby 13mm ratchet as the clearance is really tight there.
-Loosen bolts to transmission mount (leave crossmember in place).
-Pop out axle on passenger side using a pry bar from the channel where the steering rack was.
-Now the engine is loose, you can jack from the oil pan in the center to get the drivers side mount out.
-Once that is done (and new mount is in on that side - doesn't need to be fastened yet), move your jack to the passenger side further (by the diff) and jack up that side of the motor. Clearance is really tight here, keep an eye on stuff in the engine bay above as there is a cluster of vacuum hoses and plastic stuff near there. It comes out by the alternator and there is an oil line there too, but with enough clearance and movement it will come through. I think I had to use my pry bar by the diff too to kind of push the motor towards the drivers side, but it will come out. Also watch where the axle shaft is rubbing and catching as you don't want to scrape it up or split the boot.
Reinstallation is just the opposite, with a few notes:
-If you didn't secure your steering wheel, leave fastening the coupler as your last step before putting the belly pans back on. Mine had swung a full 180 so when I started it and put it into reverse, the reverse parking guide lines on the screen inside were turned despite the wheel being straight. A super easy fix, just annoying to have to rack again and take the coupler off and turn the steering shaft back over again.
-Popping the passenger axle back in - get one of the lower strut bolts in (not both) and you should be able to rock it and snap back into the diff pretty easily (rotate the brake rotor a little to make sure you're engaged in the spline correctly).
-You should replace the transmission mount, it's a few more bolts and will be as worn as our motor mounts.
-Get new lower strut bolt nuts, they are locking and the dealer gave me an updated style of nut. I'm sure every piece of MB literature says to replace every nut and bolt, but honestly I don't see a need on most of the others. I ended up pulling the struts out to replace the upper mounts and rubber to get rid of a creaking noise on turns (which worked!) so I also replaced the 6 upper strut mount bolts as they have blue loctite on them, as well as the locking nuts for the sway bar links which I also replaced.
BoostedBenz Mount review: Overall I am very pleased. There is more vibration through the steering wheel at idle than the stock mounts, but that doesn't bother me the least bit. The mounts were getting worn when I bought the car and it just always had a German muscle car feel to it which was probably due to 70k mile mounts...What's gone now is the 'bad' vibration feeling, one that continued at lower speeds until you got to cruise, and a sloppy drivetrain feeling. Everything now is tight, power seems faster to come on when tossing the car around tighter corners, everything is just super solid. It's not an S class, so a little NVH at idle is not a concern.
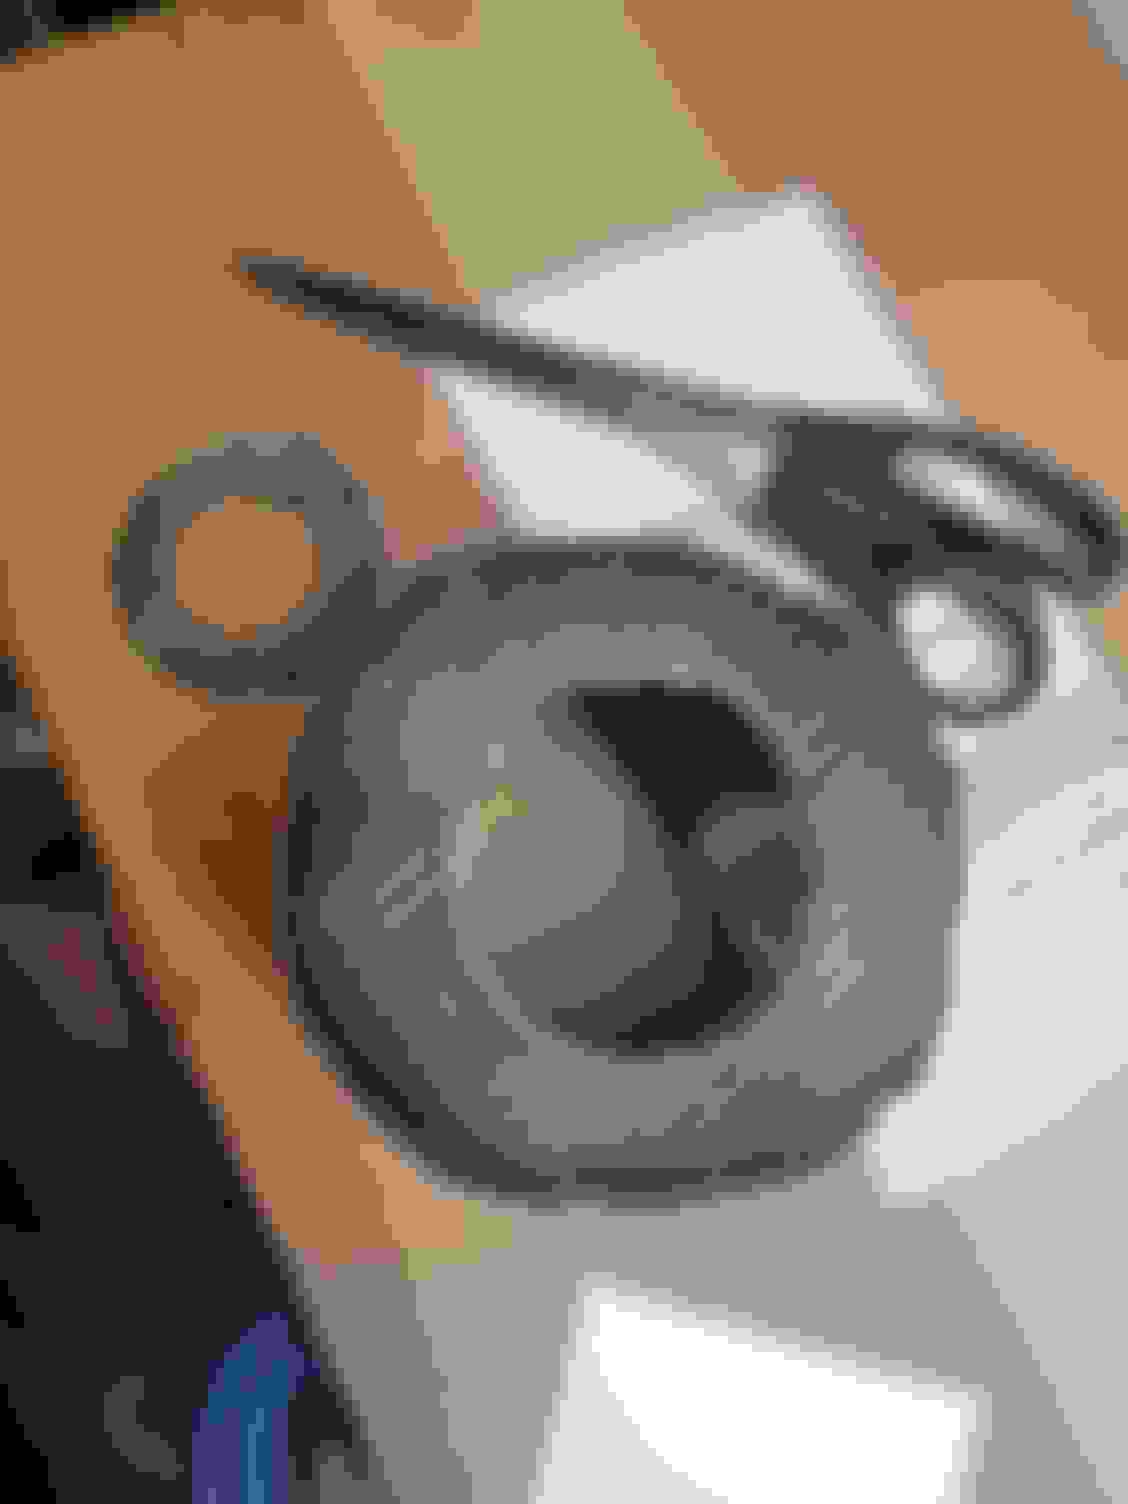
I will rate them a 4.5/5 because of one annoying issue - the heatshields prevent you from getting the bolts into the upper mount threads. It causes the engine cradle to sit about 1-2mm higher and you can't get the threads started. I didn't realize this until after getting everything in place, so I had to start all over re-jacking the motor and making enough space to pull the heatshields off and modify (see pics below). I had to cut the center circle out so the top of the mount sat flush with the engine cradle and then we were in business. It really doesn't detract from the heat shielding effectiveness, but I'd be really annoyed to have spent an extra $100-$150 for these only to have to cut them with kitchen scissors. Luckily I got them for free as part of a sale, so the only pain was noticing this when I did. I also had to email them to clarify thread pitch and got a response in about 10 minutes, so great customer service! I love that they are serviceable too. Yes, you use your factory bolts, but the coating on the threads makes it tough to go in which is why I wanted to ask them. I always find this a little unnerving but that's a big bolt to cross thread...just trust the initial start and carefully tighten with a good ratchet.
That's all, if anyone else is tackling this and has questions please post or reach out! The cheapest labor price I got from an independent was $1800 so this saves a lot to do yourself, and is a definite wear item in these cars. Happy wrenching!
Making room dropping the steering rack Inner part on the left Now a flush fit!
how is the steering vibration with the new mounts? About to change my mounts next month and address front diff seepage
Thanks! I didn't buy the car new and this is the first mount replacement, so I unfortunately can't truly compare to new factory mounts but I'm guessing they take out all vibration. Now there is *some* vibration but I'd call it more of a buzz than a vibration, nothing feels loose anymore. I thought about posting a video of my finger on the wheel or a tiny glass of water haha but I don't think you'd see any visuals, if that gives you an idea of vibration. I don't notice anything at speed anymore, before I would get vibration up to 25-30mph, so it's really just the buzz at idle. I feel like the random noises from some interior plastic bits is better too!
Great write up , may be in my future if I hang onto the 212 for a bit. Nice to see you didn't have to touch the subframe. While the axle is out , maybe can knock out the front trans. case fluid as well.
I actually had every intention of doing the gear oil up front, but the couple drops that came out with the axle were super clear and smelled great. I bought the car w/ 60k on it and a lot of Carfax service visits but not a ton of actual detail, so it looks like mine was changed already (I also trust my nose working in a shop for 10 years to know fresh vs heated and worn out gear oil). Luckily that axle is pretty easy to pop out again so I'll probably change it after another couple sets of spark plugs or the next time I do trans fluid
Hey! GinDistiller! Told you it worked, I'm glad someone else has tried this method. I feel it's going to be much easier for enthusiasts to keep these cars longer since we finally got this down to a DIY. Next up I plan on doing the turboback pipes with the motor in. Wish me luck!
14 E63, 05 E55, 03 Evo 8, 08 F250, 06 R6R, 92 Talon TSI, and instability
Lots of pics to follow. Not doing it on jackstands per se, but definitely the next best thing short of a lift.
Edit: Once I got into it, I ended up needing both hands and didn't get pics like I wanted. Total fail on my part. However, I have much to add to this thread.
14 E63, 05 E55, 03 Evo 8, 08 F250, 06 R6R, 92 Talon TSI, and instability
A few notes to add to this thread.
First things first: If any of the following statements apply to you, DO NOT ATTEMPT THIS METHOD:
1. You don't have access to a lift, high capacity Quick Jacks, or proper jackstands capable of raising the car 20inches or higher.
2. You lack access to a wide variety of tools and high capacity, high lift, precision jacks. Also recommend extra lift/jack pads if you're doing it on QuickJacks or high jackstands.
3. You are a novice mechanic or your first time trying to wrench on a car.
Doing the mounts this way is not impossible, but has a degree of difficulty that will get a novice into trouble quickly.
Both mounts will fight you getting the main mount bolt in. The trick to getting them in is to install both mounts with the mount base bolts loose first, then slightly lift the motor back up and install the the main bolt semi flush but not torqued, lower the motor and then torque all the mount base and main bolts down.
The passenger side mount will fight you you tooth and nail on install almost as much as on removal as described above. Reinstallation of that mount is not the exact reverse of install. To get the mount set, first get it in place WITHOUT installing the base bolts. bolts.incrementally lower the motor positioning the top main bolt hole in the motor and disregarding the base holes. As it gets lower, the mount base will naturally slide into position. Once it sets all the way down, lift the motor slightly to allow you to slight be able to move the base to adjust for the base holes, and hand install the base bolts with some slack left over.
Parting thoughts: If I were to do this again, would I choose the Kennyd or the Gindistiller method? If I had access to a lift taller than quickjacks, I'd recommend the Kennyd method as it takes a little less skill and is faster. If you don't, then the Gindistiller method is your best bet provided you're confident in your ability to do the job. I know exactly what I'd charge to correct a bad attempt at this method, and it's not cheap.
I got the long wheelbase Quickjack 6000ELX because I only have longer wheelbase vehicles. So this is at least an acceptable lift system? My garage ceiling is super low. Need to build that shop I always wanted...
14 E63, 05 E55, 03 Evo 8, 08 F250, 06 R6R, 92 Talon TSI, and instability
Originally Posted by kevm14
I got the long wheelbase Quickjack 6000ELX because I only have longer wheelbase vehicles. So this is at least an acceptable lift system? My garage ceiling is super low. Need to build that shop I always wanted...
Depending on your body mass ( some of us are more round than others lol), you should be good. I have the 7000 with the extenders, plus used the thicker pads, which added about 2 inches of height.
I got the long wheelbase Quickjack 6000ELX because I only have longer wheelbase vehicles. So this is at least an acceptable lift system? My garage ceiling is super low. Need to build that shop I always wanted...
Honestly, it's a personal preference. I've been under the car enough times with a jack and stands (2 and 4 stands) that it doesn't bug me being under there with about a foot of clearance. I'm not a small guy either but, ya end up doin the hop and scoot a lot forgetting tools lol
Going to give this a whirl in the next weekend or 2. Will give the gindistiller method a go . Will be using a buddies lift. Trying to gather any additional parts needed , lower strut bolt nuts , swaybar link nuts , front diff oil if I feel like messing with that . Anything else I missed
Is it any easier to replace the pcv valve once the pass. side downpipe is removed - this could be from the top anyway haven't dug into it ?
@GinDistiller any special tool/socket needed to replace the front strut mounts . regular socket & impact gun work - is torquing the upper mount nut critical on these
@GinDistiller any special tool/socket needed to replace the front strut mounts . regular socket & impact gun work - is torquing the upper mount nut critical on these
I always have used an impact gun on these without issue, no special tools besides the right sized deep socket. I will say however that the springs were some of the hardest I've ever worked with, even with my full wall-mounted spring compressor it took a lot of effort and repositioning to get the upper mounts to seat properly. With the bottoms seated the top of the springs do not sit flat/flush with the mount so you have to lean on it while compressing. It's not something I would attempt with those cheaper clamp-on spring compressor things...
Also - in response to your last post, I would now add just replacing the right axle seal to your list. Mine is seeping now, probably got a small bit of debris in it during the job or a small cut, so I've got to redo that at some point.
@GinDistiller any special tool/socket needed to replace the front strut mounts . regular socket & impact gun work - is torquing the upper mount nut critical on these
I should add one update to this thread I started now that the motor mounts have some miles on them: The mounts cause the engine to sit SLIGHTLY lower, no particular strain on anything however I had been chasing an annoying rattle and found it to be the exhaust rubbing at times on the metal cross bar piece in the center of the car (which is why I could hear it right under the center console). I simply added a couple washers to lower the metal bar, and ordered some urethane exhaust mounts on Amazon and now it won't rub. Otherwise everything else is still solid.

 03-22-2023, 11:36 PM