When you click on links to various merchants on this site and make a purchase, this can result in this site earning a commission. Affiliate programs and affiliations include, but are not limited to, the eBay Partner Network.
HHmmm, MB should be ashamed.
No wonder my engine is never free of micro oil leak.
Dec 2021 I replaced the VVT magnetic solenoid. See how dirty 34,500KM worth of seepage is. BANK 1 - Right side of engine
I tried a mild re-tightening of the small screws, that was it.
Today it is only 1,000KM of use or 35,600KM ish. Already twice ( per 500KM ) I found micro leak. Easy to spot, I know where the final oil drops will be.
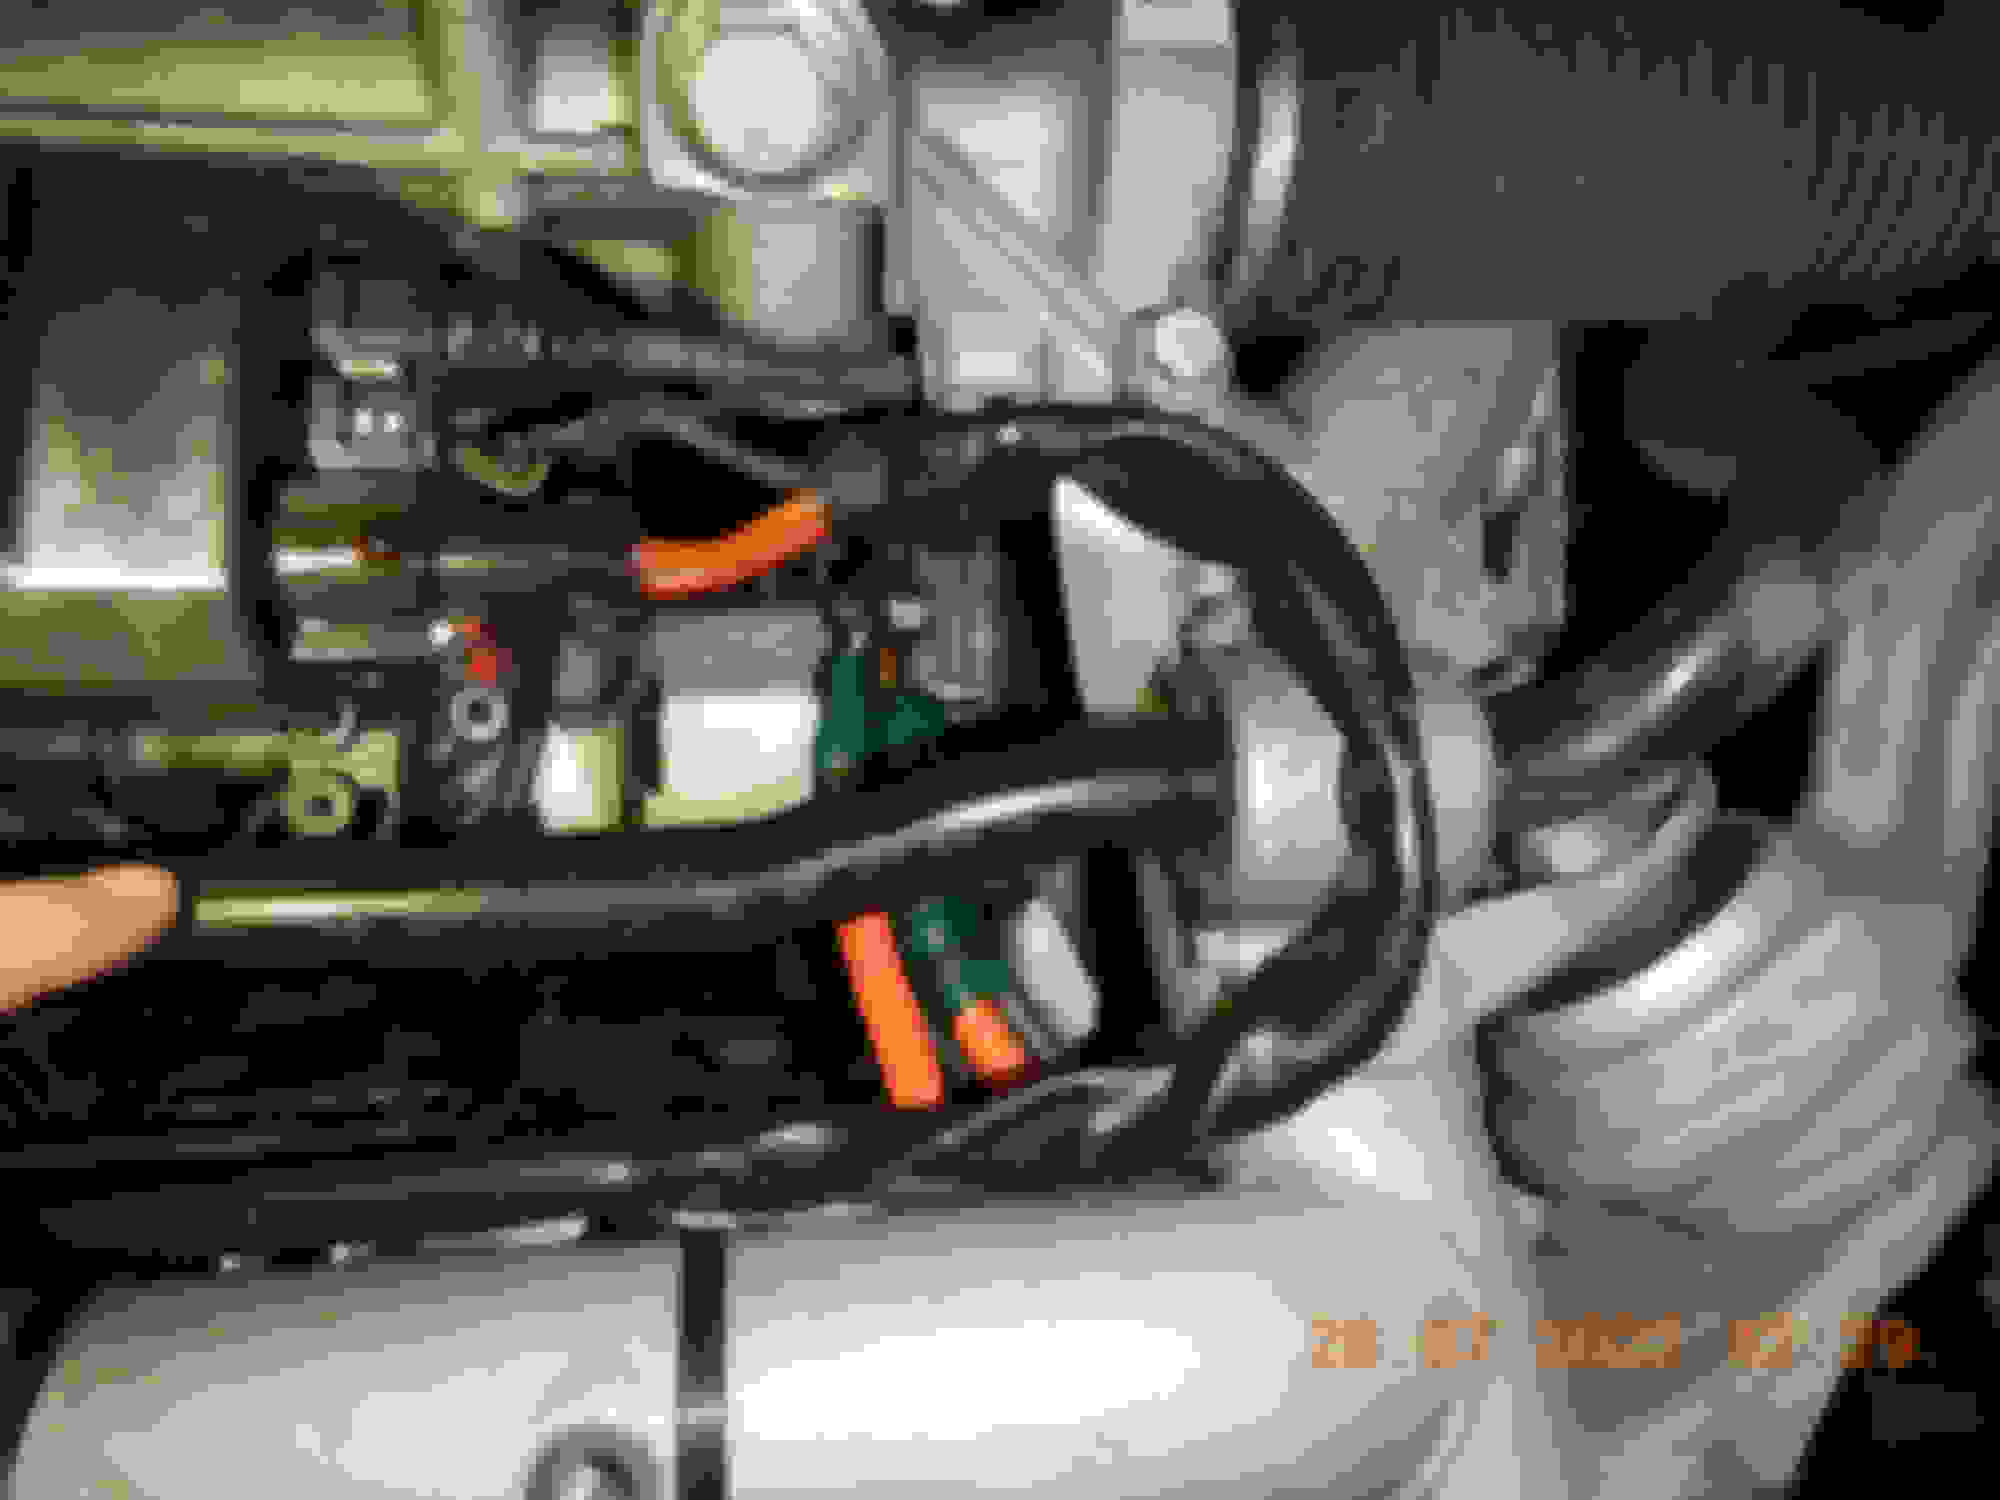
01. My electric power steering connector.
02. And then the protection plate of the EPS
Since I am doing a few things all at once this weekend, me might as well re-seal this damn mini cam-VVT window.
Look at this, no sealant in these regions. I used to do small sealant circle if for screw bore
The LEFT bank or B2 the leak was always less, but still leak. More of misty leak and not the obvious droplets leak.
The technique the MB dude used is wrong.
This type of sealant can only be applied pressure or the mini cam window be tightened is when the sealant is tacky to touch and while not still super liquid wet.
I used to do alot of yacht hull work using sealant ( much slower cure one ) and since the sealant is used on underwater fittings and at 30 knots of speed the amout of water pressure to the fittings is crazy and a poor sealant job is a no-no-no.
So I learnt a lot over the years on when is X, Y & Z sealant best be "tightened" or applied pressure.
Hauling up;/down a 50 footer yacht cost a few thousand US$ for even a few hours job, so mistake can be very expensive to re-do.
HHmmm, MB should be ashamed.
No wonder my engine is never free of micro oil leak.
Dec 2021 I replaced the VVT magnetic solenoid. See how dirty 34,500KM worth of seepage is. BANK 1 - Right side of engine
I tried a mild re-tightening of the small screws, that was it.
Today it is only 1,000KM of use or 35,600KM ish. Already twice ( per 500KM ) I found micro leak. Easy to spot, I know where the final oil drops will be.
01. My electric power steering connector.
02. And then the protection plate of the EPS
Since I am doing a few things all at once this weekend, me might as well re-seal this damn mini cam-VVT window.
Look at this, no sealant in these regions. I used to do small sealant circle if for screw bore
The LEFT bank or B2 the leak was always less, but still leak. More of misty leak and not the obvious droplets leak.
The technique the MB dude used is wrong.
This type of sealant can only be applied pressure or the mini cam window be tightened is when the sealant is tacky to touch and while not still super liquid wet.
I used to do alot of yacht hull work using sealant ( much slower cure one ) and since the sealant is used on underwater fittings and at 30 knots of speed the amout of water pressure to the fittings is crazy and a poor sealant job is a no-no-no.
So I learnt a lot over the years on when is X, Y & Z sealant best be "tightened" or applied pressure.
Hauling up;/down a 50 footer yacht cost a few thousand US$ for even a few hours job, so mistake can be very expensive to re-do.
.
This is a great post for the repair, and a typical example of MB poor quality from the factory.
There is zero trace of the black sealant. This is odd.
When sticky sealant is used to mate two surfaces, it has to to stick to both sides.
Its like it has its own grey coating and a non-stick one . If indeed the grey "coating" is meant to be non stick, why not use super thin stainless steel gasket and no need sealant then.
Or use precision machining like my dive compressor 2nd stage, this is a 64 BAR zone ( 2nd piston/stage) and no gasket. No leak.
Tomorrow I shall wash clean the mini window and study the grey surface in detail. This is interesting.
Dang, the mini VVT cover is Magnesium, I thought it was aluminum.
The dark grey is corrossion and can't be removed. I thought oil stain
The grey coating is a mystery, at the round magnet o-ring contact surface, the grey also there.
Crazy light this mini window is
============================
The oil seepage saga............. I have to remove the alternator to clean this area and also will clean the alternator windings.
To remove the alternator out of engine bay, aftercooler and RIGHT side air charge pipe from turbo to aftercooler must be removed too
The copper windings need to be cleaned. Oil traces will make heat trap, and my windings may have reduced life.
Alternator can come out ( for my car and engine model ) only at the LEFT side of the car . Better space there and the only space there. Going down to ground is not possible, unless there is no electric fan.
To those wondering what the heck is the orange 50mm welding grade cable is for ..... that is my extra ground cable
Cleaning oil seepage at nook and cranny is such a pain.
I use Simple Green Degreaser, Brake Cleaner, Mini Steam Gun, Compressed air, brush and yada yada.
I got cuts all over my arm and fingers from hose clamps and the un-kind sharp edges a wet sweaty arm easily get cut by
Yes on magnesium. MB uses a fair bit of it for weight reduction. Have a read through this site for a poster whose shop used a caustic solution to clean M113 (magnesium) cam covers. Not a happy ending.
Yep, I think the green soap is an oxidizing acid that turn magnesium dark.
I am not a chemist... I forgot what chemical is used to remove rust off of steel, it needs to be an alkaline base.
Perhaps "baking soda" can perform that trick
No, Simple Green is no acid at all. I been using it near 20 years now... it is gentle.
Its just one of those oxidation I guess, the extra dark grey on the magnesium.
I shall leave it as is....
Tasos, the Master explains the mini VVT window. Damn, no wonder M156 intake manifold often have holes from corossions...it is also magnesium. I thought it was alu.
Master Tasos is the best! His English is cheap like ours but his mind and attention to details are spot on 👏
So Tasos explains these Mg covers are leaking from improper factory assembly of unprepared parts.
He gently removes oxidation layer with 1500 grit sand paper to get the Loctite 5970 sealant to grab on shinny clean surfaces. Without that step... it's guaranteed additional oil leaks.
Thank you Master Surya for digging up this proven solution
Last edited by CaliBenzDriver; 08-04-2022 at 06:30 PM.
Cleaning oil seepage at nook and cranny is such a pain.
I use Simple Green Degreaser, Brake Cleaner, Mini Steam Gun, Compressed air, brush and yada yada.
I got cuts all over my arm and fingers from hose clamps and the un-kind sharp edges a wet sweaty arm easily get cut by
LOL Bro I am laughing at the pain you went through but if you saw the pain I am going through myself. I can only relate. Happy to have joined this forum because I feel less lonely. What the **** is wrong with these engine leaking the **** out. Always was a porsche guy before 2016 and never any problem like that 200k+ on any engine.
Tasos, the Master explains the mini VVT window. Damn, no wonder M156 intake manifold often have holes from corossions...it is also magnesium. I thought it was alu. https://youtu.be/d0-EeYgTezA
2015 GLK @100k miles I'm beginning to experience this leakage and this video nailed it. Next time I ask my shop to perform an inspection I'm going to inquire the cost to perform this level of service. That way it will hopefully last another 50+k miles. It's pretty minimal at the moment but I can only imagine it getting worse.
Anyone ever consider 3D scanning/machining a Steel or Aluminum alternate?
It�s honestly not that bad. Truly some sandpaper and the proper application of the mb sealant works. It�s also cheap if you break it�I did mine a few years ago on an m157, and no leaks so far. The ops plate looked like someone forgot to reapply it after doing tensioners at some time. The drivers side is a bear.
Thanks @S-Prihadi ! 5Nm for front cover to cylinder head screws. 4Nm for cam solenoid to front cover screws. The screws are aluminum and will yield/strip if overtorqued, so go slowly.
I made sure to buy the mb stuff. It easily fits into a standard caulk gun. The bolts are best acquired from the dealer. Buy a few extra as they a delicate like glass. You MUST use a low torque device.
Did the same resealing job on my E400 recently. I did the left hand side a few weeks ago and the right hand side last weekend. I found the same situation regarding the sealant applied at the factory... several areas had missing bit and it had no adhesion to the magnesium front covers. A part from cleaning the sealant from the heads (which is a pain...) the rest of the job is pretty easy. Cleaning the engine from 41.000 km of oil seepage is also not easy... in my case this is still an on-going job. In all honesty, it is impossible to clean it properly without removing the intercooler, charged air pipes, alternator, etc. I got to gather some "courage" to do this in another weekend.
S-Prihadi, great find on the suggestion from Tasos to remove the corrosion from the magnesium cover before resealing. Hopefully my engine will be leak-free for years to come.
Completed this on the weekend, on the left (driver) side cover. With the cover removed, seemed obvious where oil could be seeping out... it's as if they slid the cover down the last little bit, and those two bottom bolt heads scraped away most of the sealant in those areas. Seems good so far, after a few hundred kms. The timing cover bolts were also not encircled with sealant, contrary to M-B specification.
(lol... just realized I got those lines backwards, since we are looking at the inside of the cover plate... ah well.)
Last edited by fitzbenz; 04-04-2024 at 12:59 PM.
Reason: Admitting my goof.

 07-30-2022, 09:38 AM


")

 . If indeed the grey "coating" is meant to be non stick, why not use super thin stainless steel gasket and no need sealant then.


 . These micro valley is good for sealant to grip. A real bi-etch to clean. I use plastic tool, only, to keep the surface virgin.